
Thursday, November 24, 2011
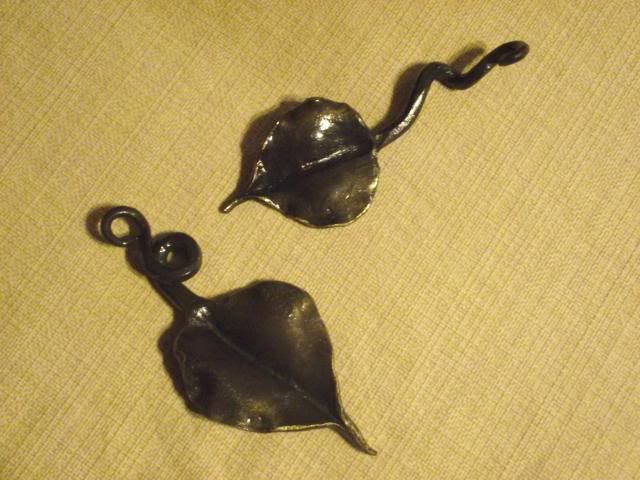
new sort of leaf
Here is a new sort of leaf I am doing. I am currently working on a branch made out of these leaves.
Monday, November 21, 2011
New welding table
FIRST! BE SURE TO CHECK OUT MY NEW "TESTIMONIALS" PAGE LISTED AT THE TOP OF MY BLOG PAGE.
I fooled around with my bandsaw and after shearing a brand new blade in half lengthways, breaking a whole roller guide assembly, busting nuckles, and nearly pulling out the last hair, I finally got it cutting straight. A bandsaw that isn't cutting straight is a PAIN IN THE NECK! I know! I've used one for the past three years. On the flip side of that miserable coin, a bandsaw that IS cutting straight is WONDERFUL!
So, since my bandsaw now cuts straight, while I was working on some items for an upcoming show, I had the bandsaw running working on cutting the parts for my new welding table. Multi-tasking!
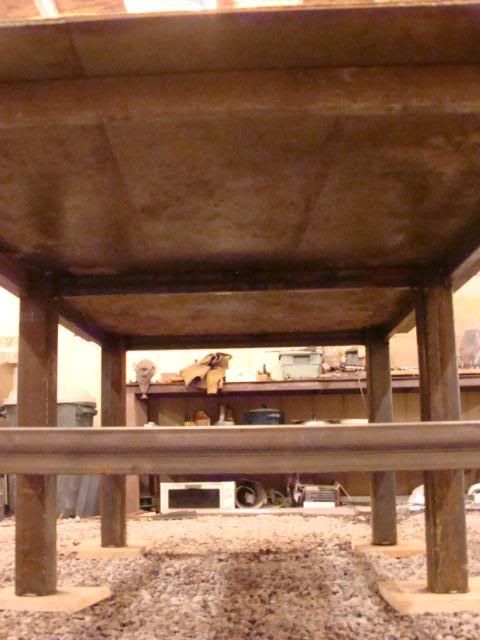
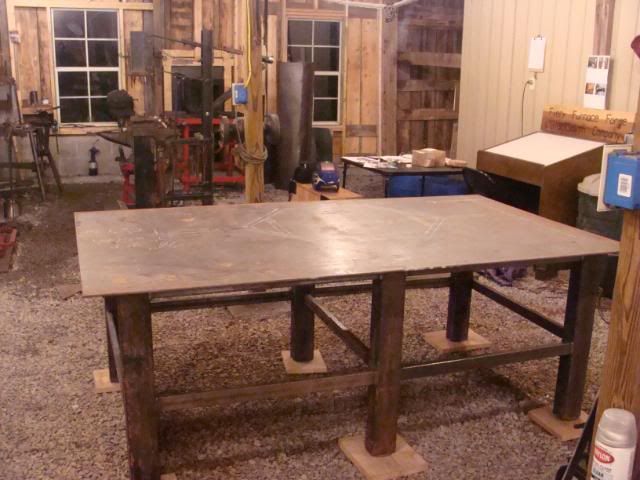
I sold my old 4-foot square welding table sometime ago, and using the money from that, purchased a new and larger table top. Nearly twice as large to be precise! I have a piece of 4-foot by 7-foot, 1/4-inch thick plate steel table top that weighs 362 pounds. I six hefty steel tube legs for the table and used some bracing pieces that I already had. The entire assembly weighs about 450 pounds. To a non blacksmith or non metal worker, the first thought may be "who cares if the table is twice as big and weighs a ton?" However, blacksmithing and general metal working this can make a WORLD of difference.
I will be adding tool and hardware holders around the table, as well as a shelf underneath for other supplies.
I will be adding tool and hardware holders around the table, as well as a shelf underneath for other supplies.

In addition to various orders I'm working on, and pieces I'm making for the upcoming show, I am building 18 treadles for the power hammer build I am helping with. Here are the first five treadles.

That's from the shop today.
Dave Custer
Fiery Furnace Forge Blacksmith LLC
Wednesday, November 16, 2011
pictures from travel to/from John C. Campbell
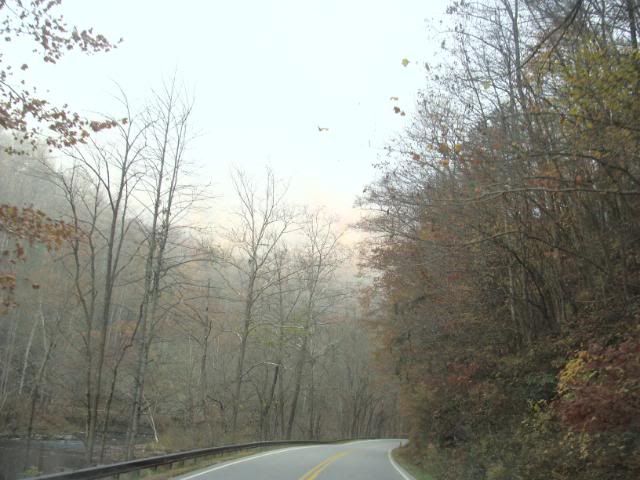
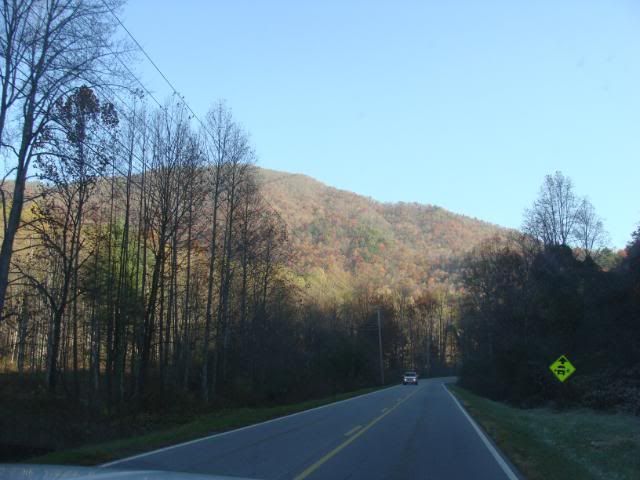
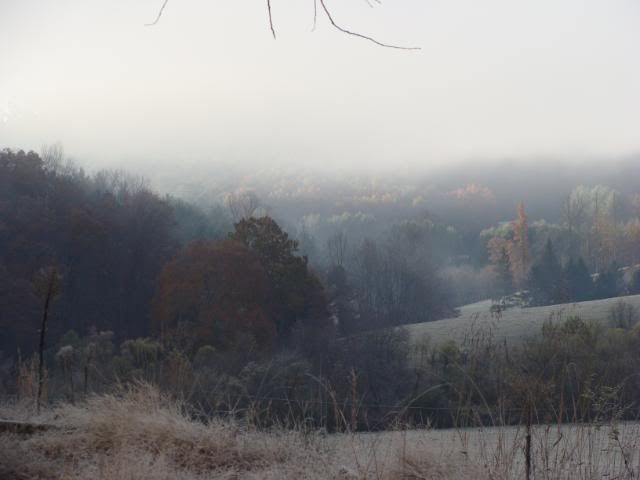
After my last John C Campbell class, I headed East instead of West. I had to deliver nearly 8000 pounds of steel parts to Chapel Hill North Carolina.....six hours east of John C Campbell Folk School. The trip was made without incident, although it was quite foggy on the curvy mountain roads during the first 1 hour of the trip. There was some very beautiful scenery though a camera doesn't capture it.
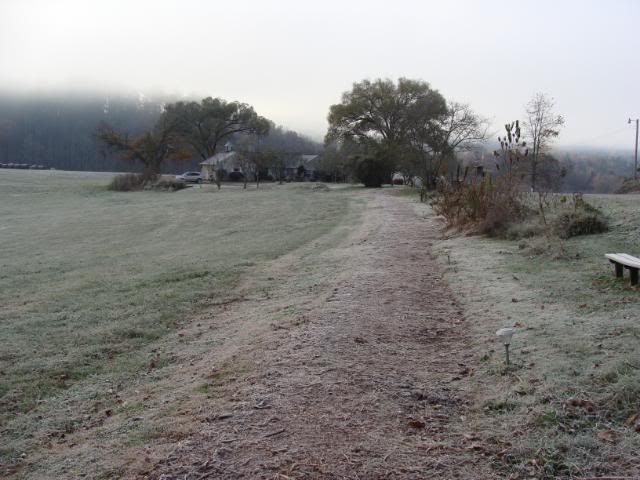
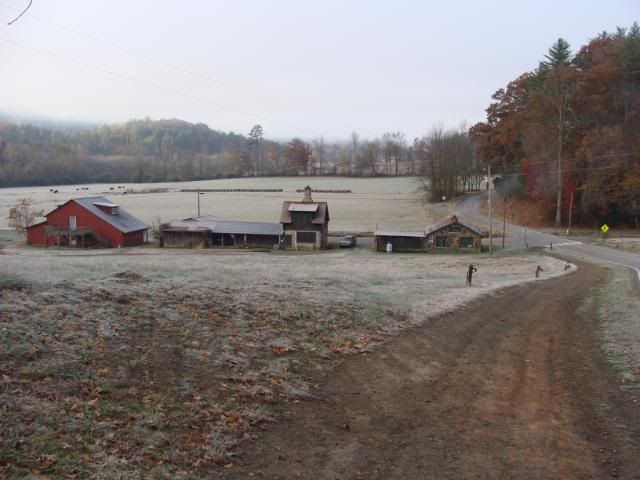
First, here is our cabin just before we left John C Campbell. Notice the density of the fog.

We stayed over night and then headed back. The return trip, though a full 11 hours, was rather straight forward. It was 10 minutes to I-40, we got on I-40 West, and took that to Cookville Tennessee, two hours South of our place.
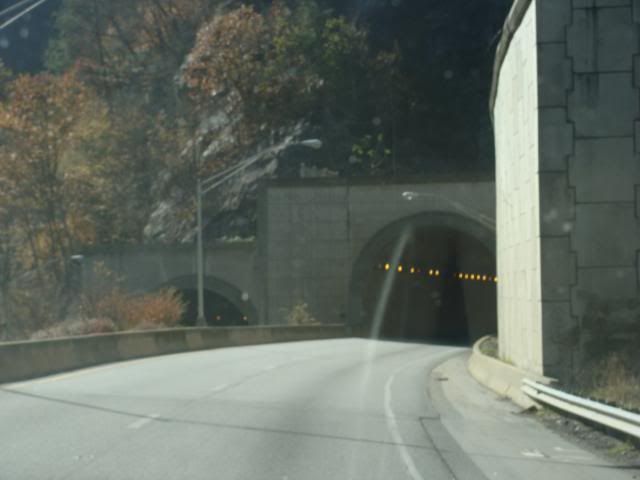
There was a tunnel on the way home.


First, here is our cabin just before we left John C Campbell. Notice the density of the fog.
On the road!
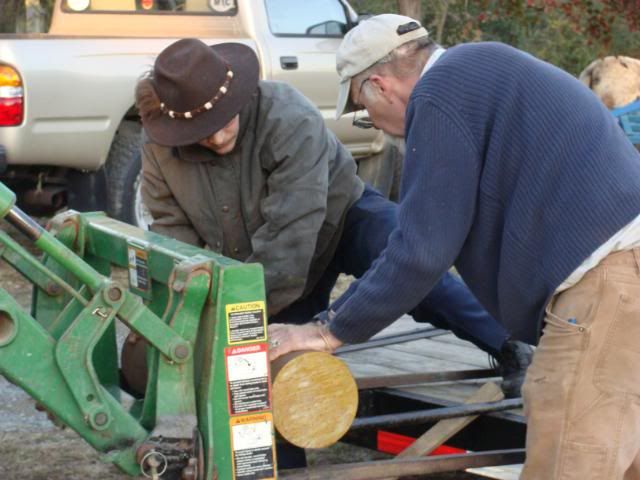
Once we got to Chapel Hill, we had to unload the metal. 16 pieces of 6 1/2-7 1/2-inch solid round steel cut 36-inches long. Each of these weighs from 400-500 pounds. 6 pieces of 2x6-inch flat bar also 36-inches long.
Loading on the tractor forks!
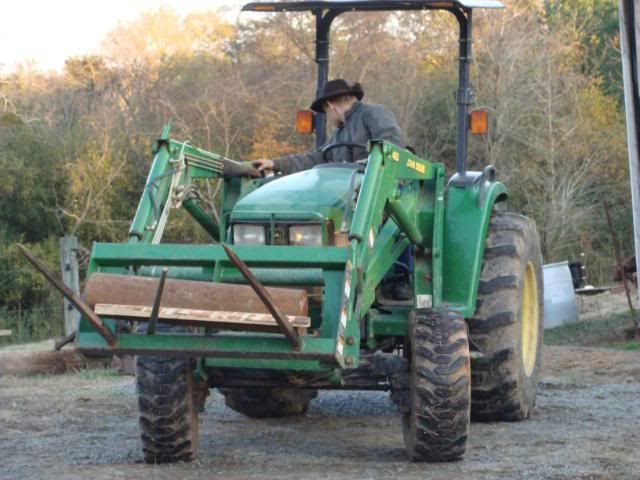
Moving them to the drop-off pile.
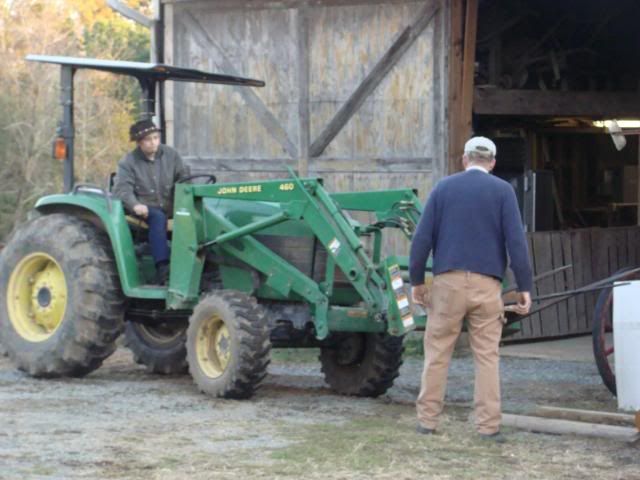
Dropping them off!
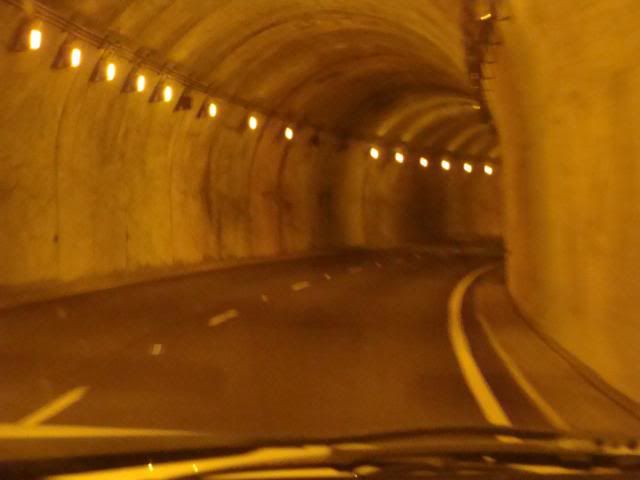
There was a tunnel on the way home.
We went through it.
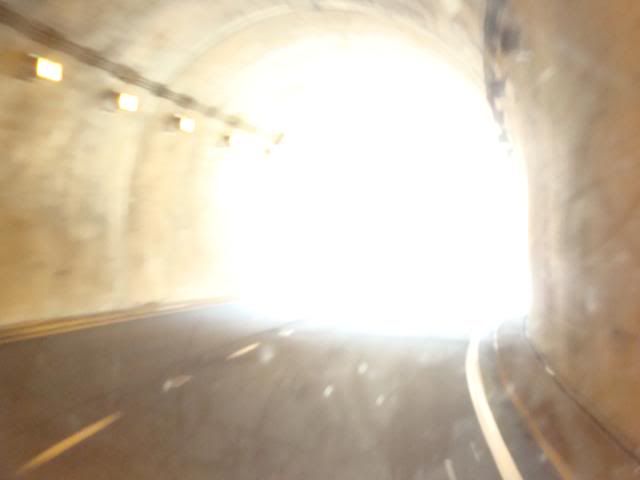
And then I wanted a picture of the "light at the end of the tunnel." It turned out more like the "atomic explosion at the end of the tunnel." This was taken just before our vehicle was enveloped in the flame rush!
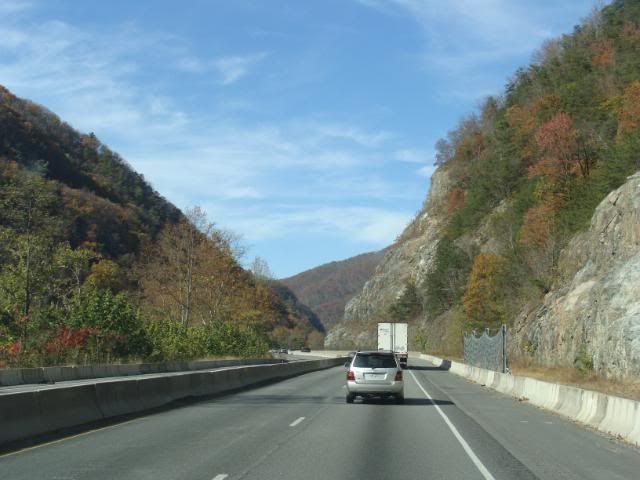
Very pretty drive between Ashville NC and Knoxville Tn.
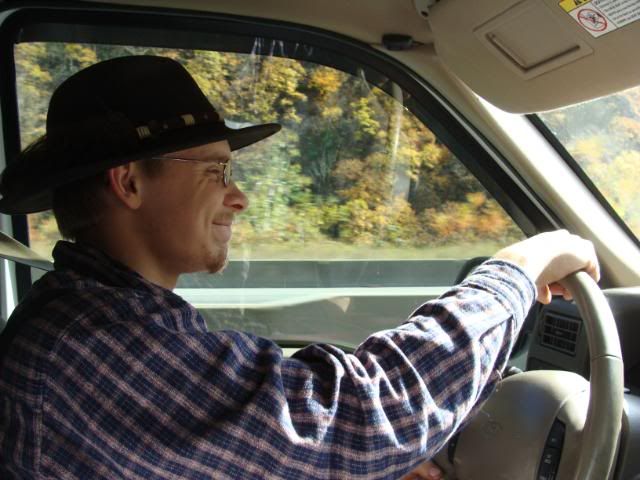
I drove all the way through.
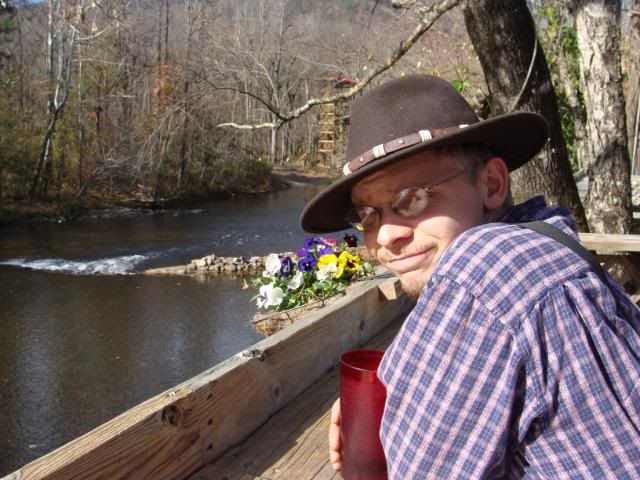
Somewhere in the mountains, there was an exit with nothing more than a gas station, two resturants, and two rafting companies. We stopped here to eat at "The Bean Tree Cafe." We ate on a porch overlooking the river.
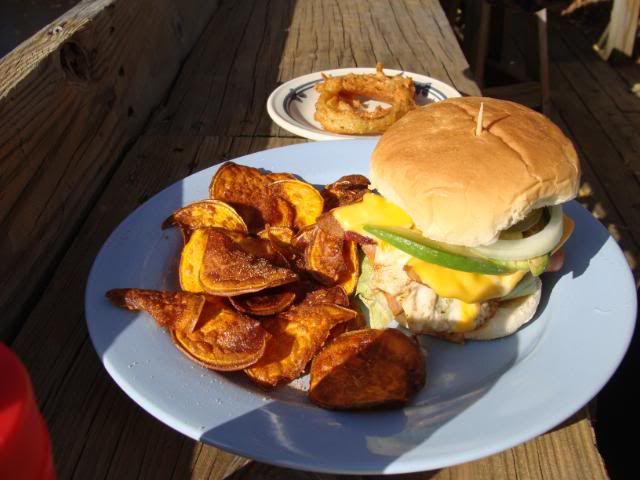
I'm a hamburger guy. They had some sort of awesome crazy hamburger that had a beef pattie, fried egg, ham, bacon, lettuce, onion, onion ring, and avacodo. Talk about a BURGER!
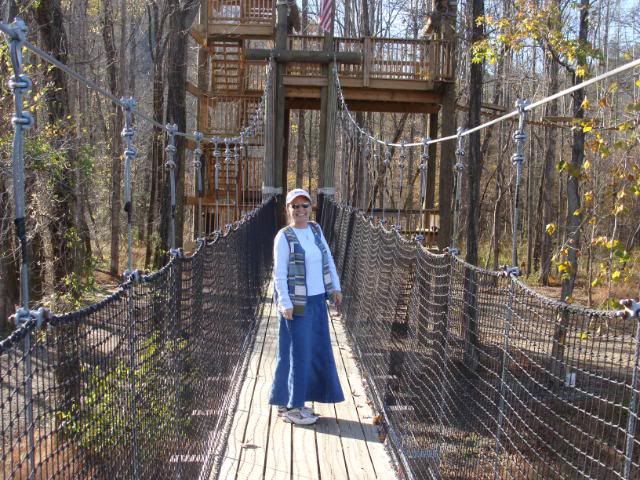
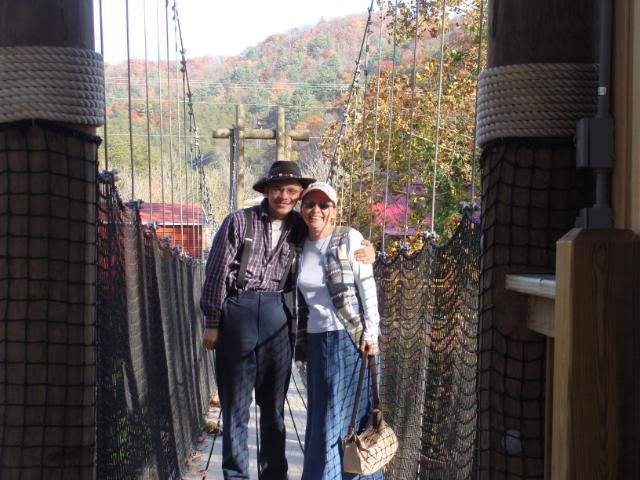
The rafting company was closed for the season, but as I hoped, their swinging bridge was open.
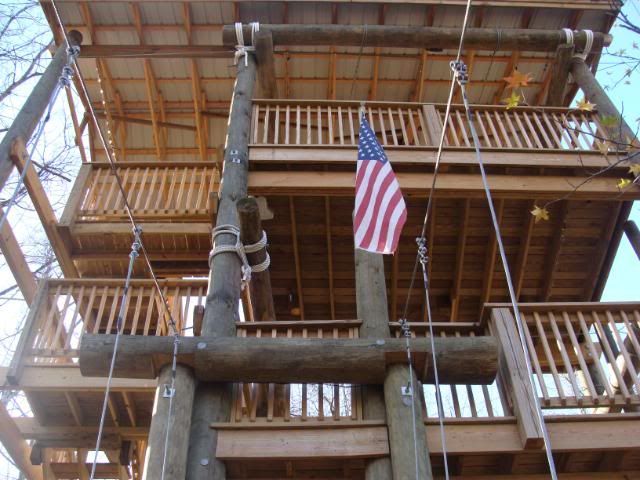
The rafting company apparently also does zip-lines. Here is the zip-line tower!
Here is some other sort of configuration of terror!
Gotta love the guy that invented self-timer on cameras huh!
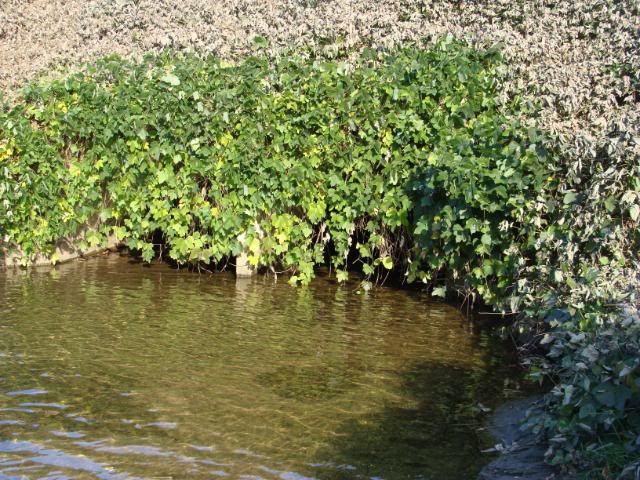
The creepy viaduct under the road!
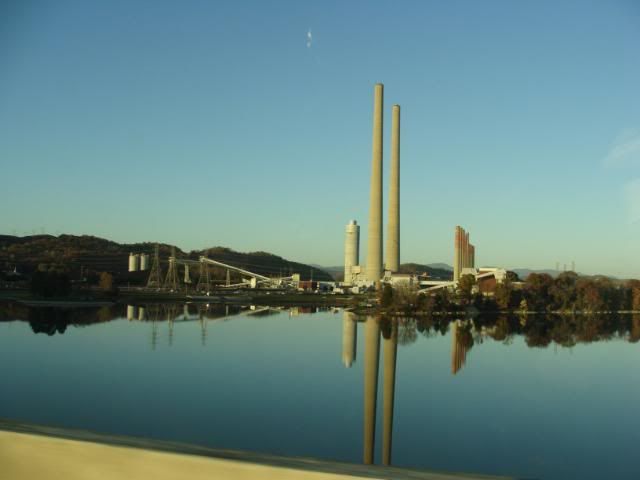
Some sort of air poluting tower.....but it looked neat reflecting on the water.
Finally......NEVER drive west at sunset!
Tuesday, November 8, 2011
Results of the John C Campbell class
Here are the pictures of the finished side that I made at John C Campbell this past week.
It was a lot of work, a lot of fun, I learned a lot, and I got a lot more done than I expected to.
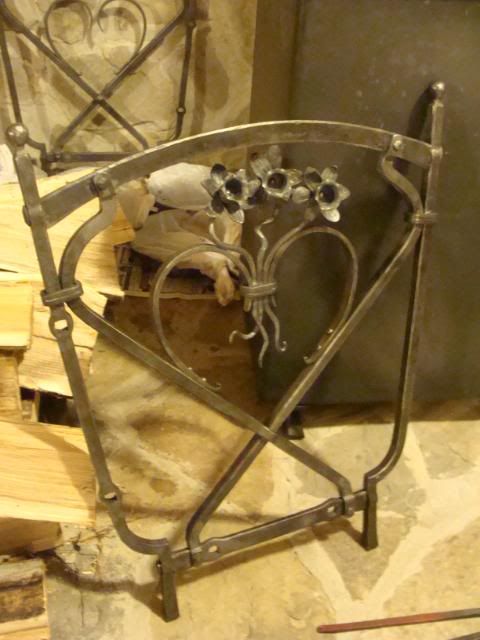
This pictures shows a mortise and tenon joint, square slit and drift hole, and a riveted lap joint.
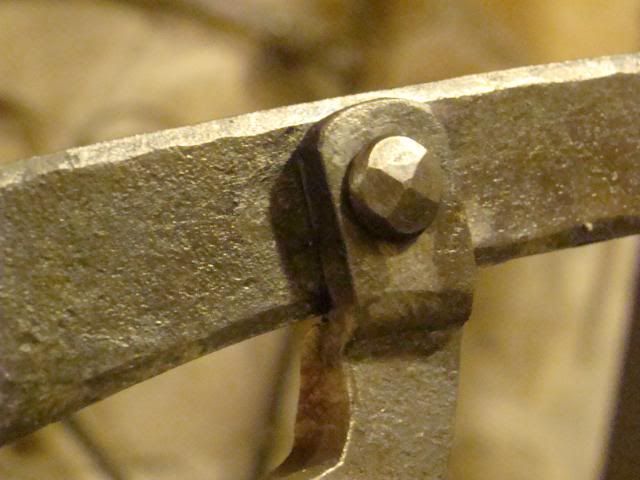
Close up of a riveted lap joint. (I did eight of these.)
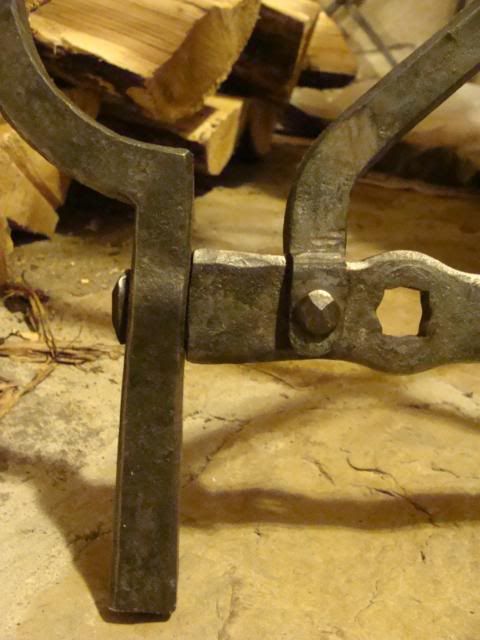
Close up of a mortise and tenon joint. (I did eight of these as well.)
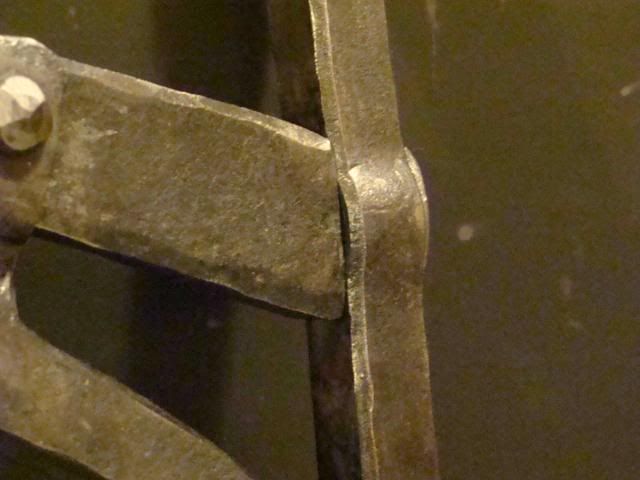
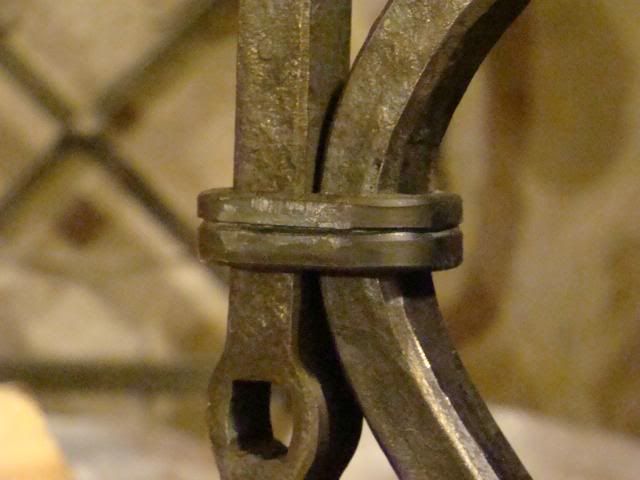
Close up of a collar joint. (I did three of these in the class and there are a total of six in the project.)

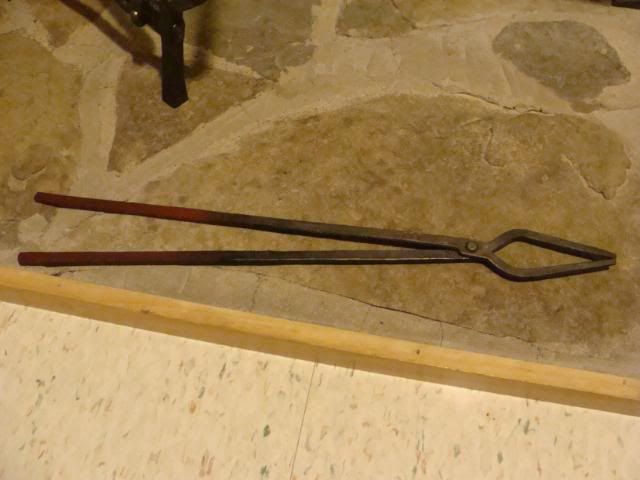
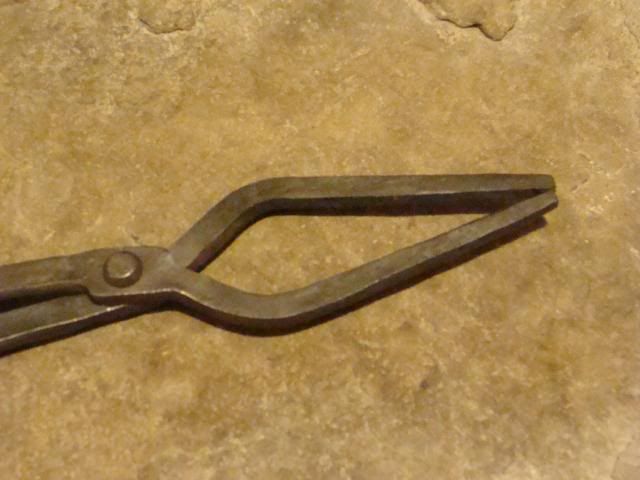
Yesterday I made a pair of "pick-up" tongs for a job of repeat work I need to start on.
It was a lot of work, a lot of fun, I learned a lot, and I got a lot more done than I expected to.
This pictures shows a mortise and tenon joint, square slit and drift hole, and a riveted lap joint.
Close up of a riveted lap joint. (I did eight of these.)
Close up of a mortise and tenon joint. (I did eight of these as well.)
Close up of a collar joint. (I did three of these in the class and there are a total of six in the project.)
Here is the collar around the flower stems and heart.
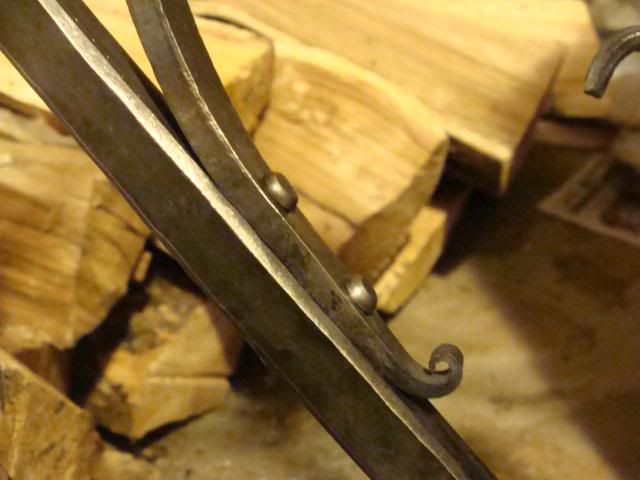
Here is the double rivet joint where the heart is attached to the center "X" shape. The original design incorporated forge welding here, however, I decided to alter it to riveting as in this application that was the better joint.
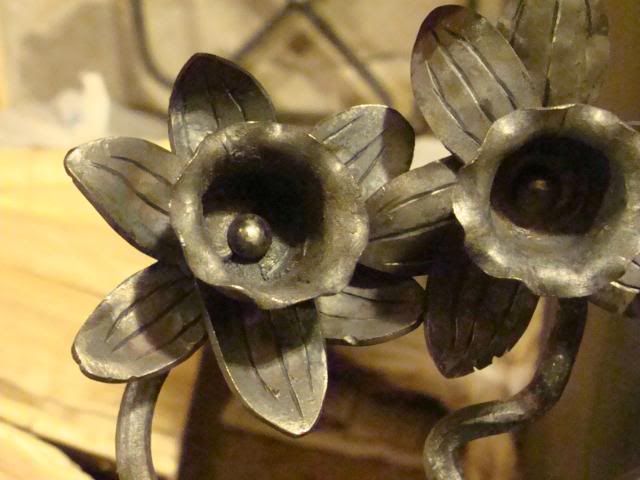
And here are the daffodils.
Yesterday I made a pair of "pick-up" tongs for a job of repeat work I need to start on.
Friday, November 4, 2011
Fifth and final post from John C Campbell
I forgot to take the camera to the studio yesterday and hence no blog this morning. For some reason, the pictures won't upload right now, and the little battery light on the camera is blinking. I got two photos to work so I'll show them and then get the rest up in a few days when we get home. This is one whole end! Sorry for the poor photos! Once I get home I'll get some better pictures.

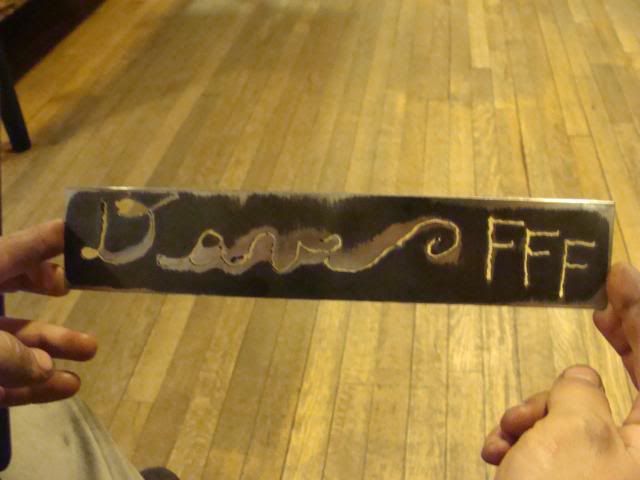
This next picture is my practice piece using the plasma cutter before cutting out the daffodils. This will go above my forge.
The majority of the class was composed of highly skilled blacksmiths and it was a pleasure to work and learn beside them. One guy in particular was 20 years old, and his ability to design, form, and move metal with precision and speed was amazing and a great inspiration.
Thursday, November 3, 2011
Post four from John C Campbell
Hello and good morning. The middle of the week has past and the "get finished" mode is beginning to hover over our class.
Yesterday, I finished up the four legs for my piece, assembled the frame after tweaking things a bit, and began work on the center "X" pieces. Two of the center "X" pieces are well over half way done and the other two are coming along. The school does not have any 1/4x5/8-inch flat bar which I need. To my non-blacksmith readers this may seem disasterous but remember, I am a blacksmith......KING OF CRAFTS! I took some 1/4x3/4-inch flat bar and made my own 1/4x5/8-inch in just a few minutes. This stock will be for the heart which I hope to get done today.
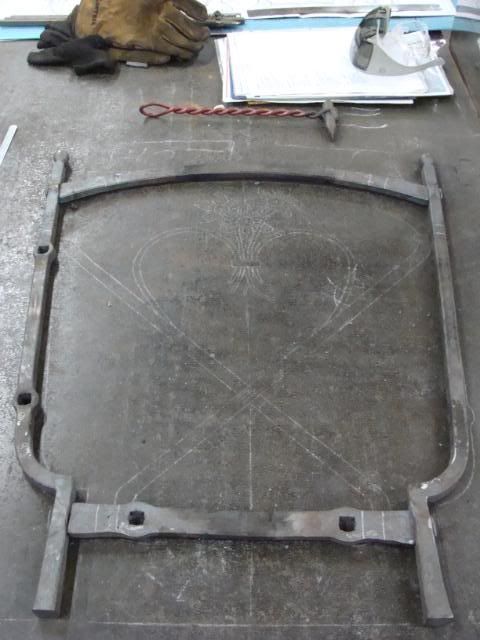
Yesterday, I finished up the four legs for my piece, assembled the frame after tweaking things a bit, and began work on the center "X" pieces. Two of the center "X" pieces are well over half way done and the other two are coming along. The school does not have any 1/4x5/8-inch flat bar which I need. To my non-blacksmith readers this may seem disasterous but remember, I am a blacksmith......KING OF CRAFTS! I took some 1/4x3/4-inch flat bar and made my own 1/4x5/8-inch in just a few minutes. This stock will be for the heart which I hope to get done today.
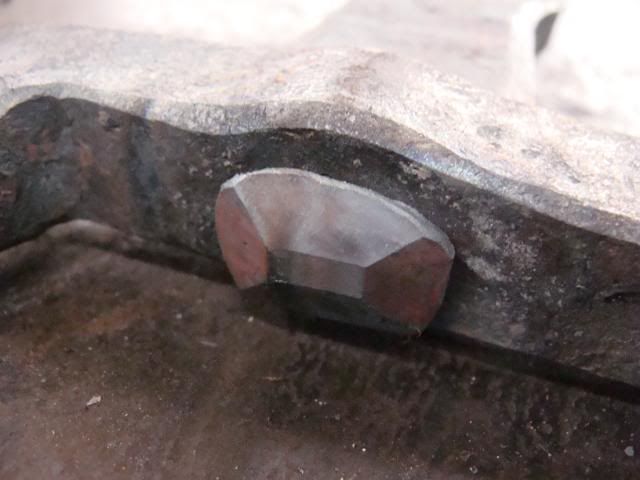
One of the tenons in frame.
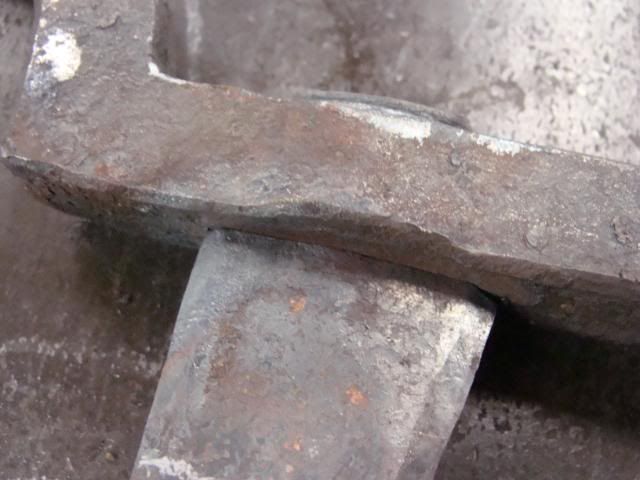
The shoulder or base of the tenon.
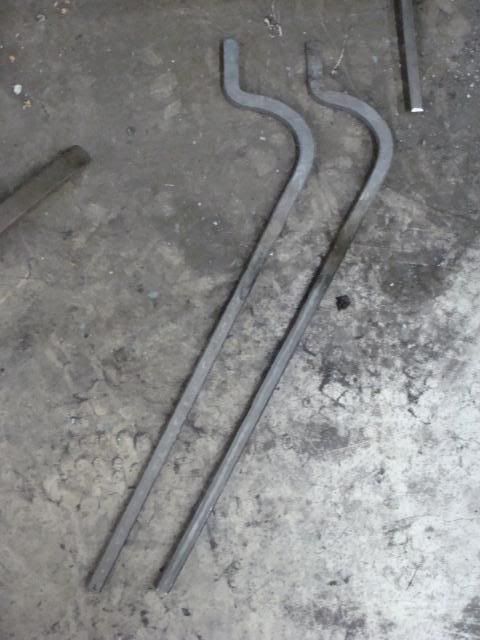
These are two of the nearly finished "X" bars...just about ready for forge welding I think.
That's Wednesday's progress. Hopefully I'll get the "X" bars done, including welding the heart onto them, today. Maybe I'll even get the collars on. The flowers will not be too time-consuming but I don't know if I'll get to them today.
Wednesday, November 2, 2011
Third post LIVE from John C Campbell
The coffee is good this morning. It is a cold walk from our room up to the main campus house. I just have a few minutes here, so I'll shut up and get on with the pictures.
Even after breakfast (served at 8:15 AM) Tuesday morning, the frost was still heavy. There was a high fog that blocked the sun. The natural beauty that God has blessed this place with is hard to surpass.
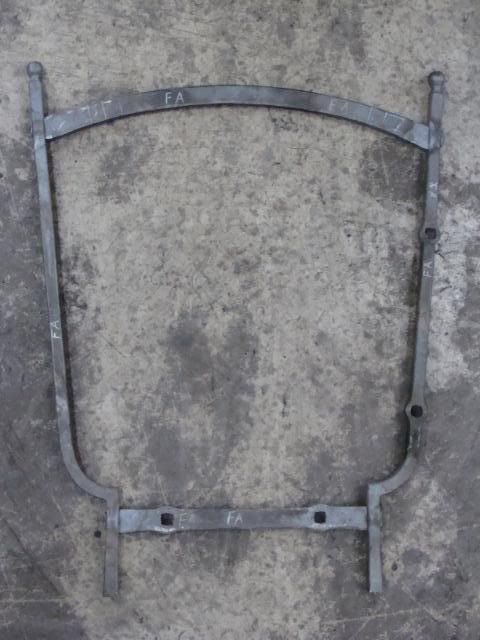
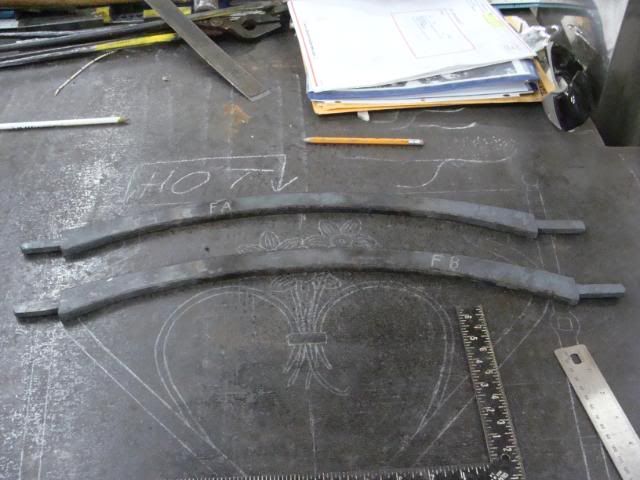
Yesterday, in the shop I made a fair amount of progress. I finished the upper cross bars (the curved bars,) first thing Tuesday morning.
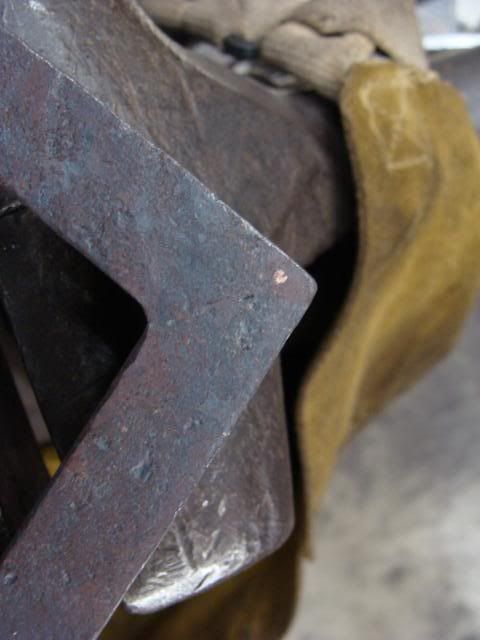
I moved directly to the legs. My notes for square corners sounded questionable to the instructor, so I made a square corner test piece to double check. Sure enough, if I had followed my notes there, I would have been in a world of hurt.
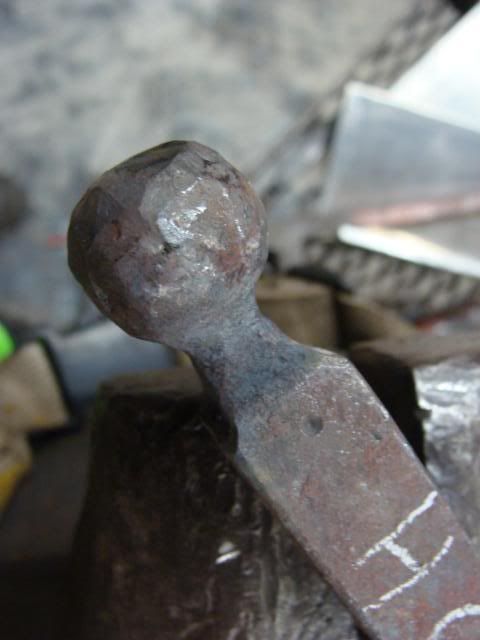
I also had to do a ball end test piece for the legs.
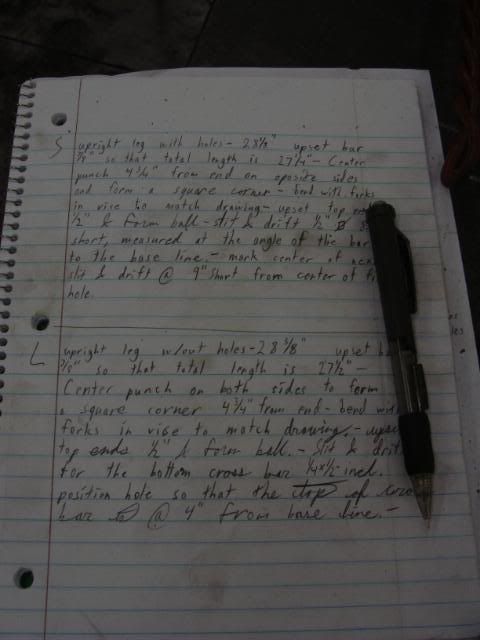
Then after I finished the corner and ball test pieces, I moved to the leg using my notes and the new test pieces to calculate the stock length exactly. Here is where it got a bit confusing. Which side a particular leg goes on, determines how long the leg is. I had to keep close track of which leg I was working with to make sure I didn't punch a hole through a leg that didn't need a hole.

If you don't take notes you aren't a serious blacksmith. EVERY step is recorded and will be organized and rewritten at home.
Even after breakfast (served at 8:15 AM) Tuesday morning, the frost was still heavy. There was a high fog that blocked the sun. The natural beauty that God has blessed this place with is hard to surpass.
Yesterday, in the shop I made a fair amount of progress. I finished the upper cross bars (the curved bars,) first thing Tuesday morning.
I moved directly to the legs. My notes for square corners sounded questionable to the instructor, so I made a square corner test piece to double check. Sure enough, if I had followed my notes there, I would have been in a world of hurt.
I also had to do a ball end test piece for the legs.
Then after I finished the corner and ball test pieces, I moved to the leg using my notes and the new test pieces to calculate the stock length exactly. Here is where it got a bit confusing. Which side a particular leg goes on, determines how long the leg is. I had to keep close track of which leg I was working with to make sure I didn't punch a hole through a leg that didn't need a hole.
If you don't take notes you aren't a serious blacksmith. EVERY step is recorded and will be organized and rewritten at home.
Subscribe to:
Posts (Atom)