Mom and I just got back from the John C Campbell Folk School in Brasstown North Carolina. I took a class covering two techniques called "chasing" and "repousse." It would be rather difficult to explain so I'll just post picures.
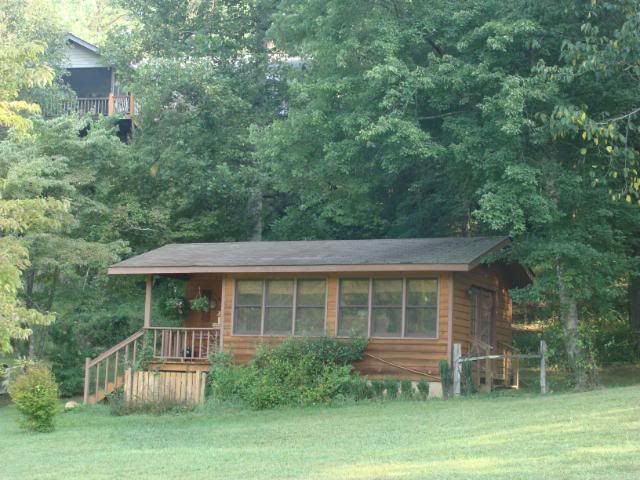
Here is the cabin we rented for the week!
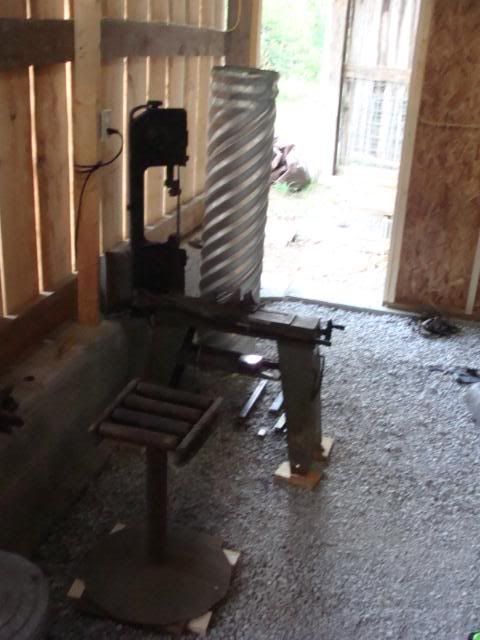
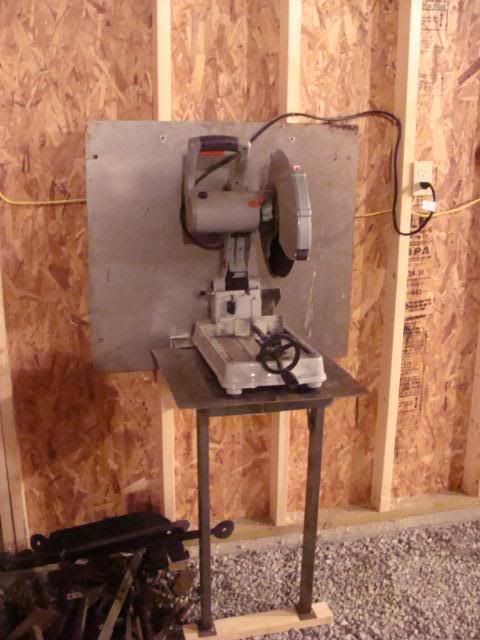
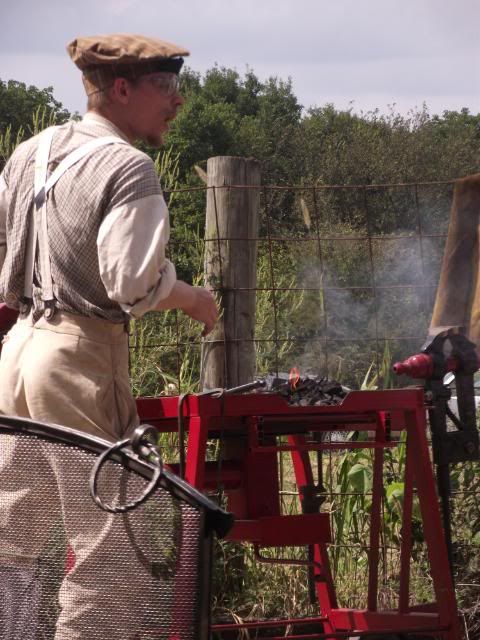
This is the blacksmith shop as viewed from the hill behind it.
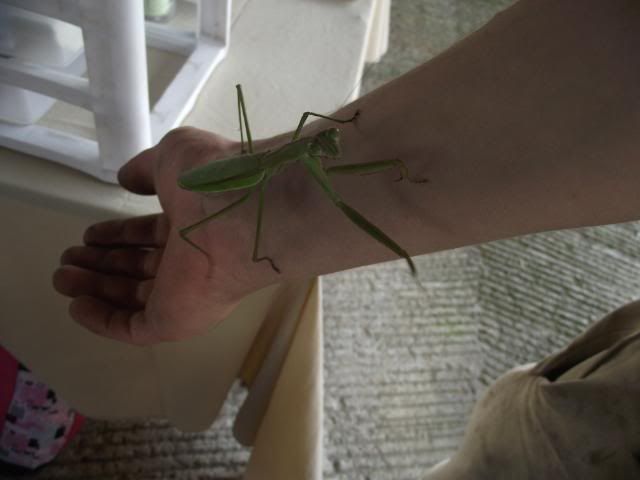
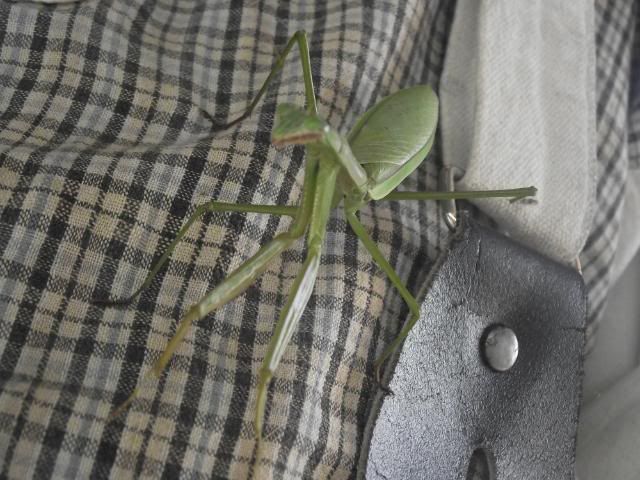
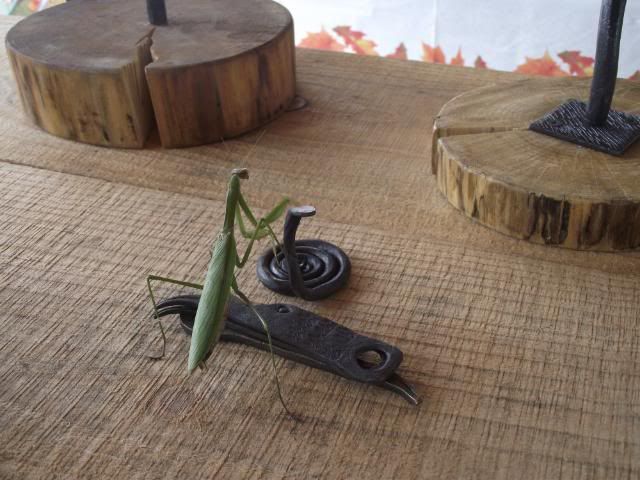
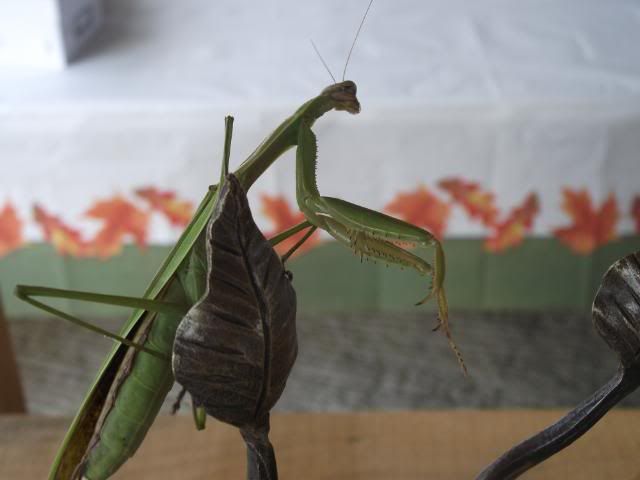
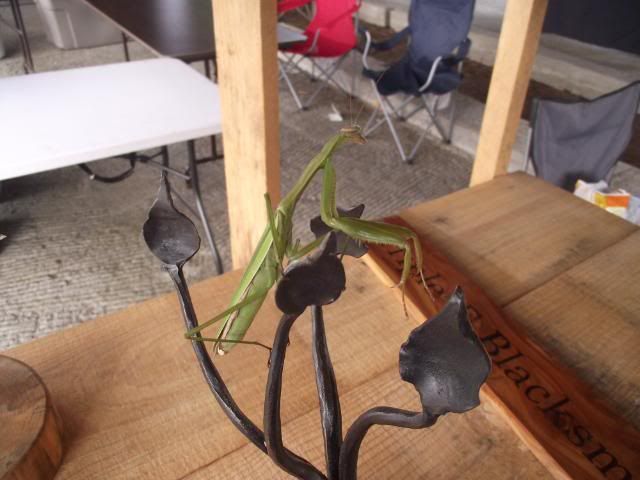
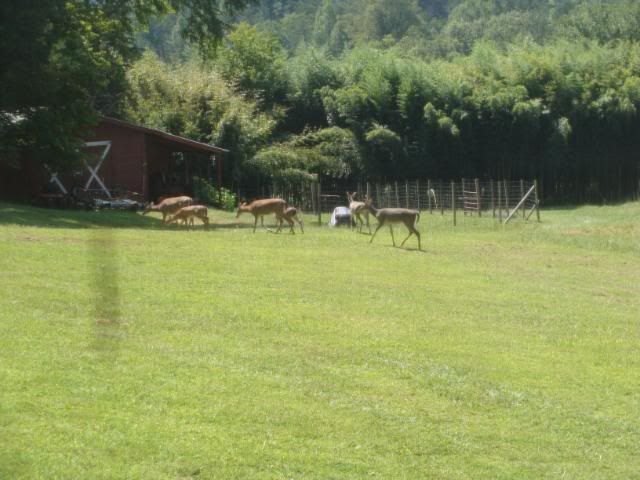
The local wildlife was on display in the mornings.
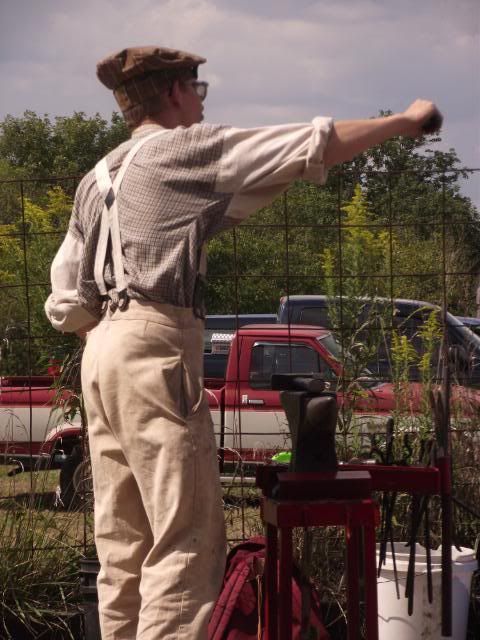
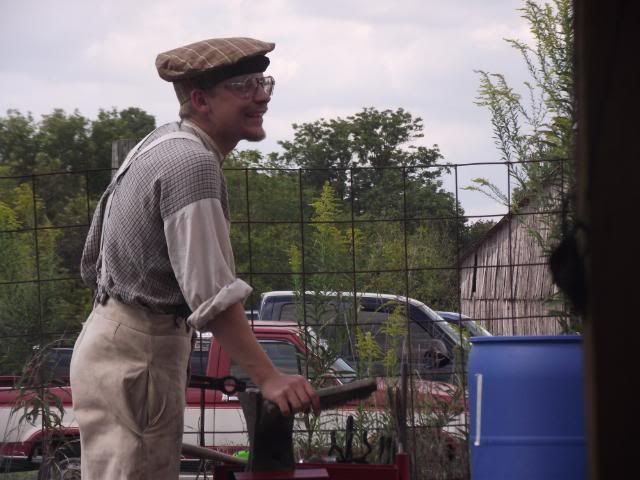
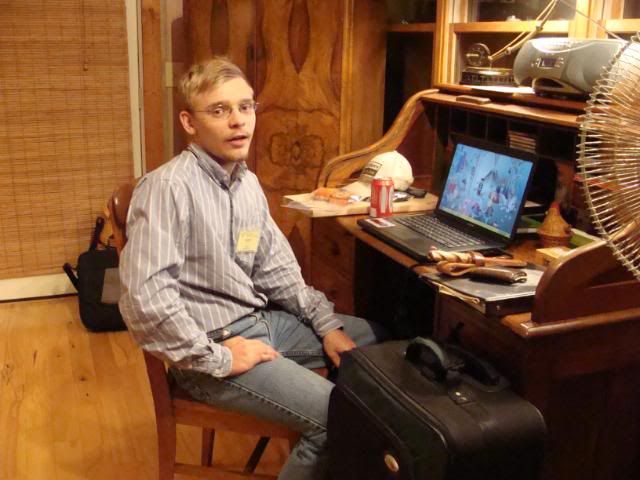
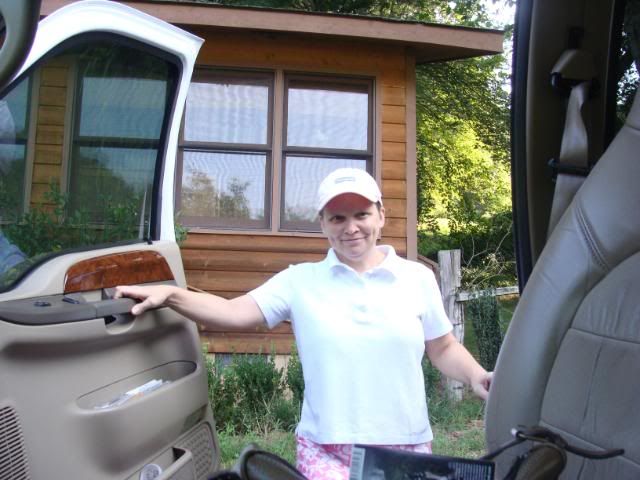
Me trying to talk to mom while she was snapping picture after picture.
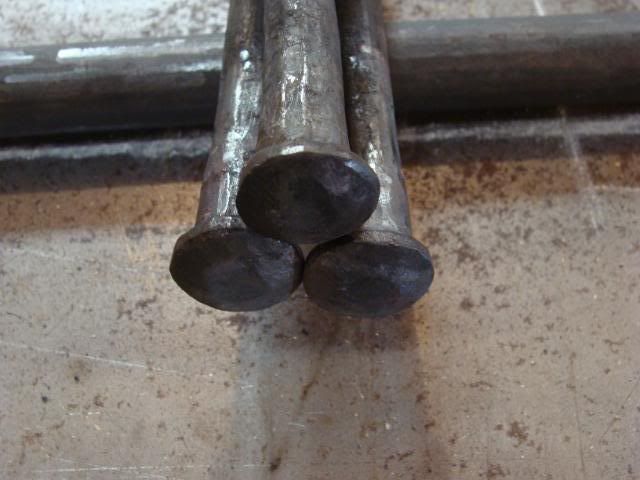
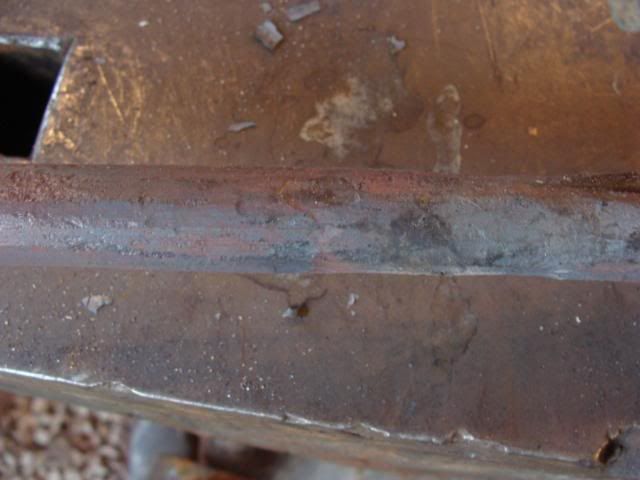
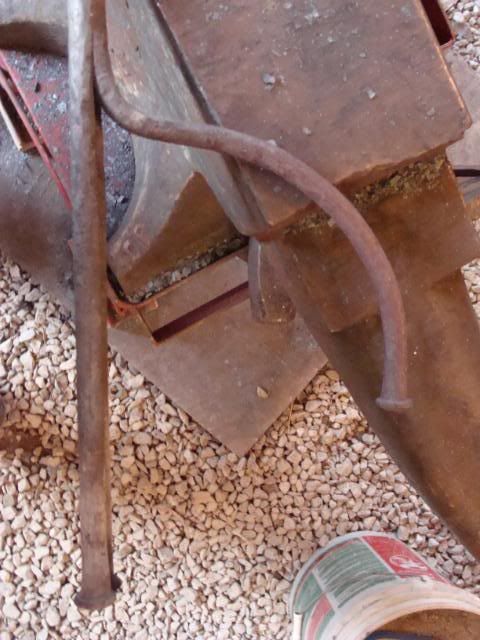
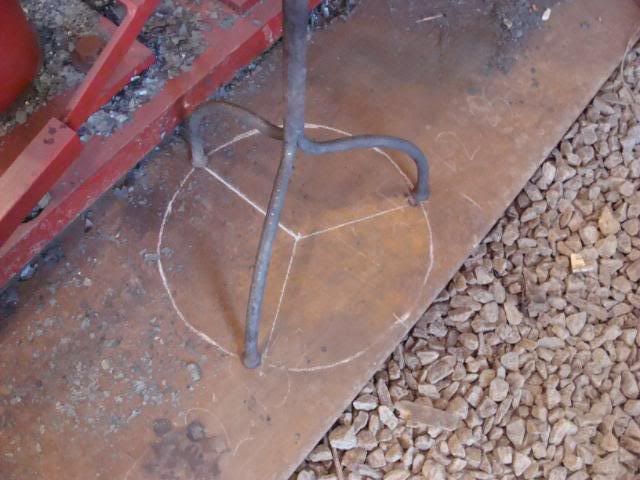
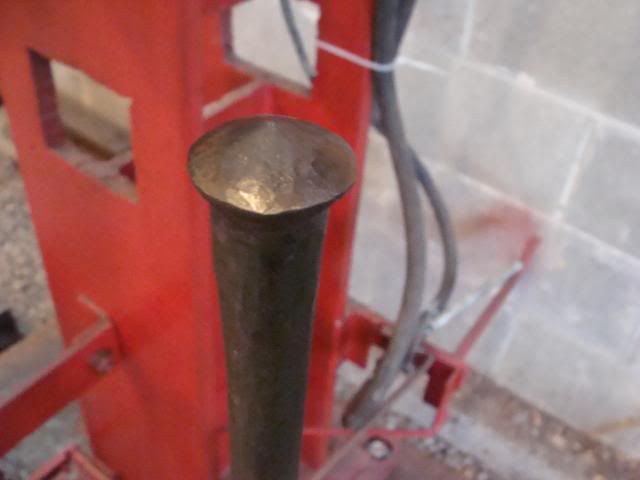
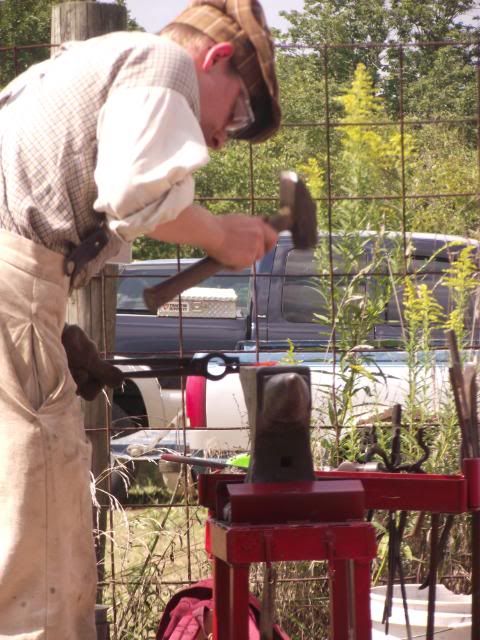
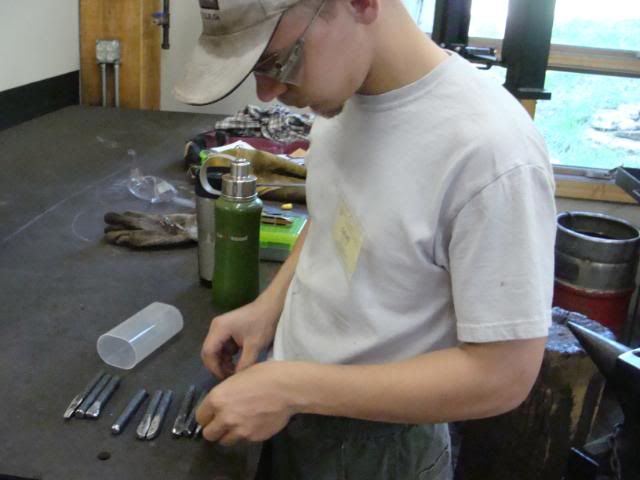
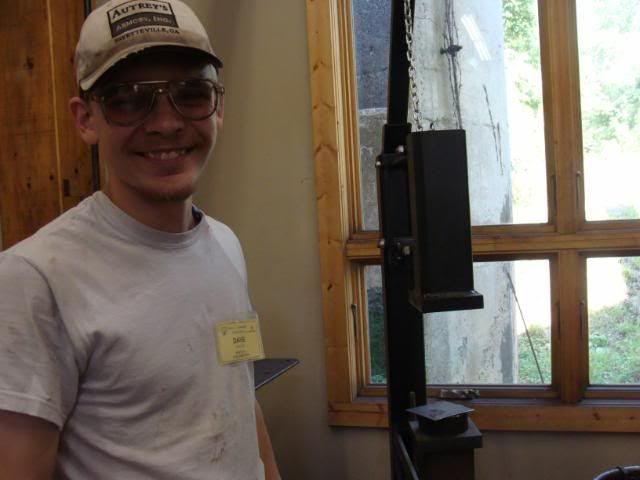
We made tools on the first day of class. Tools for the techniques we would be covering for the rest of the week.
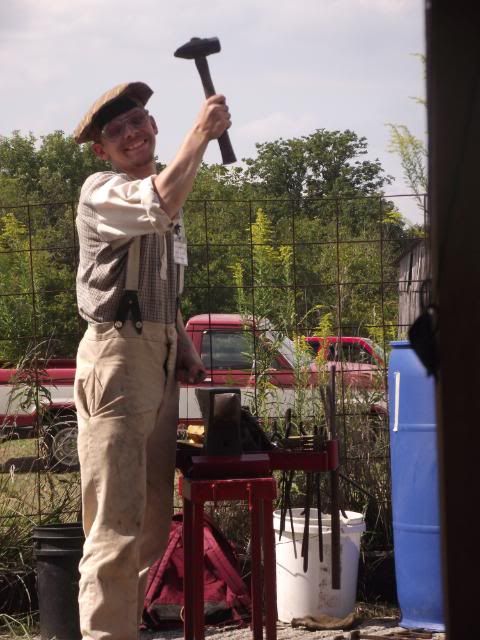
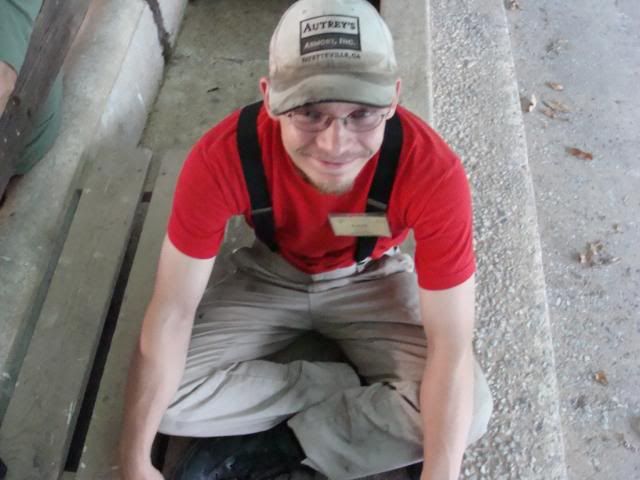
Posed!
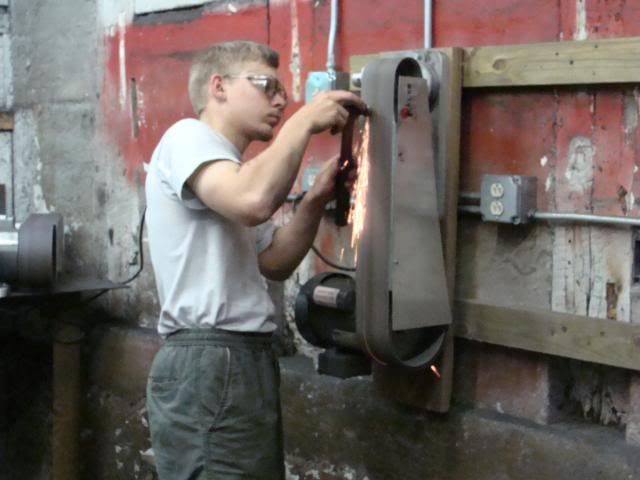
Refacing a hammer.
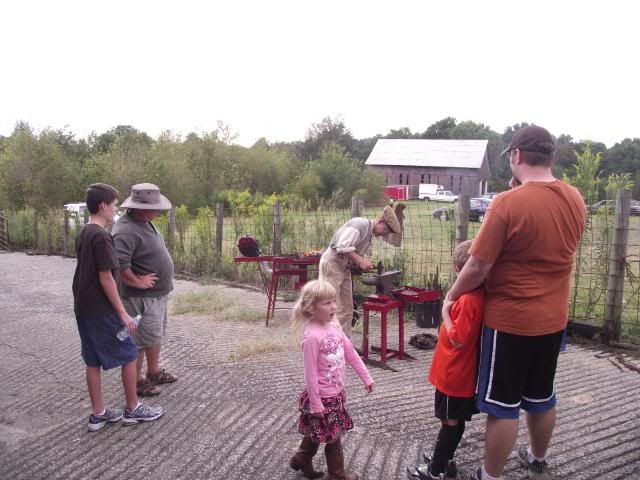
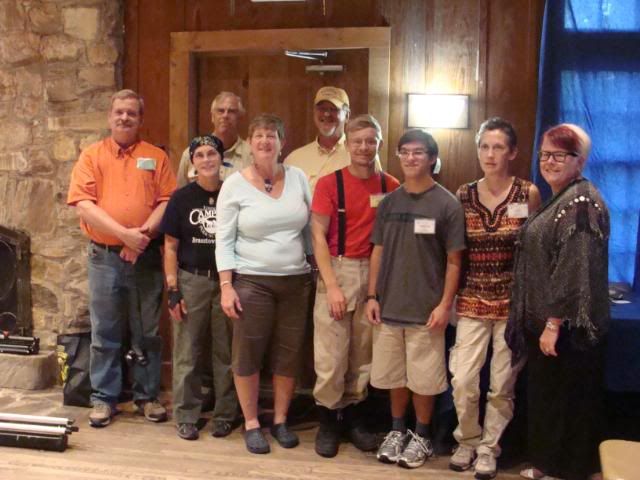
Class-mates!
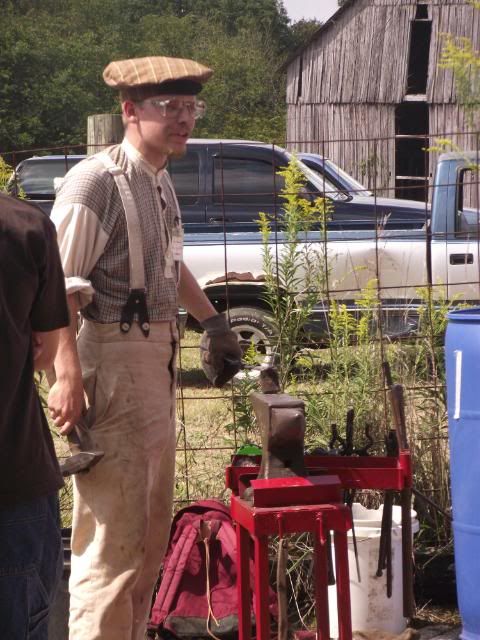
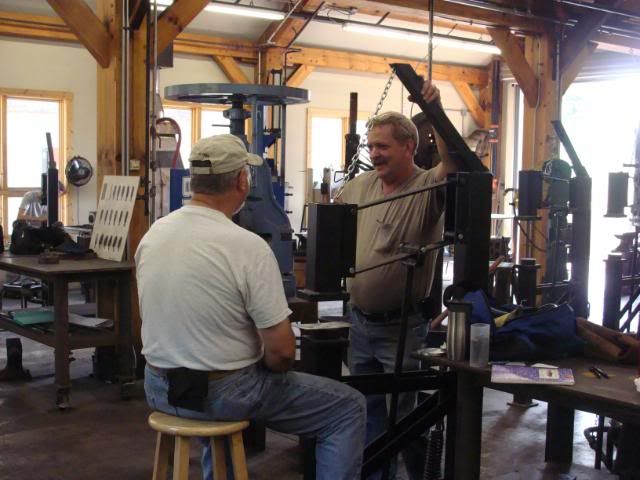
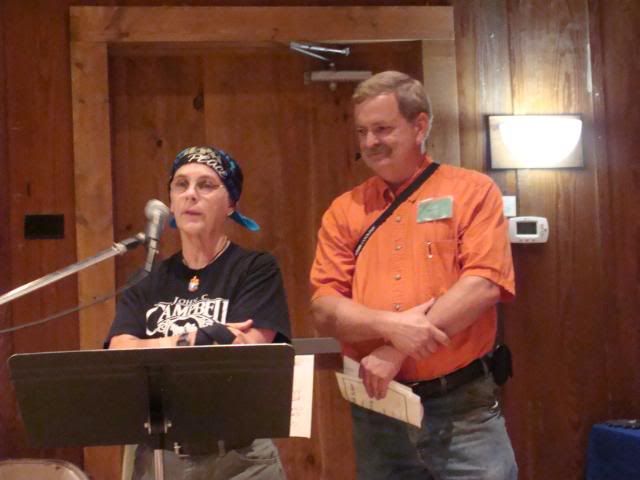
The teacher Mr. Mark on the right and a student on the left.
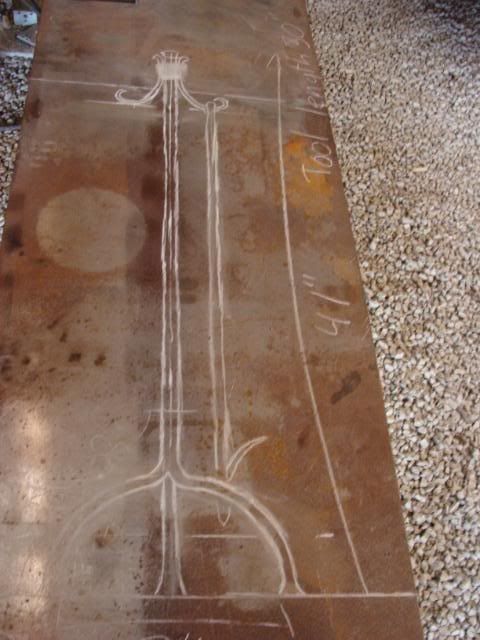
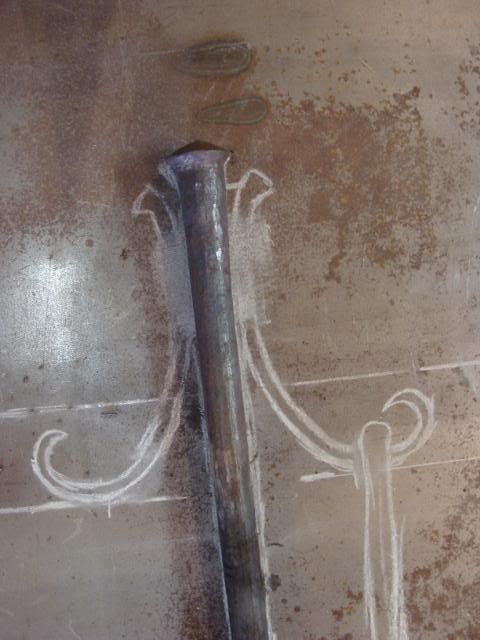
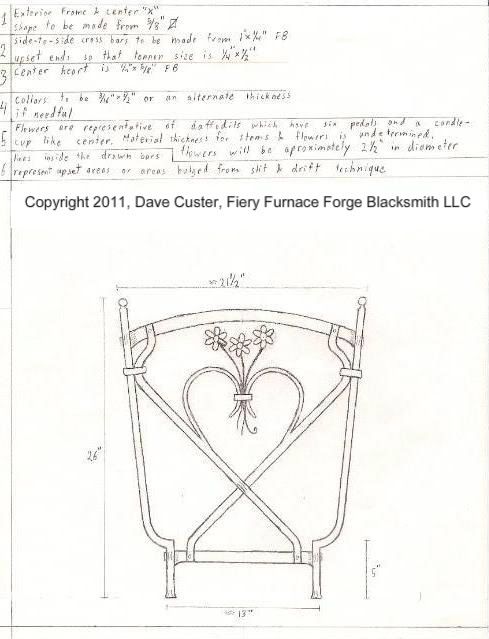
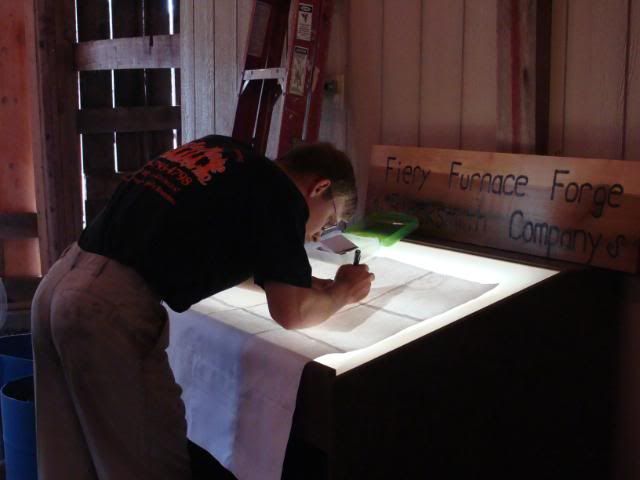
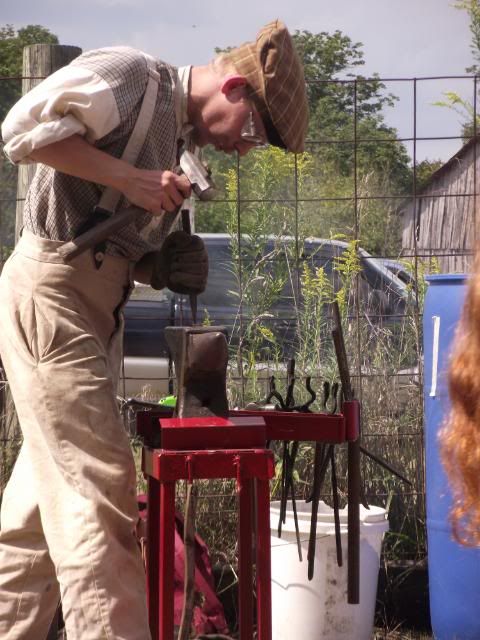
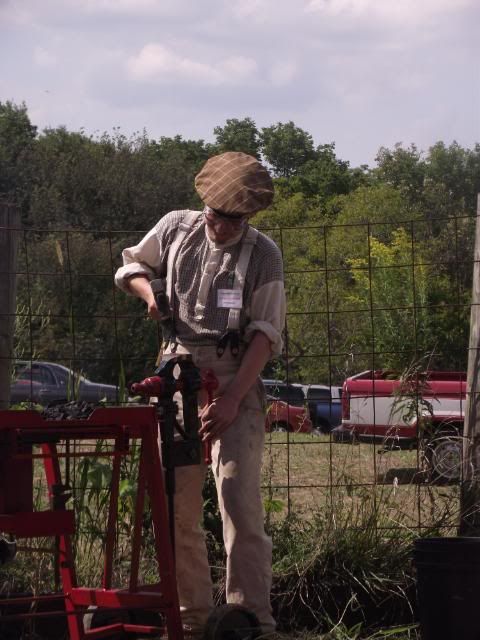
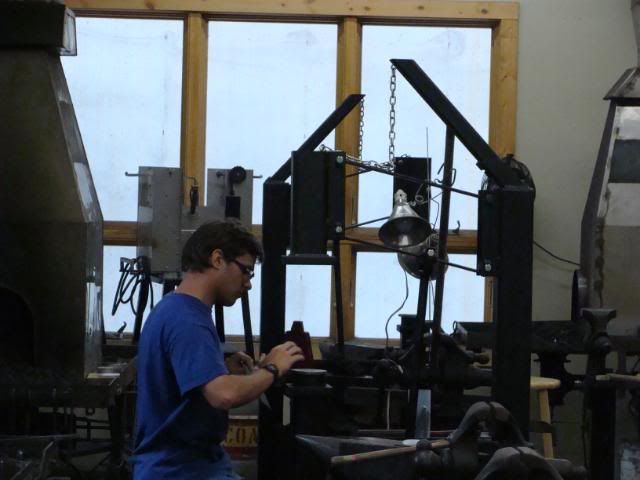
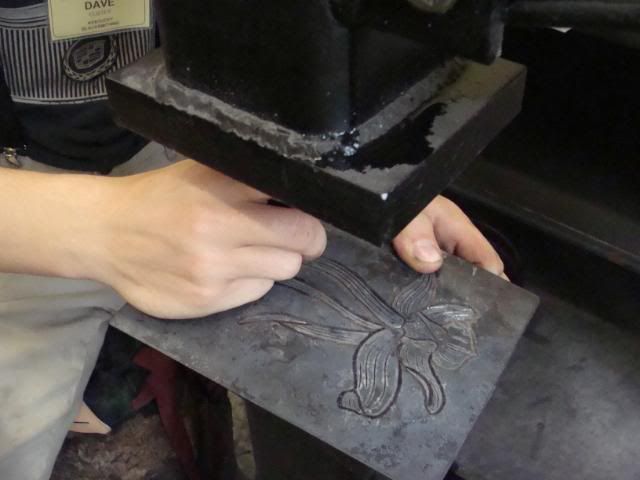
We made a leaf and feather during the first couple of days of the week. Then we moved to a more complex project. Here I am working on my final project.
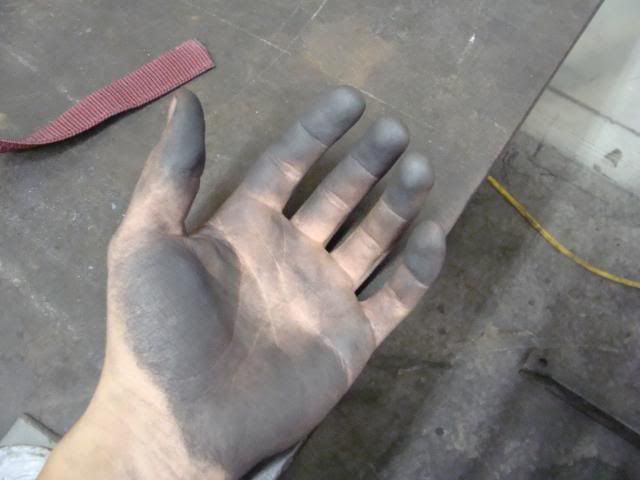
Now don't tell me how hard you work until your hands look like this!!! haha!
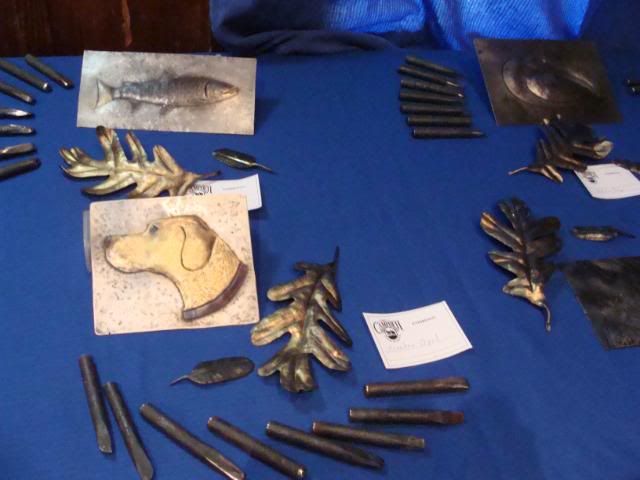
The blacksmith display table at the end of the week! Sorry Miss Cheri.....no direct pictures of yours! (That's an inside joke....)
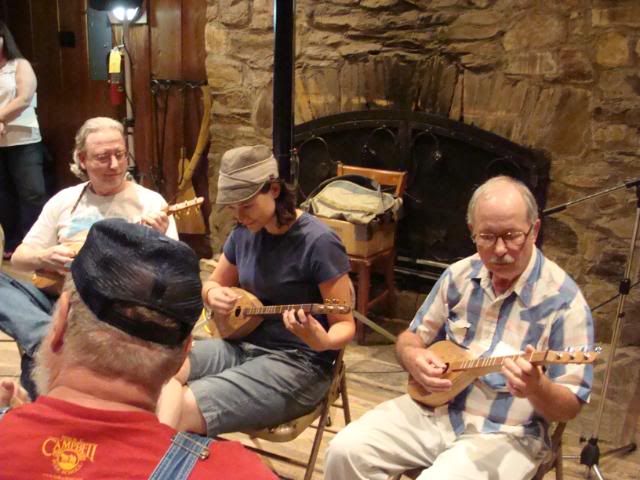
The "Cambelline" class performing!
Our teachers saying a few words at the end of the week!
The blacksmith class in it's intirety.
Me at the Folk School concert Friday night.
Leaving on Saturday morning.
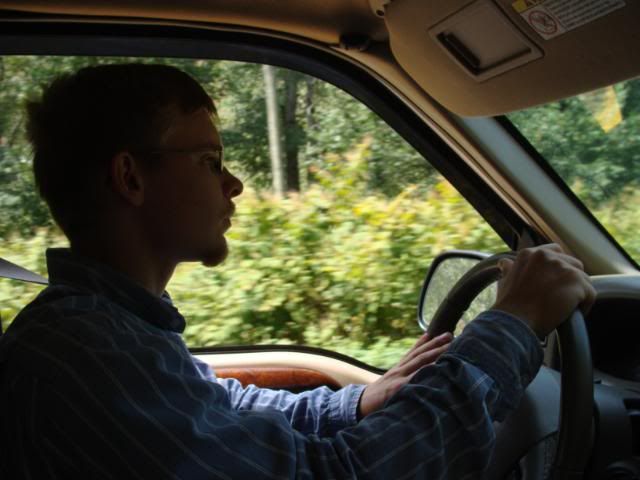
Driving Saturday afternoon.
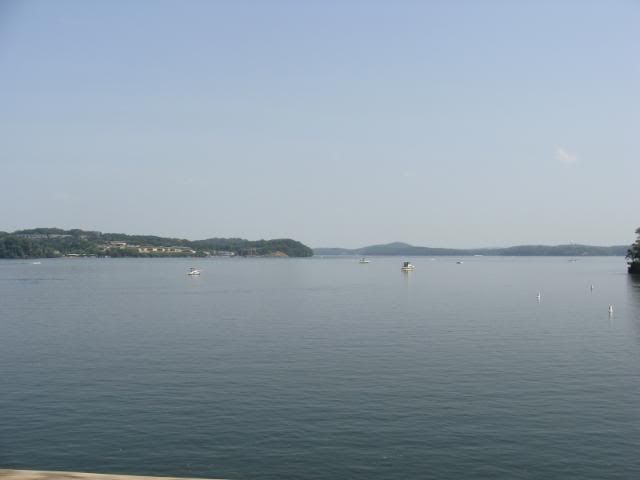
Chickamauga lake as viewed from the dam. (on the way back home)
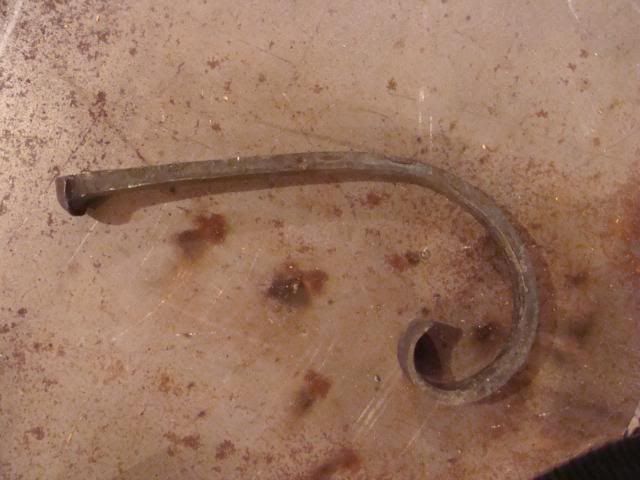
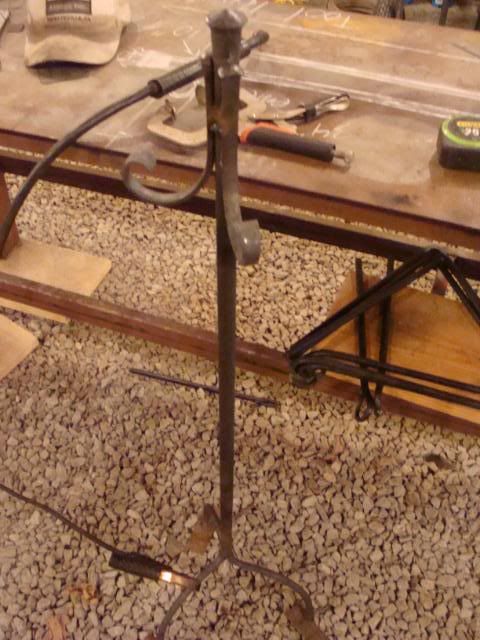
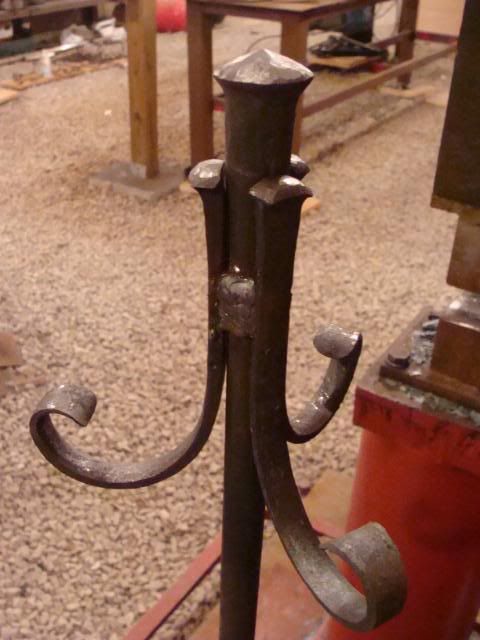
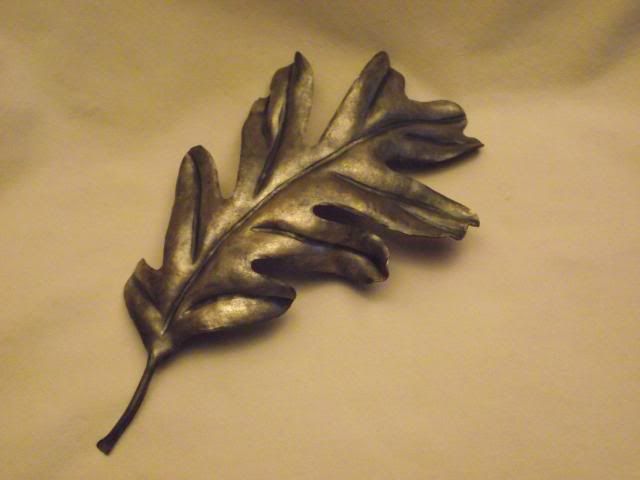
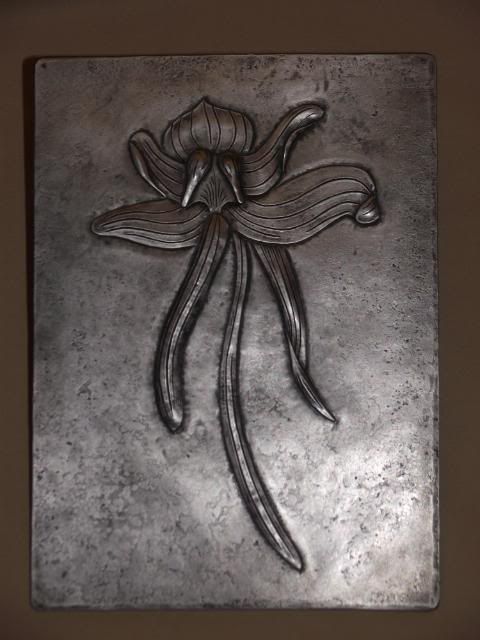
These are my pieces that I did in the class.
leaf
feather
orchid
The end!