BE SURE TO CHECK OUT MY BLOG PAGES IN THE WHITE LINKS ABOVE!!!


Saturday, May 28, 2011

finished hinge plates

The hinge job is finished. The plates, pins, bolts, lag screws, and washers are all done and the old hinges are straightened.Here are some pictures.

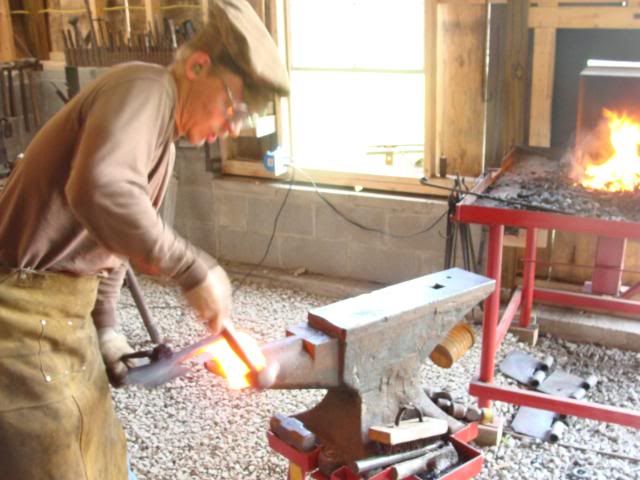
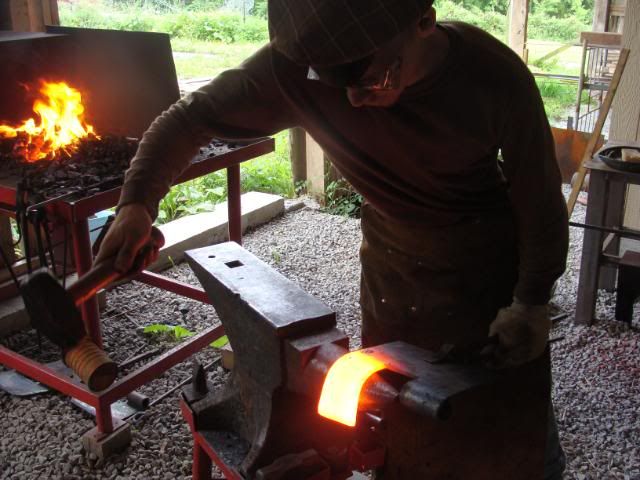
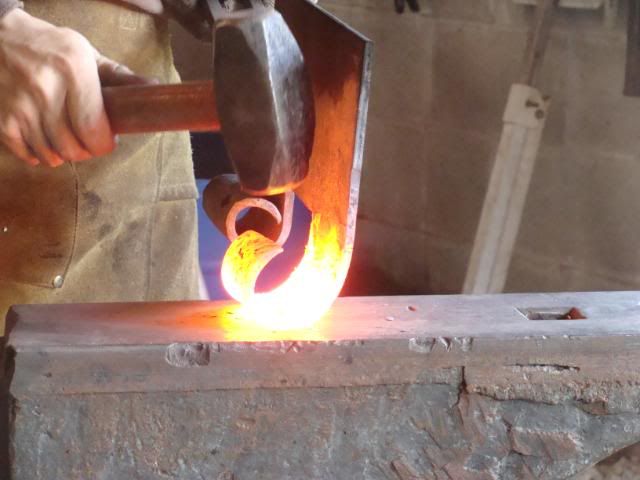
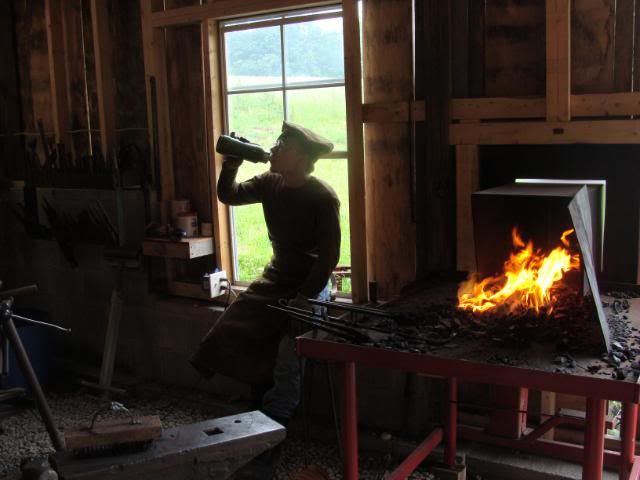
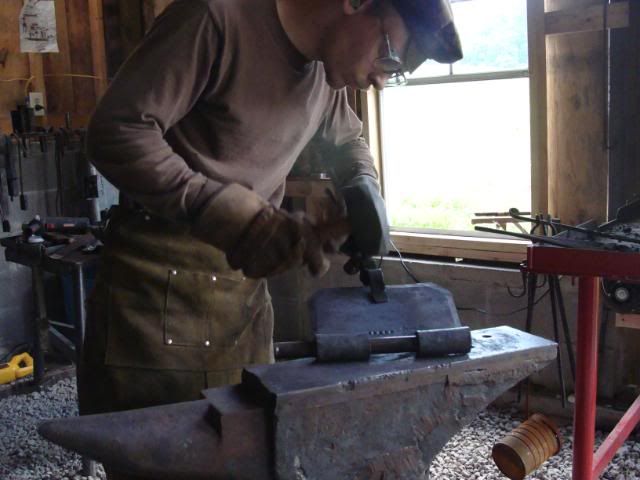
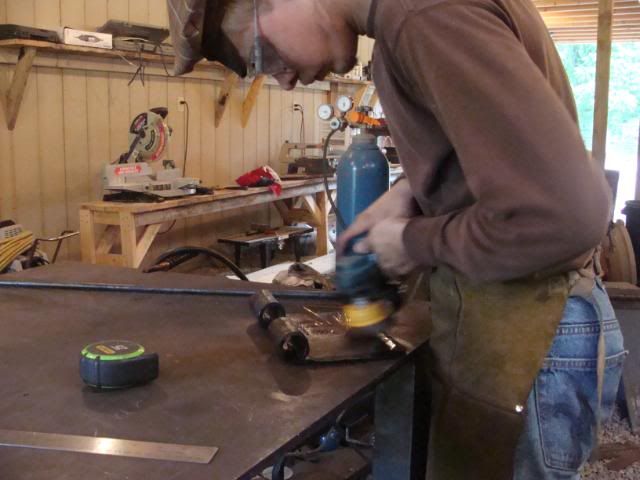
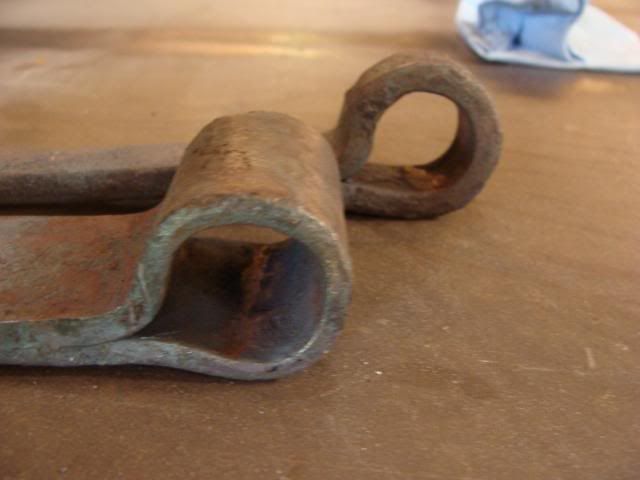
Here I am forge welding the hinge pins together.

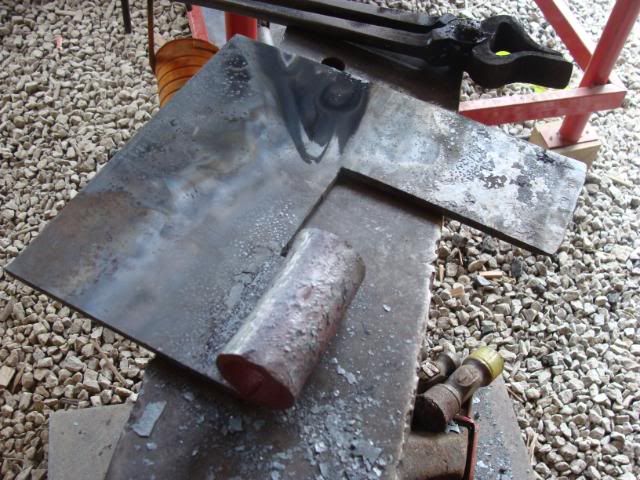
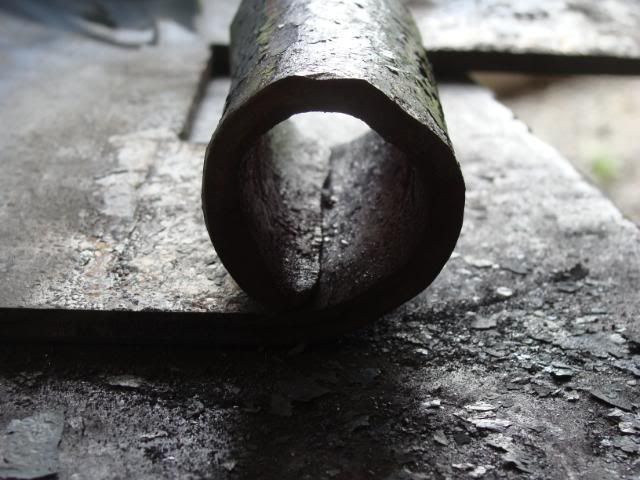
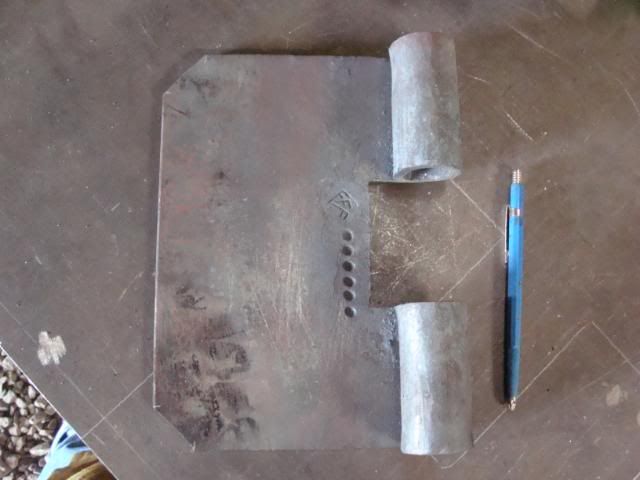
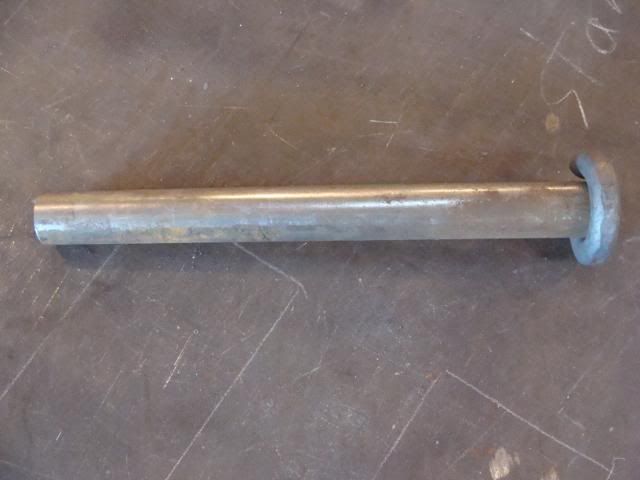
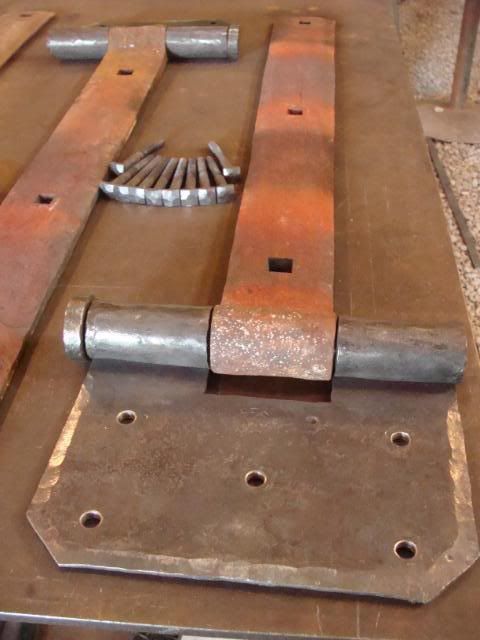
This is one of four hinge pins. The pins are 10 1/2-inches long and are made from 1-inch round bar. The "cap" on top is a separate piece attached by the traditional method of forge-welding. That technique is pictured above.  

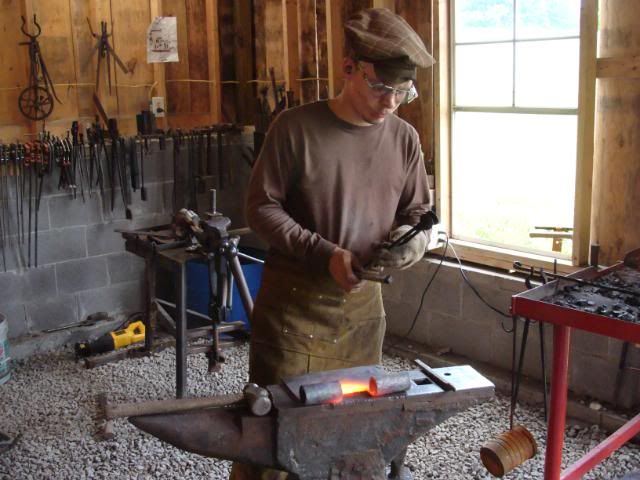
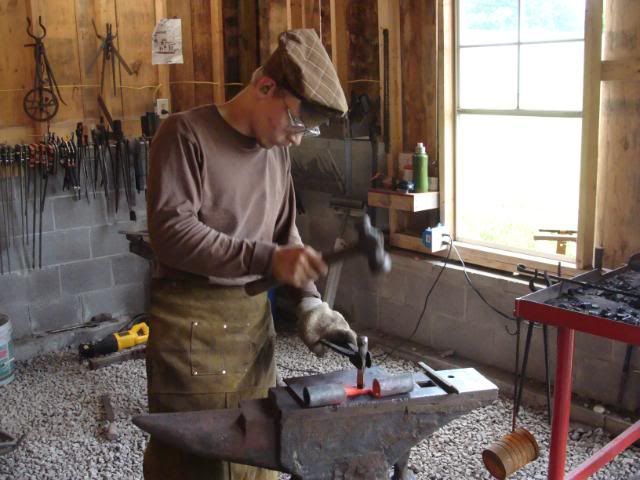
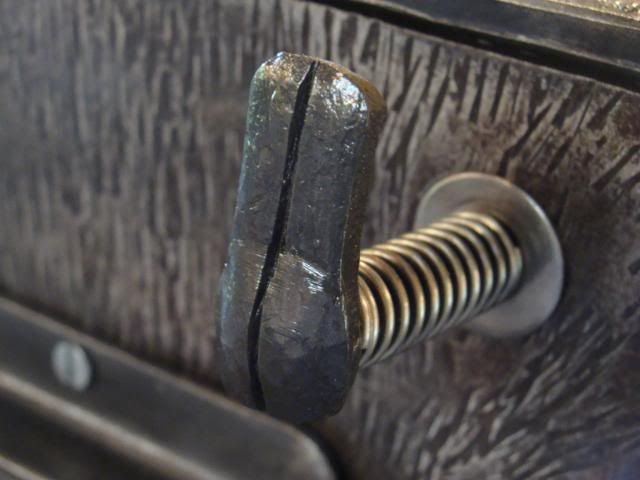
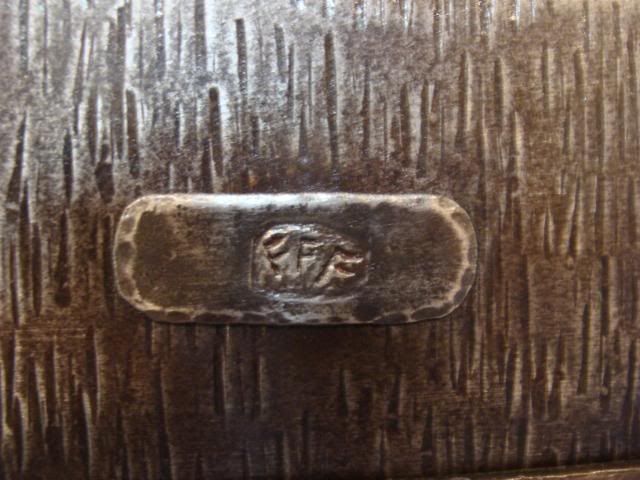
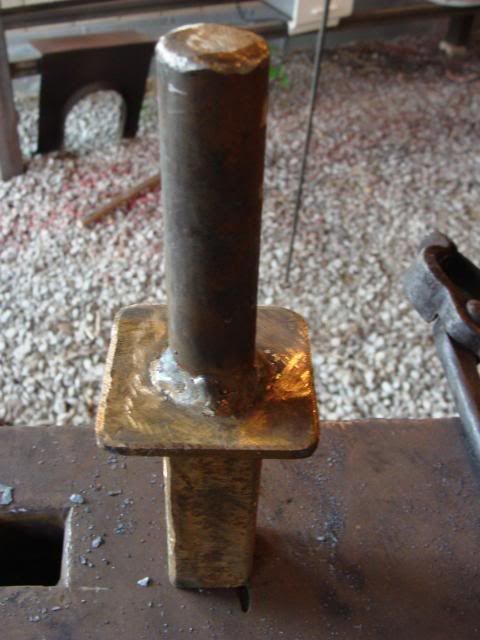
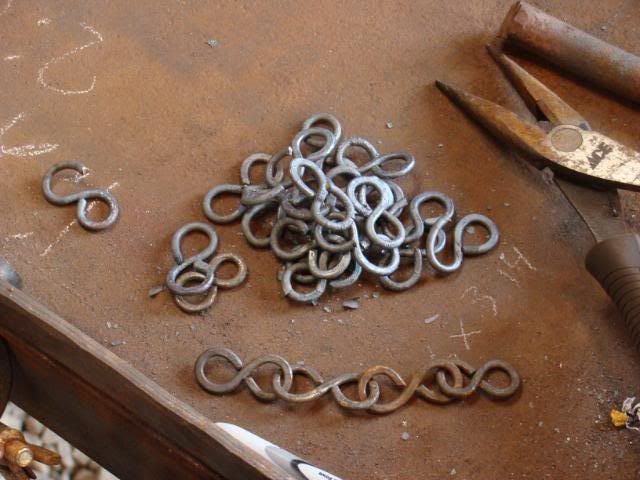
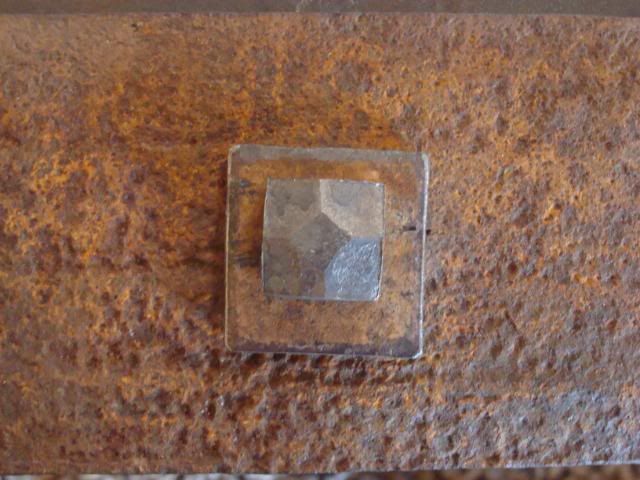
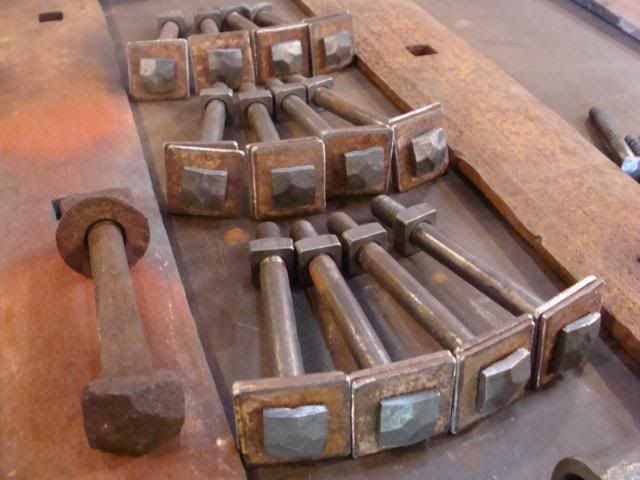
I am using standard square head bolts for mounting hardware on these hinges but the heads needed to be textured so as not to have a factory-produced appearance. I also made some square washers to give these bolts a more bulky appearance.

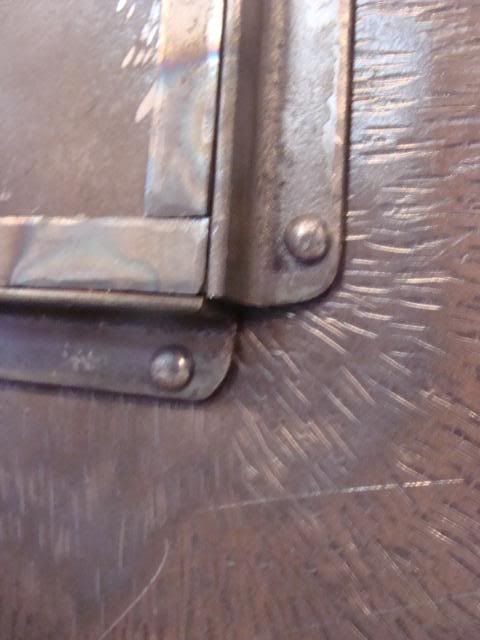
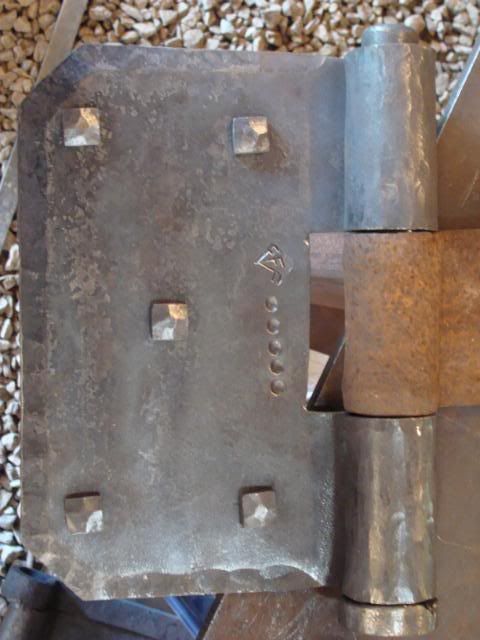
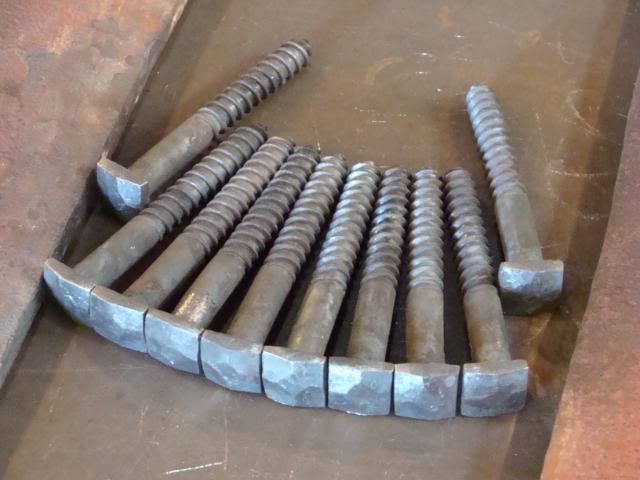
I am using standard square head lag screws for the hinge plate mounting hardware. The heads on the lag screws were also textured but they do not need a washer.

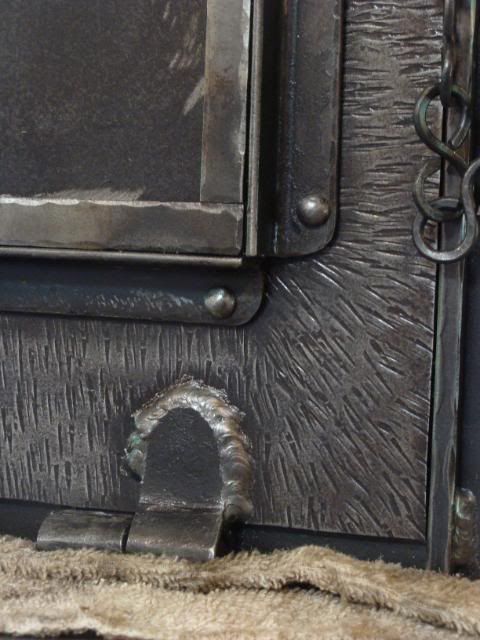
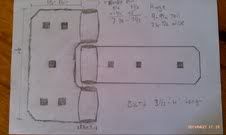
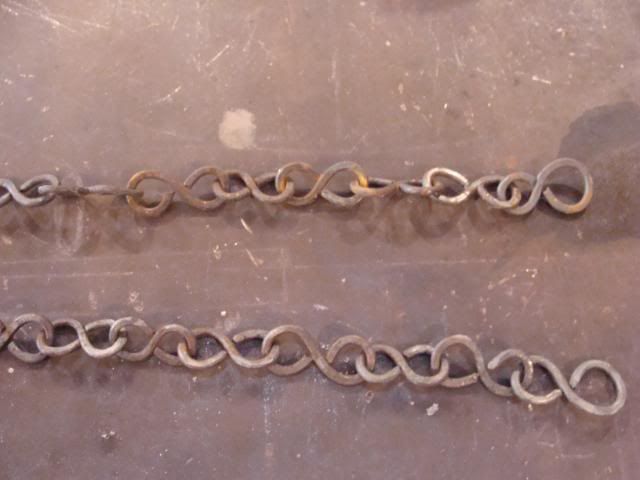
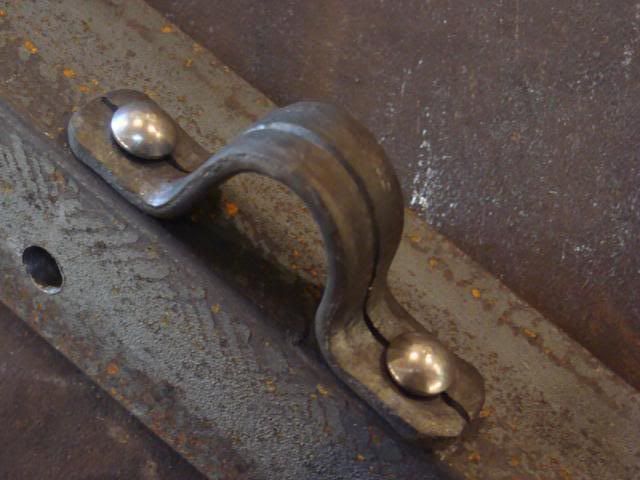
These are the original strap hinges before I straightened them.

Now unless you are a blacksmith reading this, this next part is going to sound a bit strange to you.
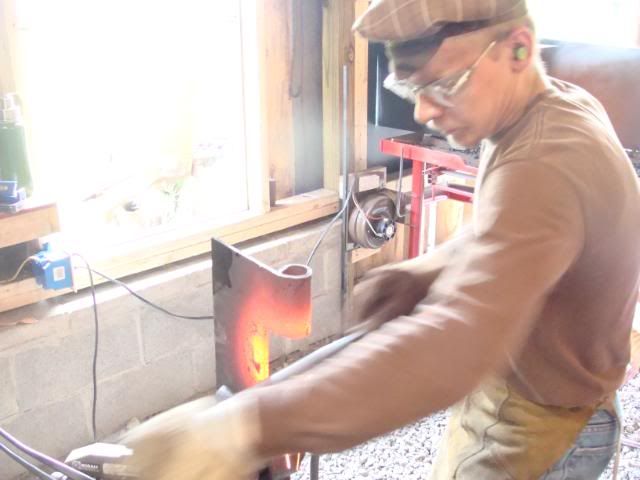
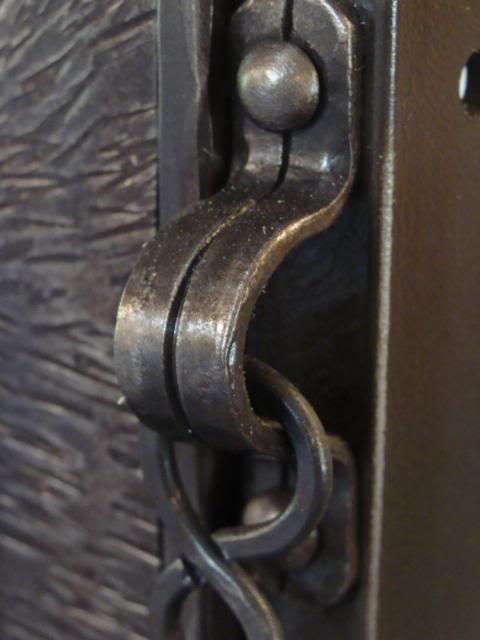
These are very old unique hinges, obviously hand forged incorporating traditional techniques like forge welding, hot cutting, and punching/drifting. As I laid the hinges across the fire and the color began to show throughout the metal and I brought the glowing red hinge and laid it across my anvil and started guiding the metal with my hammer, I thought to myself, "A blacksmith, who knows how long ago, was doing just what I'm doing. He was making these hinges, carefully forming the hinge barrels and testing how they rotated. He was punching the holes and testing them to the bolts he'd made for these hinges, and he was inspecting his forge welds to make sure they would stand the test of time." Like I said, you have to be a blacksmith to understand, but it was a priviledge to rework the work of a smith of days-gone-by.

Ok well ummm enough of that!
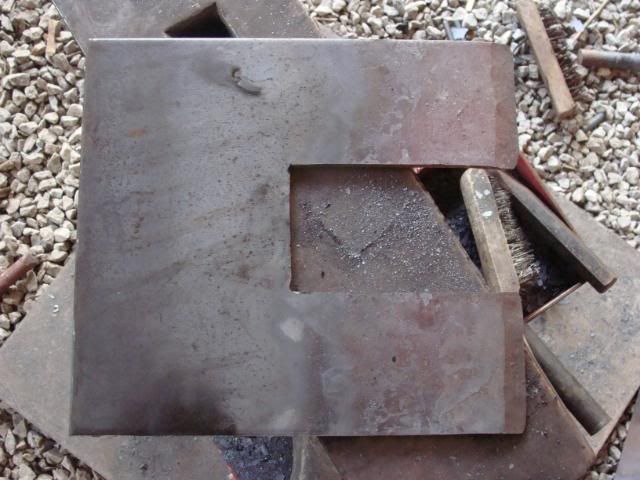
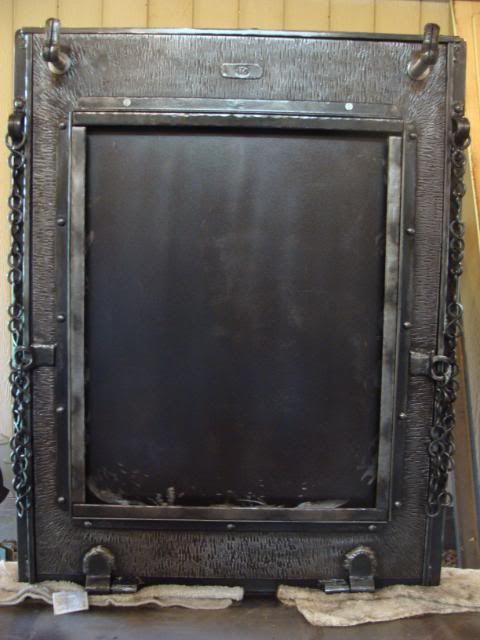
Here is the finished job: Hinge plates, hinge pins, straightened hinges, 20 lag screws, 12 bolts and nuts, and 24 washers.

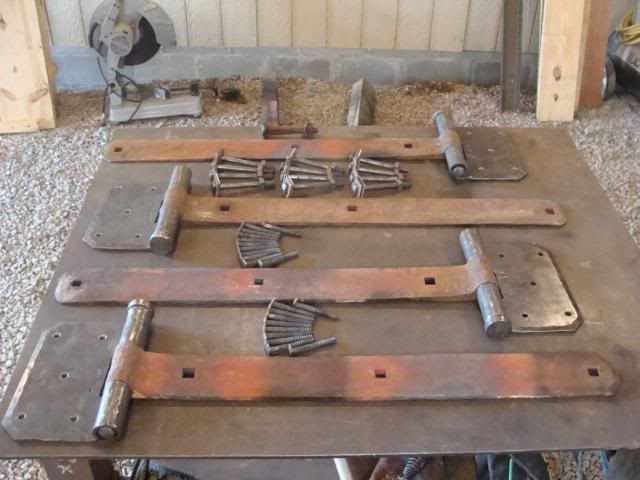
(The large rusty bolt to the left in the picture below is one of the original bolts that was used to mount these hinges.) 


That's all on the hinge job.


Here is a great song I came across the other day. It is the perfect picture of an honorable lady and gentleman (both seem to be in short supply but that is another blog for another day,) who have proven faithful and honest to one another over the years.

Friday, May 27, 2011

Hing plates

OK, yesterday I spent the day in the shop working on the hinge plates and got all four of them done. Here are some pictures showing the process.

 Drawing the cut lines out on each plate...

Holes are drilled to make the cutting easier....
 The band-saw is used in the upright position to do most of the cutting.
After the cutting is done I start by putting a bevel on the end of the two tabs.
Now it's time to roll the hinge barrel. This takes one heat to make the general hing barrel shape.

One hinge barrel shaped!

Shaping the second barrel.....

Fumbling tools....

Now I have the tool in position.


I'm working with large hot steel and it is a very strenuous task, requiring frequent water breaks. I'm also waiting on the metal to reheat.

Each hinge is stamped with a certain number of dots which corresponds with one of the strap pieces that the plates go with. That way, each plate gets a custom fit to its matching strap hinge. After the barrels are rough formed, the plate is allowed to cool for another cutting.

The corners are cut off at a 45 degree angle to match the existing strap hinges.


Now the edges need to be "chamfered." This just means that the edges of the steel will be hammered down or beveled.

After the edges are chamfered, the hinge barrels are aligned using a dummy hinge pin.


Once the hinge barrels are aligned, they have to be fitted around the strap hinge. This requires precise filing to remove small amounts of material at a time, frequently checking to see if the matching strap hinge fits.


Once the hinge is aligned and fitted, it is allowed to cool again. The screw holes are marked and drilled and then the hinge plate is cleaned with an aggressive wire brush.

I will be working on the hinge pins today, Lord willing.

Wednesday, May 25, 2011

Finished oven door and beginning of a hinge job

After having some internet difficulties, lacking some parts to finish the oven door, and plenty of other unforeseen difficulties, I have completed the oven door job and it is now packaged and ready to ship off.

Once again the frame on the front of the door is for a ceramic piece. 

showing the texture, one hinge, some chain, and the corner of the door frame.

The chain bracket on the door.  

The chain bracket on the outer frame.

One of the two latches.

My touchmark!

I hope to get pictures after the door is installed in it's new home, but for now that job is completed.

Next in line is a hinge job. This job is more of a restoration type. What I have is four 32-inch strap hinges that need straightening, along with new hinge plates, hinge pins, and mounting hardware.

The long piece to the right in this picture is the existing piece. It is a very old, hand forged, strap hinge.
I am constructing the plate piece to the left in the picture

I have made a couple of test pieces to determine the amount of stock I need, the method I need to use, the pattern or shape of the piece I need to cut, and the tools I need to execute the job.
Here are a couple of tools and the test pieces. I should have pictures of the plates tomorrow.


That's it for now!
Dave Custer
Fiery Furnace Forge Blacksmith LLC
http://www.custerfamilyfarm.com/

Thursday, May 19, 2011

more progress

Here are some pictures of SOME of today's progress on the oven door.
I got the hinges nearly finish, all the chain done and assembled, the frame attached to the door, and I started welding up the main door frame.

This is the door with the outer frame attached. This frame will hold a ceramic centerpiece. The top lip on the frame will be bolted on so that the ceramic piece can slide in.

Here is a close up of the above frame.

Here are the chain pieces! (the rust will get cleaned off later!)

This is the frame the door will be mounted on. I have just welded the first corner. The corner has to remain clamped until cool so that it does not warp from heat distortion. The welds will be ground and blended.

More pictures tomorrow. Nearly all of the rest of the work is assembly of the pieces so I am hoping to have the door mounted on the frame tomorrow and maybe the finish applied!

Dave Custer
Fiery Furnace Forge Blacksmith LLC


progress on the oven door

I spent all day in the shop again yesterday working on the oven door. From the pictures it may not seem like there was much progress, but things are coming along nicely. It just difficult to get pictures of everything.

I finished the texture on the new door and it is nice. The door still has to be cleaned and finished but here it is now.  It didn't warp but it required a lot of persistence to texture it cold.....AND earplugs.


I made over 60 pieces of chain yesterday from 1/8" round stock. That is a tedious process simply because the metal is so small. By the time I reached number 59 though I had established a good routine! 


Finally the holes where drilled and the rivets cut for the chain brackets on the side of the door. These are very nice looking and I can't wait to get the attached. This picture is just a preview of what it will look like. 


Today I'll be finishing out the chain, making the door handle/latch, and the chain brackets that will attach to the door. I might even get to the hinges. Pictures later!


'Till then it's to work!
Fiery Furnace Forge Blacksmith LLC
Dave Custer