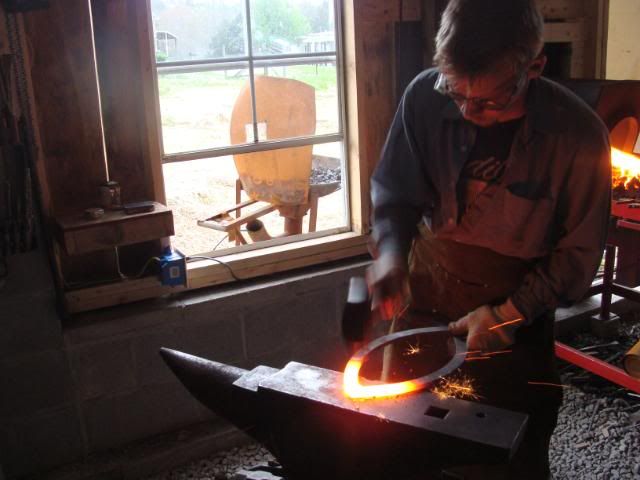
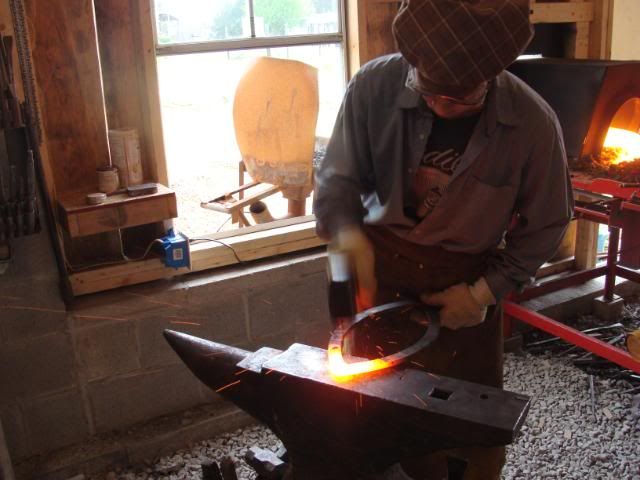
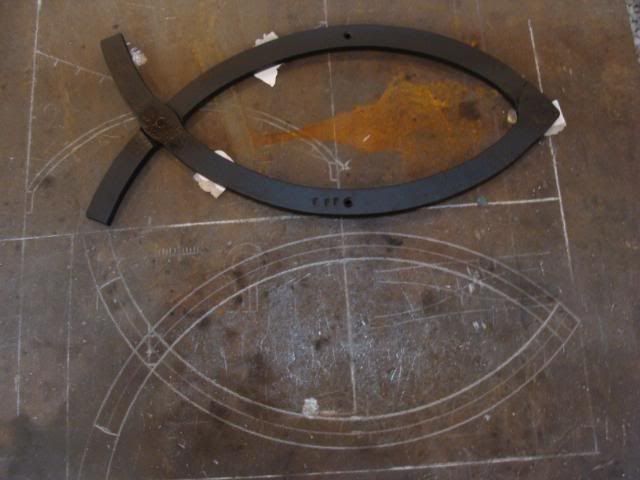
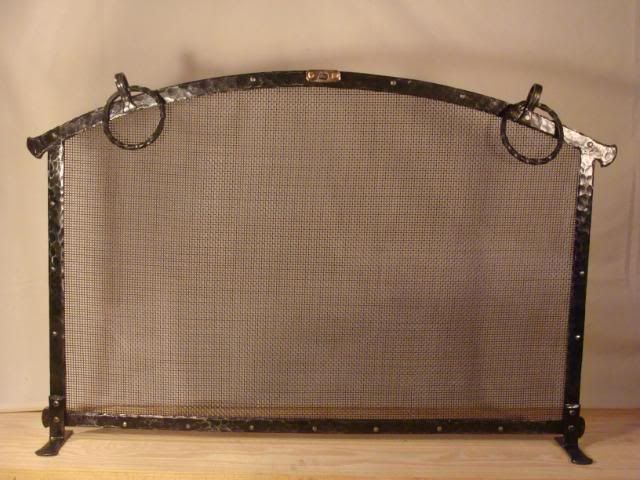
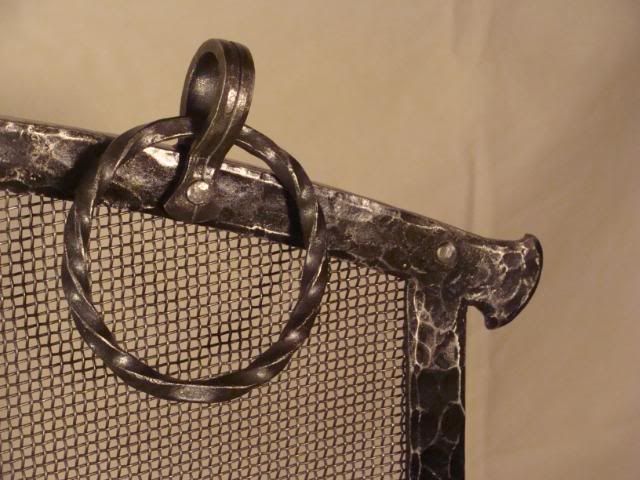
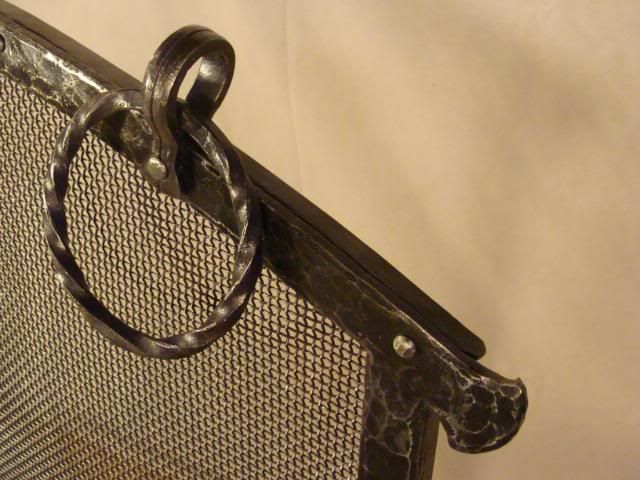
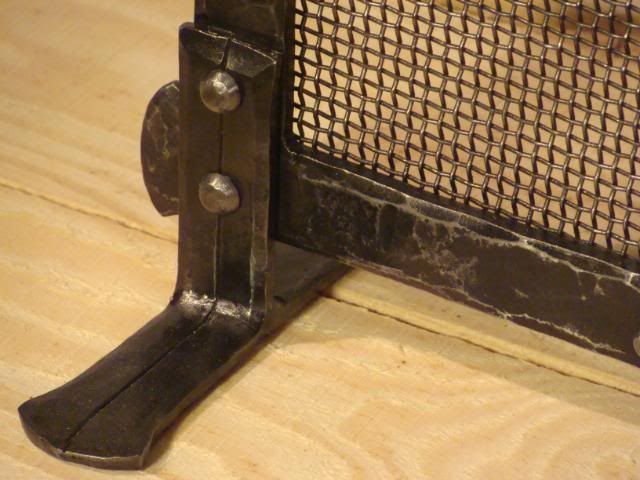
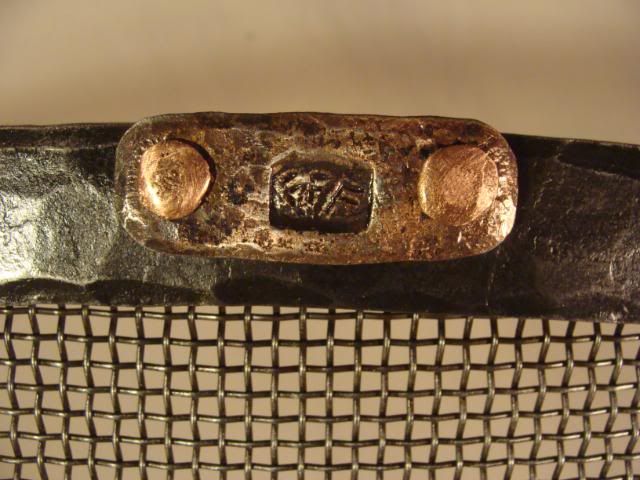
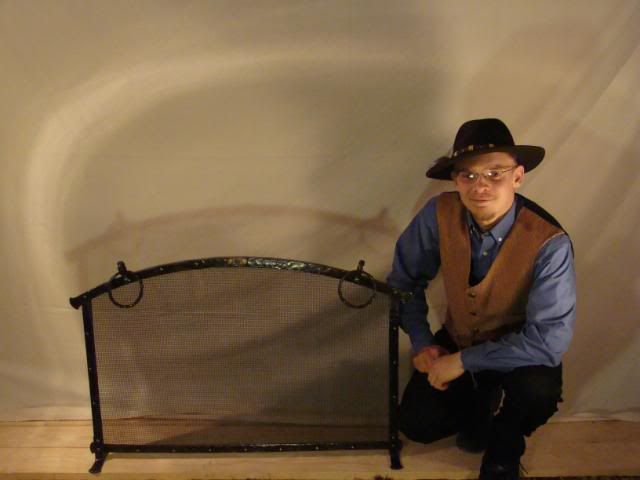
Ok so I know my regular readers are DYING to see the finished pictures of the fireplace screen. I am sorry that I have not been able to get those as of yet. My regular photo shoot background is not large enough and I haven't had time to construct a larger one.
The reason that I have not had time is as follows.
As my readers know, I bought a 12-foot enclosed trailer for craft fairs this year. I have retired my old demo trailer I built a few years back because it does not provide enough packing space for products.
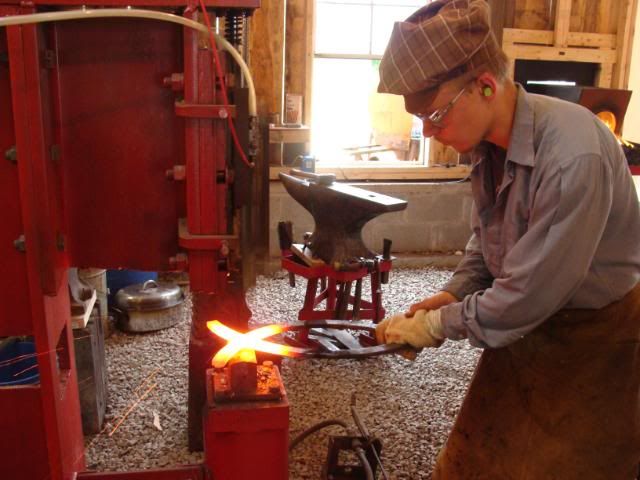
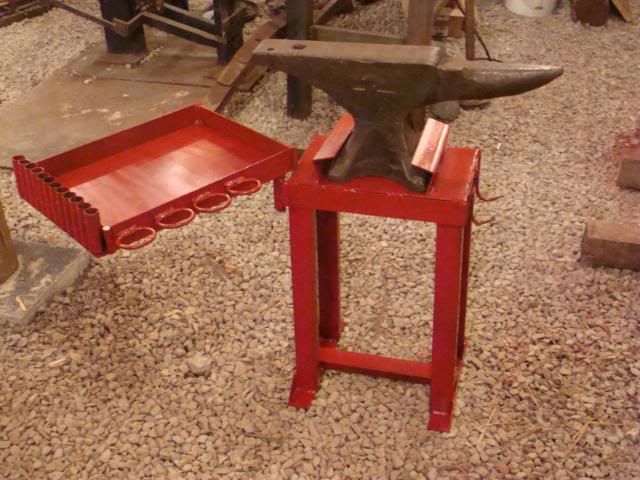
However, I am still doing demonstrations and I can't pack my 8-foot demo trailer inside the 12-foot enclosed trailer, so I had to build a small portable demonstration forge. SIZE is everything in this case. Small and compact was my goal. I need a forge that is capable of heating decent size stock but nothing huge, it needs to have the blower and vice mounted firmly to it so that I won't have other table or stands to move, it needs to be on wheels so that I can move it easily, and it needs to be sturdy.
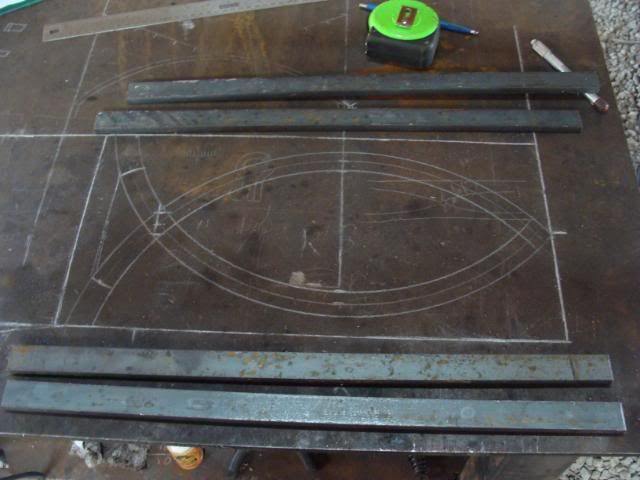
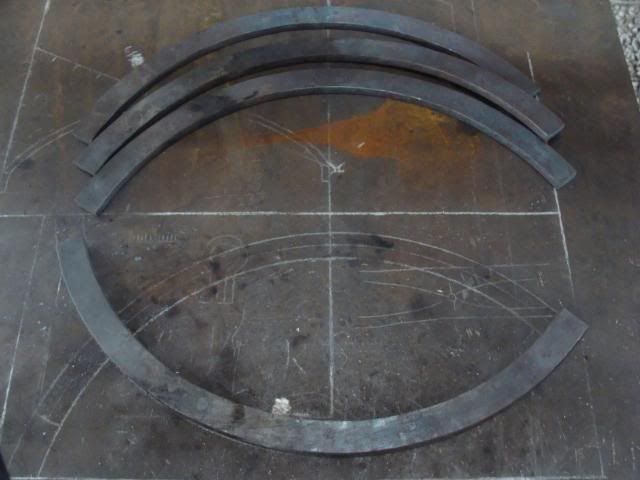
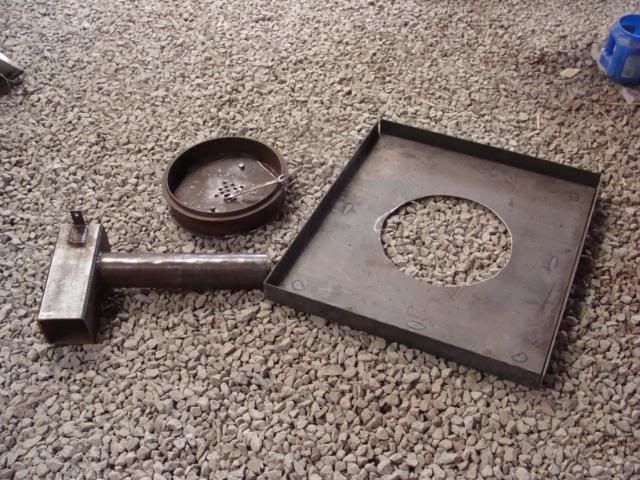
After two days of cutting, grinding, measuring, marking, welding, and cleaning, this is what I came up with.
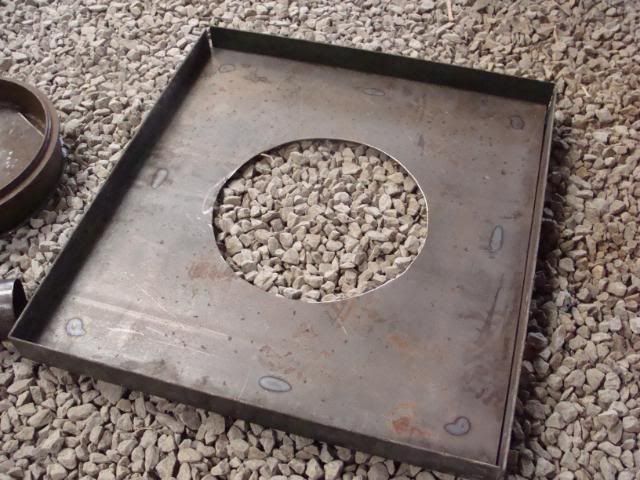
This is the forge base. The round hole being cut out is where the firepot will go.
Next is the three main parts of the forge. Forge base, Air inlet/ash dump, and Firepot
Forge base
Air inlet/ash dump
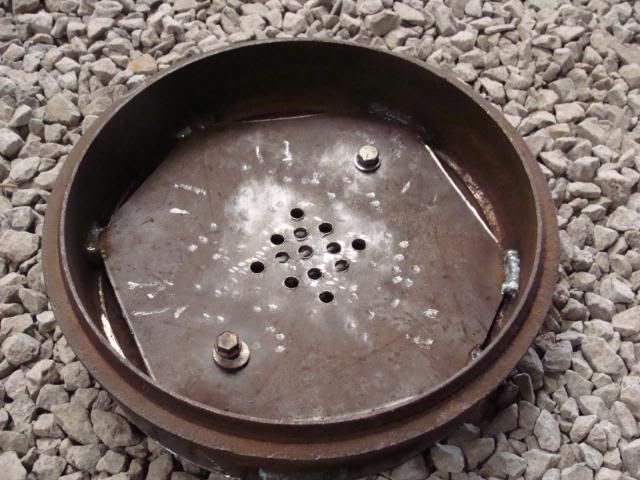
Firepot
with legs
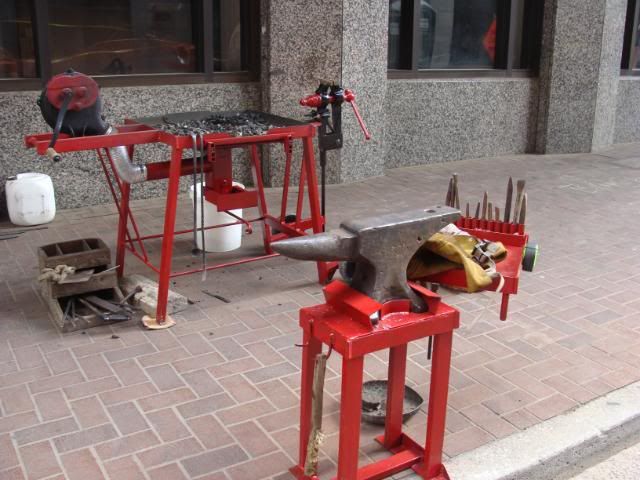
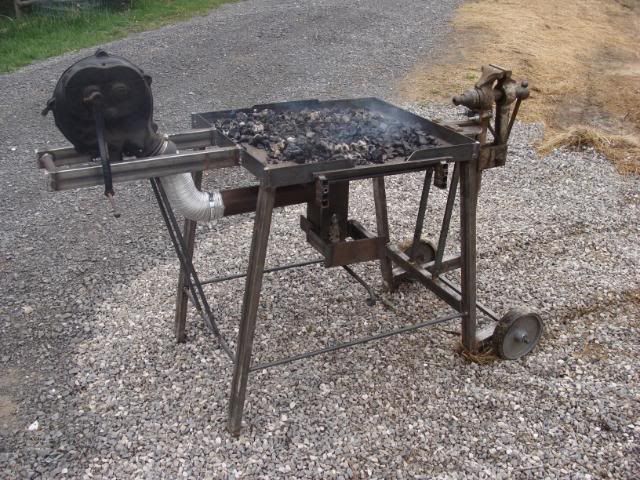
And I'll spare you the bore of the rest of the build pictures and skip to the pictures of the finished product just after the first test fire. It did very well by the way.
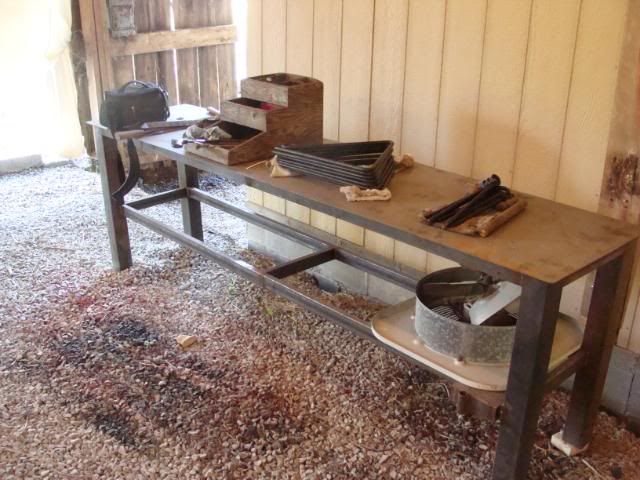
overview
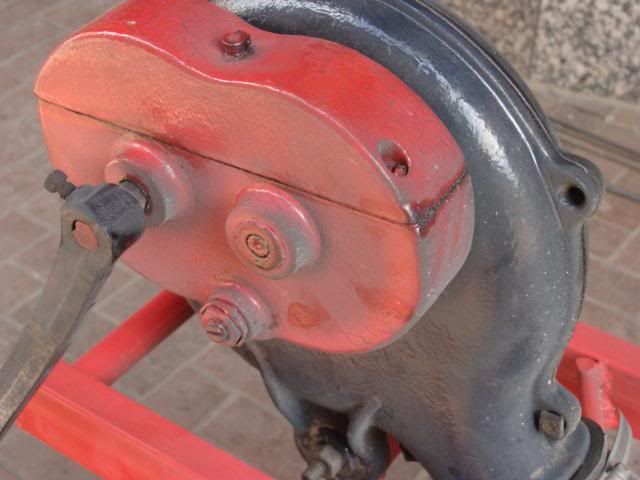
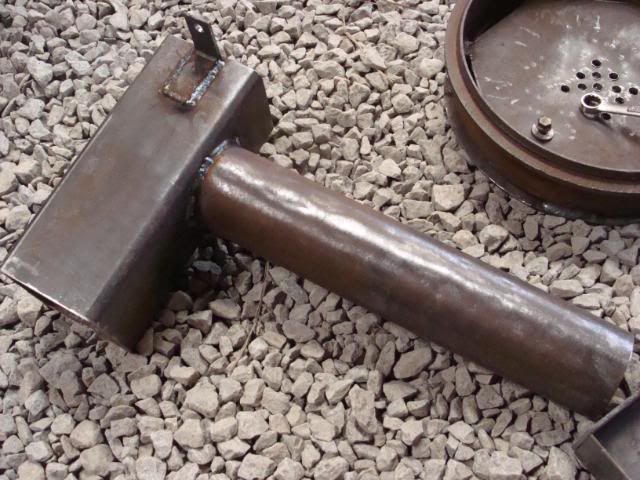
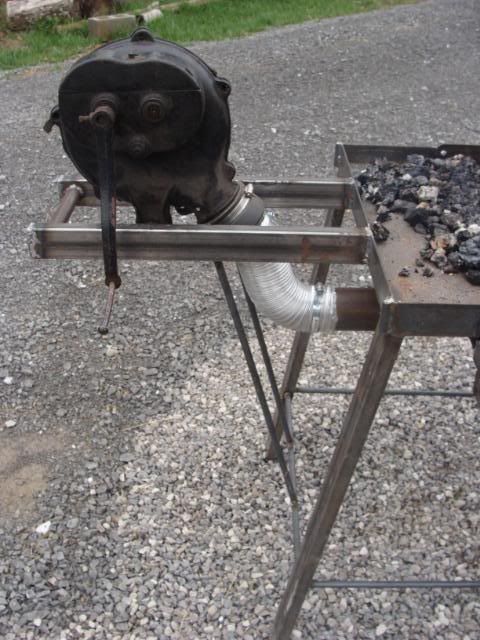
This is my one of my old Champion hand crank blowers. It is mounted on the handle that I use to pick up the forge and roll it around with.
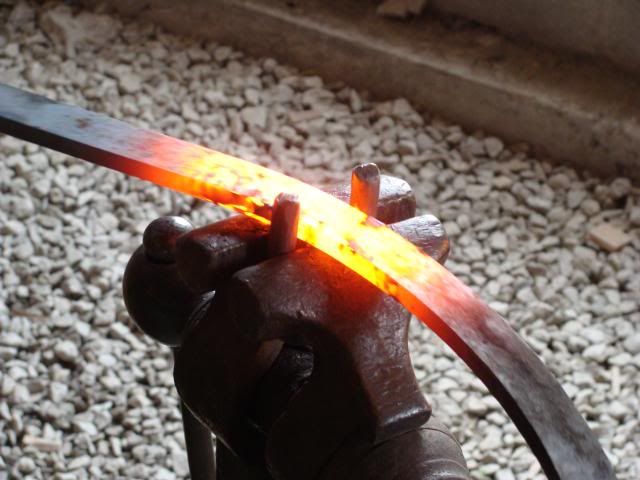
This is the actual forge part were I heat the metal. This forge has a slide out rack that holds long metal in the fire. There is a swing gate that closes a slot in the back of the forge. It is in the open position in this picture. This gate allows me to lay metal flat across the firepot while it is sticking out both sides of the forge.
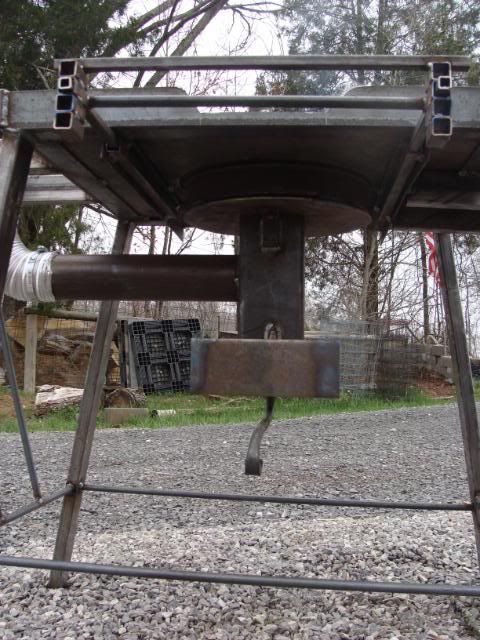
underside view
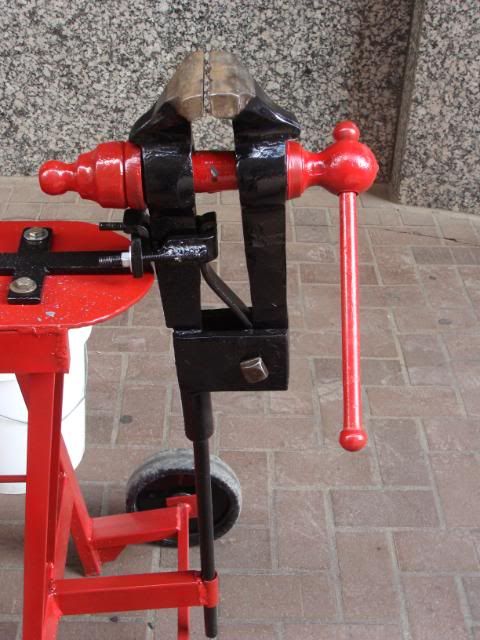
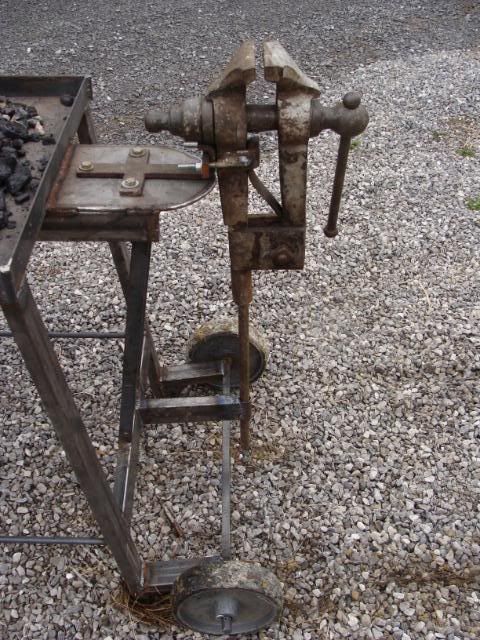
the vise mount and wheels
The vise was obtained from Chase Saxton, owner/operator of the Blacksmith of the Bluegrass, blacksmith shop in Bowling Green Kentucky.
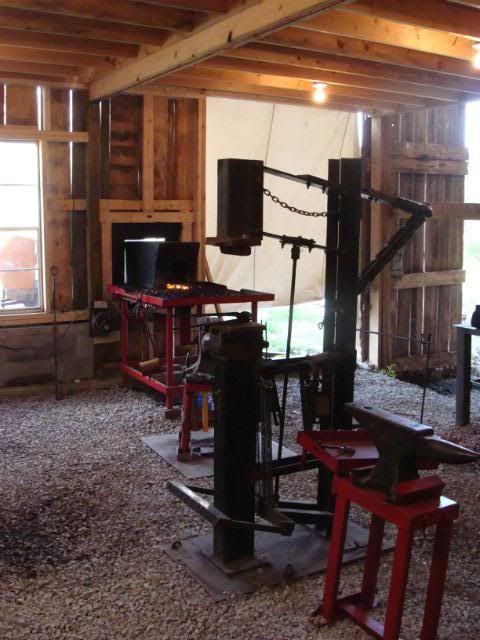
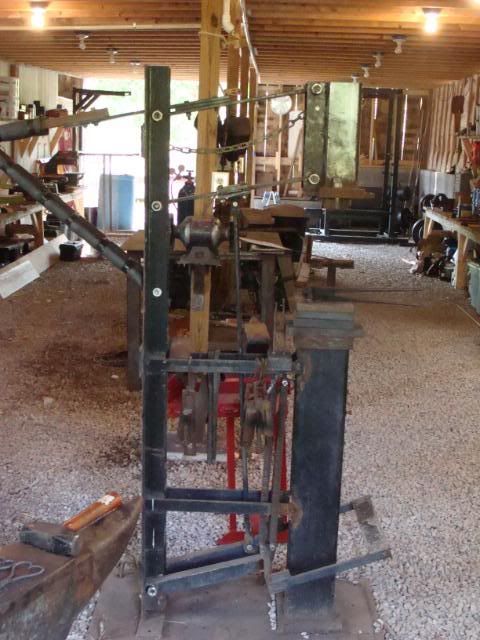
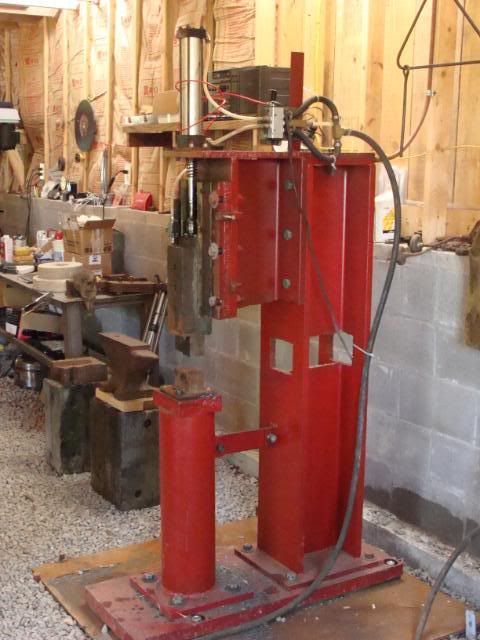
I hope to get those firescreen pictures up soon and also a video of my power hammer running!
"What can wash away my sin? NOTHING but the blood of Jesus!"