
We had quite the adventure on the way down here. It is normally about a 5 1/2 hour trip and after a stressful 9 hour haul, we finally made it.
We left the house in plenty of time, but as I mentioned in my last blog post, we are hauling 7700 pounds of metal behind the truck. The trailer I am hauling is rated for 8000 pounds max, so it was pretty heavily loaded and you could really tell it was there behind the truck. The hills had to be taken at between 25 and 35 MPH and even though the trailer had brakes, some of the longer downhill runs had to be taken very slow and in second gear to maintain adequate control of my transporatation device.
Anyway, that is not the whole reason for the longer trip. In fact, we would have made good time, but only two hours into the trip I blew a tire on the trailer. I was driving down a four lane, and noticed that I had scooted over a bit and was riding the center line on the left side of the truck.
Suddenly the ride got really bumpy. My first thought was that I was just hitting the reflectors along the line, but I then realized that it was too bumpy for that. I quickly checked my mirrors and saw a nice pillar of smoke coming rapidly from my right rear wheel well on the trailer.
I'm running out of time so I'll let pictures explain most of the rest.
A "slightly" disfunctional tire!
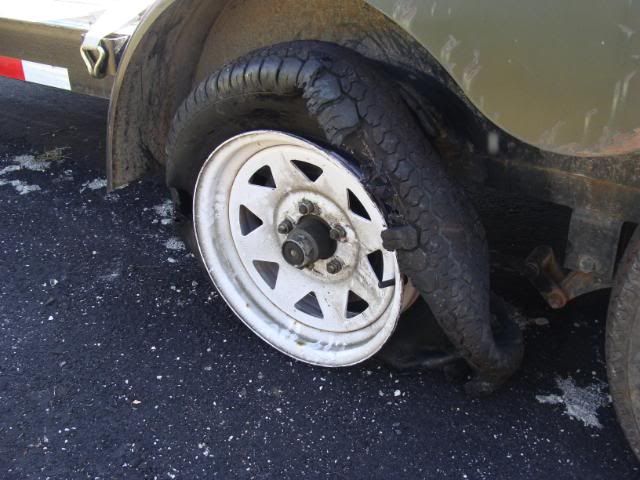

The trailer had to be disconected as a single tire on the starboard side would not have made it a mile down the road. WAY too much weight for a single tire. I had forgotten to get a lock, so the trailer was a "free-for-all" scrap metal dealer's dream. So basically I had to leave $5500 worth of material and trailer parked on the side of the road that I was/am personally responsable for. SCARY!

We found a walmart only three miles down the road (THANK THE LORD,) and were able to get the tire fixed. (I won't say anything about the HORRIBLE management and how it took three grown men 45 minutes to FIND the tire.........just not even going to talk about that.) 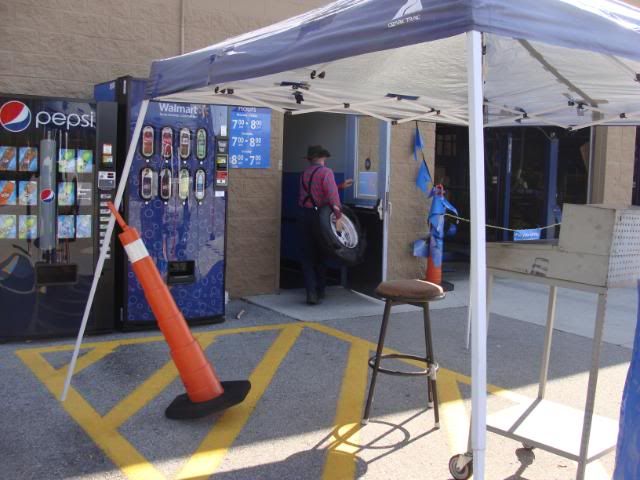
We got the tire fixed and so I jacked the trailer back up and put the new tire on.
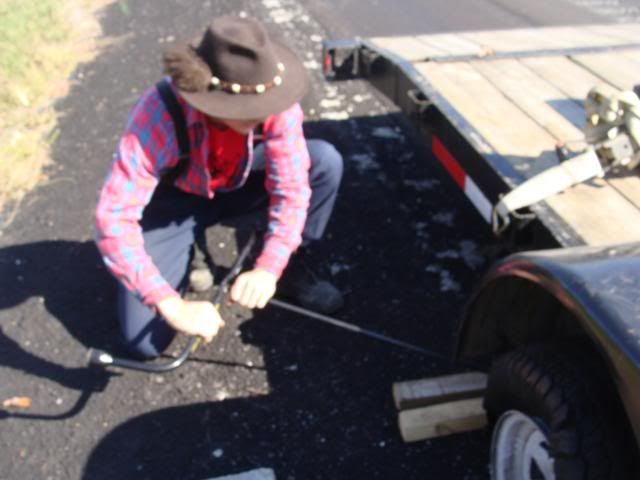

Happy that the trailer was still on the side of the road.
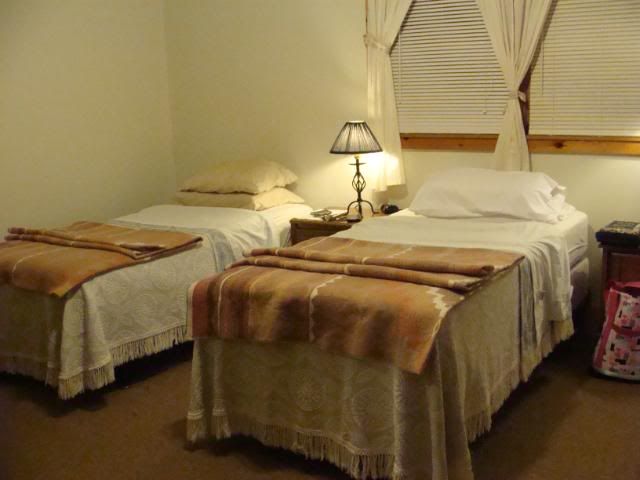
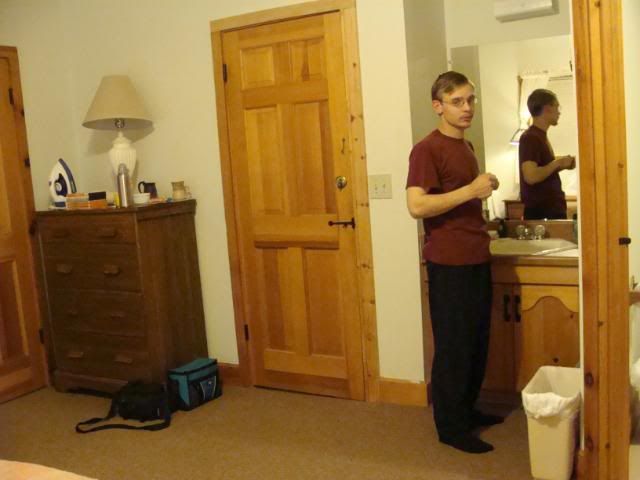
Our room here at John C Campbell.
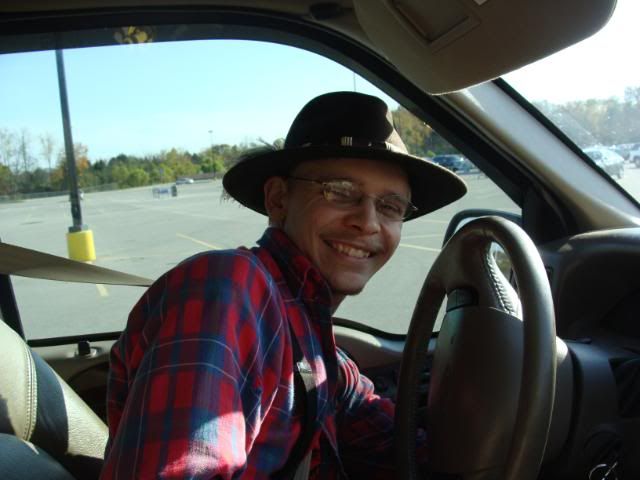
Me in the room.
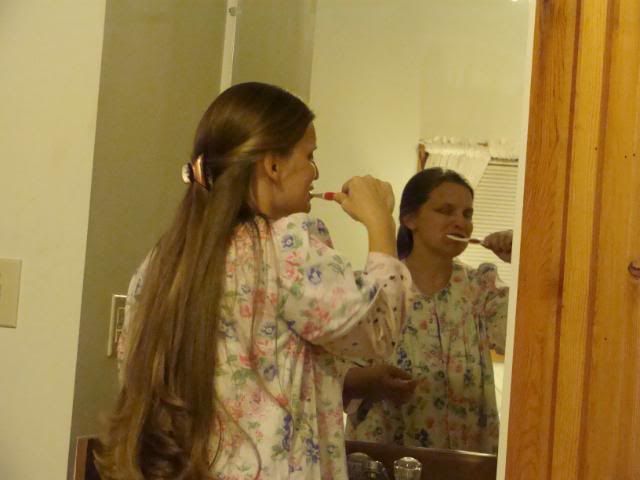
Mom in the room!


