BE SURE TO CHECK OUT MY BLOG PAGES IN THE WHITE LINKS ABOVE!!!


Saturday, March 26, 2011

Firescreen part three

More progress on the screen but unfortunately not quite finished.

This is an overview after putting just a little work into it this morning.


These are the handles finally attached.

These pictures show the frame from the back view. The lip gives a much more finished look.

This is the frame with the actual firescreen installed, the handles on, and the feet on. All that remains is to rivit the rear frame piece to the front frame piece. I should get that done Monday.


Kayla (my sister,) took this one. She said it looked like I had a magnificent cowhorn mustache!
I don't know!

Friday, March 25, 2011

Firescreen part 2

I worked on several small pieces today for the firescreen.
Namely: the circular handles, the brackets that hold the handles onto the screen, and the feet. 
I don't have pictures of the feet but here are some pictures of the handles and brackets.
The handles!

The bracket.

How the bracket looks on the frame!


I also got the rest of the metal today to complete the screen and I hope to have a finished firescreen by tomorrow Lord willing.


Fireplace screen under way

It has been well nigh a year since I made a fireplace screen. The last one I made was the big 3 foot x 4 foot screen for a client in Louisville, last May. I sold the sample screen that I carry around to craft fairs, so I need another one for this year's season. I stick with a small standard size for craft fairs. The price has to be kept down and the size needs to be standard to increase the chance of selling it outright at a show. The screen I am working on now is 2 feet tall at the center, and three feet wide. Here are the pictures that show yesterday's progress. 
The design!

Texturing the frame!

Bending the top arch!

Checking the arch against my drawing.

Upsetting or bulging the ends of the top a lower bars.

Finishing the upset!

The upset!

Welding the finished frame pieces.

Grinding the welds smooth!

Filing the tight corners.

Resting while the metal heats.

Using heat and hammer to hide the weld joints and make the frame look like one piece.

The finished joints!

The result of yesterday's efforts.


Today I'll be working on handles and feet.


Monday, March 21, 2011

Been working

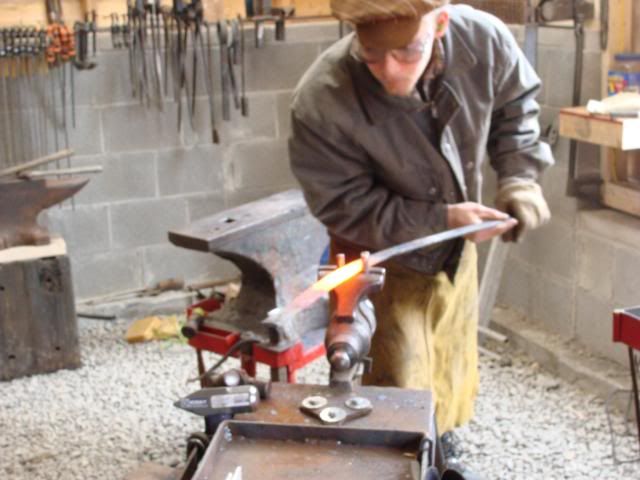
As usual, things have been pretty busy around here.

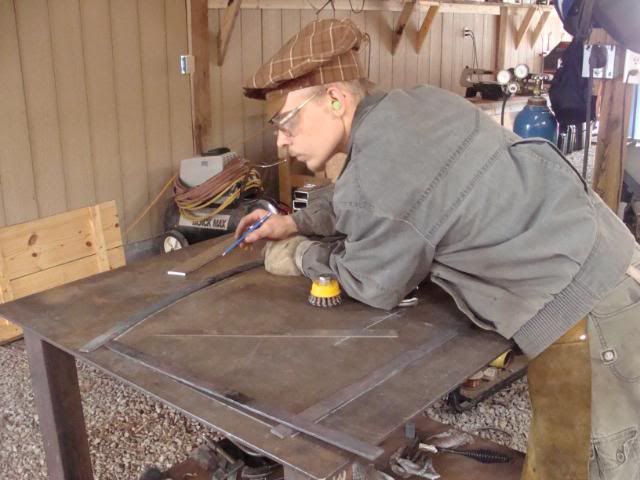
I've still been working on building stock for my craft shows, but I haven't spent a whole lot of time on this as we've been doing other things. Whenever I can spare a day or two from blacksmithing, dad and I work on the barn.
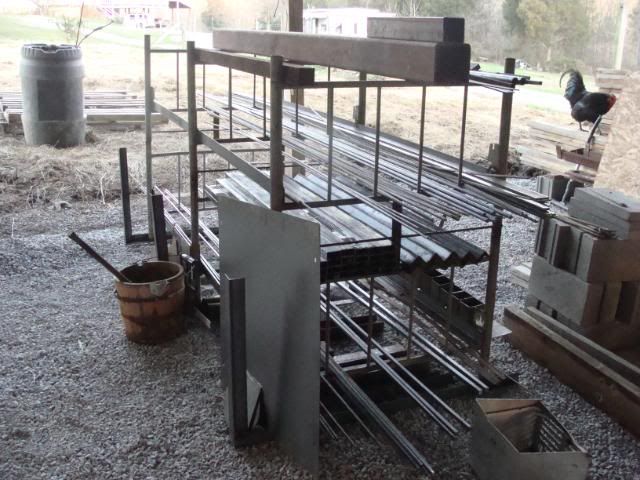
Our accomplishments on that include finishing about three-quarters of the exterior siding, adding more second story flooring and shelving, jacking up posts in the old barn to repair the rotten bases, removing a TON more dirt from the old barn, and buildng a wall along my side of the shop to divide my shop from the old barn. Now we are working on making me a room dedicated to steel storage and cutting. This frees up a lot of space in my shop.
Here are a couple pictures.
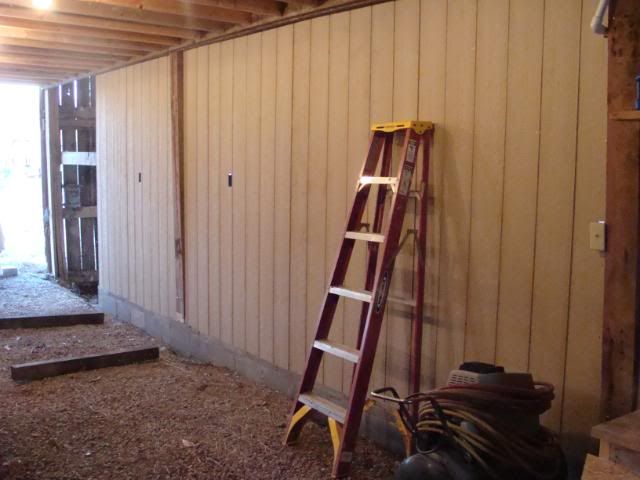
This is the wall dad and I built. The opening on the far end will be a door with two steps going into the lower section of the barn. (The old barn sits about 18 inches lower than the new shop.) 

The opening in the above picture leads to my "up-and-coming" steel storage and cutting room.

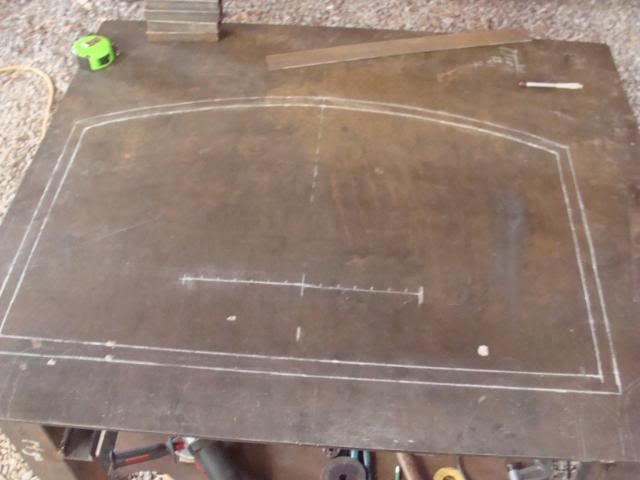
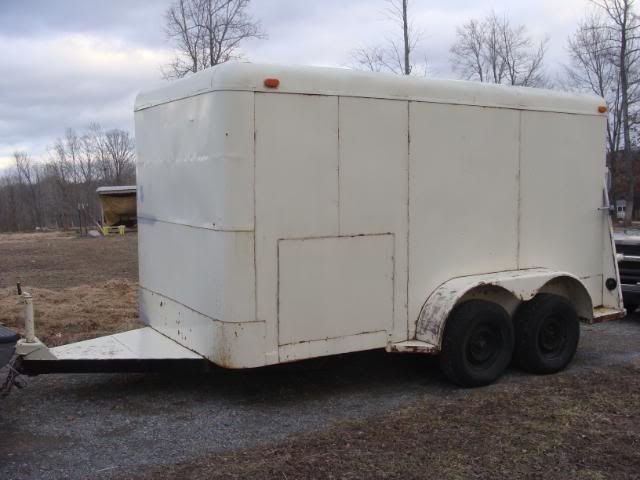
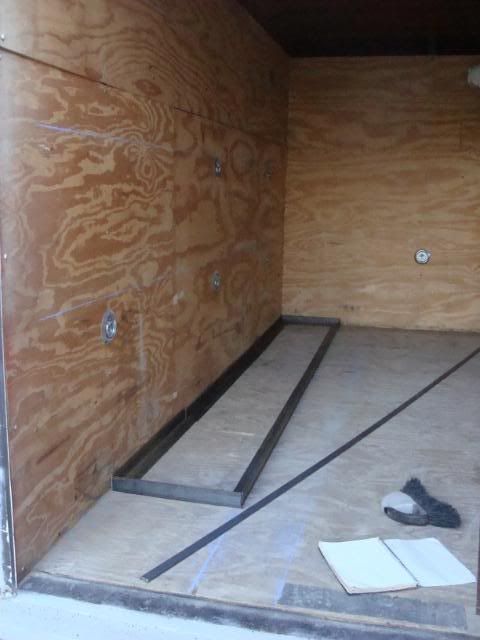
At long last, I have begun work on the 12' enclosed trailer I purchased a month or so ago. This trailer!

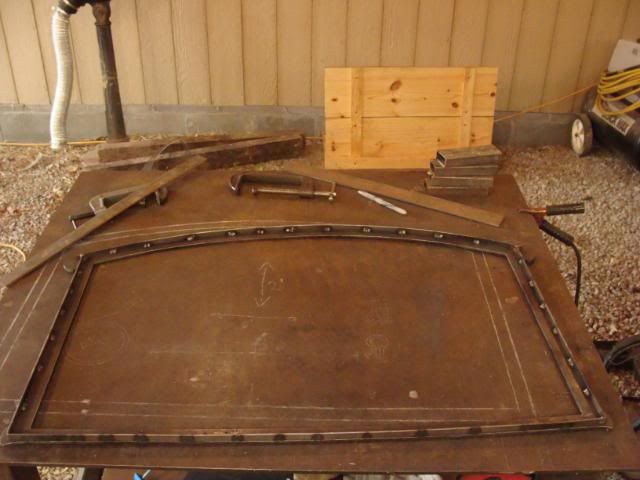
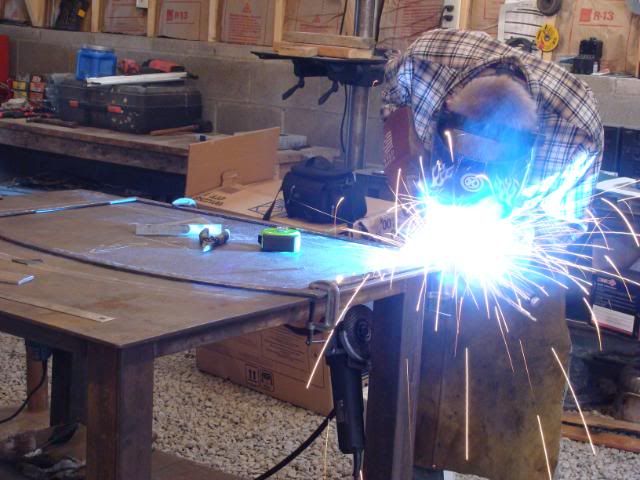
I am putting six shelves inside the trailer. Three that are ten feet long will go on the left side of the trailer, and three that are eight feet long will go on the right side of the trailer.

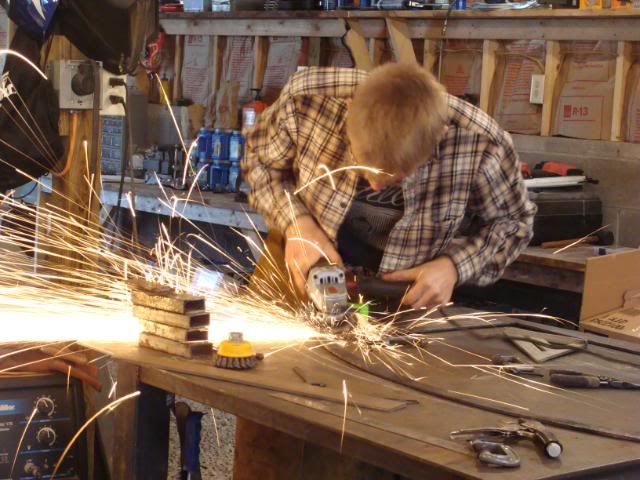
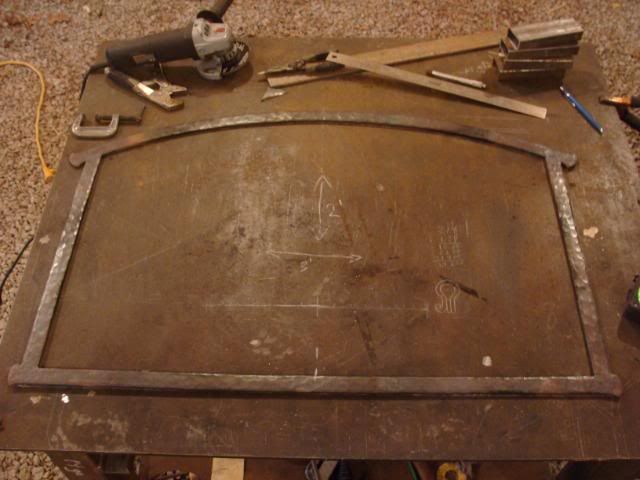
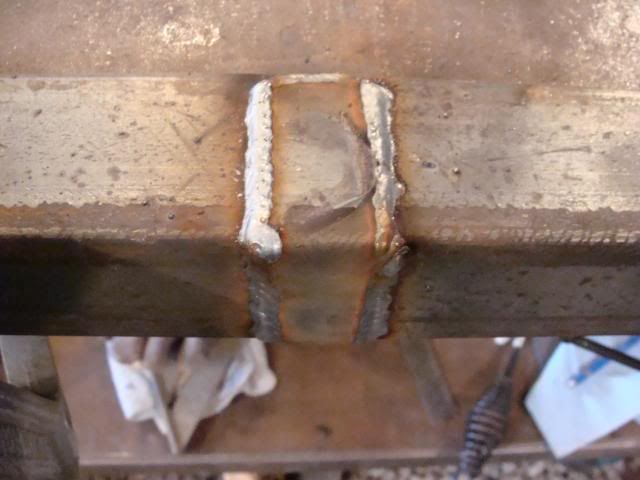
The frames are angle iron and the shelf itself will be wood. Here are the frames.
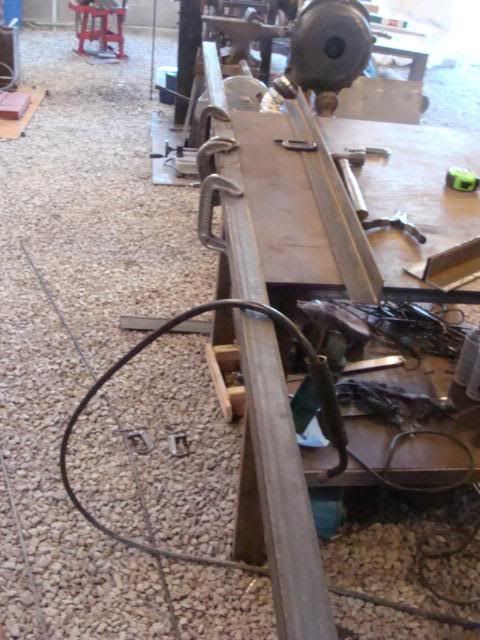
One of the ten footers clamped to the welding table.

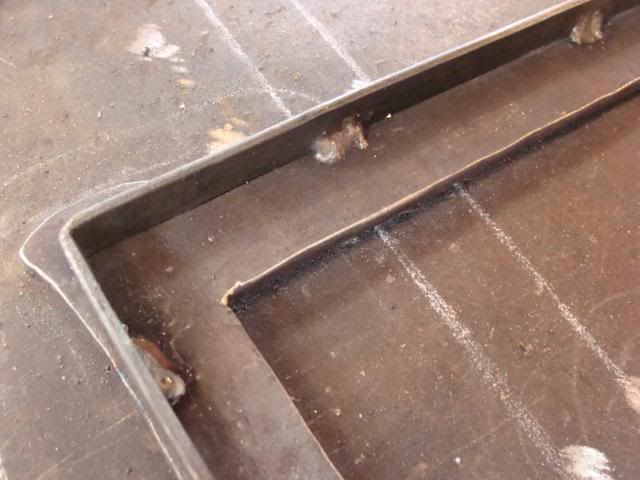
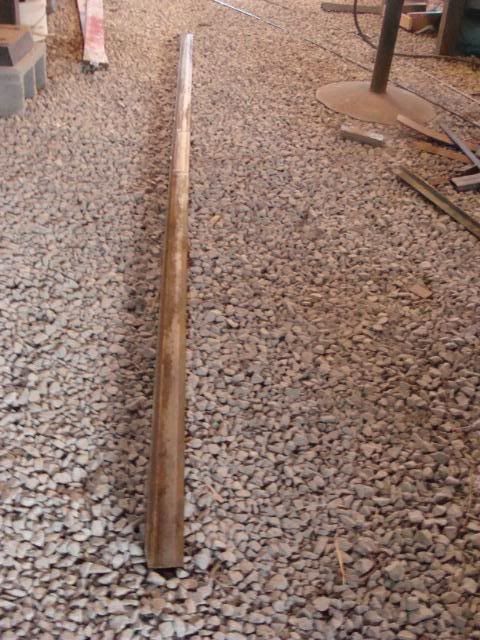
Here is one side of one shelf unit.

Here is one whole shelf, minus the legs.
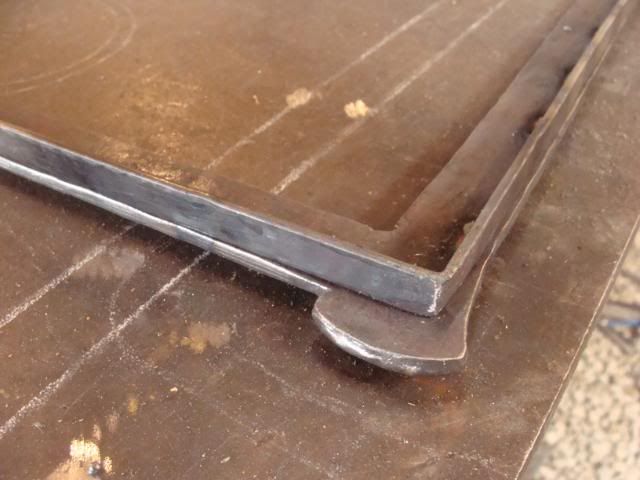
One of my welds!

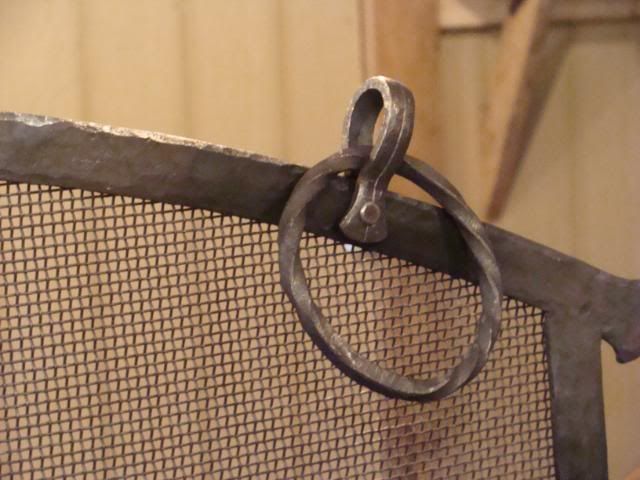
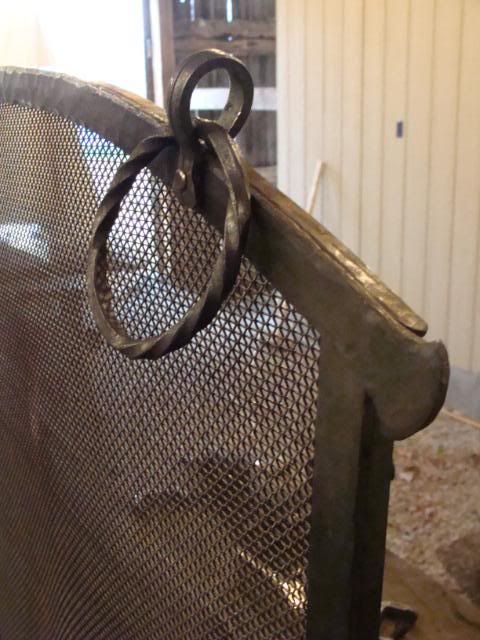
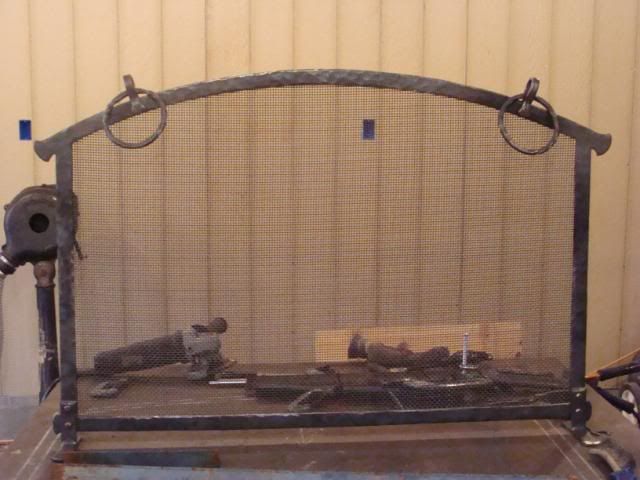
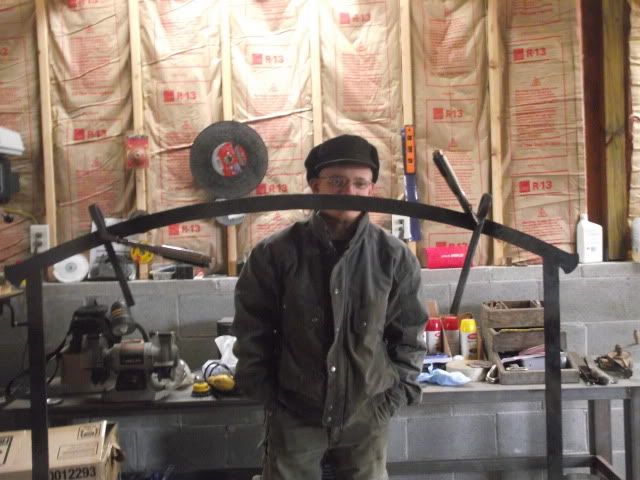
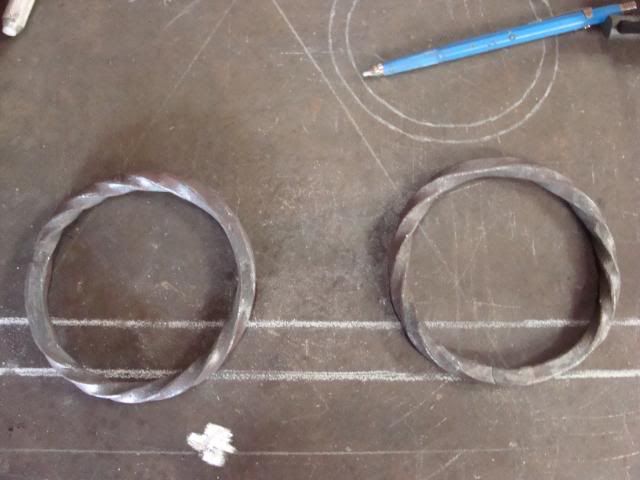
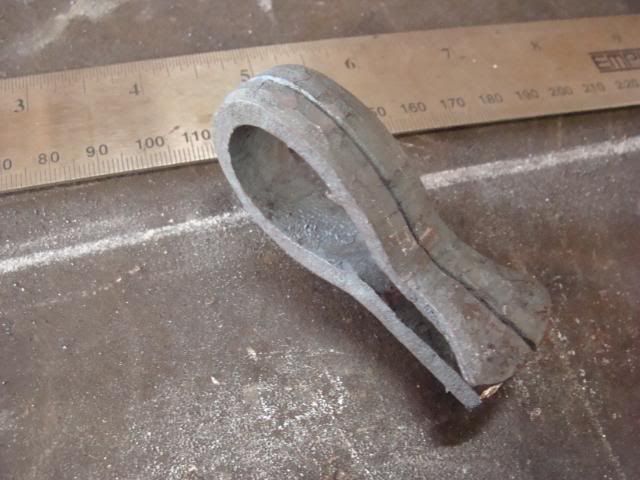
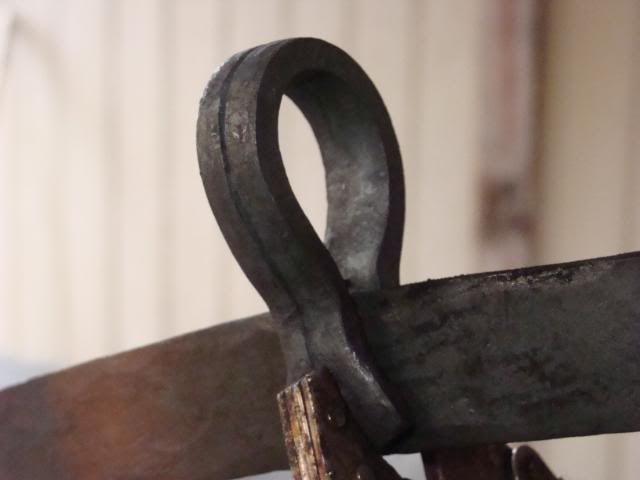
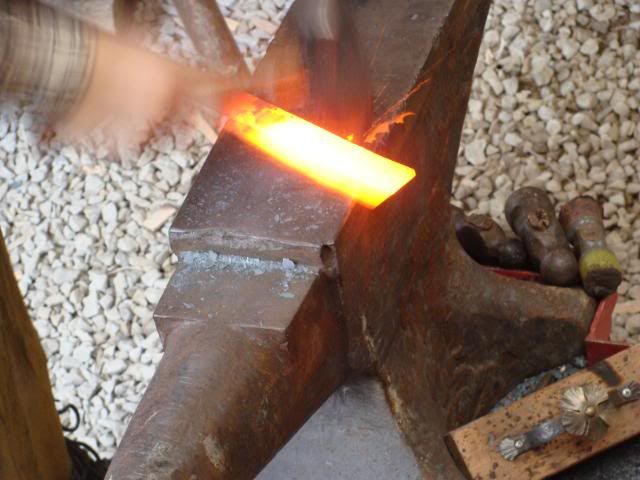
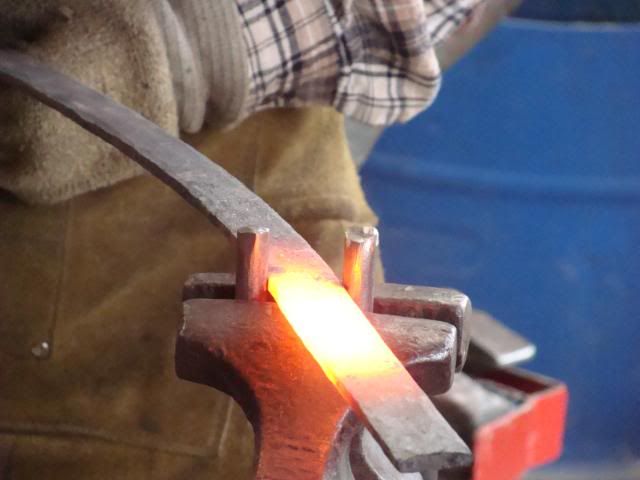
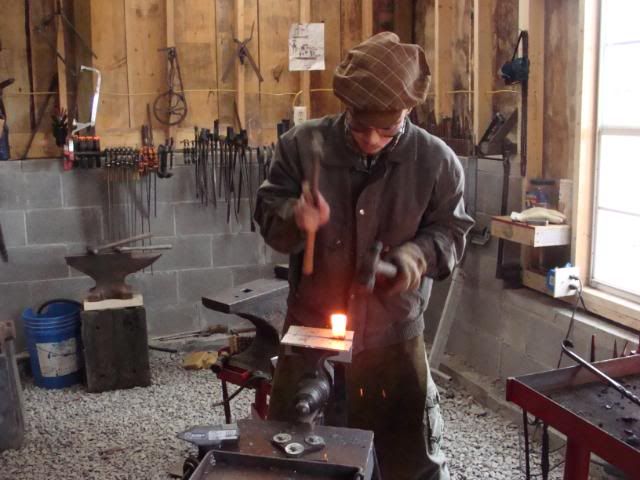
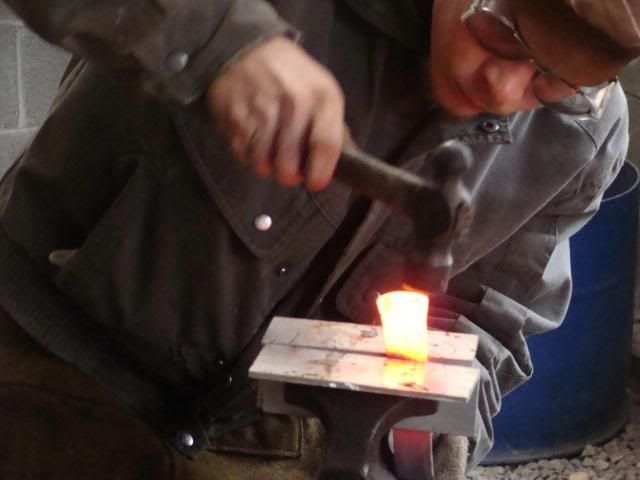
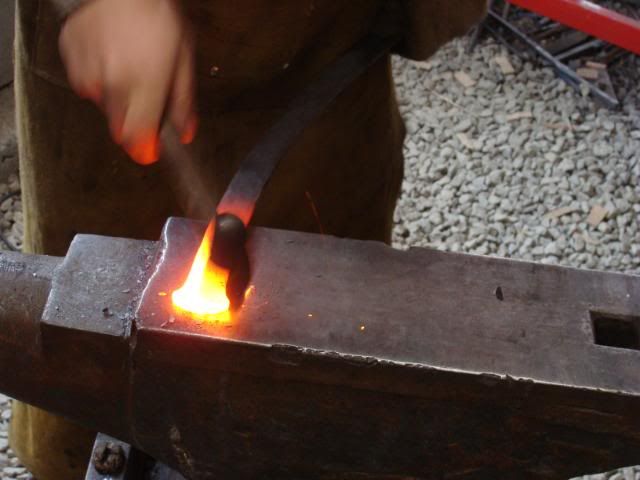
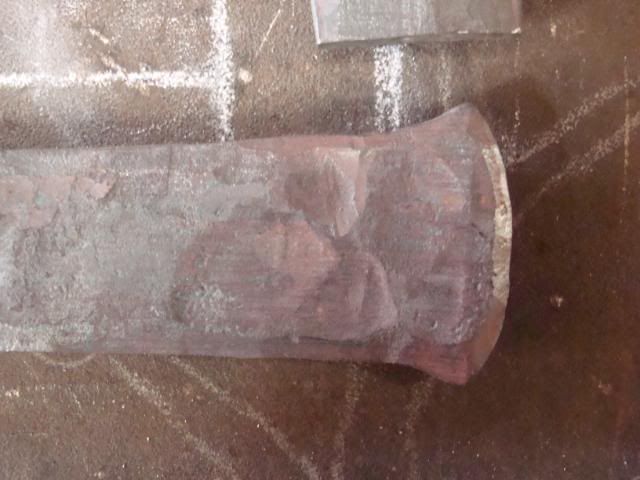
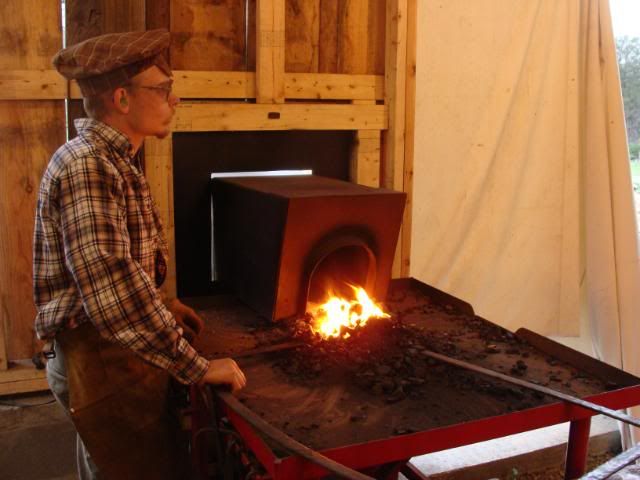
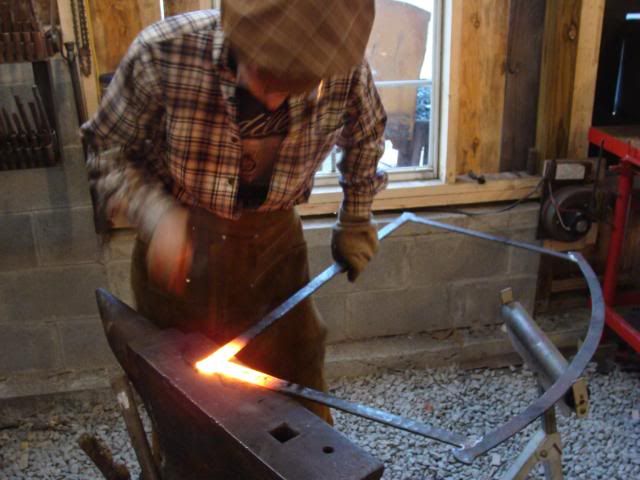
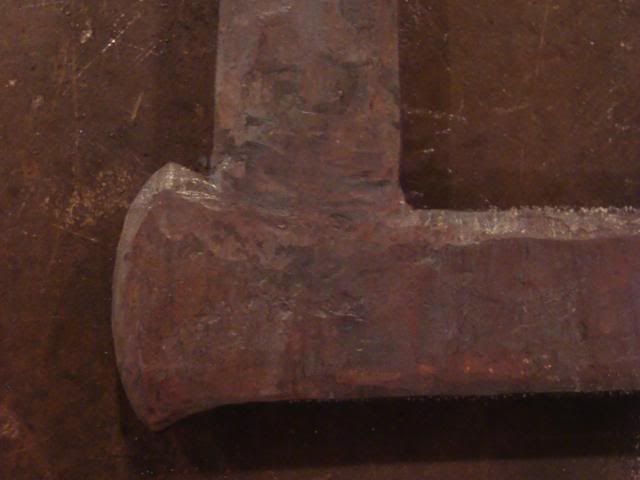
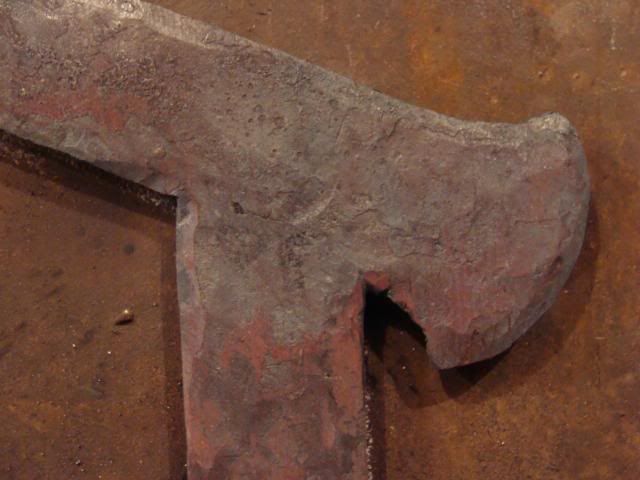
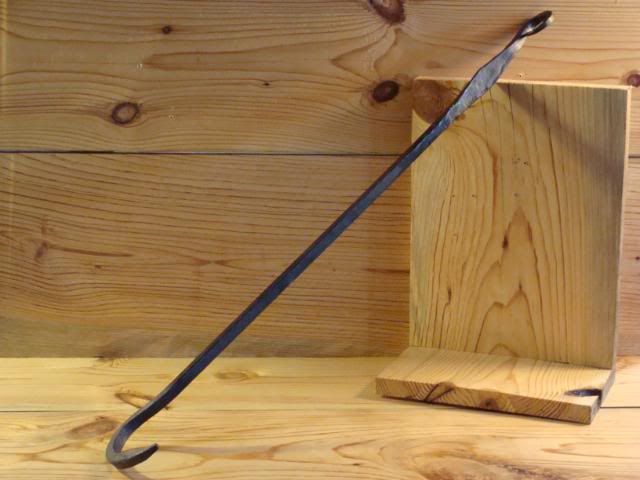
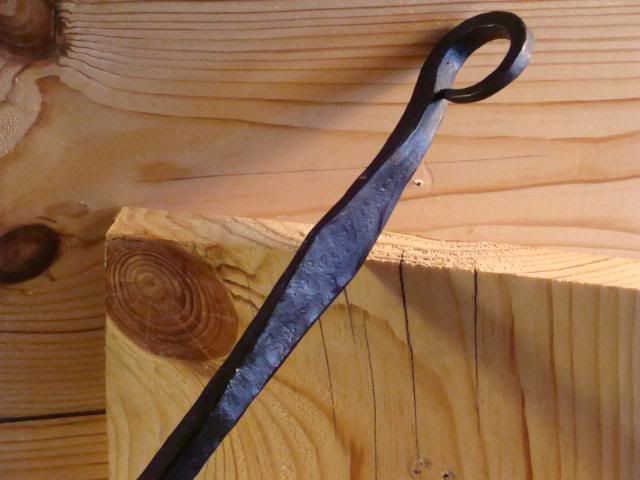
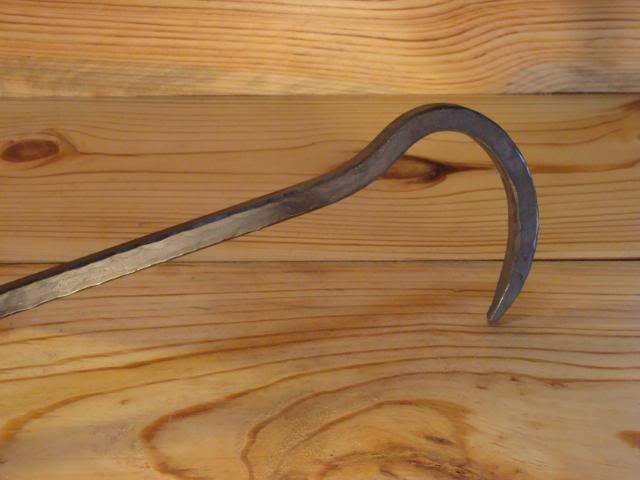
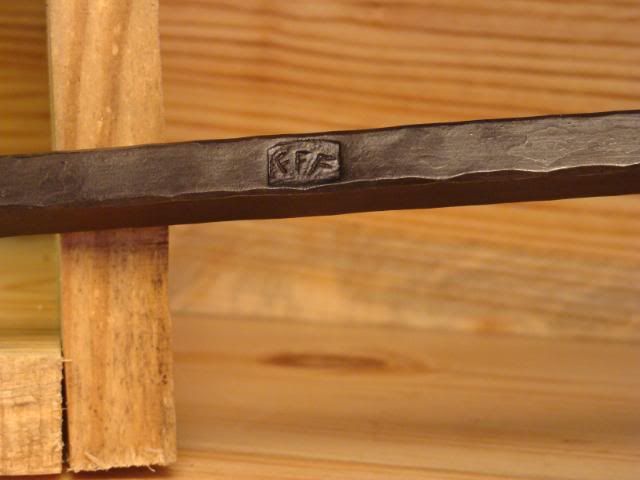
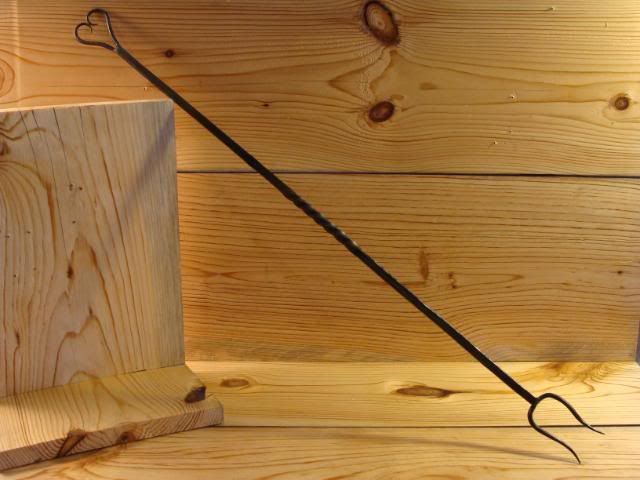
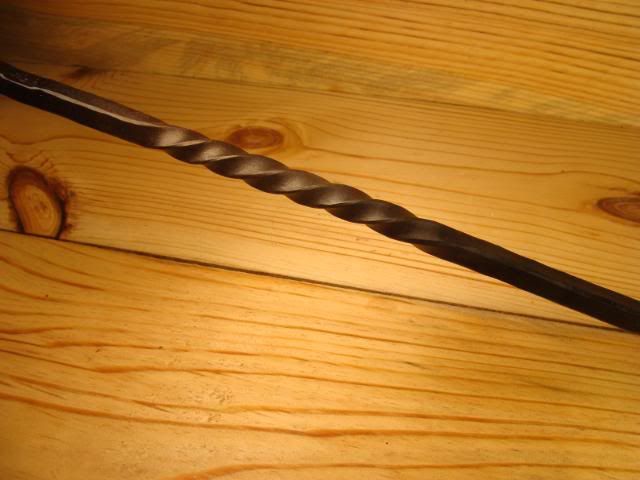
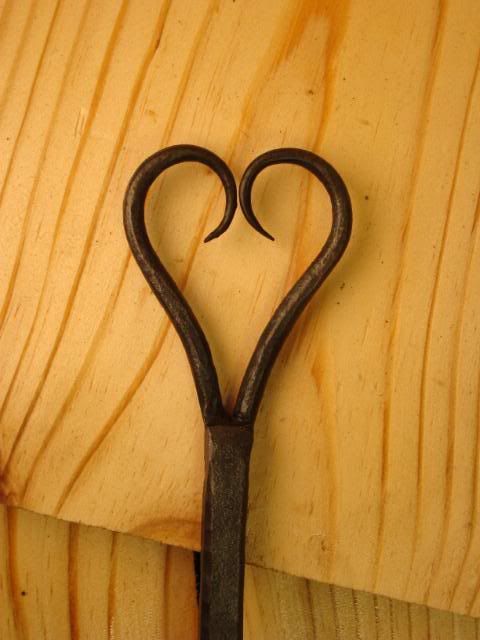
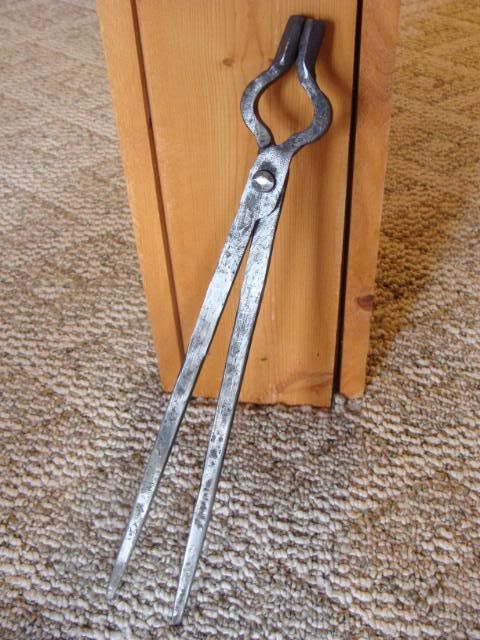
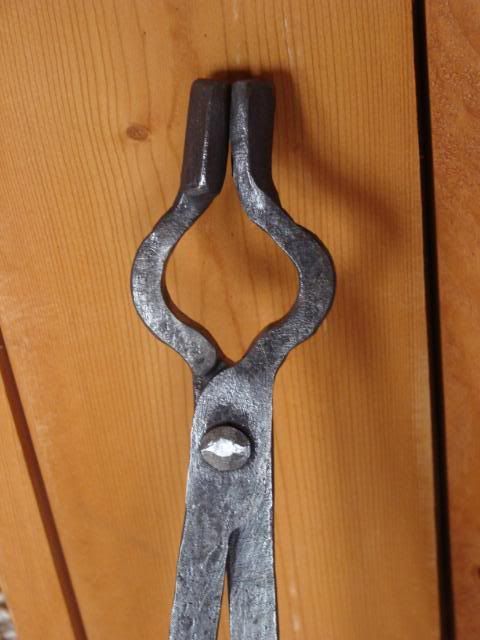
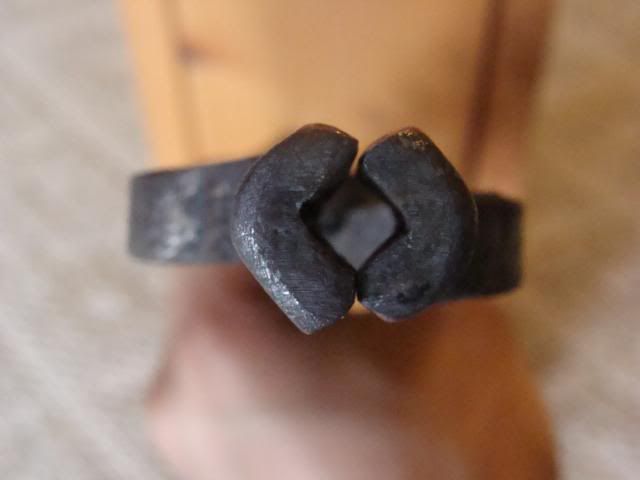
In addition to all of this, I have just completed a blacksmith order. One custom firepoker and one custom grill fork.
Here they are.


And finally!

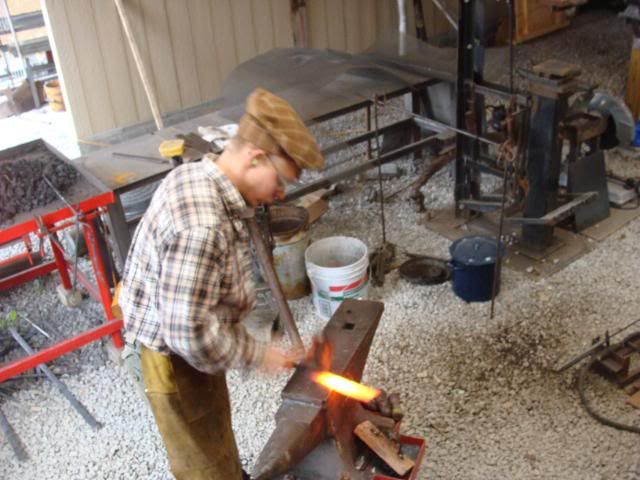
After a long, expensive, and sometimes frustrating set of events, I have my power hammer up and running. It is hitting strong and true. The entire hammer and it's base weighs somewhere between 1200 and 1500 pounds. Despite this, the vibration of the hammer makes the hammer "walk." I had not used it for thirty minutes and it had walked about 4 inches. At that rate it would be across my shop in a couple hours. So, I made some stakes out of 1-inch solid round bar and drove them into the ground around the hammer. They seem to have done the trick. I used the hammer to put the points on the round bar. In one heat the hammer could taper the 1-inch bar down to a good point. I'll post a video and pictures next time I use it!

Till then,
"Let courage rise with danger and strength to strength oppose!"


Monday, March 14, 2011

tongs and branch

Here is a pair of 1/4" "bolt" tongs that I made today! These are used for holding 1/4" round and square stock. The circular bulge in the jaws allows you to hold many shapes.


The other day I did this little branch using techniques I learned at John C. Campbell folk school last fall!