BE SURE TO CHECK OUT MY BLOG PAGES IN THE WHITE LINKS ABOVE!!!


Friday, January 28, 2011

Compressor returned

I received this comment on my last blog!

"Dave I think you should call her OLD Bess. When do you get your compressor back sir?"

In response:

"Old Bess" huh! :) As in Davey Crocket's trusty flinlock that could put a rifle ball in the moon?


I got my compressor back yesterday. It is now up and functional with a new motor, belt pulley, starter, pressure gauge, muffler/air filter, new oil, and a new compression system.
The bill was more than I had hoped but most of it was the new parts, and I feel that the repair man was more than fair on labour! It would not have been so bad had I not had to replace the motor!

Here are a few pictures!


Now ALL I have to do is get it off the trailer! HMMMMMMM! Any volunteers? I could use an extra pair of hands...or a dozen extra pairs!

Off to work! G'morning to ye all!

Dave

Wednesday, January 26, 2011

Power hammer set up

After a long wait, my "new" power hammer is assembled, in place, and functional. Unfortunately, I still do not have my air compressor back yet, but it should be done in a few days. The small air compressor we already have is not able to run the hammer at full speed or constantly. My hammer, if run off of our small compressor, would speedily burn the compressor up. However, our compressor does pump air and sufficed for a few minutes test run.

Here is the hammer all set up! "Ain't she purty?!"

She mashes metal!


I'm looking forward to getting my big compressor hooked up to see what this hammer can really do!

Now, I keep refering to this thing as a girl, so I suppose it needs a name! I do not have the pleasure of knowing all that many ladies though. Suggestions???


Here is a picture of me twisting metal for another hook like I made the other day!


Here is the hook! This one turned out better and it took less time!


I also made a new and nicer front for my forge hood today. It looks better and works better drawing out all the smoke!


Well that's all folks! I've got another custom hook to tackle tomorrow and I'm going to be working on another forge hood front like the one above, for a friend! 


Saturday, January 22, 2011

12-inch cooking hook

This hook is for an outside cooking rig, and was ordered by the same gentleman who ordered the latches I posted pictures of a few weeks ago! The material is 1/2" square bar!
The hole behind the lower hook is for chain!


Dave

No, of course this does not qualify as playing with fire!

You know, I talk to a lot of people at craft fairs. 
I get the know-it-alls who have never smithed a day in their life but "know" every technique that was ever invented.

I get the kind old men who say "I remember 50 years ago when I used to turn the blower for my dad."
(At the Museum  of Appalachia last October, I had one old man come up to me and ask, "can I just turn your blower for you for a while?" That was a first! I let him, and he had a great time and I gave him the piece we made afterwards!" One bright memory from an otherwise torcherous weekend!!!)

I get the know-it-alls who cuss me out in front of everyone else because I didn't do something the way they "know" it is supposed to be done. YES that HAS happened!

I get the girls that.....ok were not even going there!

I get the young guys who think "that is soooooo awsome dude."

And I could go on forever! Regardless, while I am talking to my audience and potential customers, I get a very common question, "how did you get started smithing?" "What got you interested in this?" I even got a "Do your parents MAKE you do this?"

My initial reply is, "I get to play with fire and hot metal.....that's what every young guy wants to do!"

I have always taken a deep interest in fire. I started with a small brick, outside fireplace. I didn't have mortar, so I just pieced it all together. It was about 2 feet deep, 18 inches wide, and 18 inches tall. I spent countless hours burning wood in that thing. I studied how the fire worked, what made it get hotter, and what made it cool off. I learned about fire through first-hand experiments and observations.
Since then, I have learned how to burn charcoal, coal, and....other things. (Things like rotten trees that are 40 foot tall, in the woods....but like the "girls" subject, were not going there either! Some things you'd just rather forget that they ever happened!) 
I've even made short fuses to blow up little piles of black gunpowder with!

In case you don't get the point!

I          LIKE           FIRE!!!

OK, so what!

So, one of the things I've always wondered how to make is torches. Waaaaaayyy back in the day, before we had electric lights, before they had lanterns and lamps, they had TORCHES!
Basically a stick with something on the end that burned! I've wondered many times what that something was.

The other day I was in my "fire labratory" (I.E. my blacksmith shop,) and I noticed an old cotton shirt that I have been using for a couple years to wipe excess beeswax off of metal products. As a result of this operation, the shirt has a large amount of beeswax melted into the fabric.

A light ulb suddenly flickered above me. Well, actually it was an idea I was having, but sometimes the light bulbs do flicker!

I looked around quickly for the wooden hammer handle I'd driven out of a hammer head, early in the day. Spotting it, I grabbed it, ripped the shirt sleeve off of the cotton shirt, and wrapped it very firmly around the end of the hammer handle. I needed something else! What was it? Cotton only smolders! Cotton soaked in beeswax burns, but burns quickly! I needed something that would burn longer!

Ahhh the very thing for the "mad scientist!" An old roasting pan full of used motor oil. Ok so now my readers are about to go insane!
MOTOR OIL!!!???!!!???

Muuuuhahahah!

I took the lid off of the roasting pan and plunged my torch-in-the-making down into the motor oil and let it soak for a minute.
Now I seriously doubt that the knights of days gone by, used to run down to the oil change station and get a bucket of motor oil for torch dipping, but it would pass muster for me!

Considering my torch sufficiently soaked, I took it over to the forge where the day's fire was still hot, flicked on the blower to get some extra heat, and placed the torch head, over the flame. It sputtered and popped until the excess oil was dripped/burned off, and then the oil-soaked rag, burst into flame! Seeing that it was dark out, I turned the shop lights out, and headed up the driveway with the evidence of my triumph. AKA about a one foot long wooden handle with an oil-soaked rag on the end with about a one foot flame burning brightly on the end. Those things put out a lot of light.......wonder why they quit using them!

"Ohhh well there went great-great-great-great-great-grandaddy's castle Sir Edward.....blasted torches!"

Oh ok, that's why!

Seriously though..........alright, alright, I admit it, there is nothing serious about this!

"Pictures?," you cry?

Well here are pictures.....not of try number one, no! Nor of try number two! This is try number THREE!

The pictures are self explanitory!


No, of course we are not sword fighting with torches.....c'mon!


DISCLAIMER:
WHATEVER YOU DO, DO NOT TRY THIS AT HOME! TORCHES ARE NOT TOYS!

Wednesday, January 19, 2011

New Vise Stand!

For those of you who may be wondering, my power hammer is still in pieces. I have finished painting it, but it awaits reasembly.

My air compressor had to go to the air compressor ER for "surgery," but the "doc" says the "prognosis" is good! AKA the compressor will be back-n-runnin' in no time a-tall!

But now for the real purpose and subject of this blog!

I have had my vise mounted on a light-built steel table, since I built my shop. However, the table is not really built strong enough for this use; I needed a vise-specific stand.

I won't bore you all with the details of constructon, but suffice to say that this stand is very strong and stable! It is designed to be bolted down to a concrete pad, BUT it is very stable without doing that! (Which is good, because it will be a while before I can afford concrete! Sheeeesh that stuff is high!)

I haven't been in camera mode for a while now, but here is one photo of  "under construction."

Completed and handsome as it's going to get! Paint will come with warmer weather!

Bolt tabs for the feet!
                                               
The vise leg!


The vise stand has a little tool shelf behind the vise for holding tools that I need for a particular job. There is a tool rack on the right-hand side of the stand for hanging tools while not in use!

That's all for now!

Dave


Monday, January 17, 2011

Demo Trailer Sale Pictures

I am trying to sell my blacksmith demonstration trailer. This blog is a picture description of the trailer for those interested in the trailer.

For those of my regular readers, I built this trailer 2 years ago specifically for my craft fair demonstrations. Everything was built from scratch. I designed the trailer to carry a functional blacksmith shop that could fit in a standard 10'x10' booth space at shows. The trailer has a coal box that holds enough coal for four full days of forging. It has a nice little forge on the trailer capable of heating up to 3/4" square bar. I really liked using this trailer at craft shows but I am rearranging my craft fair set-up, so it needs to have a new home.

Blower mount with rubber boot to attach to the blower mouth.

Tool and coal boxes. 18"x18"x30" made from 16 guage steel with angle iron frames. The boxes hold about 30 gallons. The coal box comes FULL!

Vice mount area. There is a leg on the trailer so you can mount a post vice or a bench vice here.

    Slide-on tool rack for holding tongs etc. while you work.

The forge: 23 1/2"x36" with two opening gates to allow long stock to be laid flat with the firepot.

The firepot: 8"x10"x3" with four slots to allow ample air flow.

The ash dump for the forge is a weighted ash dump. It seals tight. This is in the open position!

The tongue! Standard 2 inch ball with two safety chains.

Two 3/4" pins hold the tongue in place. The pins can be removed and the tongue slide under the trailer and out of the way.

The trailer is equipped with a 3500 pound axle and two good tires and rims.


Thats all folks.....thanks for looking!

It's not the fact that you're dead that counts but only how did you die! (Poem, "How did you die?")
Duty is our's, the consequences are God's! (General Stonewall Jackson, C.S.A.)
Duty! That sublime four-letter word! (General Robert E. Lee, C.S.A.)
Unmerited kindness can sometimes be as stern a rebuke as due punishment! (Me!)

Dave

Friday, January 7, 2011

air compressor, wreck, and power hammer

For some time now I have been wanting a power hammer. A power hammer is an electric or pneumatic-powered hammer that delivers far heavier hammer blows, much faster than I can with my hand hammer.

Before a blacksmith has a power hammer, he can work with steel up to 1/2 or 3/4 inches thick efficiently with his hand hammer. Stock any bigger than that takes too long to shape and creates too much wear and tear on an arm. I found this out in one of my recent jobs when I tried working with a lot of 3/4 inch round bar. :-)

After a blacksmith gets a power hammer, he can work stock sizes up to 2 inches or more efficiently. Another great thing about power hammers is, they never get tired.


As I usually do when I need a tool, I was going to build my own power hammer.

Then I came across an air hammer at a good price. An air hammer requires a large air compressor to run it, so I also found an air compressor at a good price. Both were located in Indiana. The compressor was about 80 miles southeast of Indianapolis, and the air hammer was about 80 miles northeast of Indianapolis.

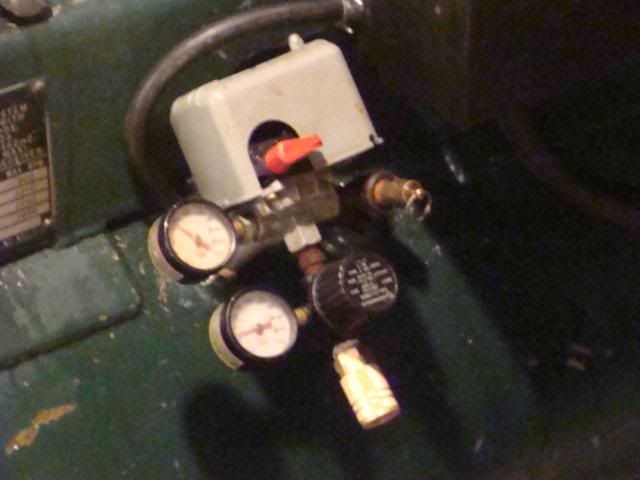
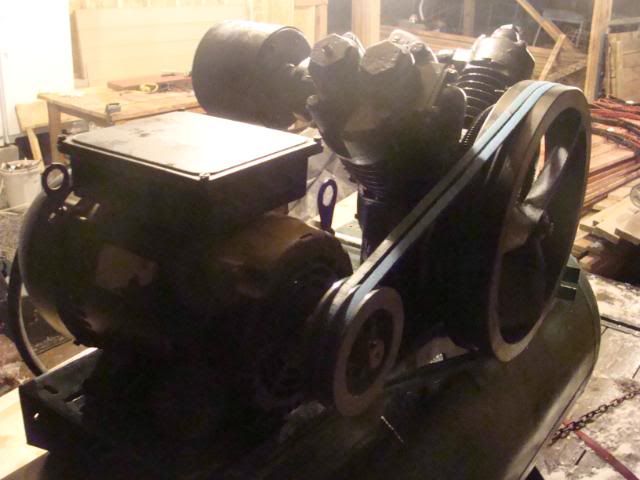
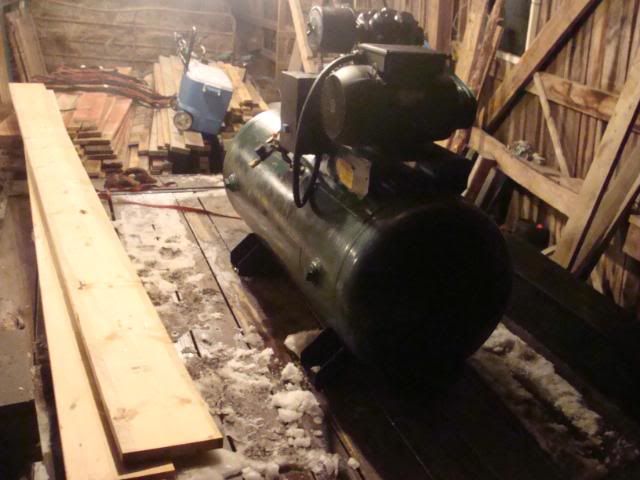
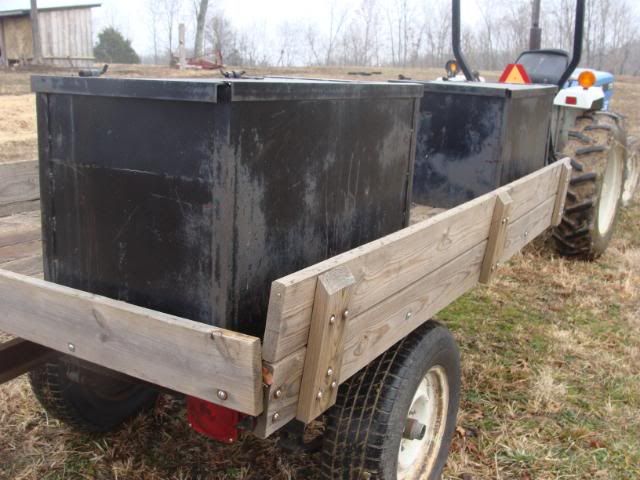
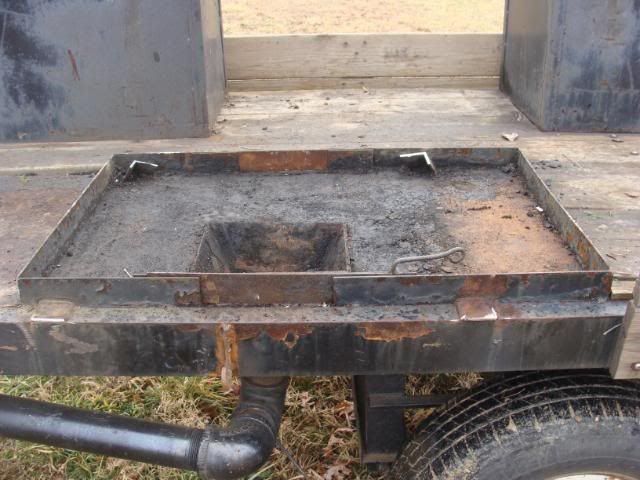
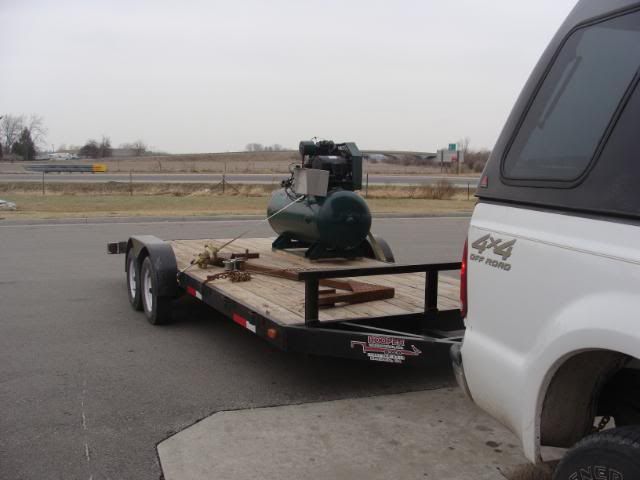
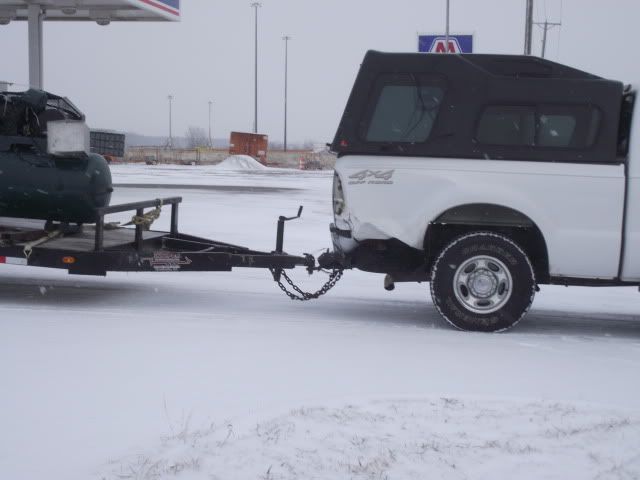
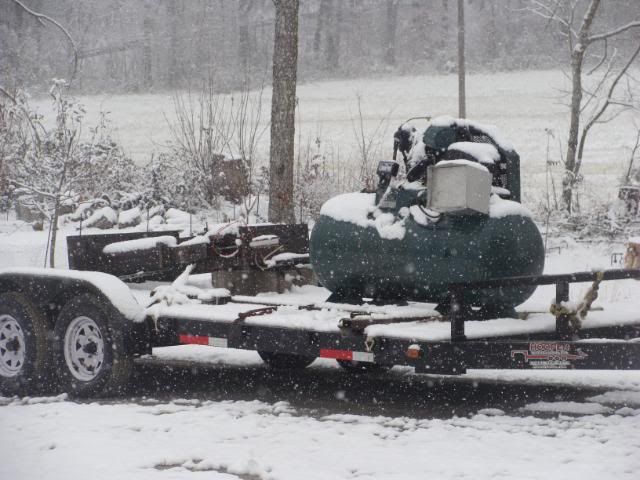
                                Here is the compressor on the trailer. It has about a 120 gallon holding tank and a 7.5 HP electric motor.

We went and picked up the air compressor first.  After getting close to Indianapolis, it started to snow. It was already bitterly cold, and even though it wasn't a heavy snow fall, it stuck to everything it hit. The road was beginning to ice in some places, so Dad reduced our speed. While travelling northward, we spotted a semi truck that had jack-knifed and tangled with a smaller truck. The person in the smaller truck was thrown from their vehicle. The ambulances had not yet arrived, but some other motorists had already covered the body with a blanket.

We had not proceded more than a couple miles past this grim scene when, while travelling in the right hand lane, the truck lost all traction and began to drift into the left lane. (We were towing our 20 foot flat-bed trailer.) We continued over the left lane without gaining traction, and entered the median, the truck beginning to turn towards the left and the trailer beginning to jack-knife rotating toward the left side of the truck. The median was somewhat abrupt and without much abaitment in our speed we ploughed through it, sliding and still moving forward as well. Even though we were on the ground, the truck was still out of control and entered the oposite side of the interstate amidst oncoming traffic. The truck made it completely across to the other side, smashing into the guard-rail with the front facing in the direction of the flow of traffic, but still angled into the right hand lane. The trailer was turned sharply to the left of the truck, but was completely over the road.

At nearly the same moment that we came in contact with the guard-rail, a Camaro smashed into the back right hand corner of the truck. I was sitting in the front passenger side seat, and as we slid across the road I saw this car in the corner of my eye. He was so close, and we came out of nowhere so quickly that I doubt he had any time to react at all!
After checking with each other inside of the truck to ensure we were uninjured, which, praise be to God we were not, we got out of the car and Dad checked the man in the Camaro. (Dad is a retired professional fire fighter and is used to that sort of thing.) The man was ok but shook up a bit, as were we all.

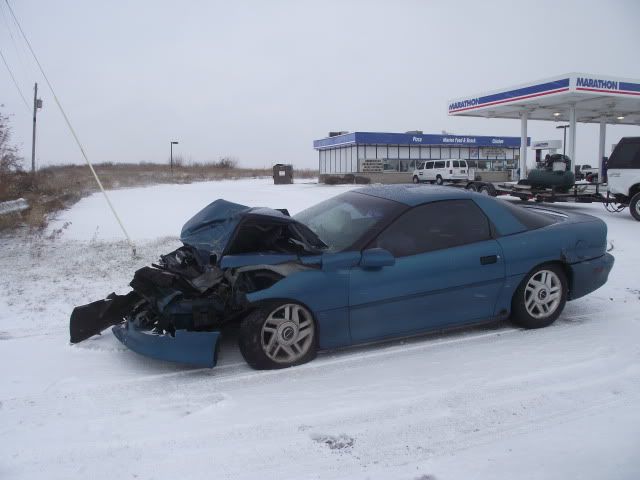
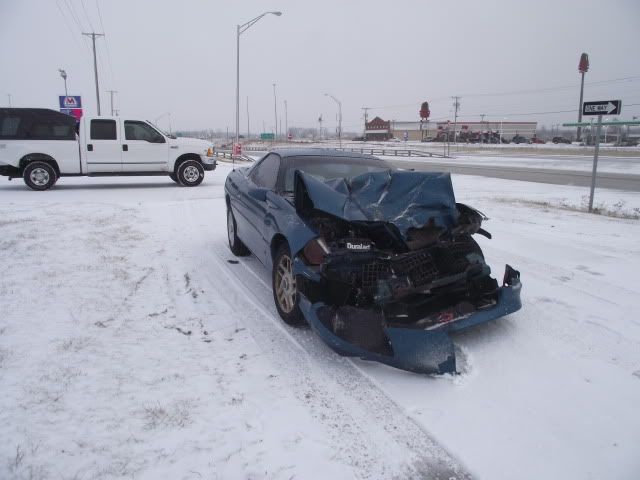
I did not get any photos at the scene but here are a couple of the Camaro after it was towed out of the way. 


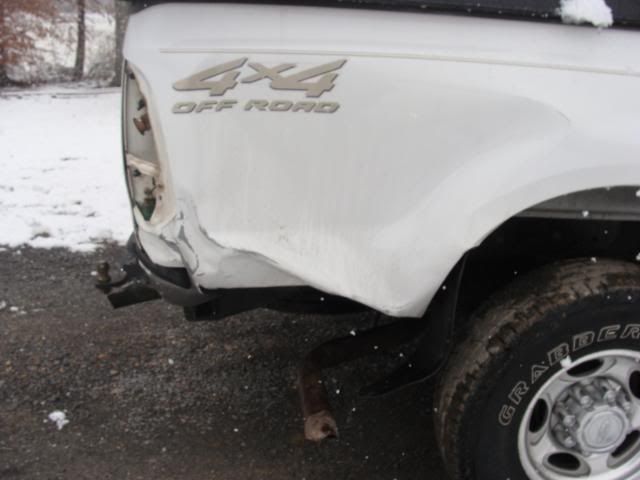
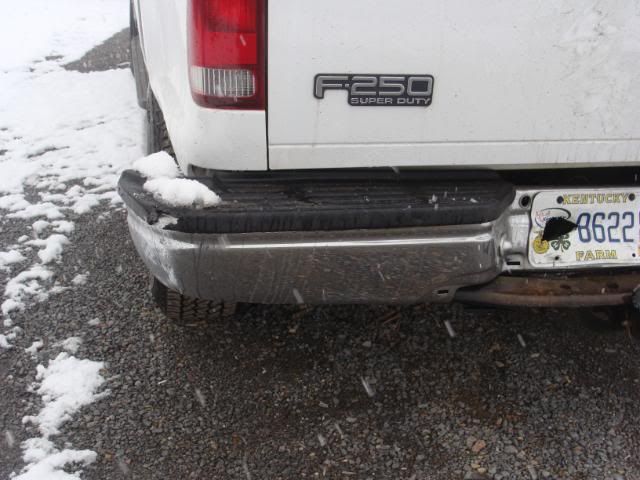
The truck was banged up pretty good, but in comparison suffered little due to its greater weight.
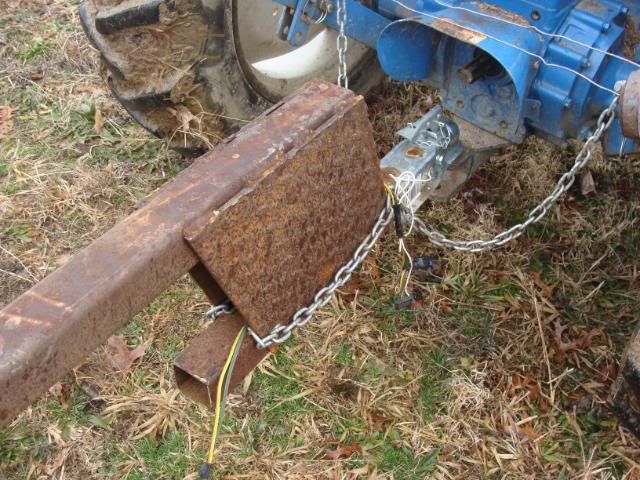
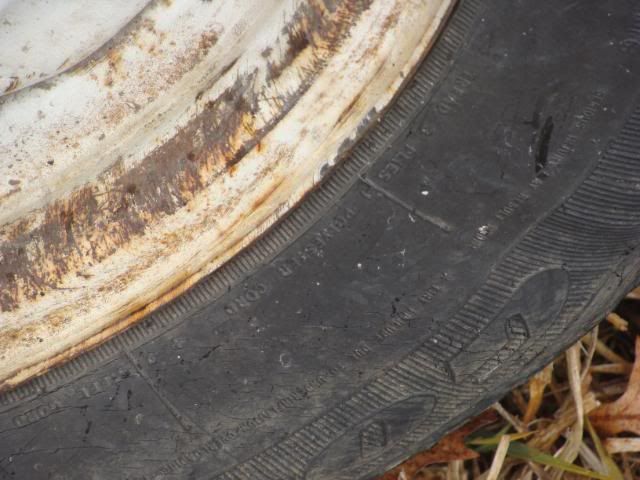
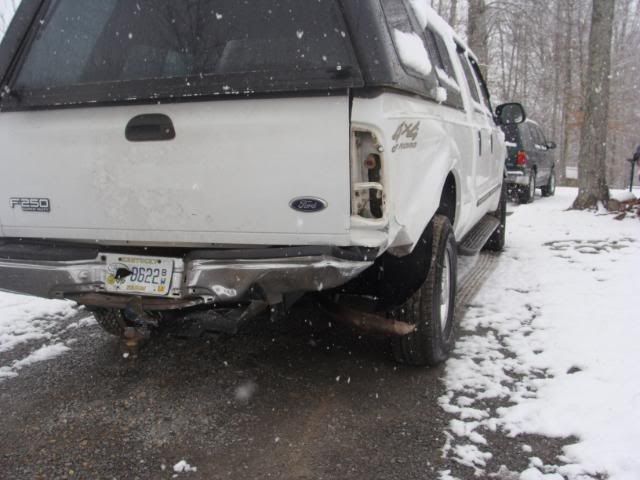
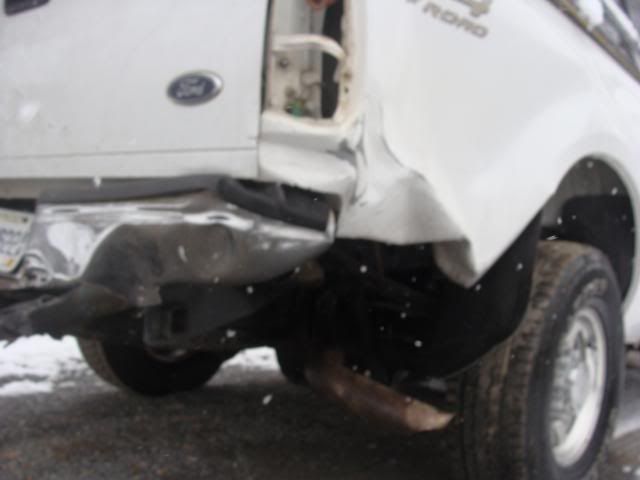
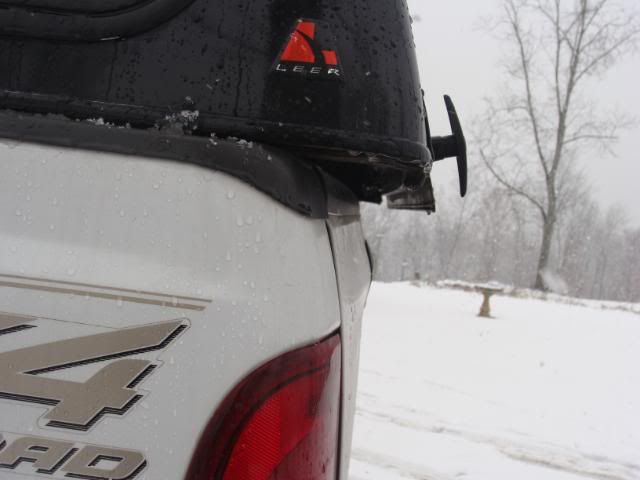
The back right-hand corner is bent quite seriously as this was the point of impact, and the conetic energy of a Camaro at 50 MPH is not to be despised. The muffler was crumpled up and jammed into the tire a litte but did not blow the tire out. The tow truck was able to straighten this and so make the truck driveable. When the trailer jack-kniffed, it bent the back left-hand corner as well. The impact from the Camaro threw the CD player out of its position and Kayla (my sister) who was in the back seat leaning forward, was slammed up against the back window, breaking it out. Her head is bruised nicely, but she still seems to retain sanity......well as much sanity as before! :-) The impact also shifted the camper top backwards a few inches.
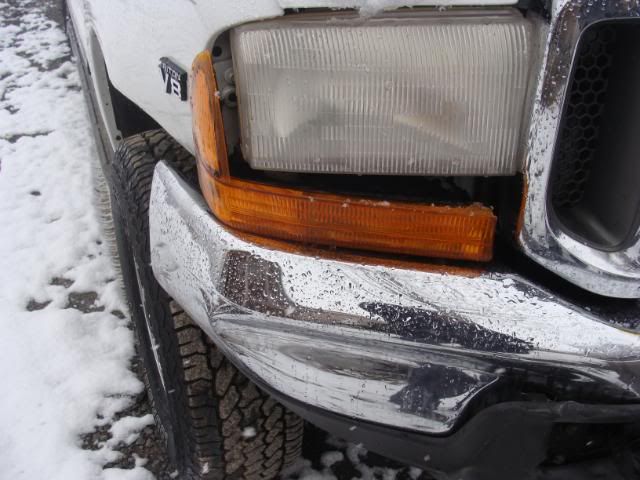
The front of the truck was dented from the impact with the guard rail as well.
    Here are some pictures of the truck!

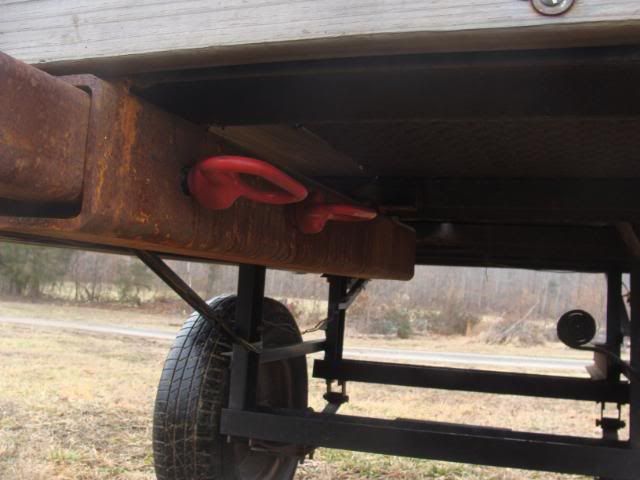
When the 20 foot trailer hit the abrupt change from going down into the median to coming back up out of the median, the air compressor was torn from its straps and sent sailing. From the looks of things, it hit te ground in the median, tearing off a 2x4 that was screwed to the legs on the compressor. This bent one of the legs slightly. From there the compressor landed on its side and slid completely across the road and into the emergency lane behind the Camaro. A couple parts are broken and I am trying to locate a compressor repair shop that will fix it back up. The compressor slid on the motor guard and so I think that there is no damage to major parts.

This was quite a shocking experience, but we are thankful to God that it was no worse. If we had slipped no more than a second later then the cars that slammed into us would have been a truck about the size of ours and towing a fifth wheel camper, taking out our trailer, and a semi truck hitting the back of our truck. Both of these vehicles were closely followed by more semi trucks that would undoubtedly have wrecked as well.
However, there is little use in thinking of what could have happened. Our Lord is in control!

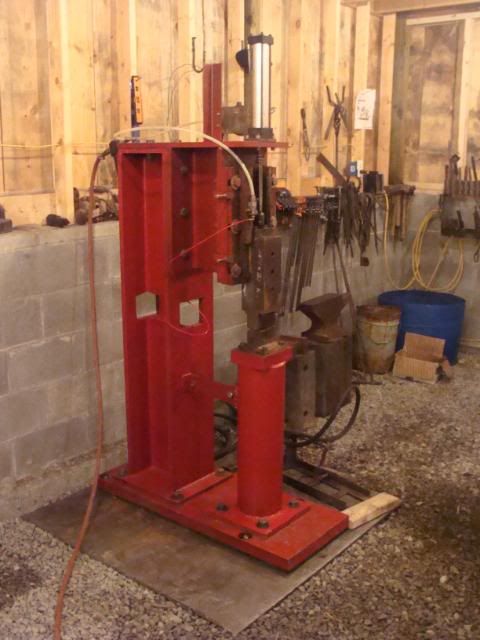
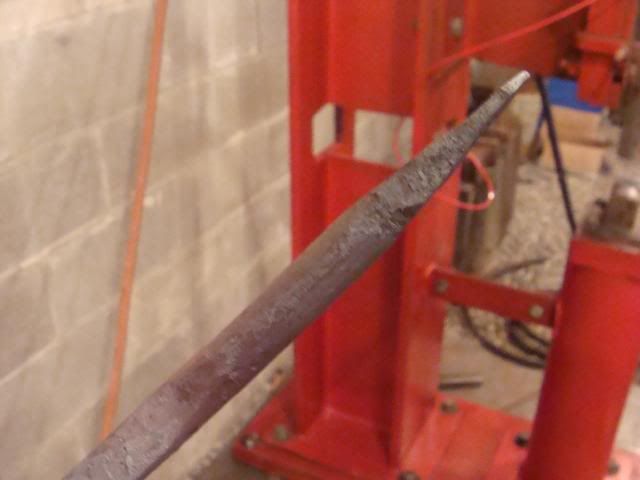
After this "little" ordeal, the truck being operational, we proceded to pick up the hammer. The hammer I got is air powered and has a 60 pound hammer head. A 20 pound weight can be attached to the hammer head to make it an 80 pound hammer.
After about an hour of work we got the thing loaded, packed up, and headed home.
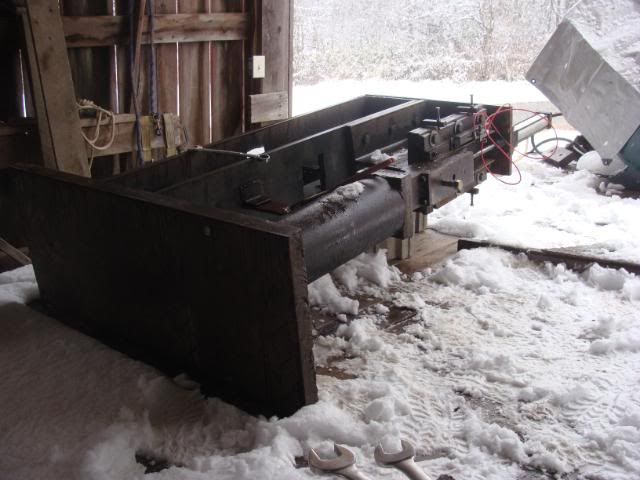
Today I worked on dissassembling the hammer for clean-up and paint. I also unloaded the hammer by myself. This was interesting.
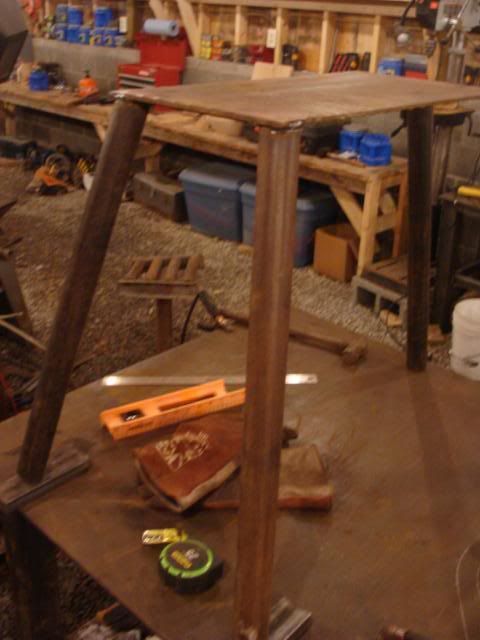
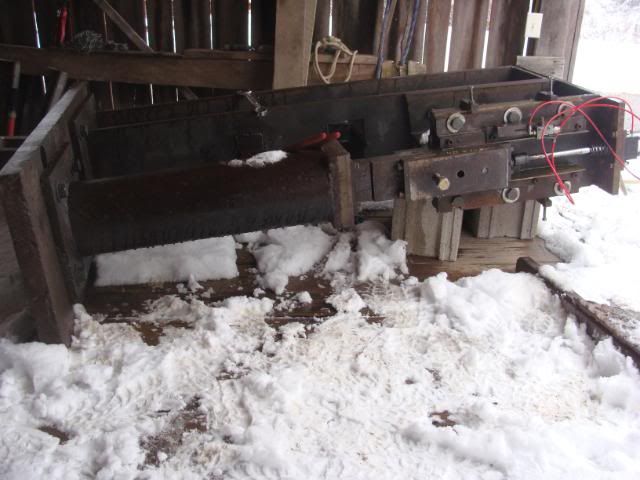
Here are some photos during dissassembly.

After the anvil base was removed! (The anvil base is the round object in the extreme left of the picture.)

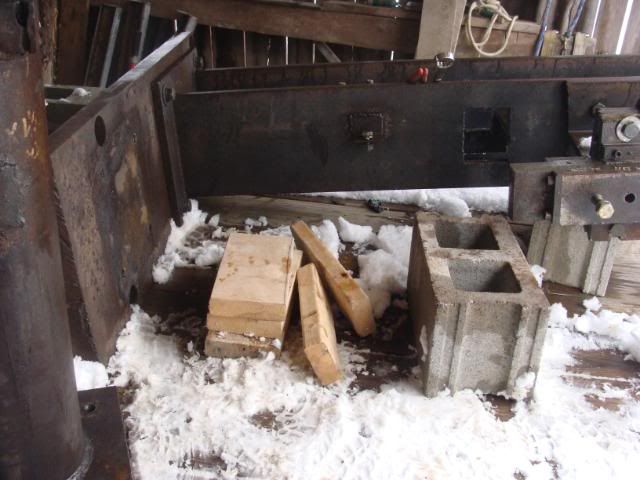
After the removal of the base plate.... The base plate is a piece of 1 3/4 inch thick plate metal about 20x30 inches. It is VERY heavy!

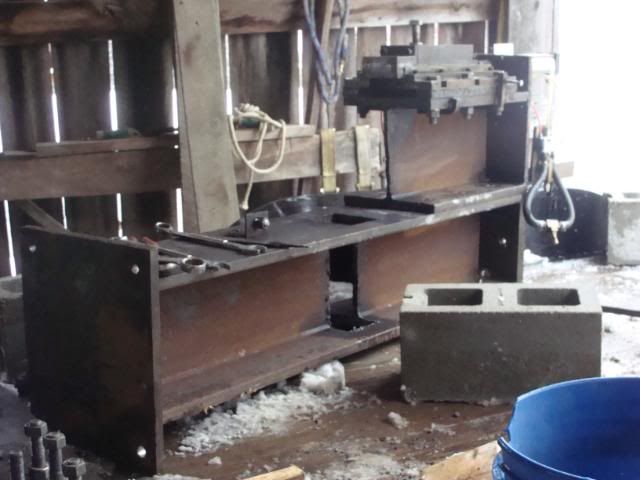
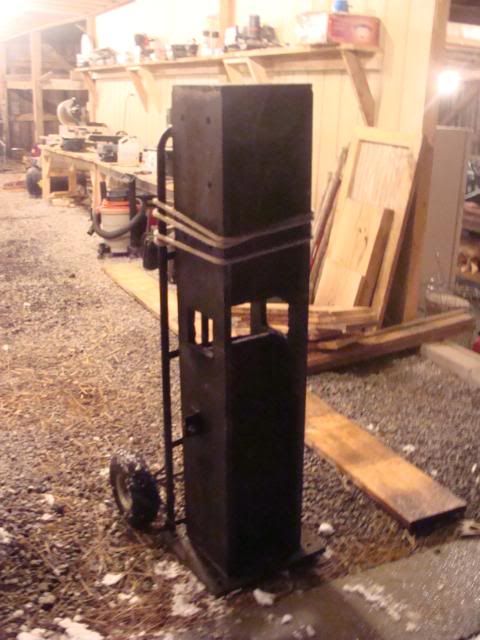
Here is the back bone of the hammer. I'm attempting to transfer it into the metal working side of the shop. It is even heavier than the base plate!

This is the hammer head part.

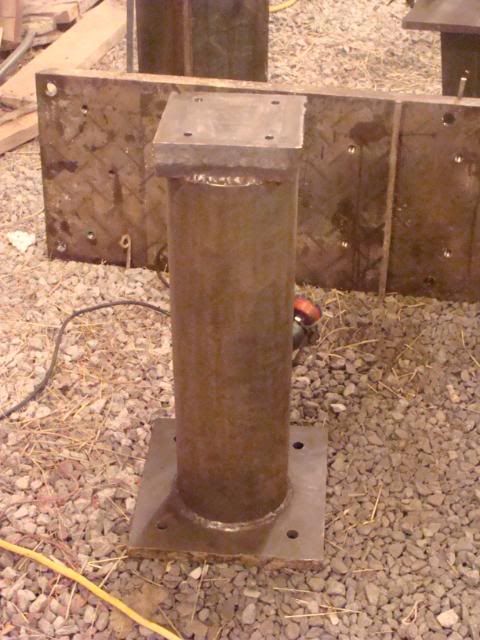
The anvil post! Somewhat cleaner than what it was before I started working on it!

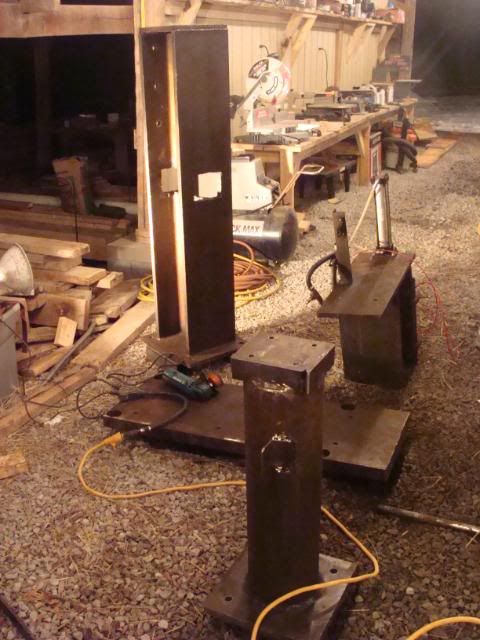
The primary hammer parts.
                                                             Foreground: anvil post
                                                             Center: base plate
                                                             Back left: hammer back bone
                                                             Back right: hammer head

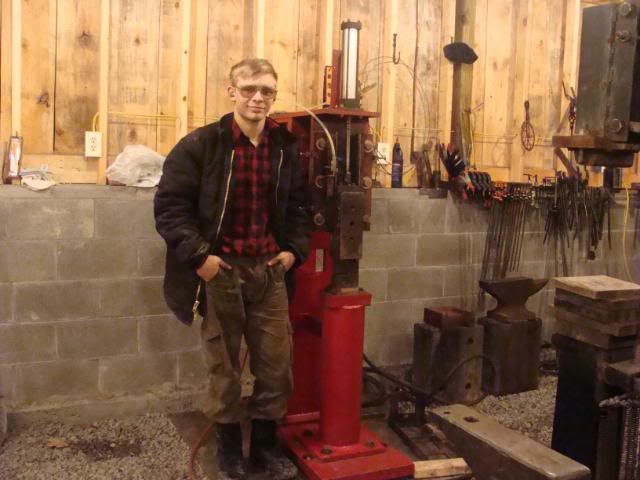
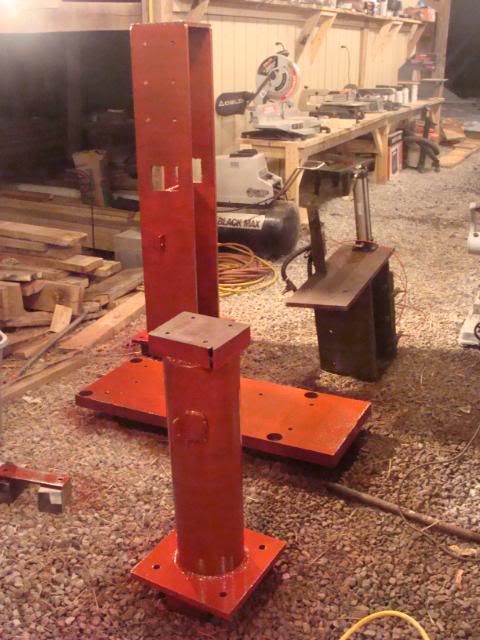
Same parts with a little bit of paint...my shop red!

THE END