BE SURE TO CHECK OUT MY BLOG PAGES IN THE WHITE LINKS ABOVE!!!


Wednesday, January 30, 2013

stove and hammers

Well, I built a new stove for the house!

Our old one was a bit small and had some issues....plus, with a new stove in the house, we can move the old one into the shop and heat our work space.

I'm not going to do a lot of talking, but here are the general specs.

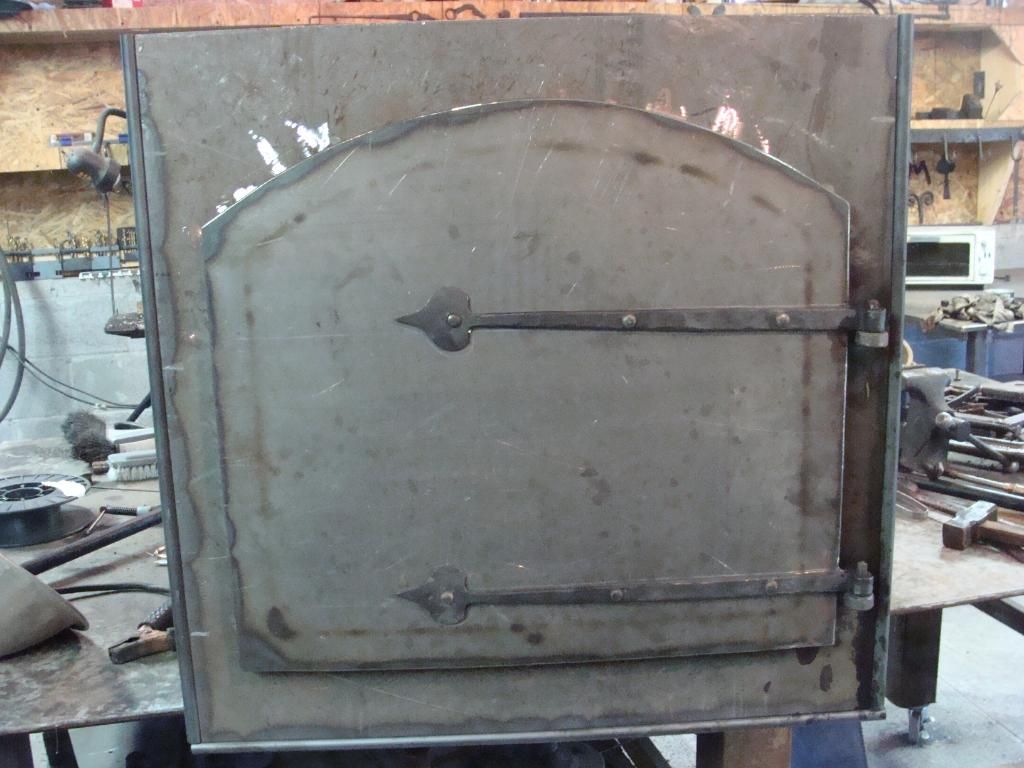
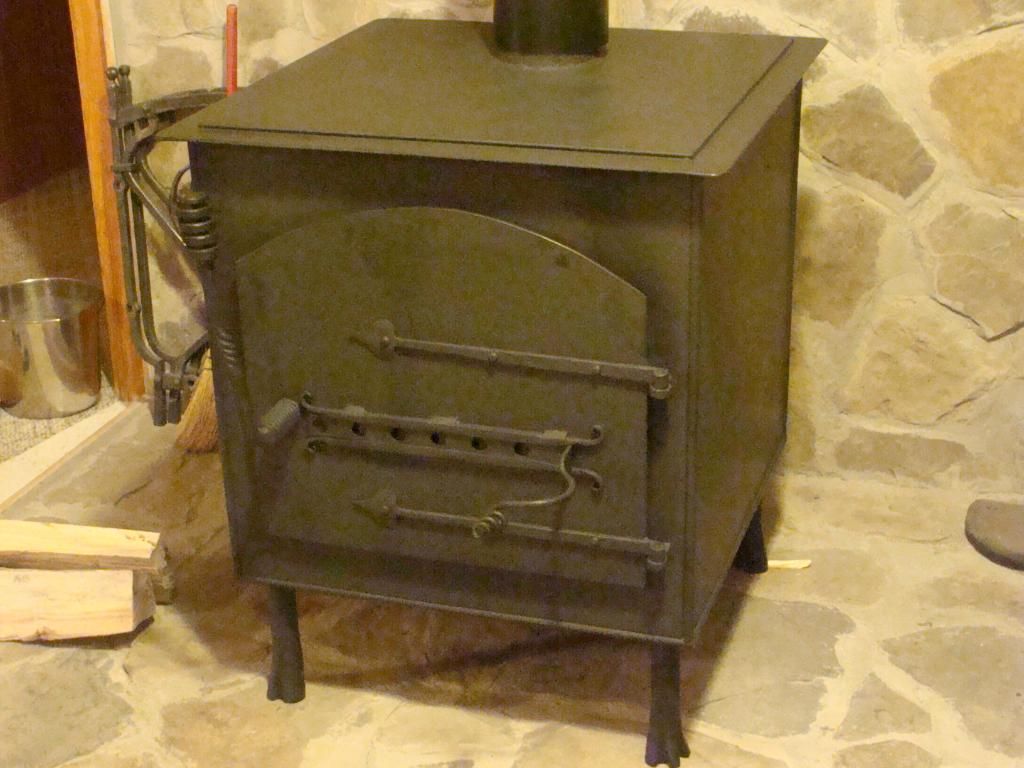
The stove is a 24-inch square cube.
The stove is made from 1/4-inch thick plate material.
There is a 1.5-inch lip around the entire top with all edges rounded.
All of the seams where the plate steel comes together, have full length welds to completely seal the box. The corners are trimmed with 1/2-inch round bar, and the welds are all interior.
The flue pipe hole is in the top and is 6-inches in diameter.
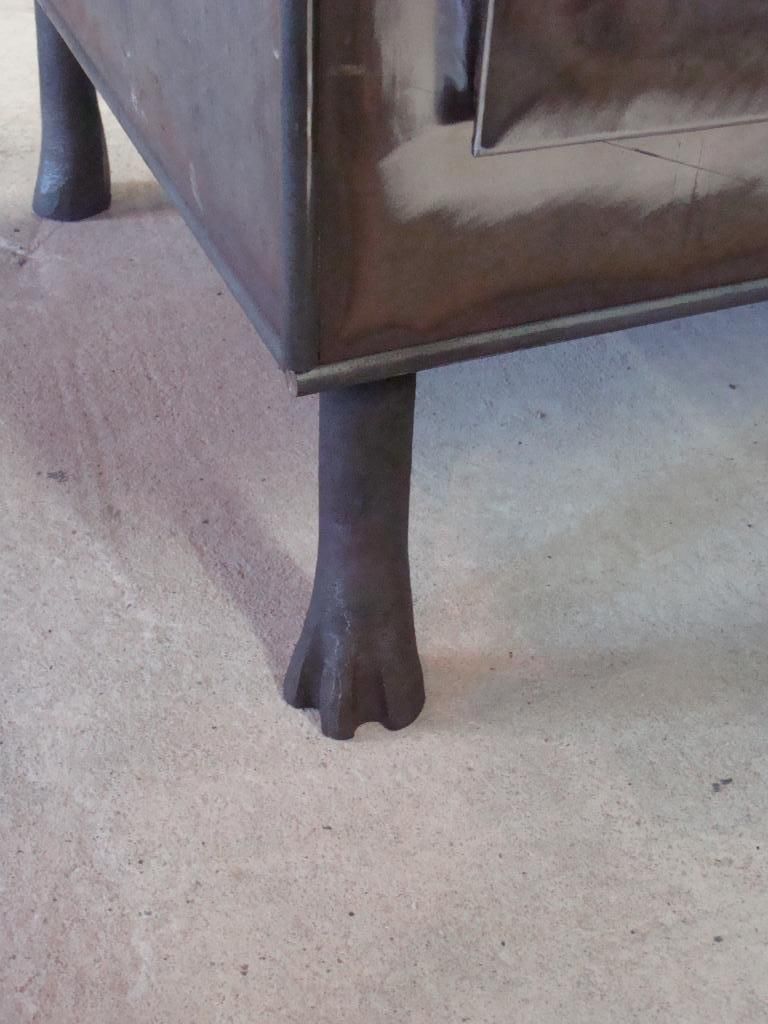
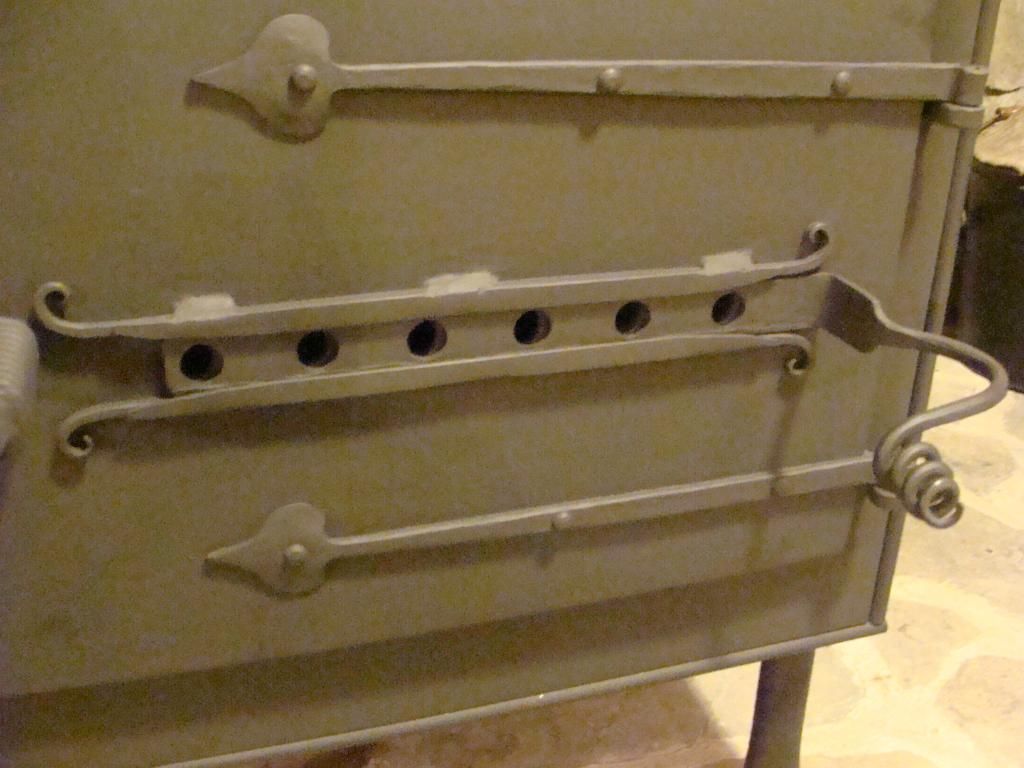
The legs were forged from 1.5-inch solid round bar and are made to resemble a "claw foot" design.
The hinges, handle, and damper-slide are all forged.
With the firebrick inside the stove weighs about 400-pounds +/-! 


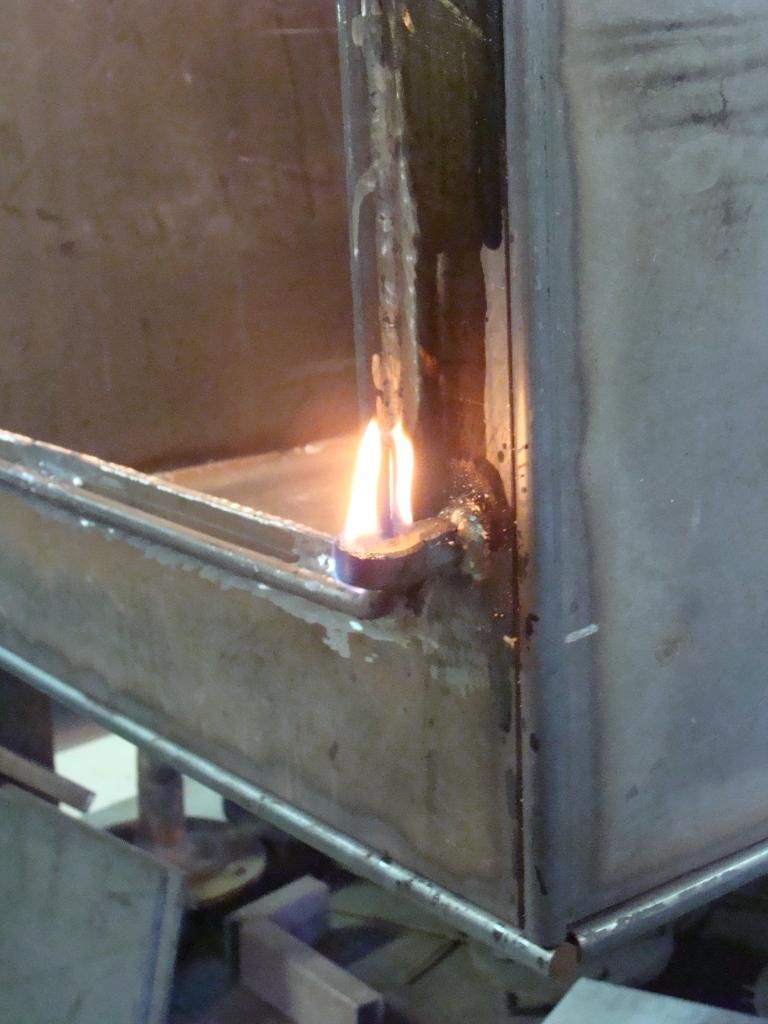
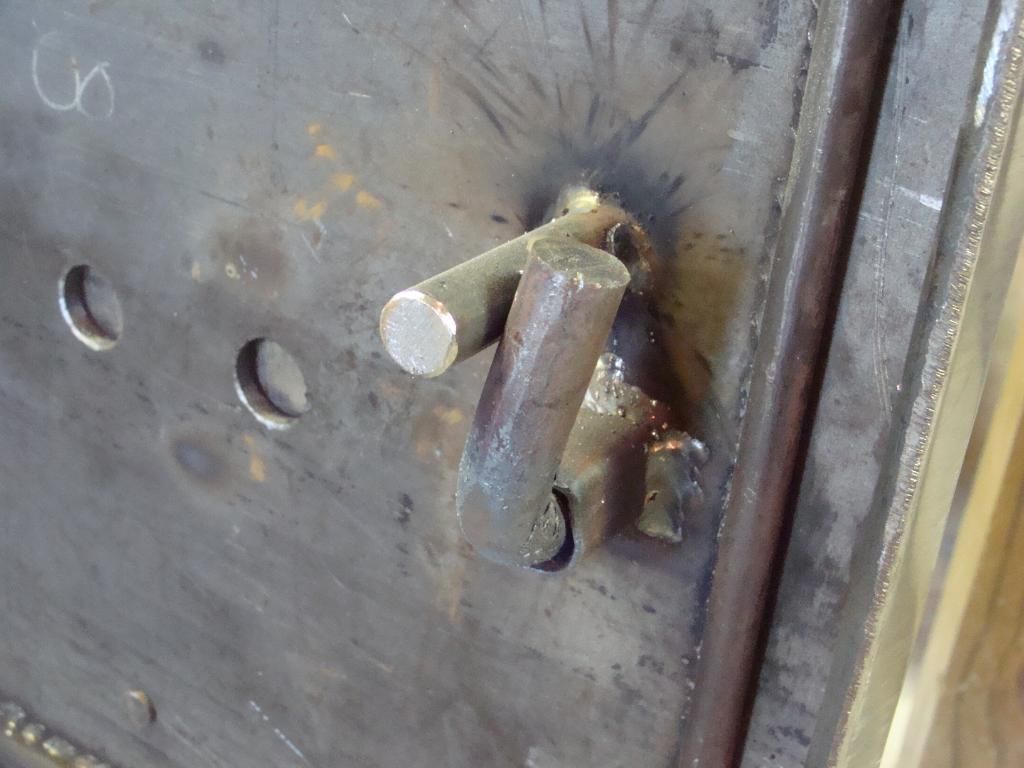
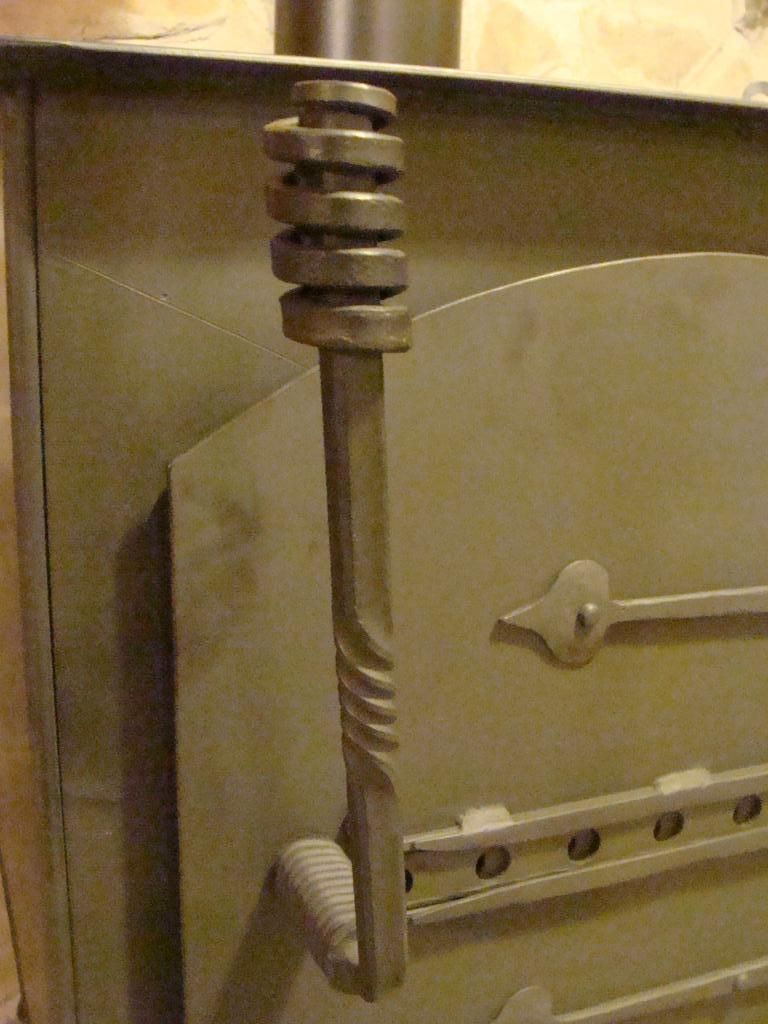
Here is one of the hinge pintels. I was doing some adjusting on it with an O/A torch. It had a little oil on it so it caught on fire.


The door was critical as far as positioning. I only had about an 1/8-inch lee-way. I finally got it right and it now has a super tight seal.
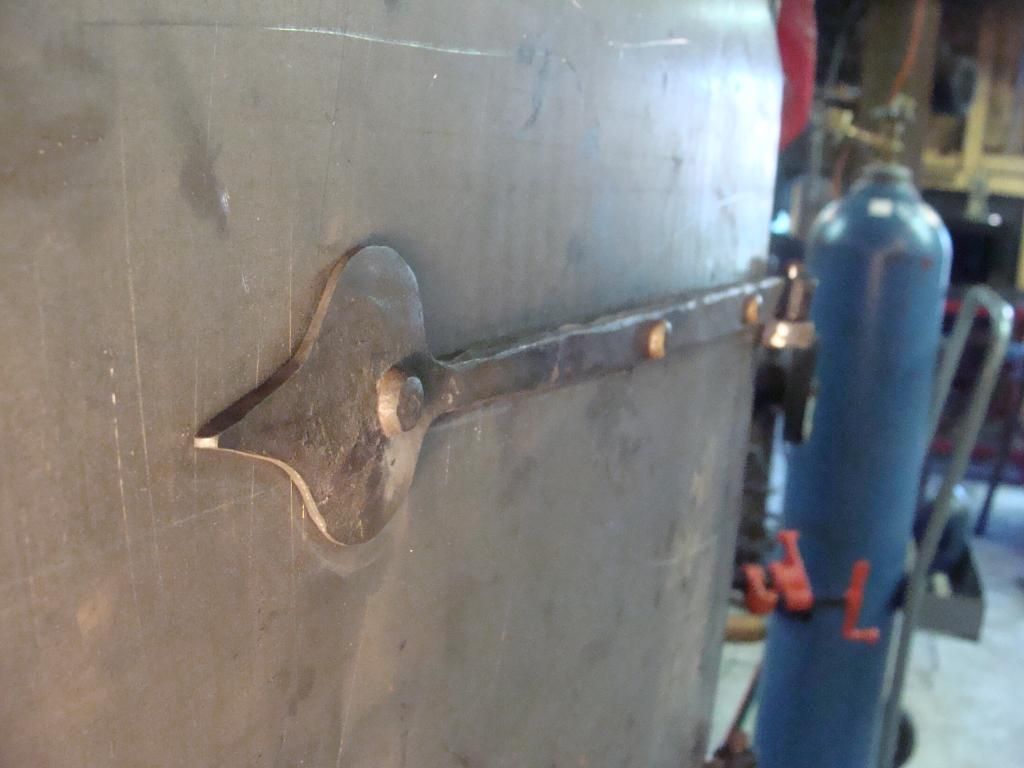


Here is the handle.


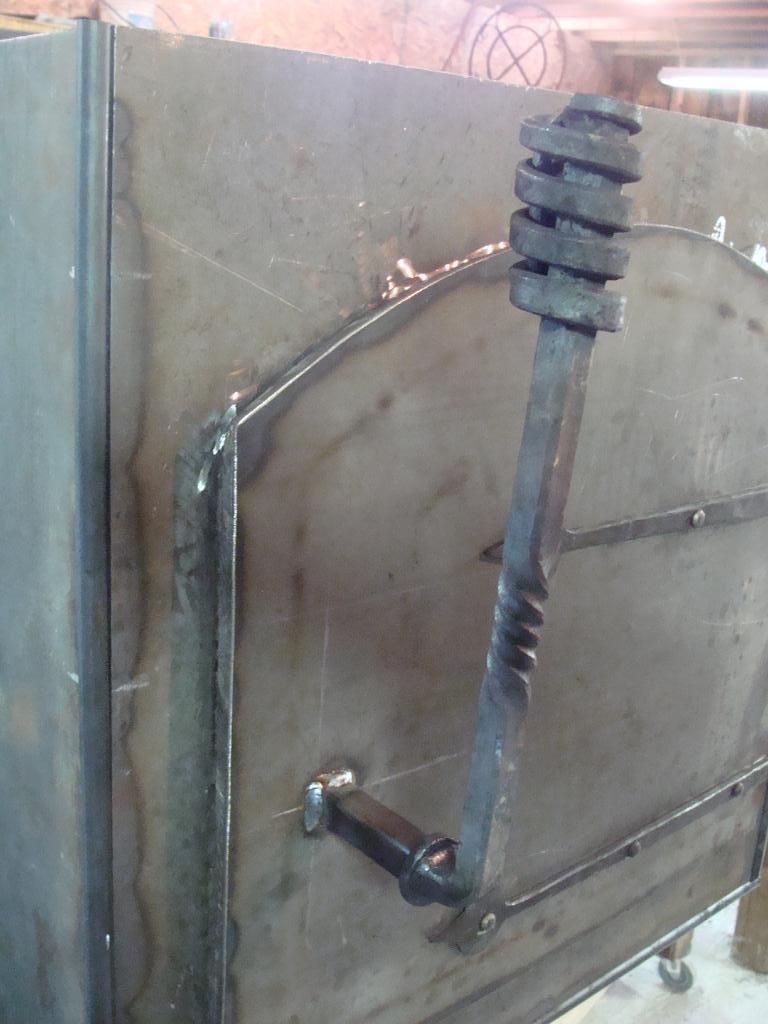
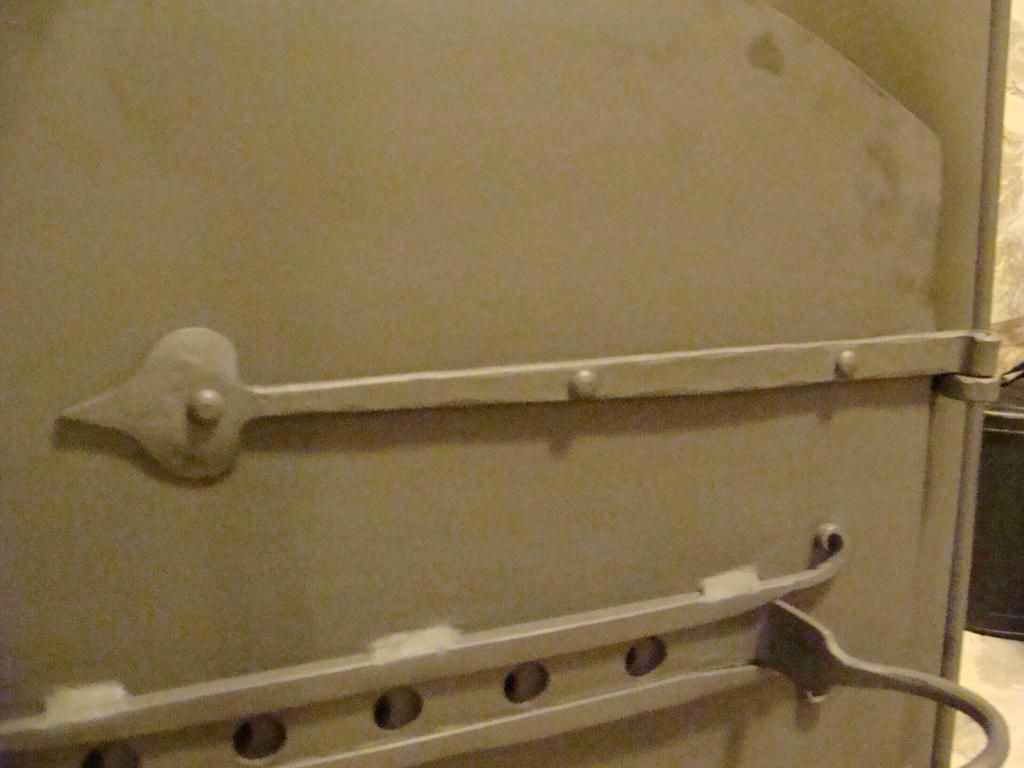
Here is the damper slide. The way it works is there is a series of holes drilled into the slide and into the door. If you want to allow more air into the stove you move the slide until the holes line up, allowing air into the stove. If you want to decrease the air intake, you slide it to cover the holes up more and more until they are completely covered.


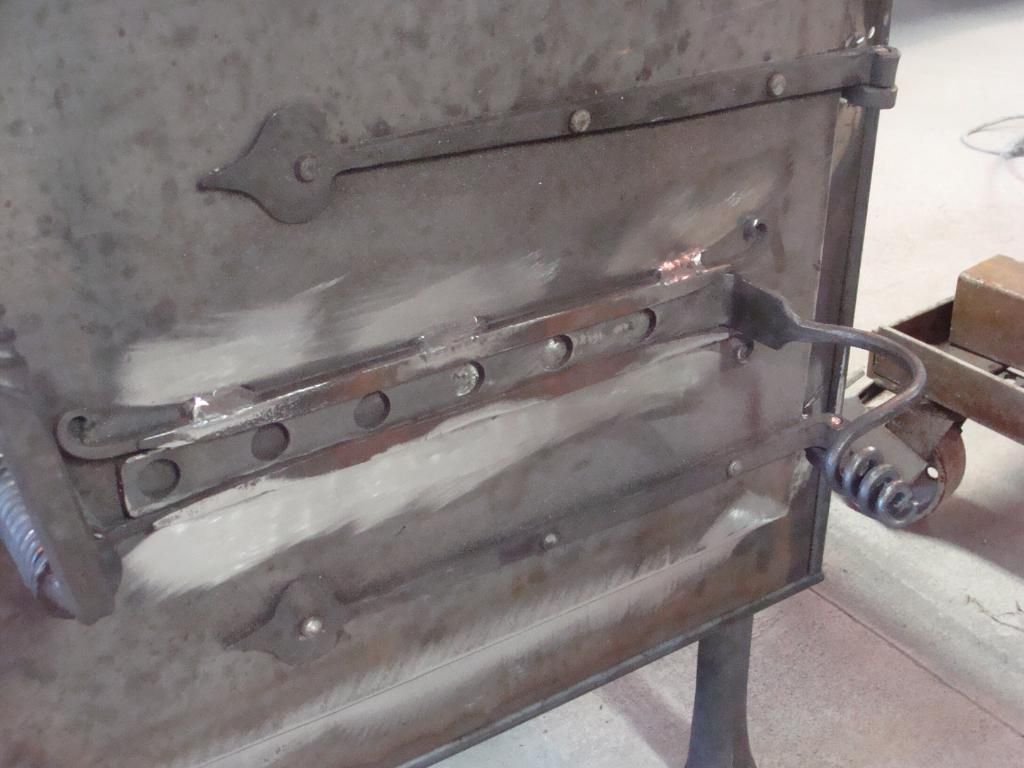
This is the inside of the door handle. There is a stop so that when the handle is in the open position it does not rotate freely. When the handle is shut, the bent piece in the picture, latches onto an angled piece of metal inside the stove. (not pictured!) The angled piece allows for wear on the stove over time. Even after years of wear, the door will still fasten tightly because of the wedge-shaped piece.


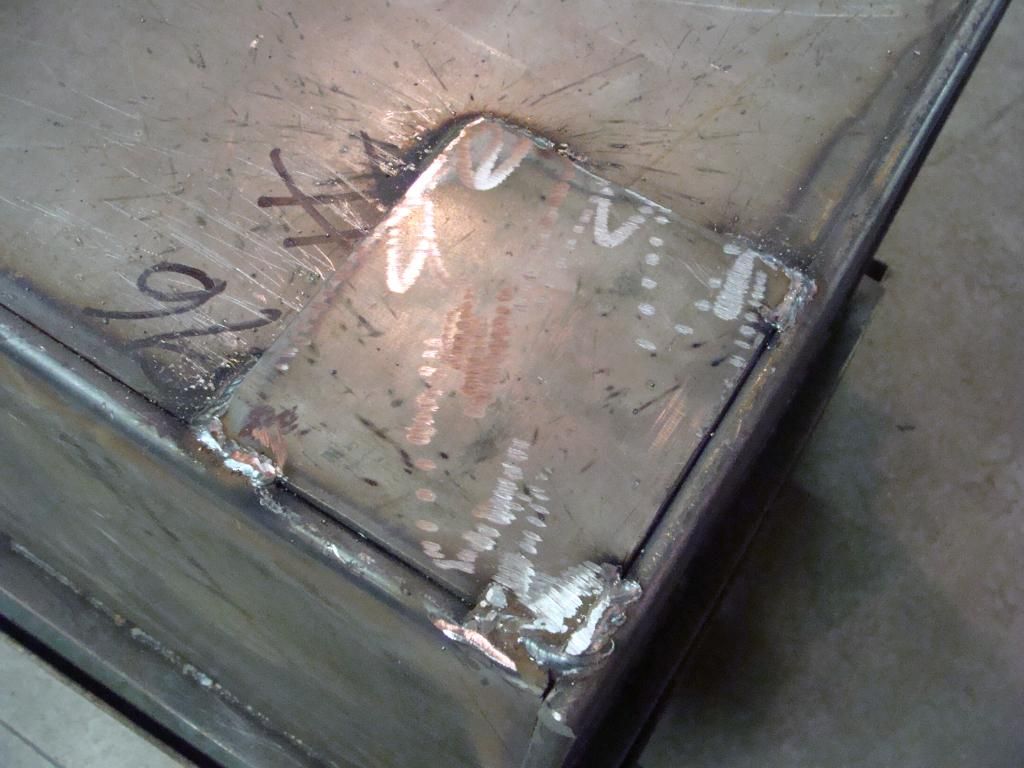
I put these square reenforcement plates on the bottom of the stove where the feet go. This is just to provide extra support where all of the stove weight is baring down.

Here is one of the feet!


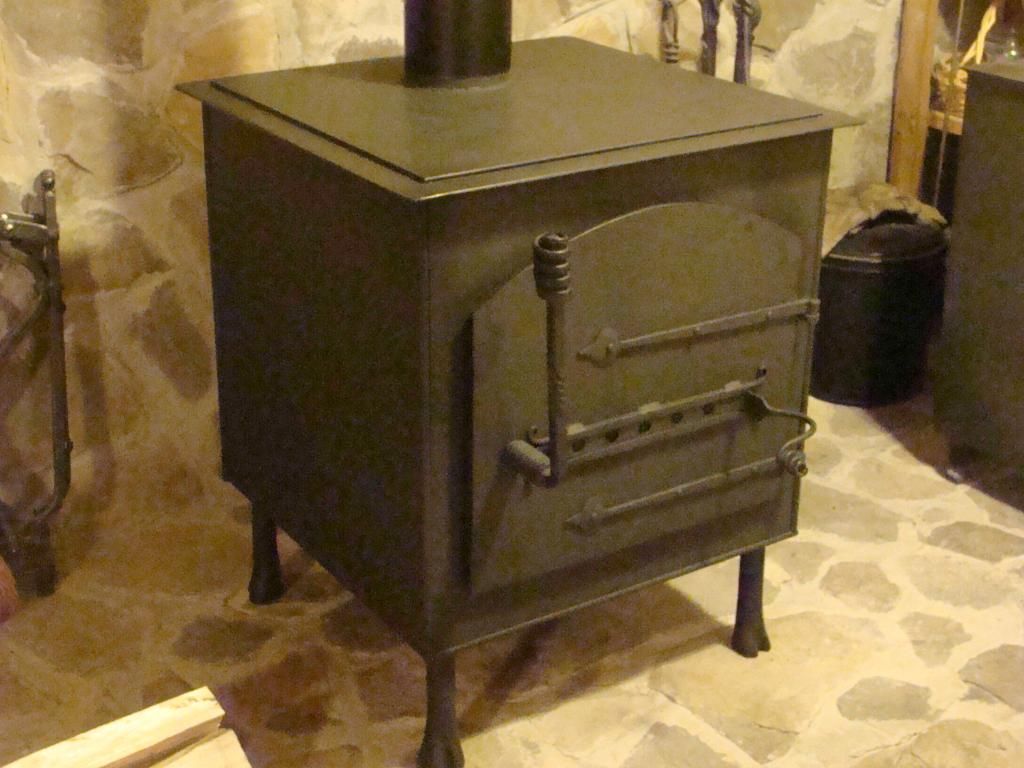
And drum roll please........it's installed!


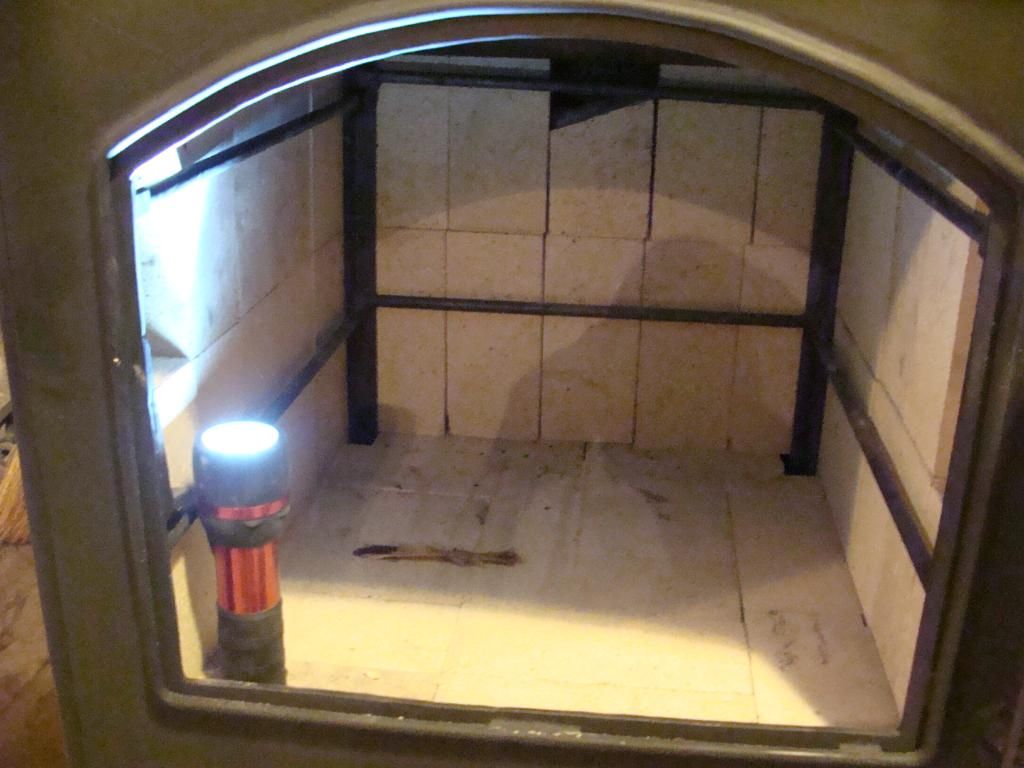
Interior lined with almost 50, 2-inch firebrick.


"FIRE IN THE STOVE!"


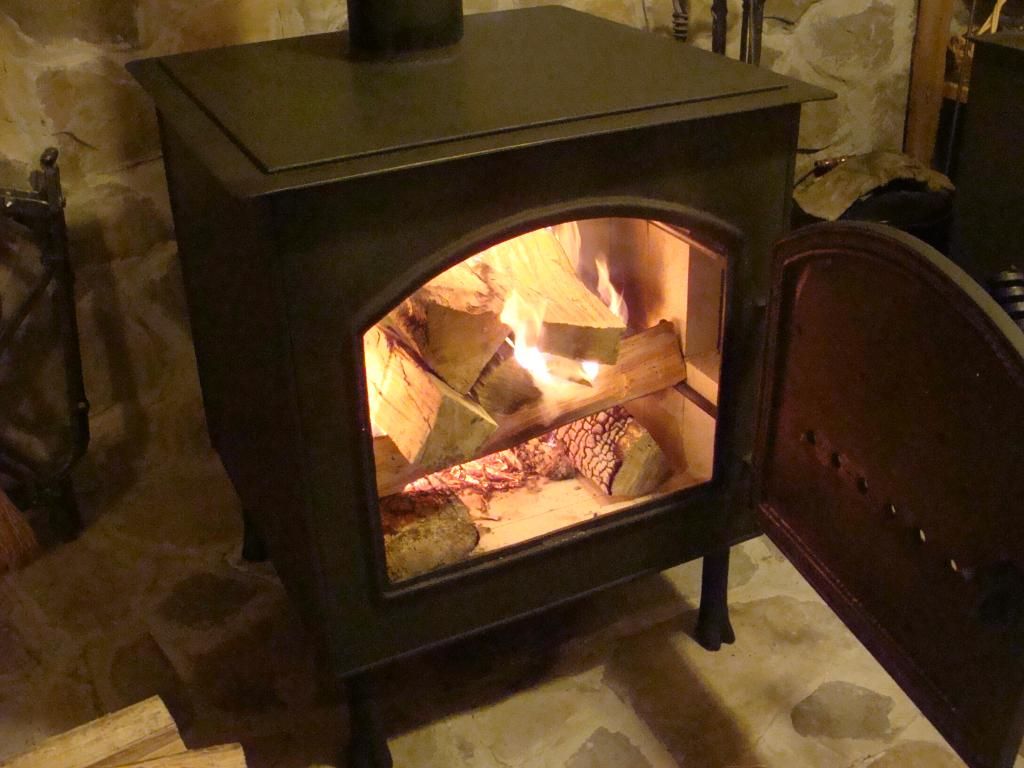
The stove works very well and is much tighter than our old one. This means that I can put wood in it at night, and still have a fire going the next morning, without ever getting up to tend to it or add more wood. The firebrick provide enough thermal mass so that even when the fire has been out for several hours, and there are hardly any coals left, the stove sides are still extremely hot.

It works like a charm!


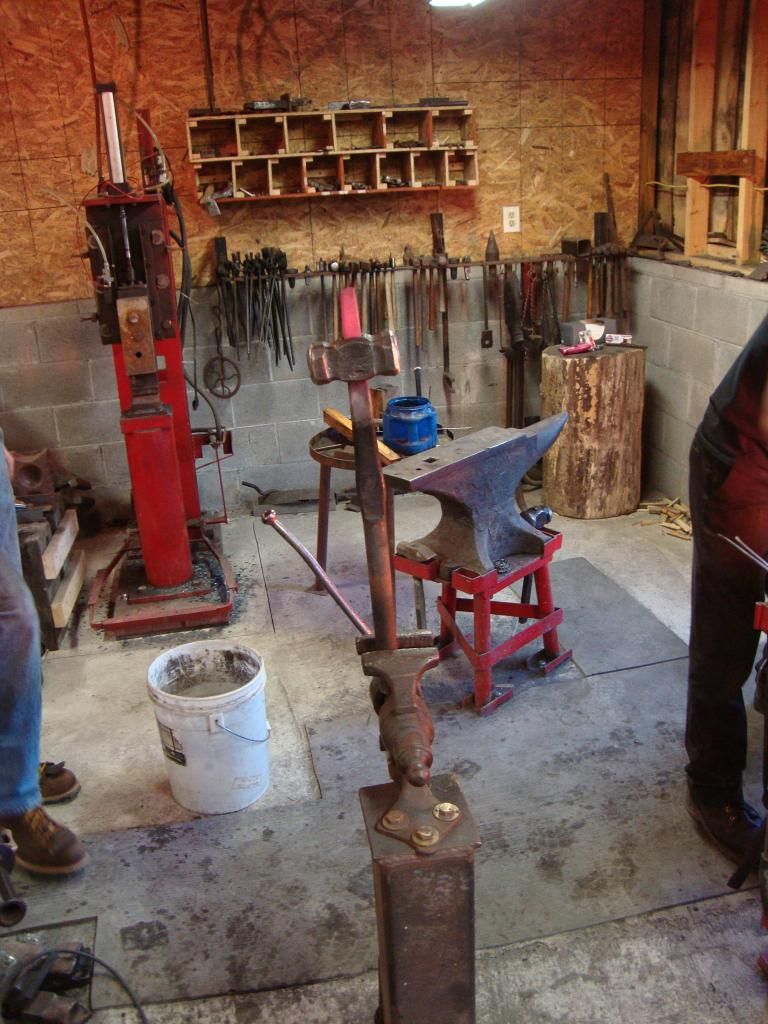
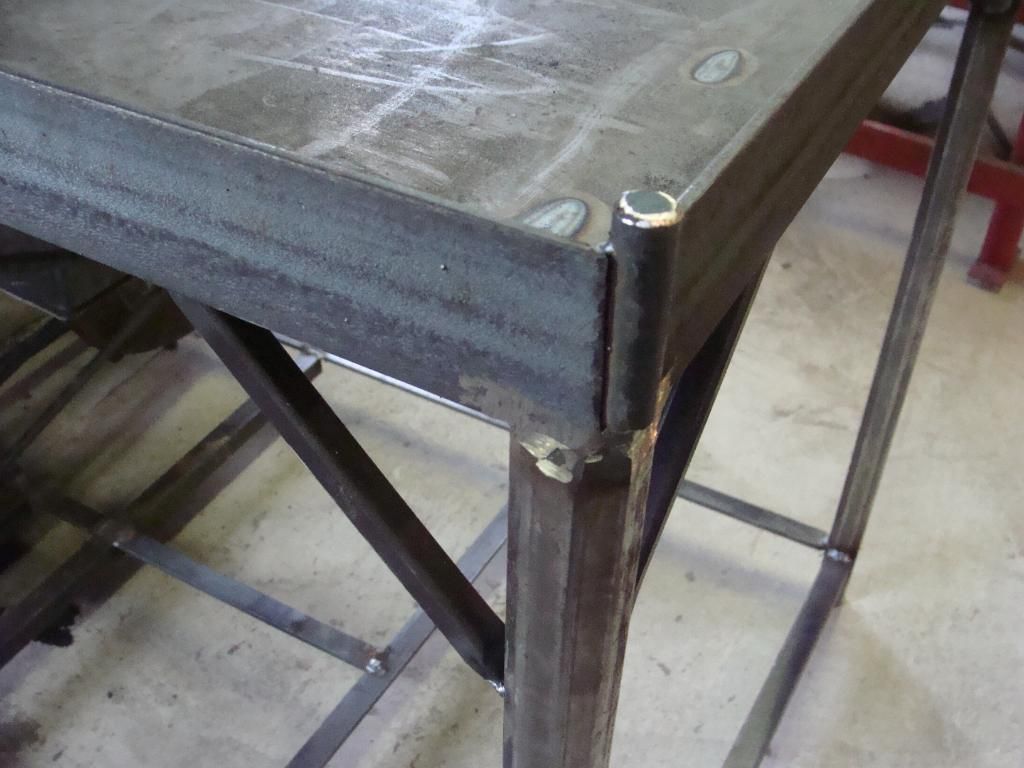
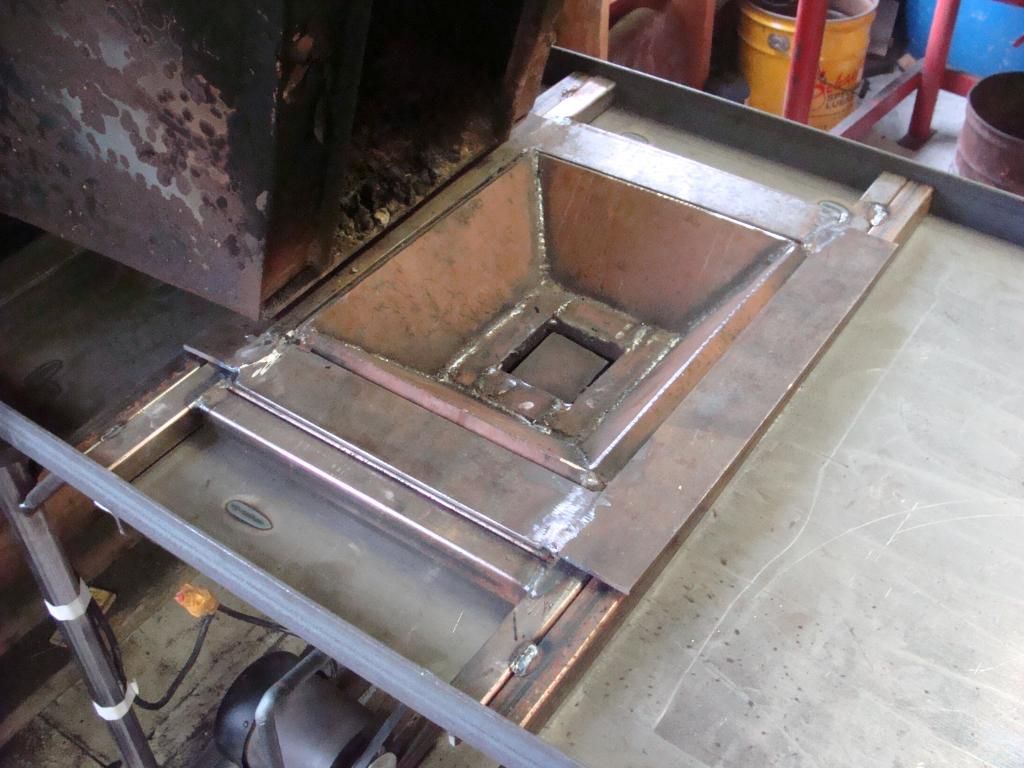
I also sold my old faithful red shop forge! I built a new forge to replace it, the main change being, I switched to an electric blower.

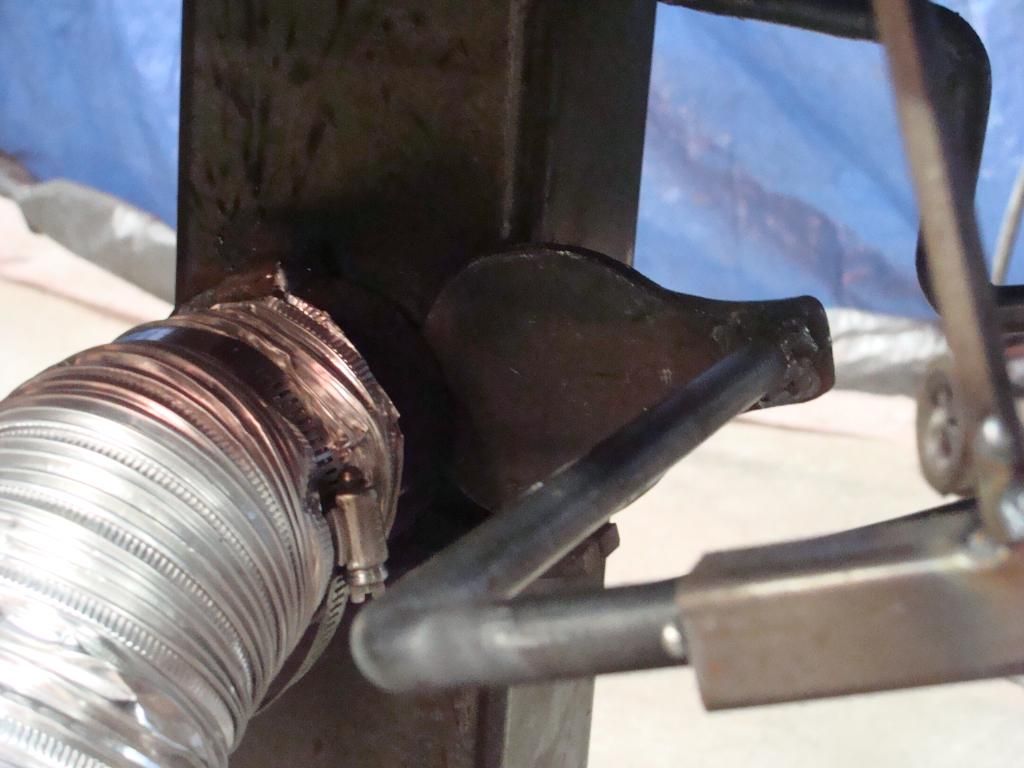
Here are some pictures!


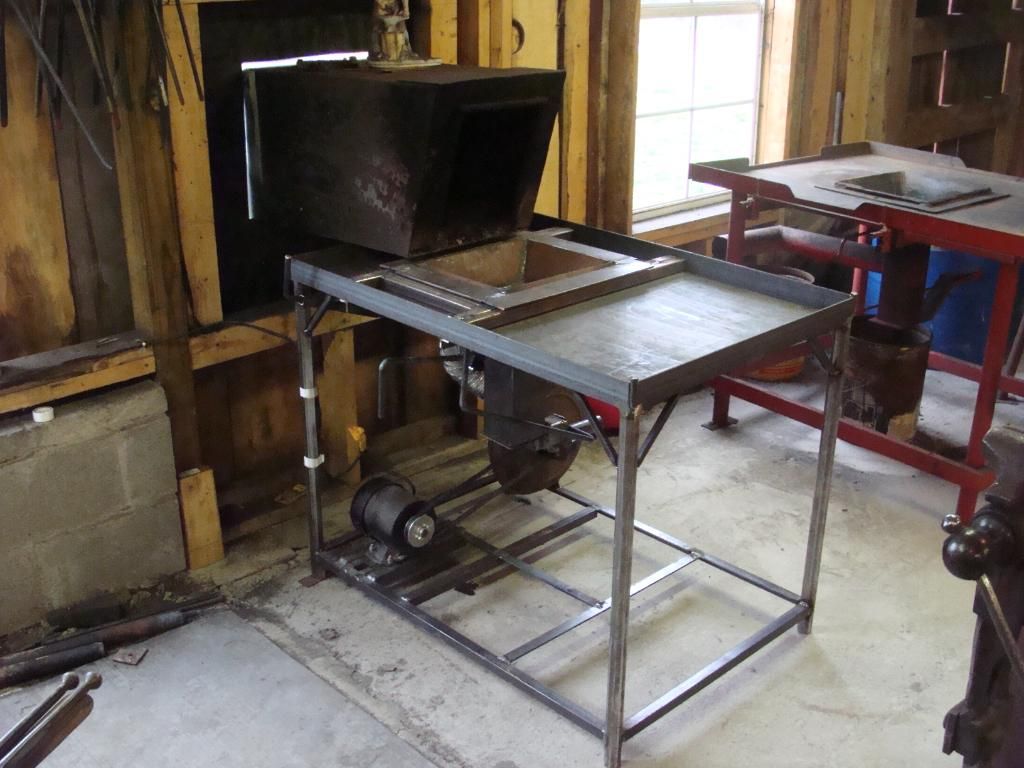
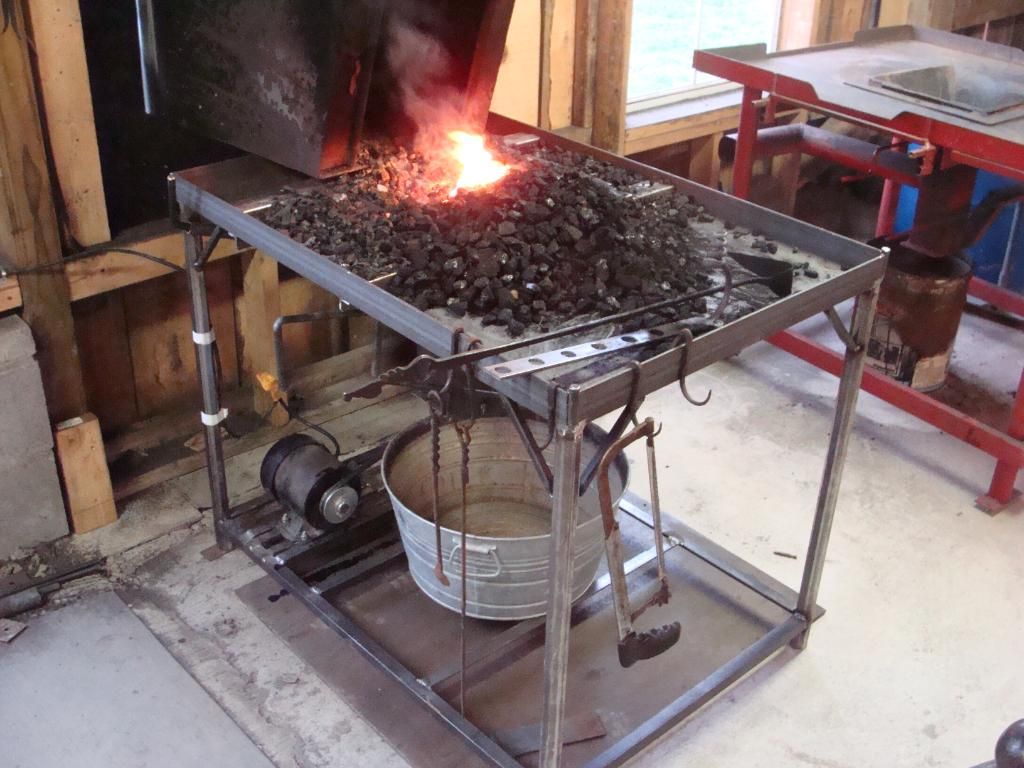
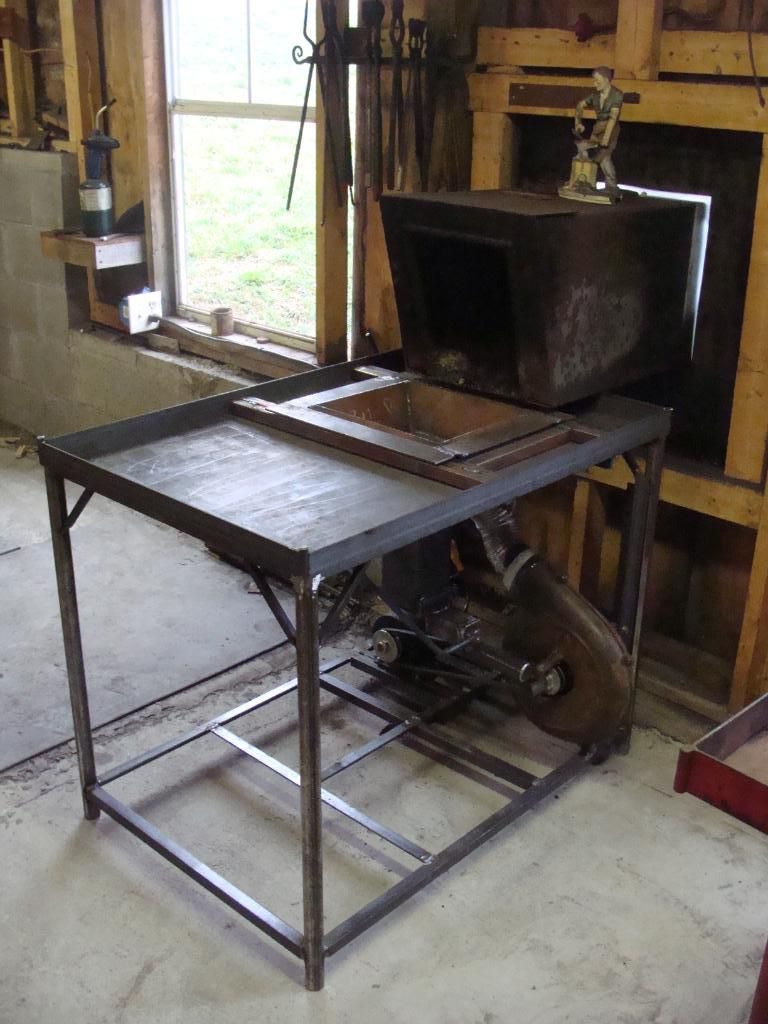
Here is the blower/motor!


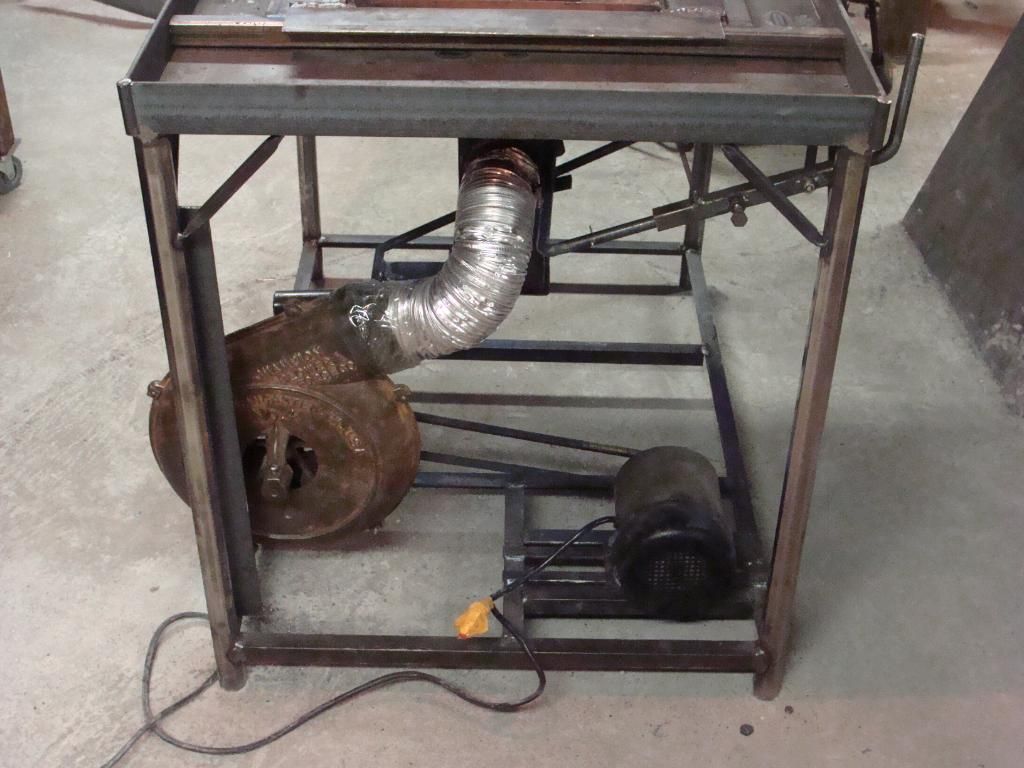
Air supply is controlled by this shop-made air gate!


The forge works very well and I am very pleased!

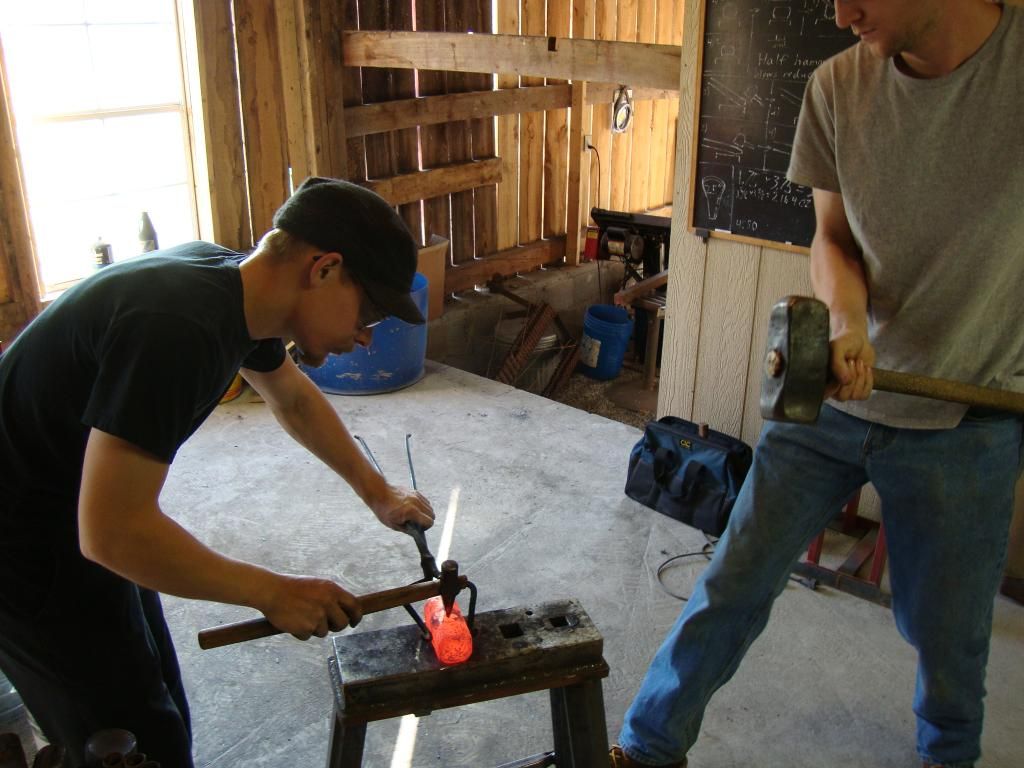
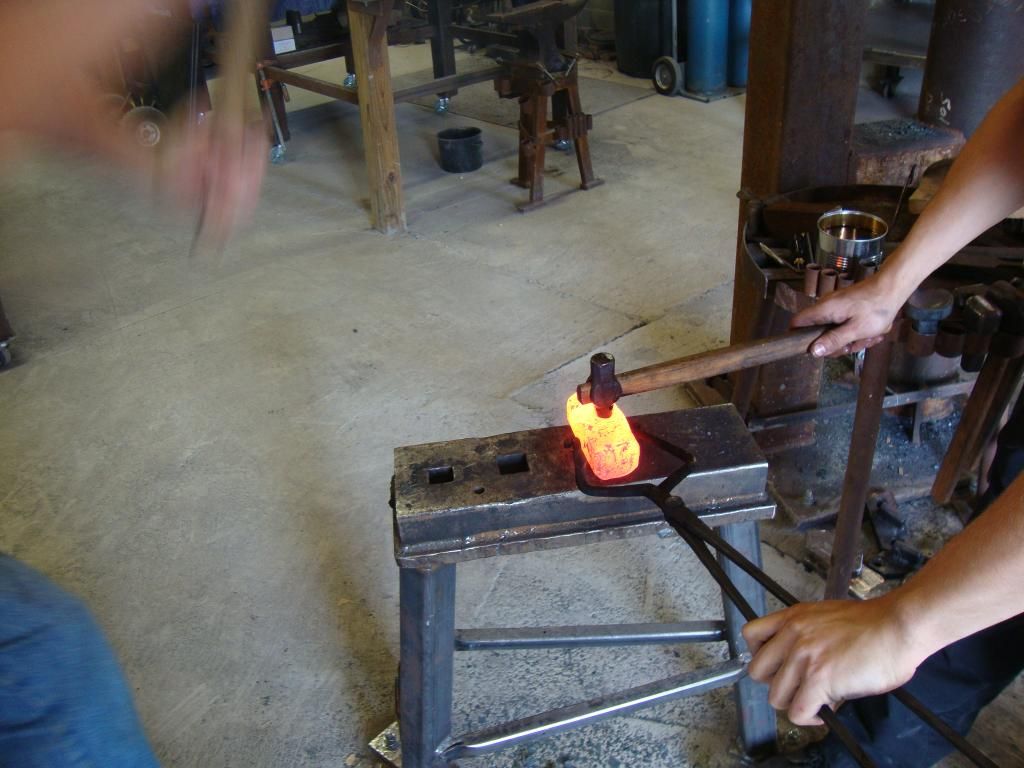
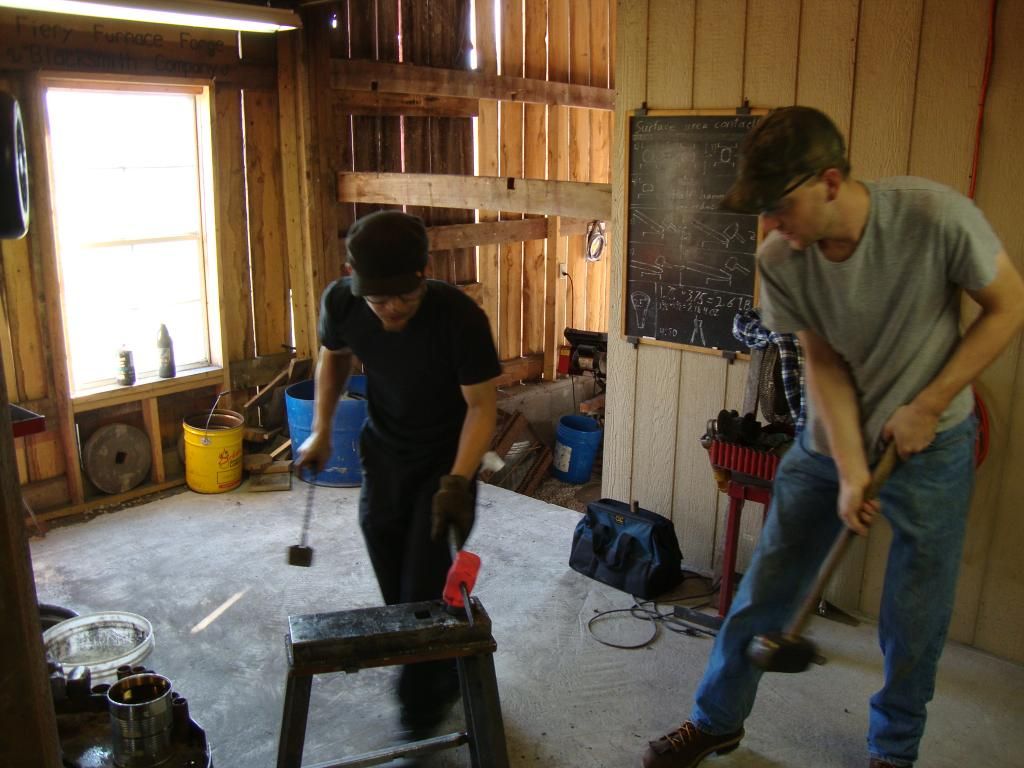
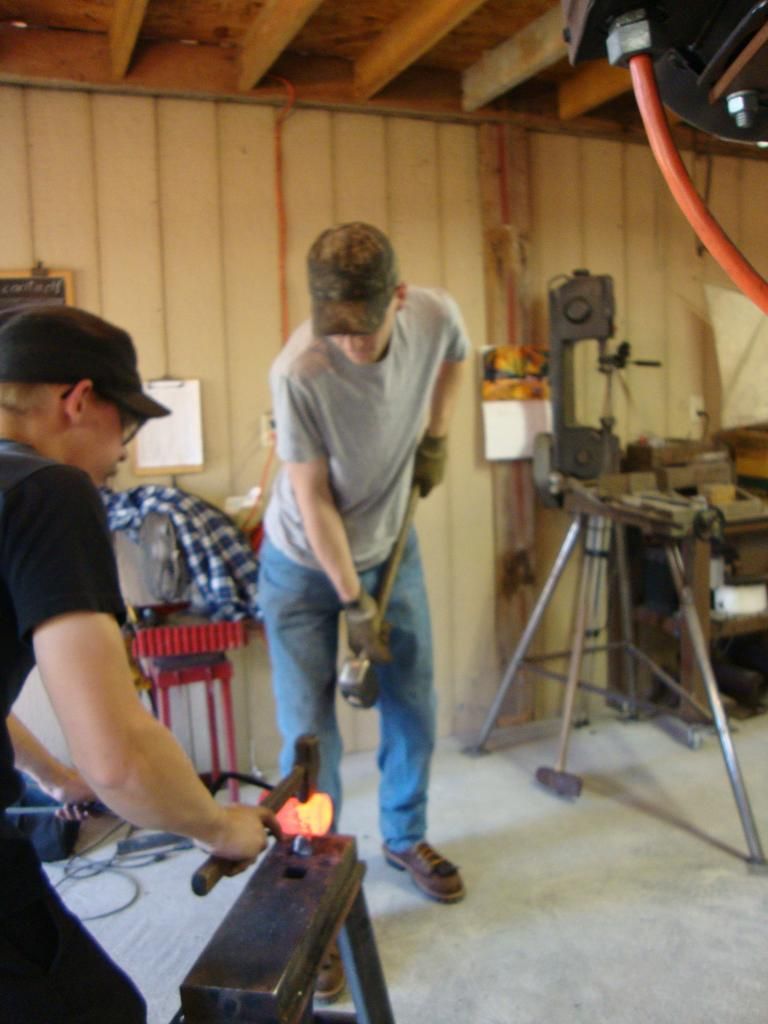
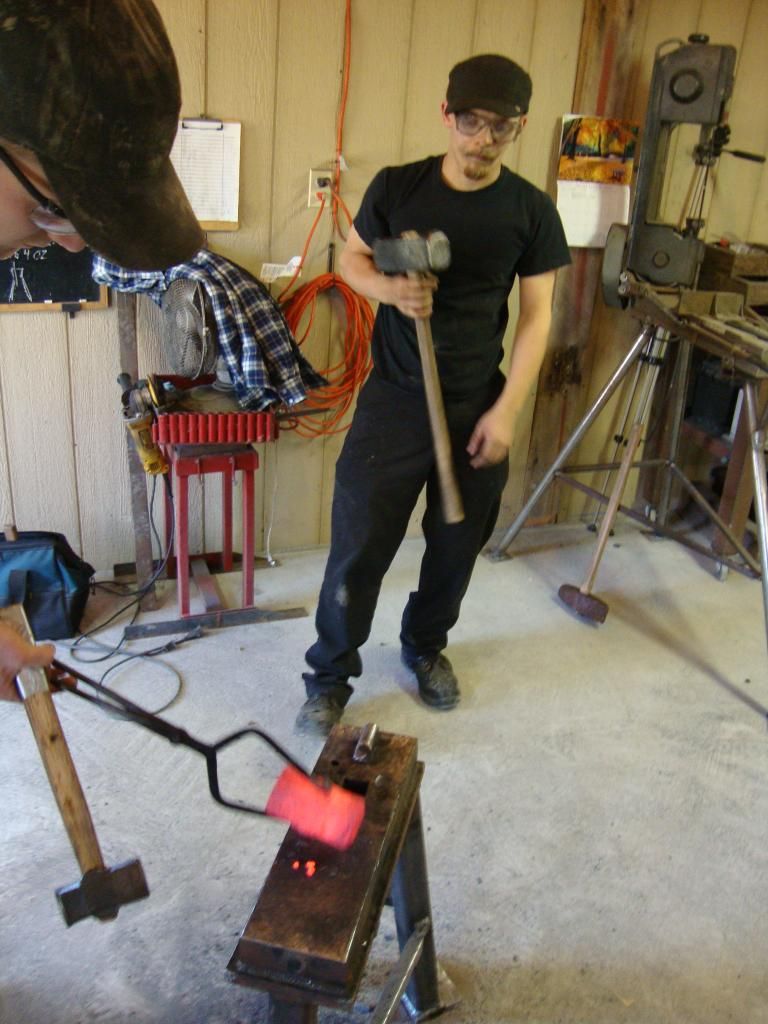
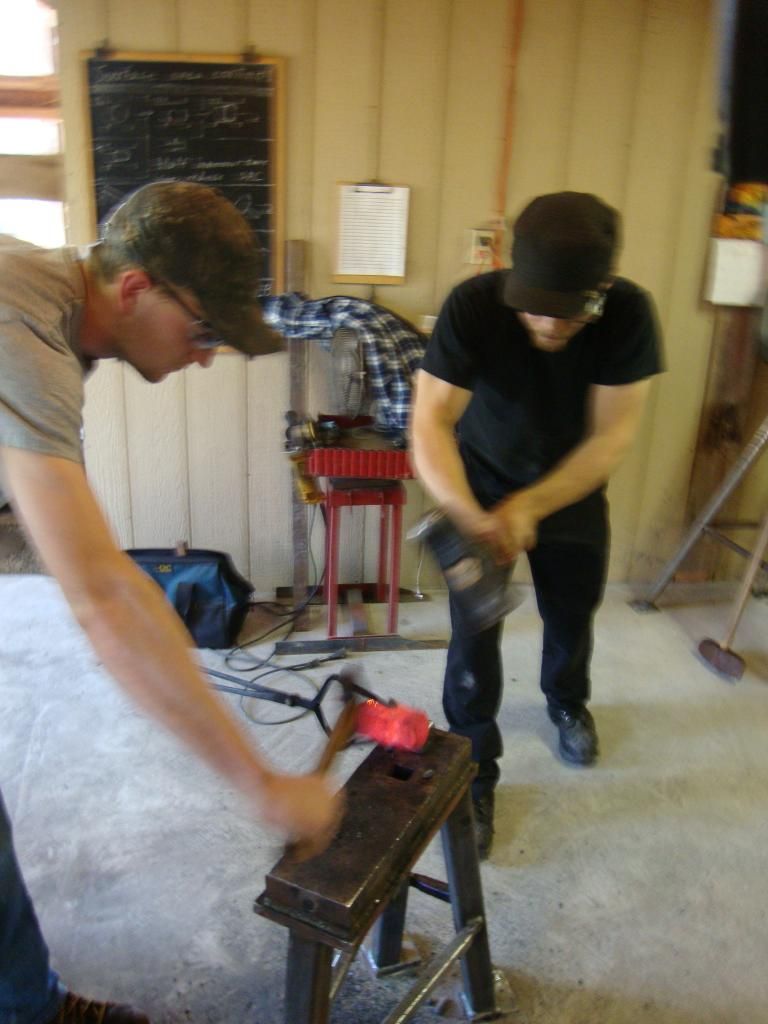
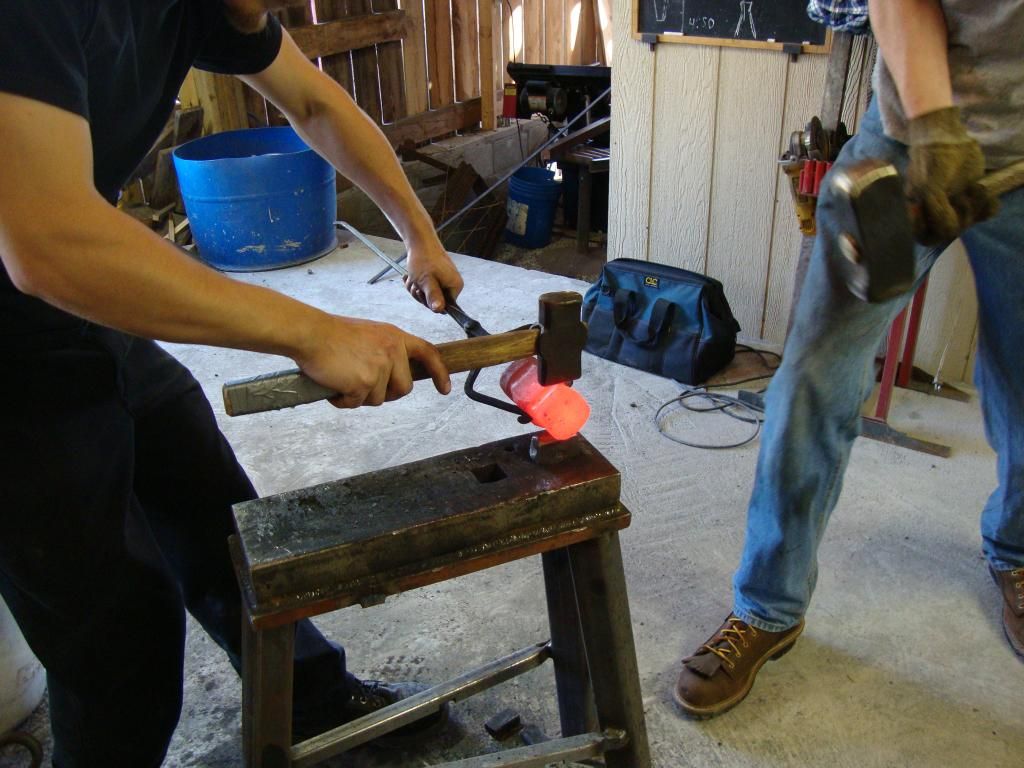
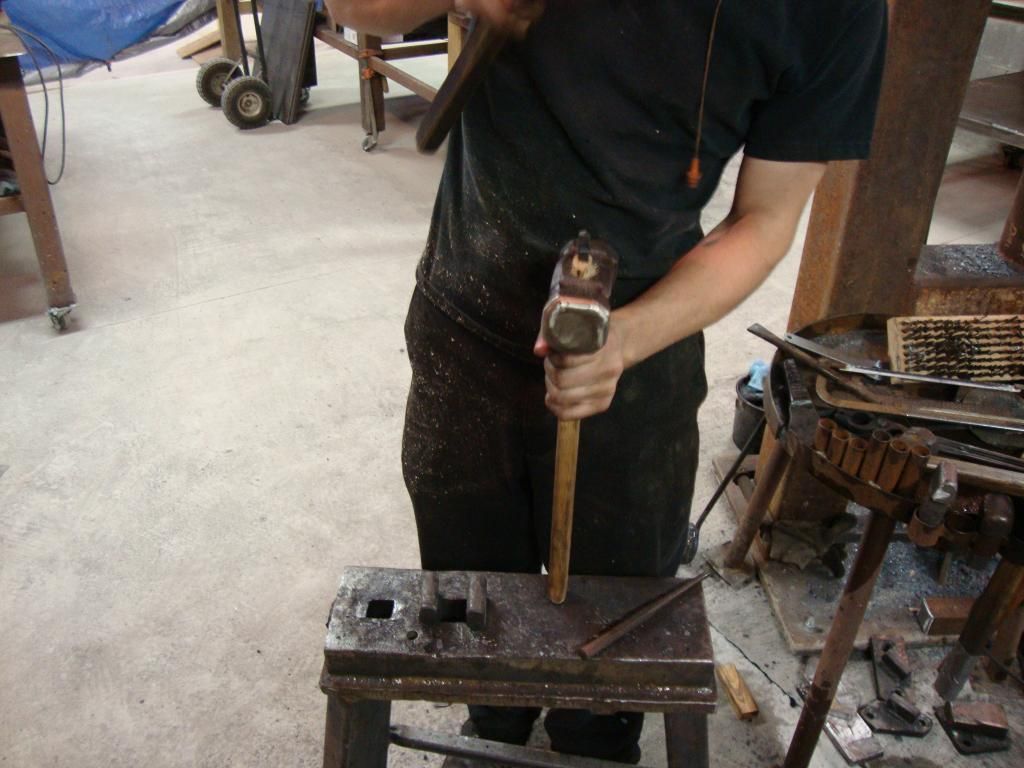
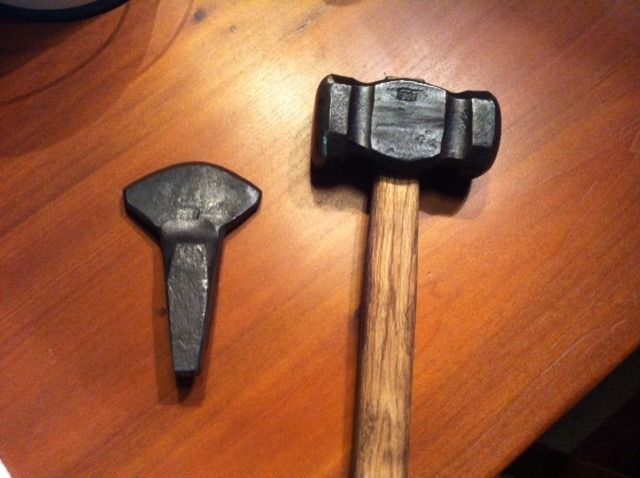
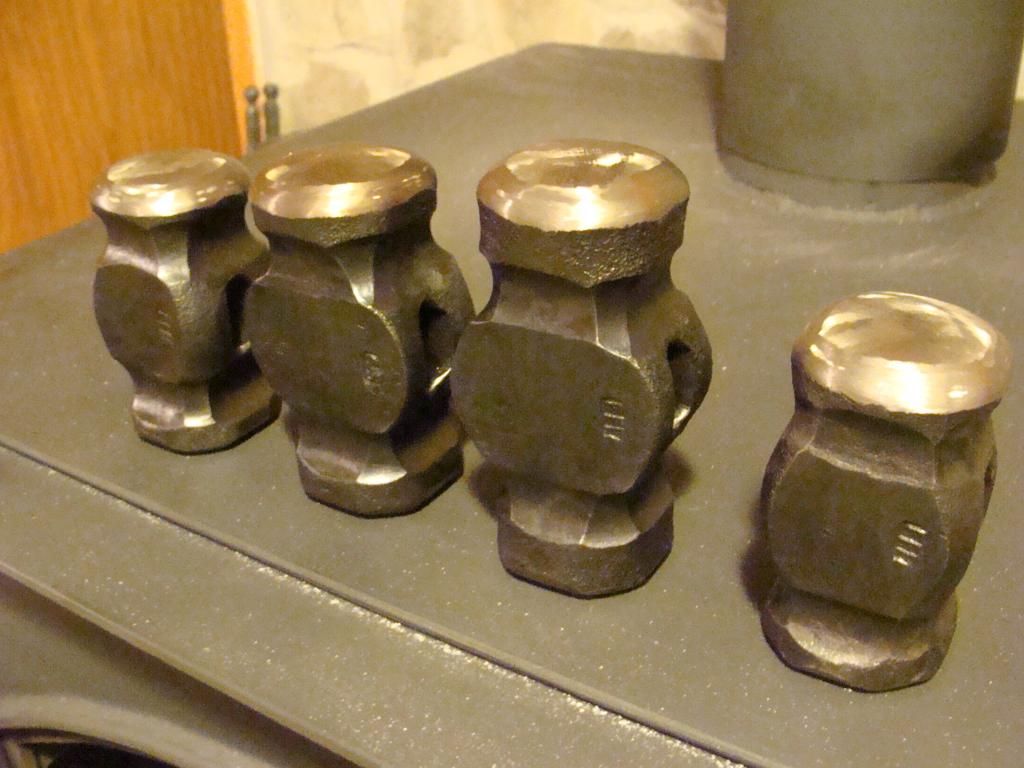
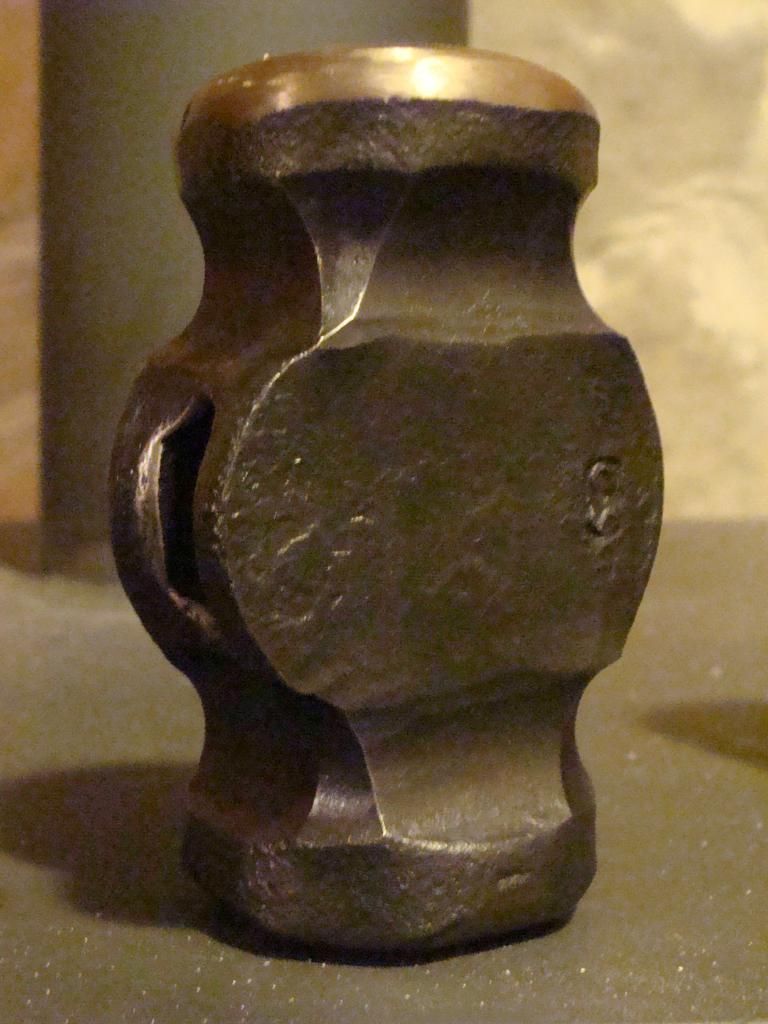
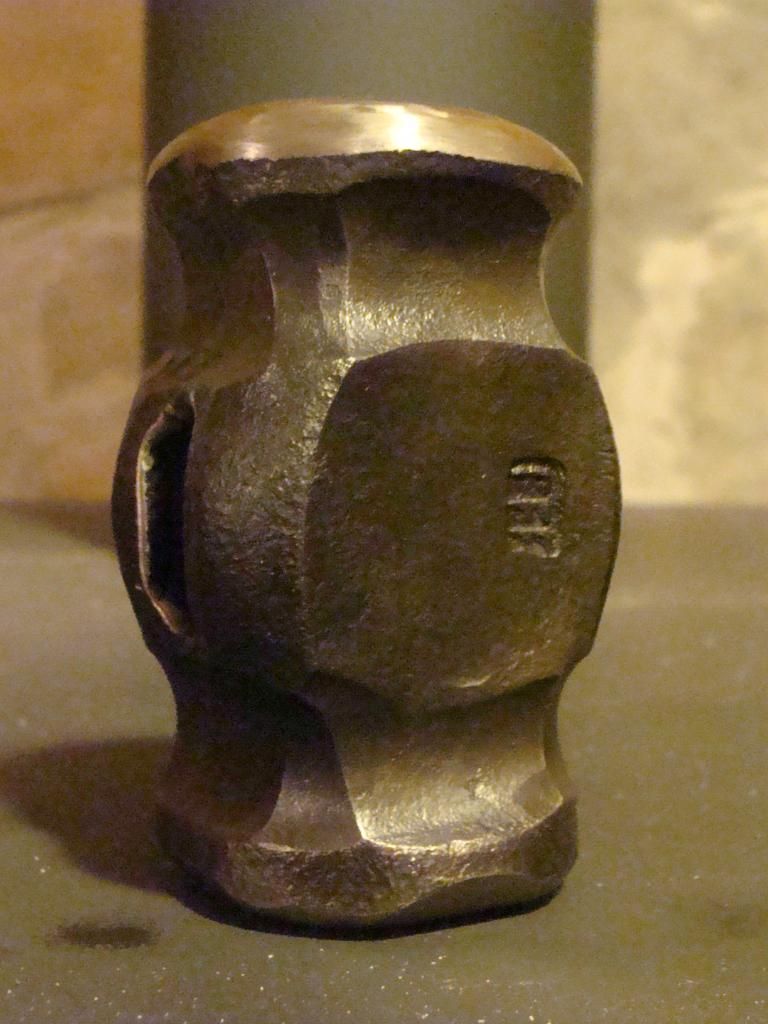
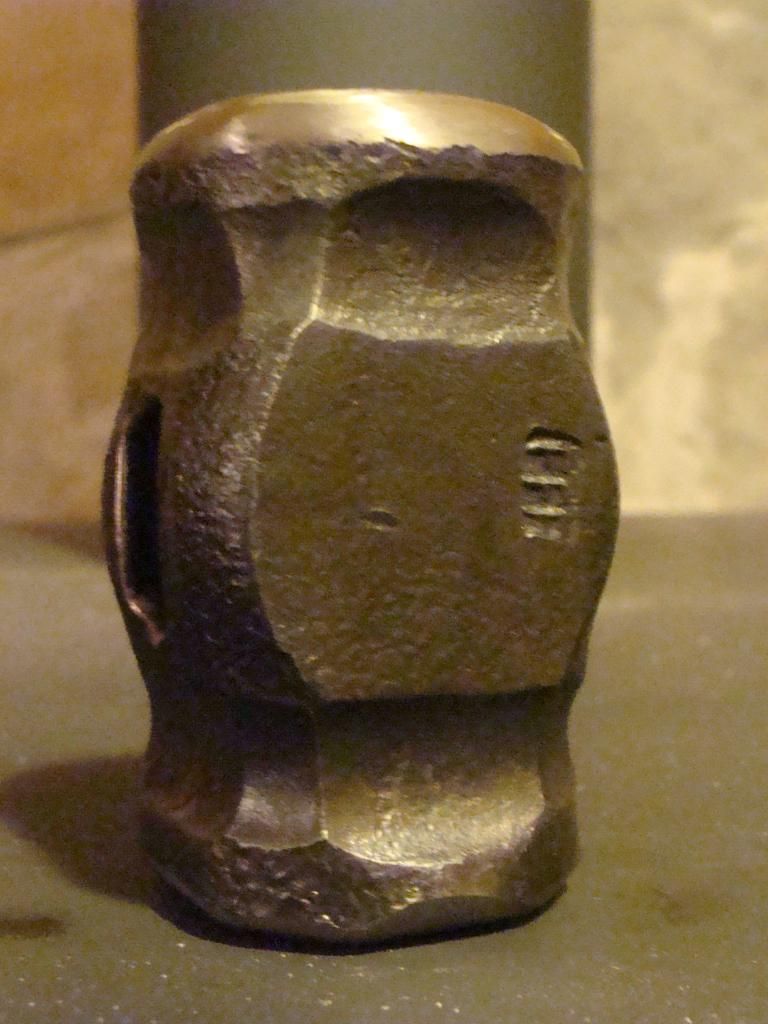
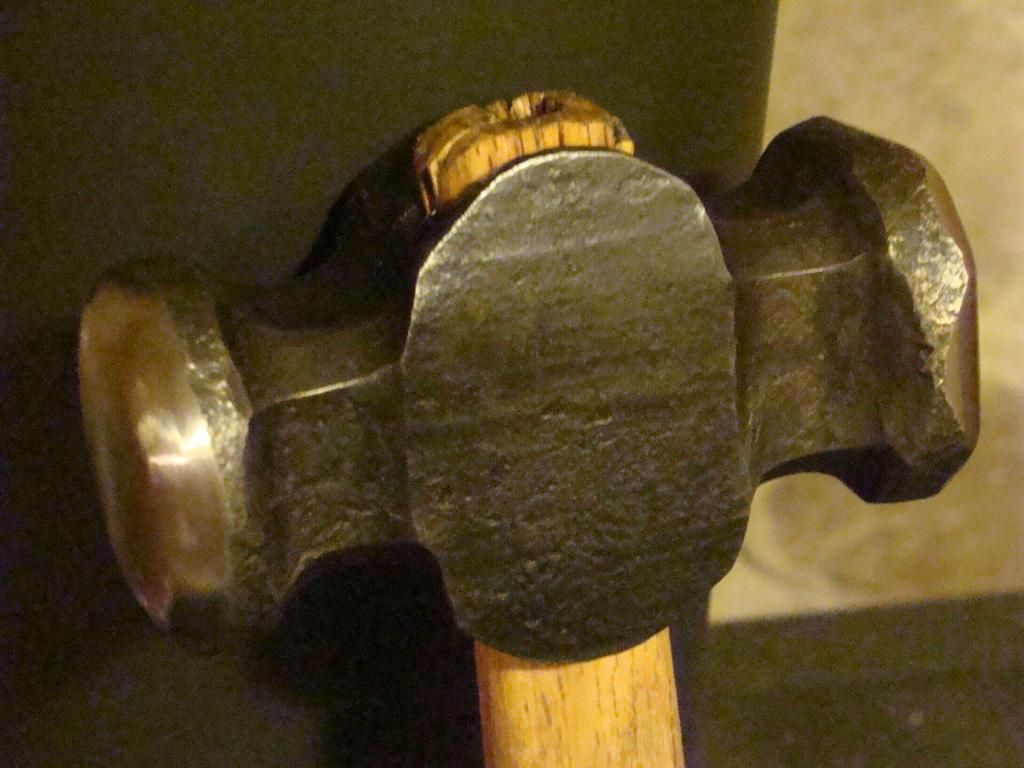
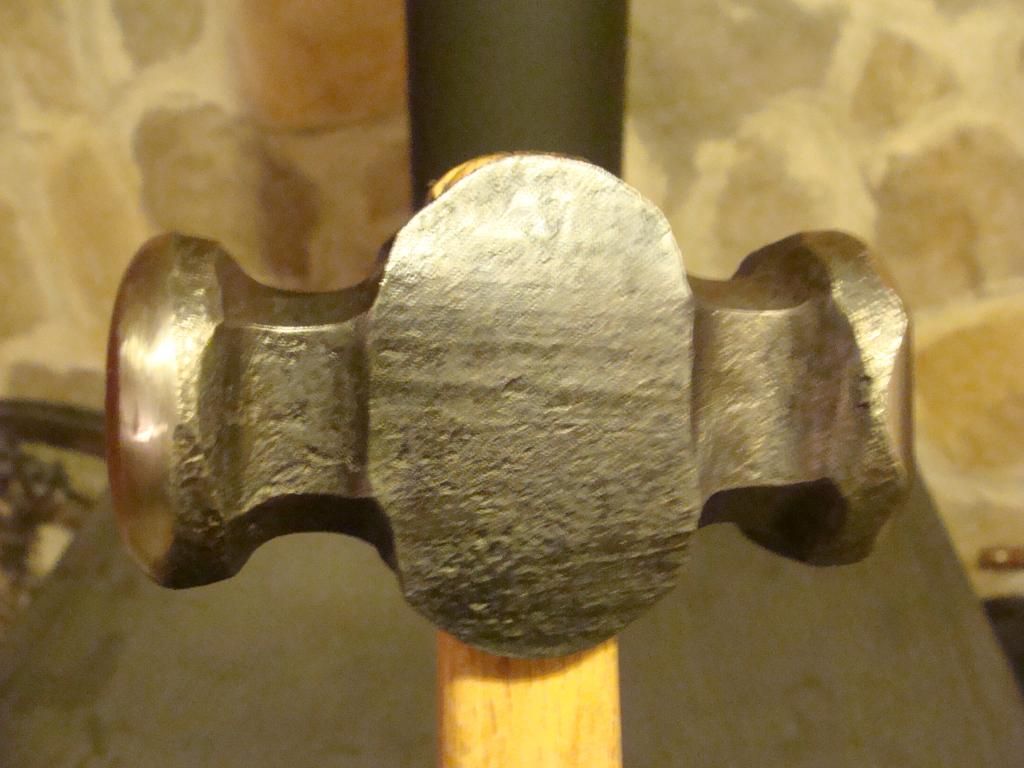
I had a friend over last week and we made some hammers. Well 6 hammers actually. These hammers are for sale. Two sold within the first two days of making them. These are very nice, high-quality smithing hammers. If any of my readers would be interested in purchasing a hammer please contact me via blacksmithdave@gmail.com.


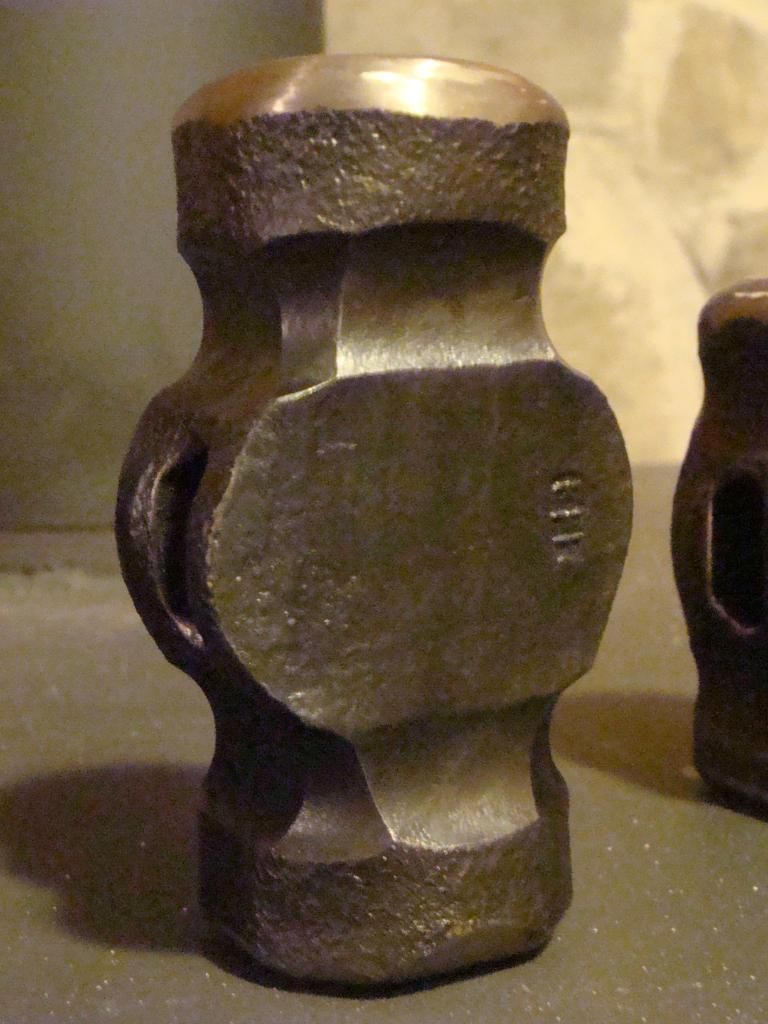
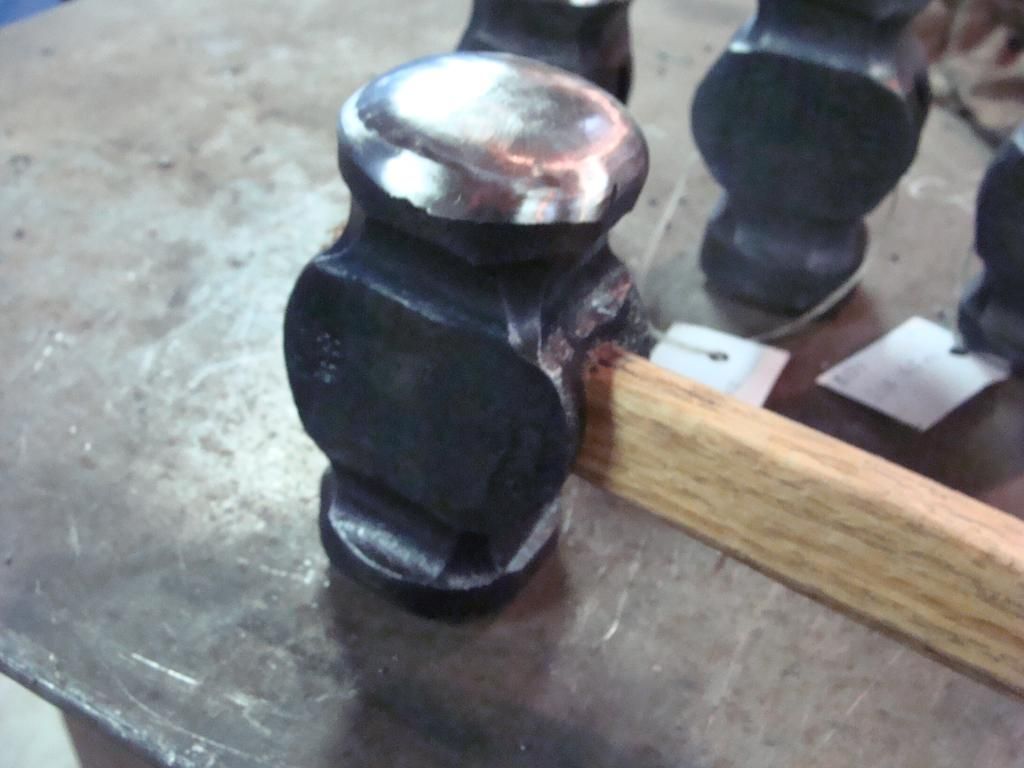
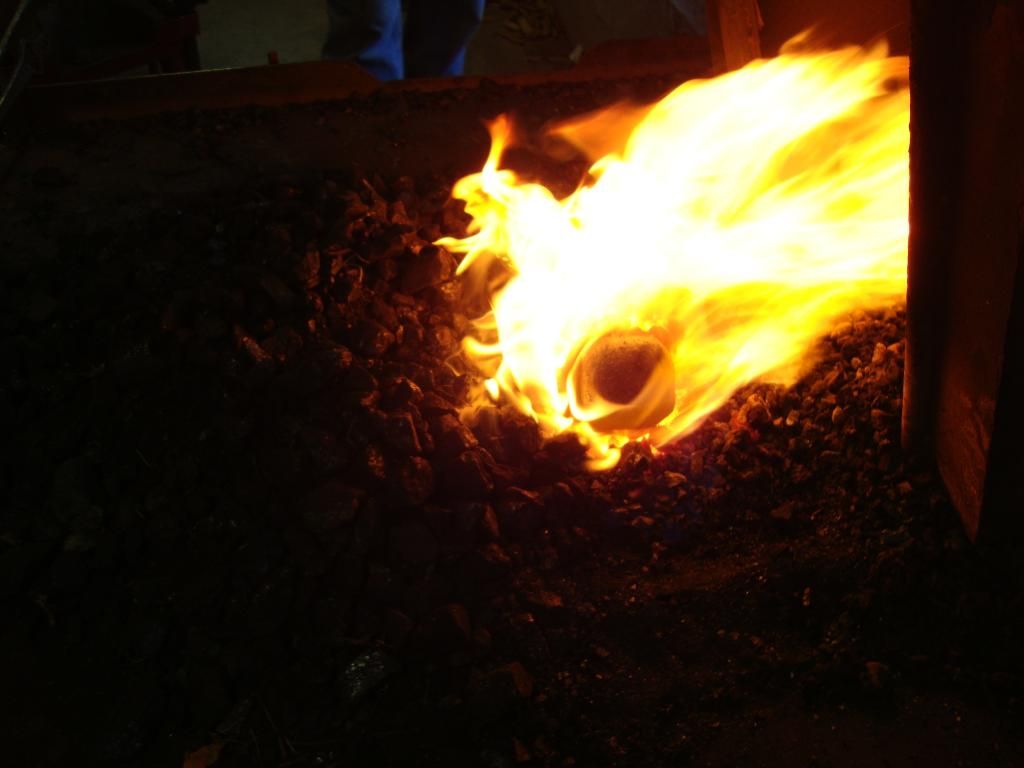
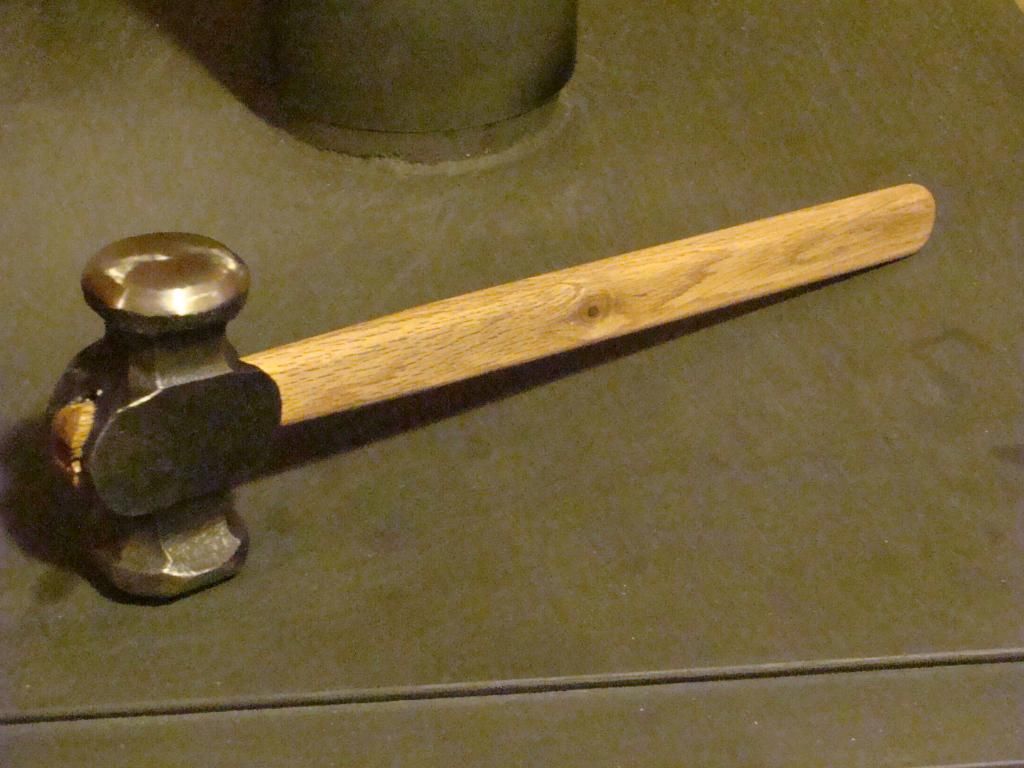
This is a hammer I forged last Saturday by myself! It is not for sale!


That's all I have time for now! G'day!

Monday, January 7, 2013

Teaching the trade

Fiery Furnace Forge is celebrating its 7th anniversary.....its hard to believe its been that long since I first started swinging a hammer.

In that seven years, I've had quite a bit of opportunity to tackle difficult jobs, learn by trial and error, meet and work alongside some of the "big names" in smithing, and travel the mid-west as a teacher, and as a demonstrator at the largest blacksmithing conference in the States.

Its been quite a journey, a lot of hard work, and an amazing amount of Providential fortune to get to where I am now. I don't claim to know it all, and even if I did, I still do not have the experience to tackle anything with ease. However, I have gained the needed skills and experience to begin helping others begin their own journey as a blacksmith, whether they desire to pursue it as a hobby or as a proffession.

It's been a month now, but as I'm still trying to catch up on blogging, I wanted to share my latest blacksmithing class.

My student was a young man by the name of Blake. A friend of his, Mr Jonathan, came along as well and watched and lended a hand.

Blake wanted to make a four-pound hand hammer. I suggested we start with a hot-cut hardy, and then do the hammer. (A suggestion passed on to me by my primary teacher Brian Brazeal.) The hardy is an excellent tool to start with as it shows technique, is an important tool, and it gets you loosened up for the heavy striking needed on the hammer. It also allows the instructor to gauge the skill level of the student. If the student doesn't possess the ability to swing a sledge hammer reasonbly accurately and heavily, then a smaller hammer might be in order.

So, Mr Blake and Mr Jonathan arrived on a Saturday morning around 8 AM, and we began work. Blake swung the 10 pound sledge hammer during the hardy making time. He did a marvelous job, and turned out a very nice hardy.

He did such a fine job on the hardy, that I knew that he was ready to move on to the four-pound hammer. Now, for those of you who haven't done a whole lot of hammer making, a four-pound hammer is no walk in the park. It requires a lot of heavy, accurate, striking to get done in a timely manner. It is very taxing work for the striker.

Blake turned out a very nice four-pound rounding hammer in a very timely manner. We didn't set any time-records for hammer making, but his striking was right on, he missed very few blows for a first timer, and the work progressed steadly and quite fast for his experience level. As an experienced director, having worked with some fine experienced strikers, I can honestly say it was a real pleasure to work with Blake as a striker.

Here is a photo run of making the hammer.


Like I said, striking for this sort of thing is no walk in the park, especially seeing that for the four-pound hammer, we switched to the 14.25-pound sledge. We got to an easier part of the process and I switched off to striking. I did this for a couple of reasons. It gave Blake a chance to get on the director's side of the action, which is very important as it allows you to see the other side of what is going on. It also gave him a bit of a breather.


 Here's a shot of us tempering the hammer.


And here I am putting the handle on.


The finished tools!