A plate like that is expensive; costs about $100. Plus, it has to have holes drilled through it so that the hammer can be bolted down to it. Drilling a 3/4-inch hole through a 5/8-inch plate is NOT an easy task.
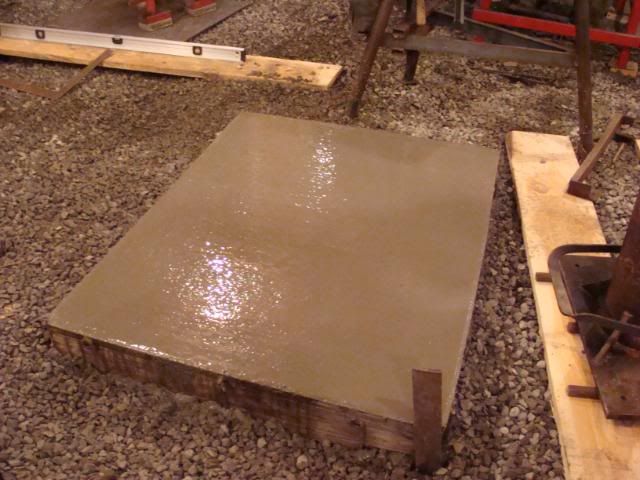
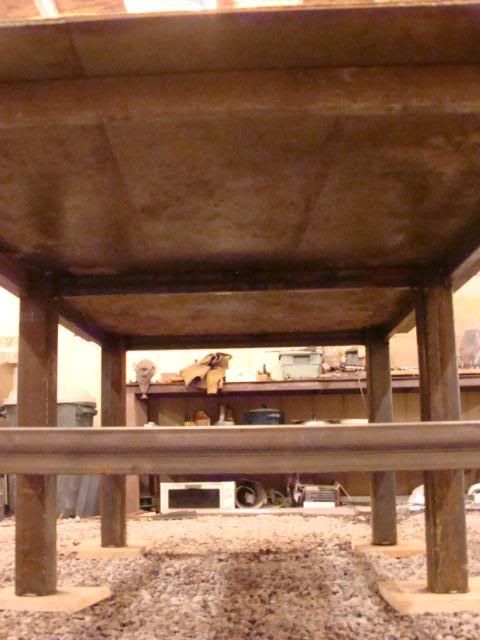
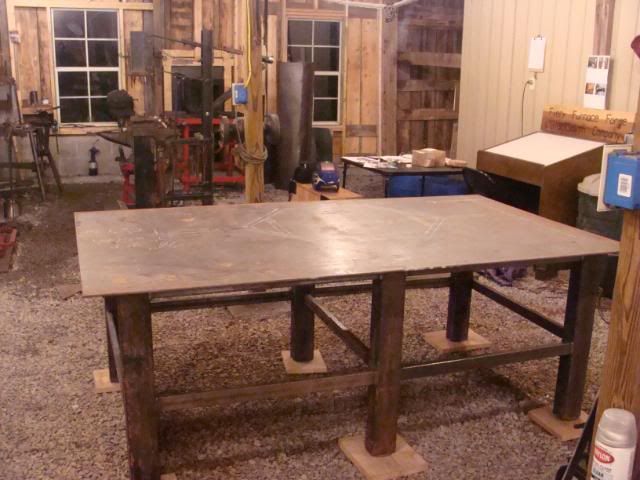
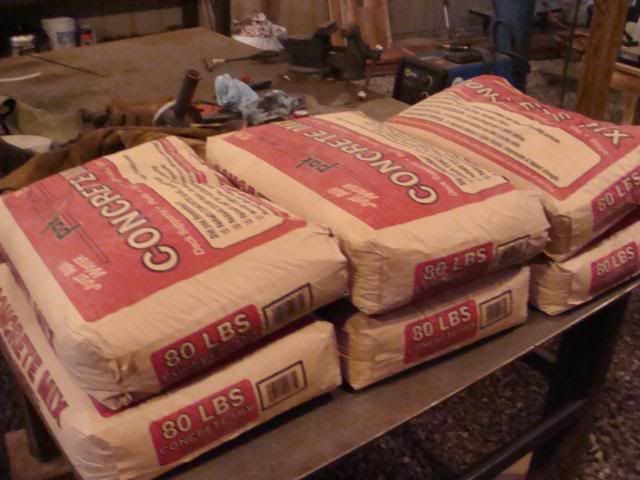
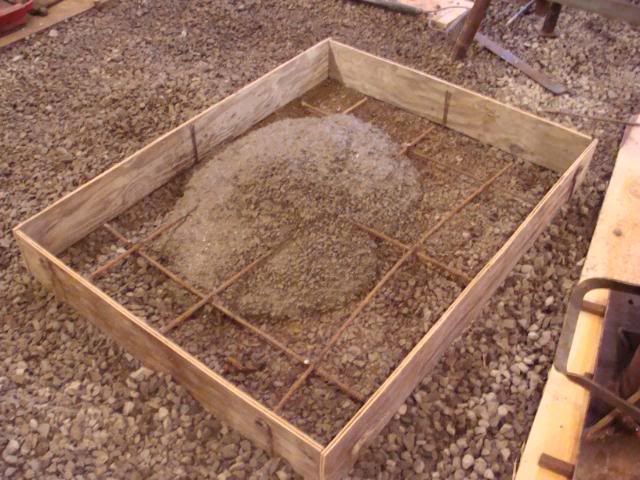
I decided, for this hammer, to pour a concrete pad as a base. The pad I decided to pour is 4-foot x 3-foot. It took about 12, 80-pound bags of concrete so it weighs about 960 pounds. In order to strengthen the concrete and keep it from moving anywhere, I used a steel support system.
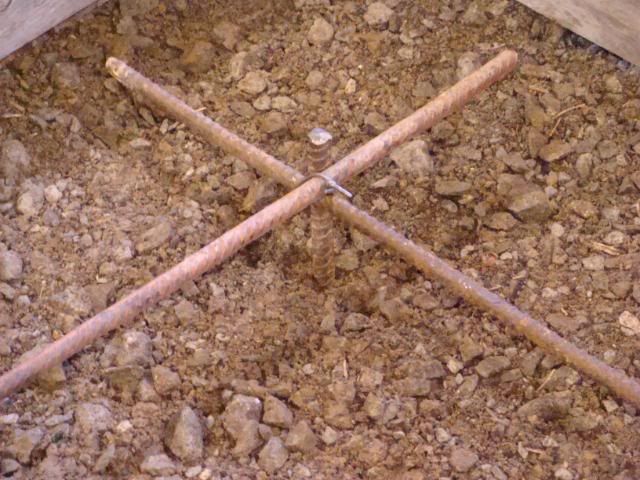
First I drove nine pieces of steel into the ground about 2-feet, letting the rods stick up from the ground about four inches. Then I made a criss-cross grid of steel rods, so that the rods would be in the center of the pad. (The pad is six inches thick and the rods are about 3-inches off the ground.) This will greatly strengthen the concrete. I used scrap plywood as my concrete form.
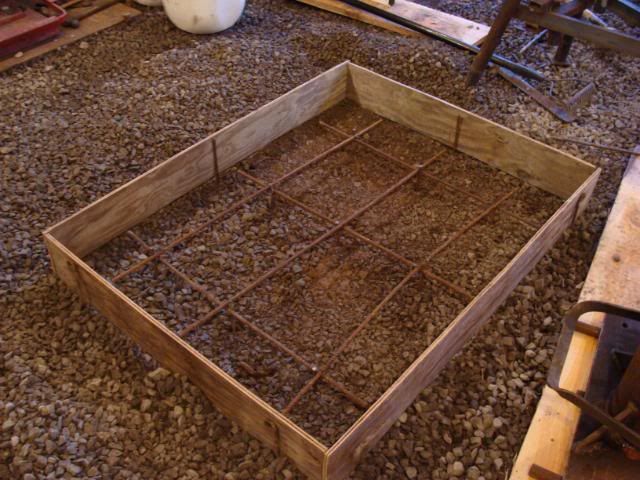
With the form leveled and squared up, and the steel supports in place, it was time to pour concrete.
So step one:
TURN ON THE MUSIC!
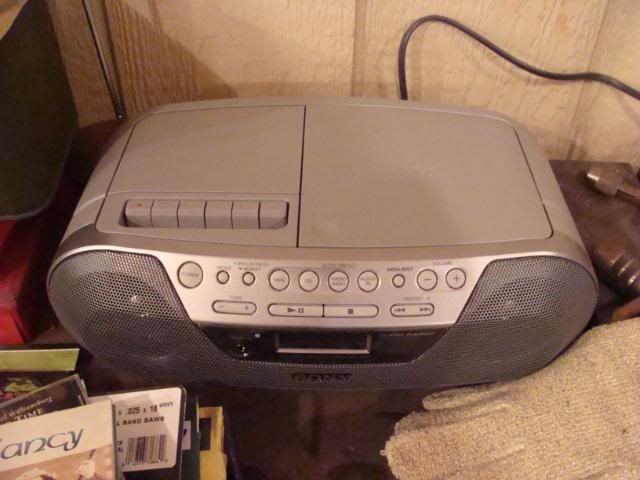
This is my new CD/Tape player that my grandma got me for Christmas.
Next step:
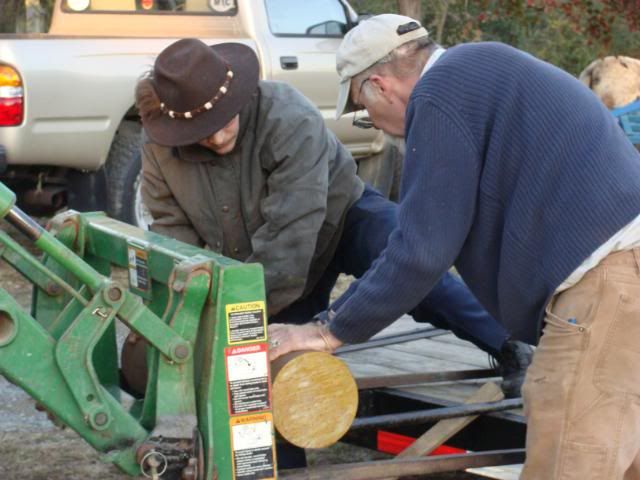
Get the concrete!
Next step:
Get some water!

Next step:
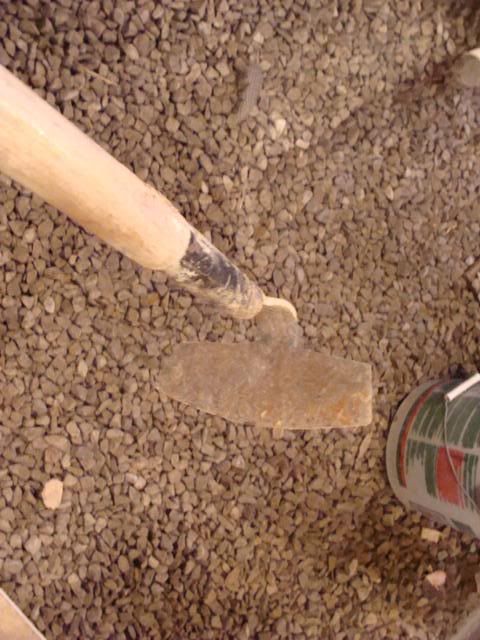
Get the hoe for mixing.
Next step:
Get the wheel barrel.

Next step:
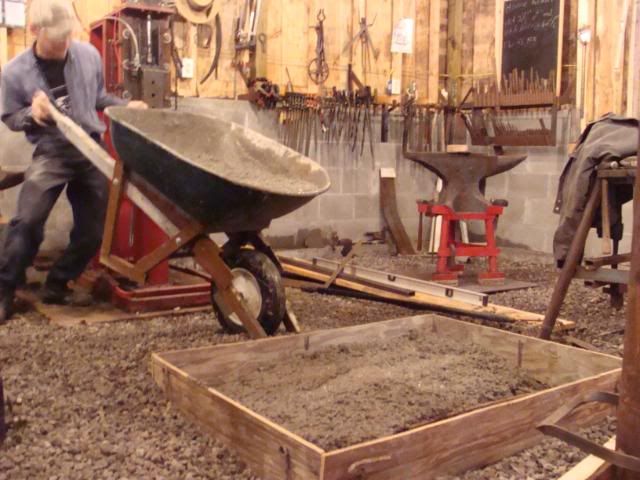
Mix the concrete and pour it in.
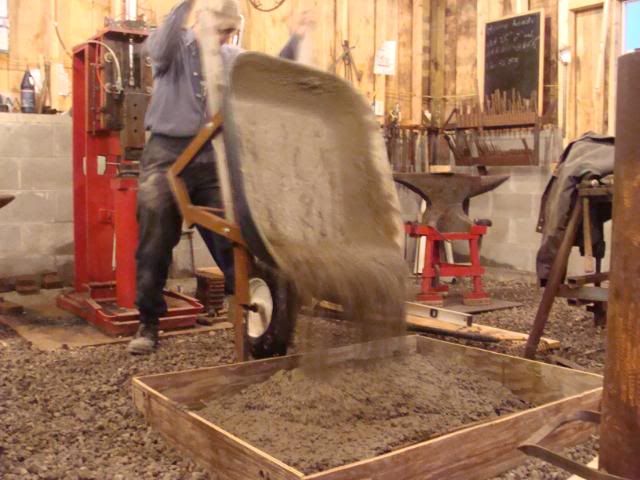
Next step:
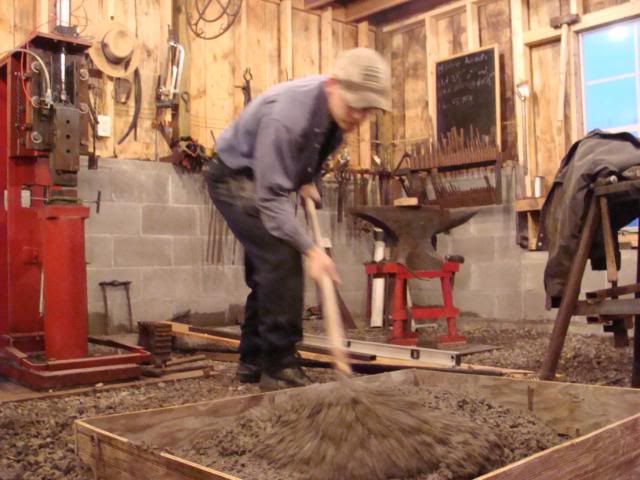
Position the concrete where needed and smooth.
And finally!