BE SURE TO CHECK OUT MY BLOG PAGES IN THE WHITE LINKS ABOVE!!!


Monday, December 2, 2013

Yes I'm still alive!

So it has been quite some time since my last blog. August  26 was my last post. WOW!

OK so what in the world have I been doing all of this time????

Mostly work has kept me busy. Shortly after my last post, I had quite a bit of work getting ready and keep stocked up for fall art shows. Business was great at the shows, and has been ever since.

I have made so much stuff over the past few months that it would be impossible to show pictures of everything, but I'll share a few little things that I tinkered with.

 Her are some horseshoe items I did for a lady.


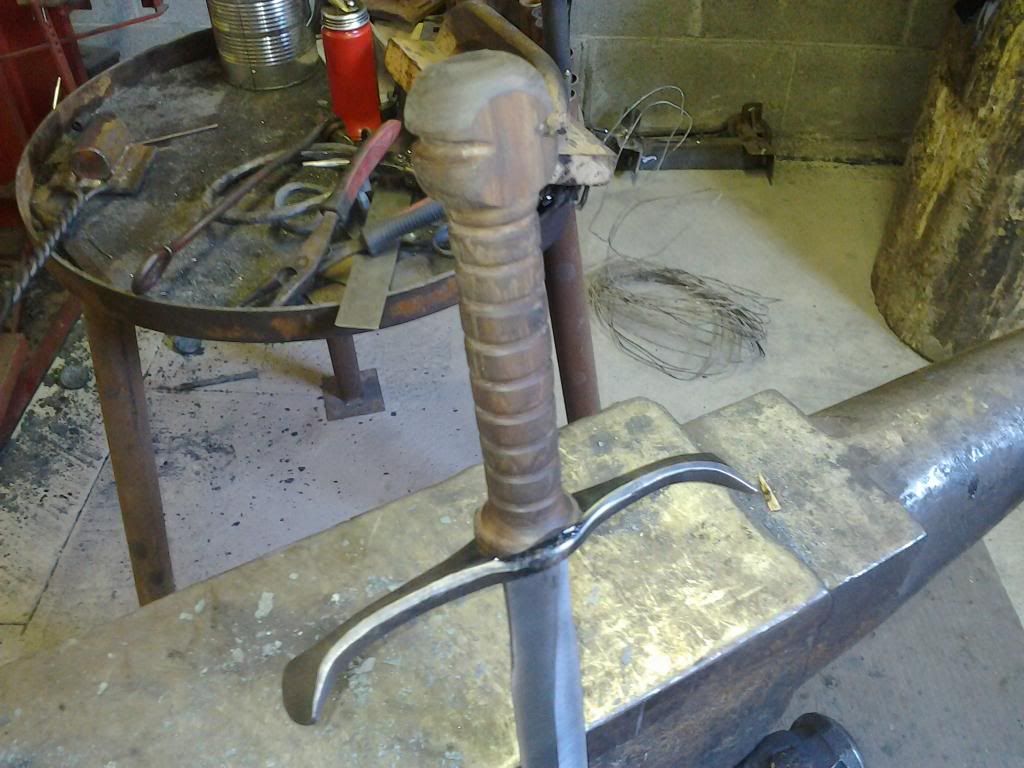
This next piece is something I made for myself just for the fun of it. It is a little short-sword made from spring steel. I can bend over 45 degrees without staying bent, or breaking.

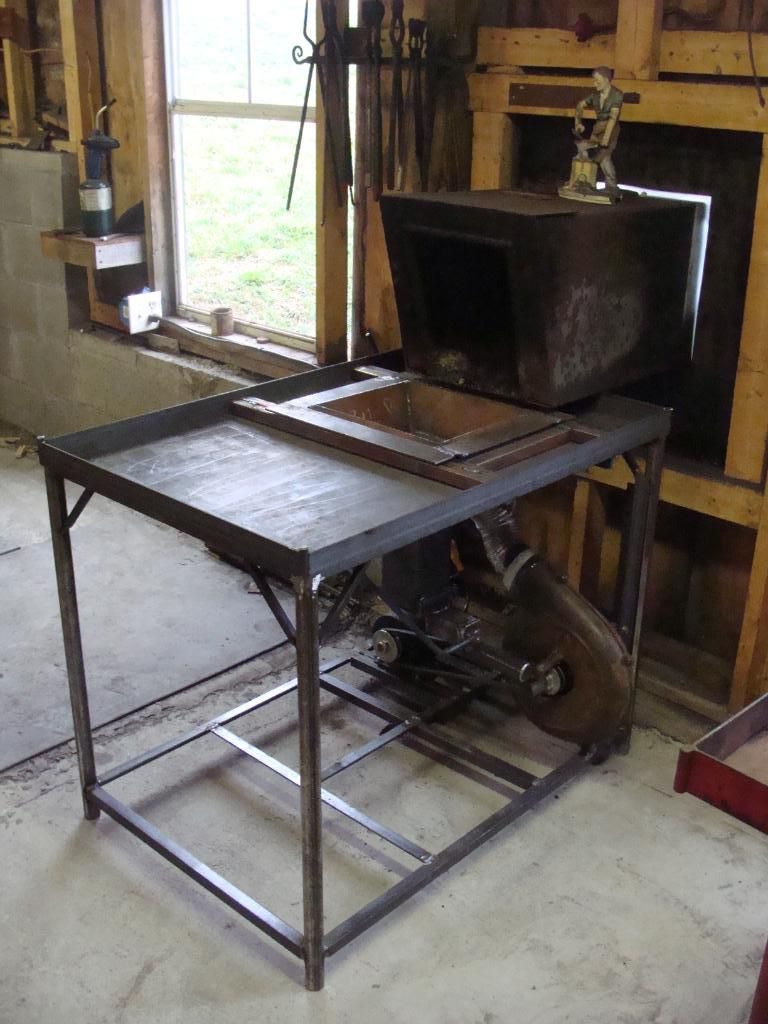
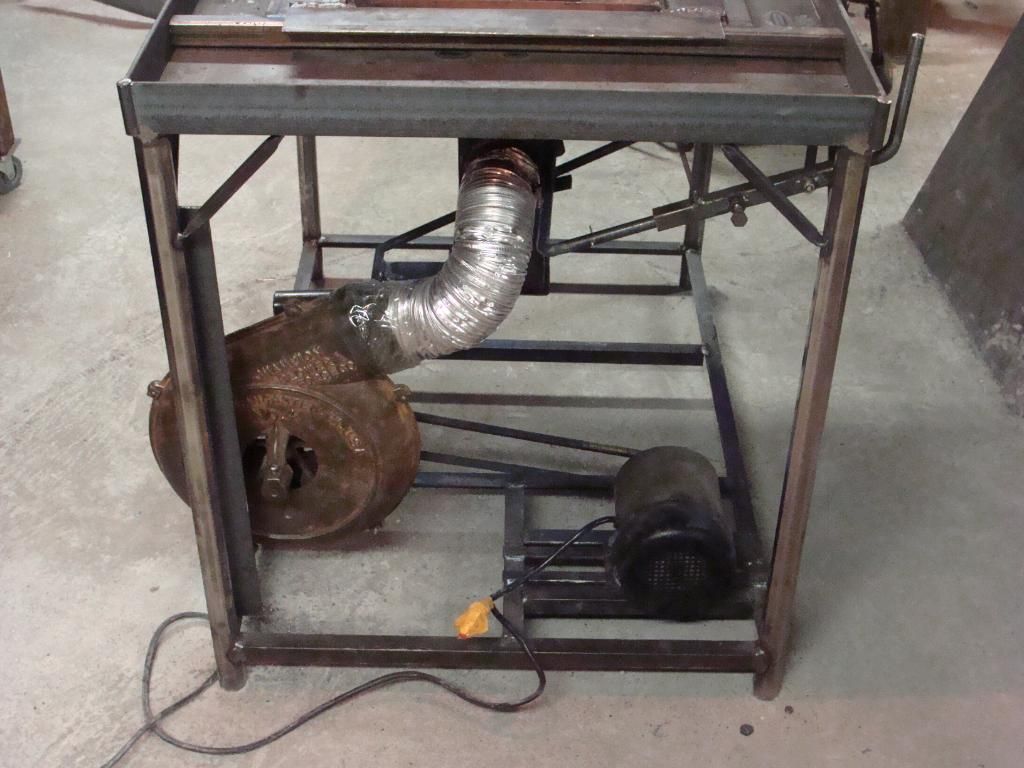
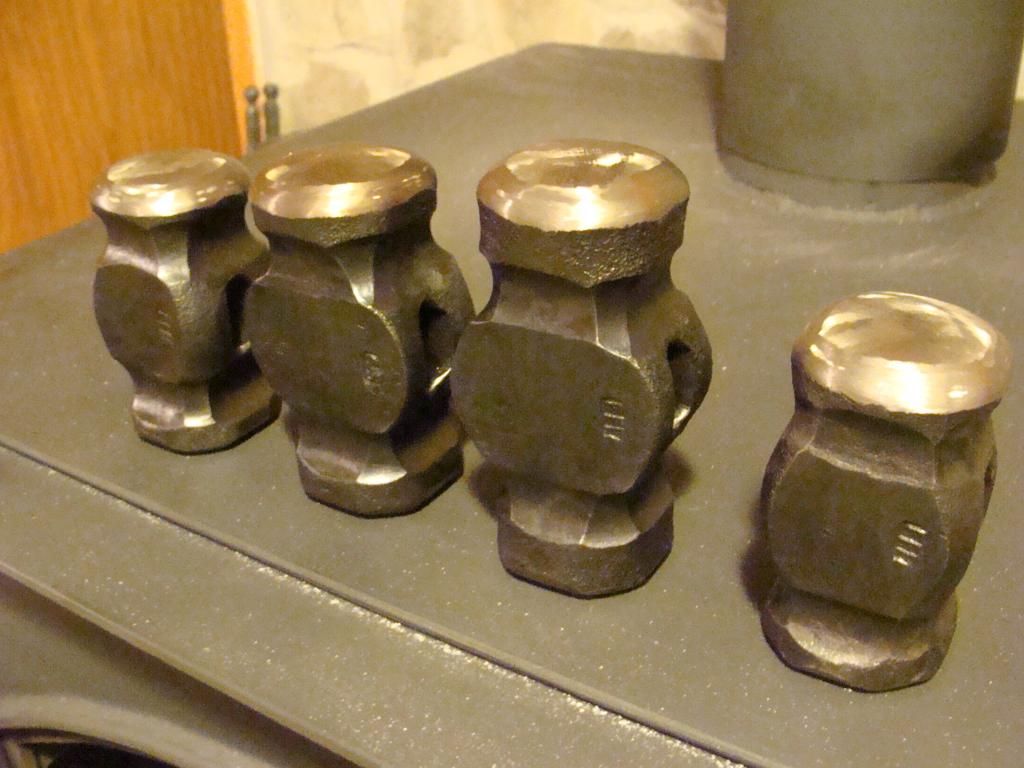
I have been manufacturing and selling more and more tools lately. Here are some blacksmith tools in the works, piled under the forge, waiting the next process.

Here is a "hold fast" that I made for a wood worker. I actually made several for him.

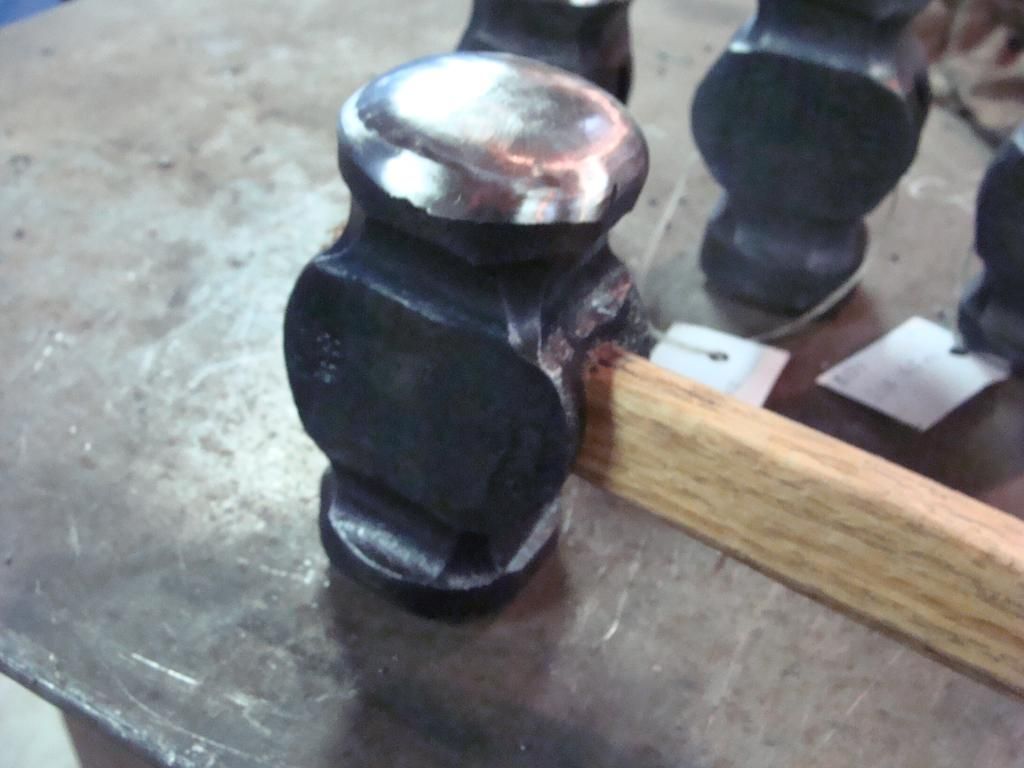
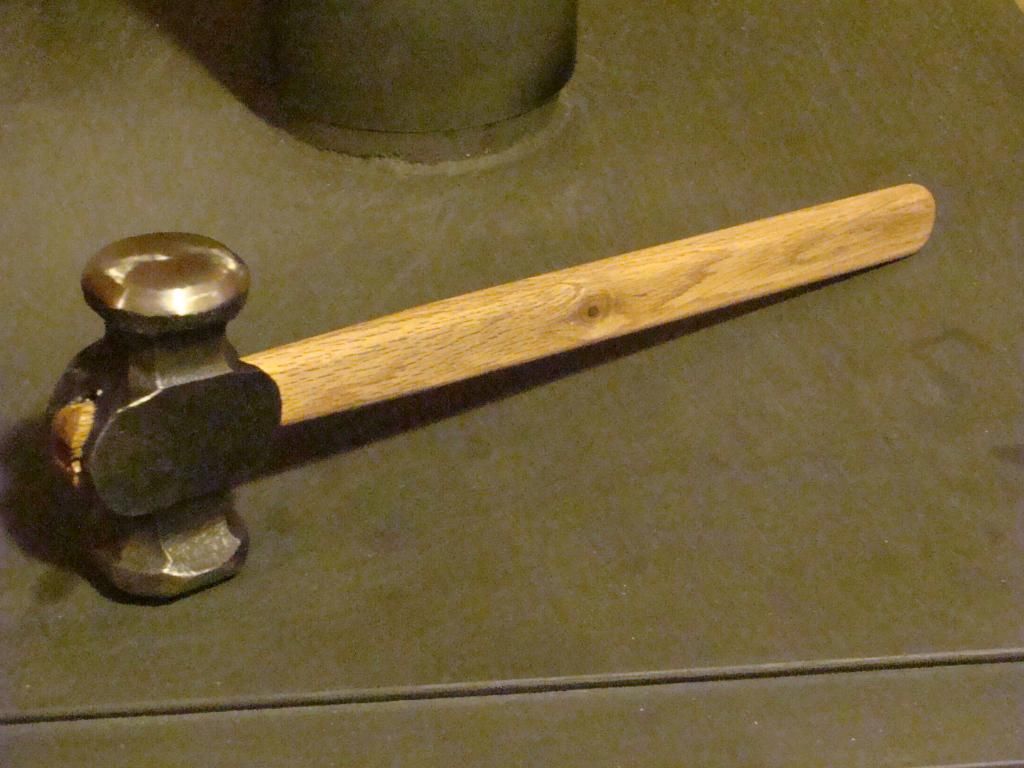
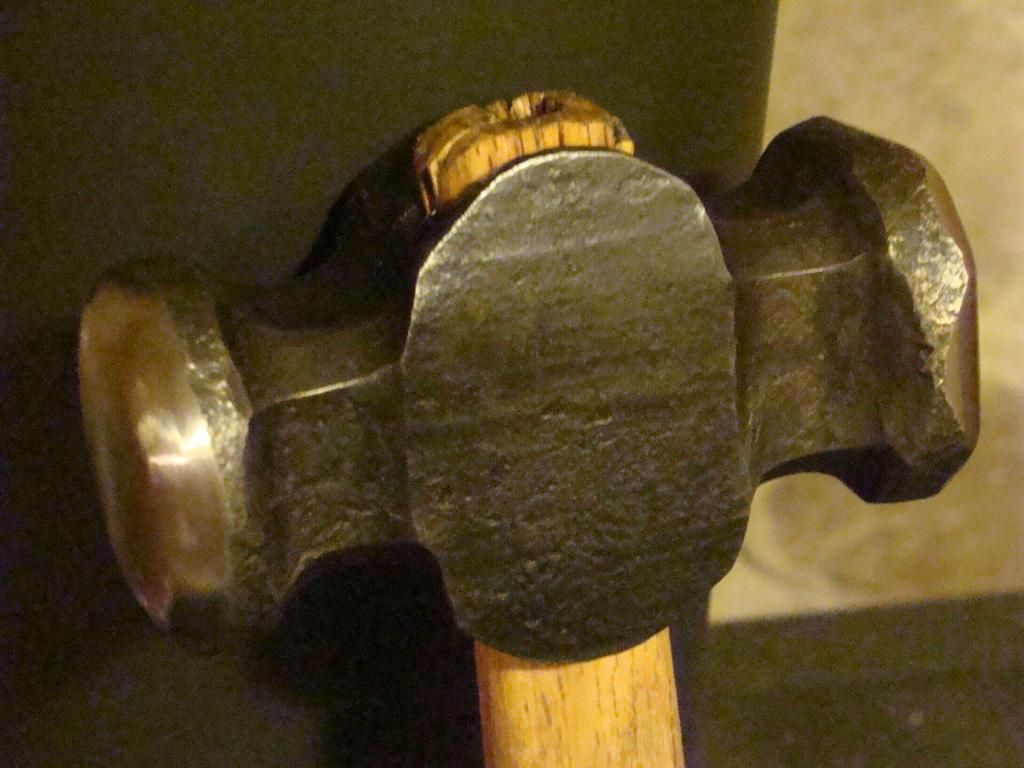
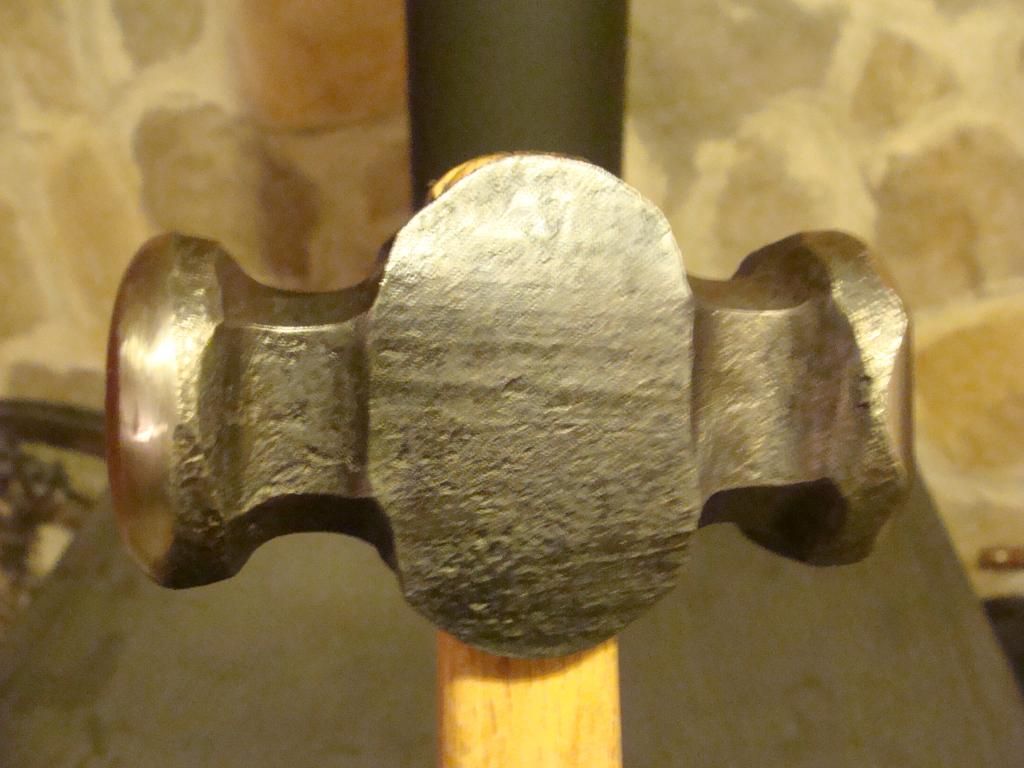
Back in September, I got together with my striker, Chase Saxton, and we made a run of hammers and went to the Quadstate SOFA blacksmith's conference in Troy Ohio. We had a great time up there selling tools, watching demos, buying stuff, and making new friends. Quadstate conference is one of the largest blacksmithing conferences in the country, and features the largest tool sales section of any conference. One of the highlights of the conference was the blacksmithing competition. There were a total of 32 people in the competition, and they were divided up into teams of two. Chase and I signed on as a team. The competition was to make as many nails as you could in 15 minutes. The nails had to be a minimum of 2-inches long, and were judged on quality and consistency. After the 15 minutes was up, each team got to pick their best five nails to submit. We made a total of 9 or 10 nails.
We were up against several really talented smiths, including my teacher, a guy that specializes in colonial work, and some others.
We came in first place and won the competition, which we were of course, thrilled about. My teacher came in second place, and the guy that does the colonial work came in third. It was a really fun time.

After the conference, my Chase and I parted ways. We've been friends for several years now, and have been making hammers to sell for about a year. However, we have some different views on work and some other things, and ultimately I decided it was the best move for my business to start doing hammers without him.

My dad and I now make the hammers that I sell.

 I have been invited to teach at a school in the north east called Peter's Valley school of craft. I will be teaching, Lord willing, a 5-day class there next August. That should be interesting.
In addition, I am in the process of planning a one-day workshop in Knoxville Tn. sometime in January or February. More updates on that as plans get more solid.

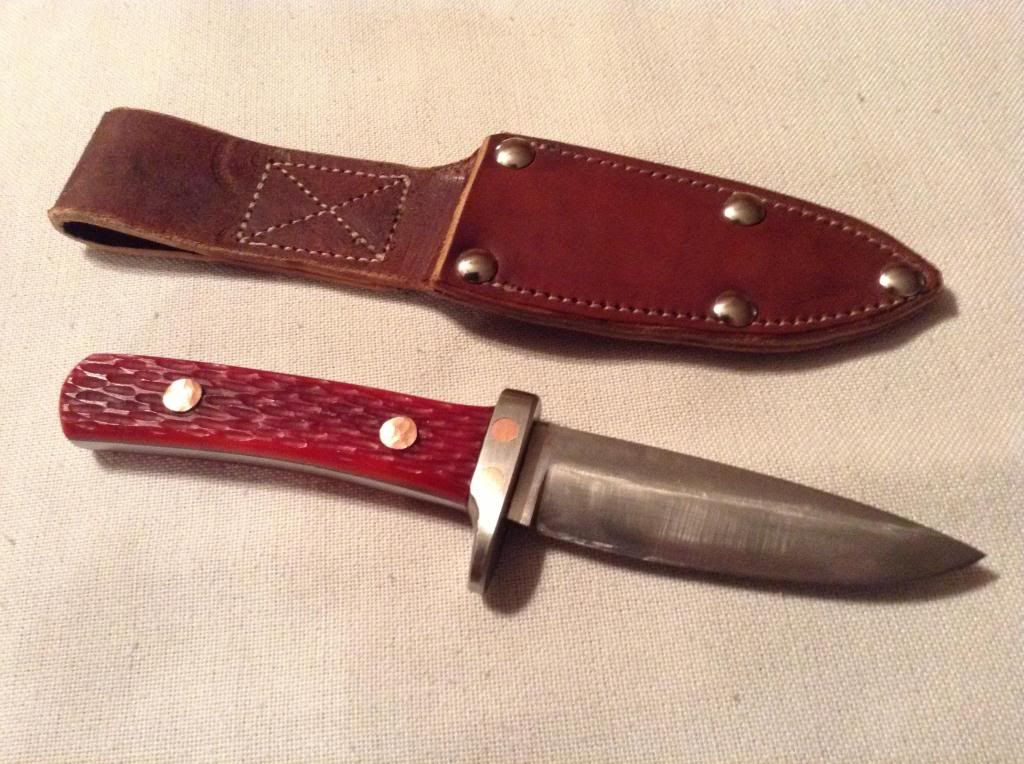
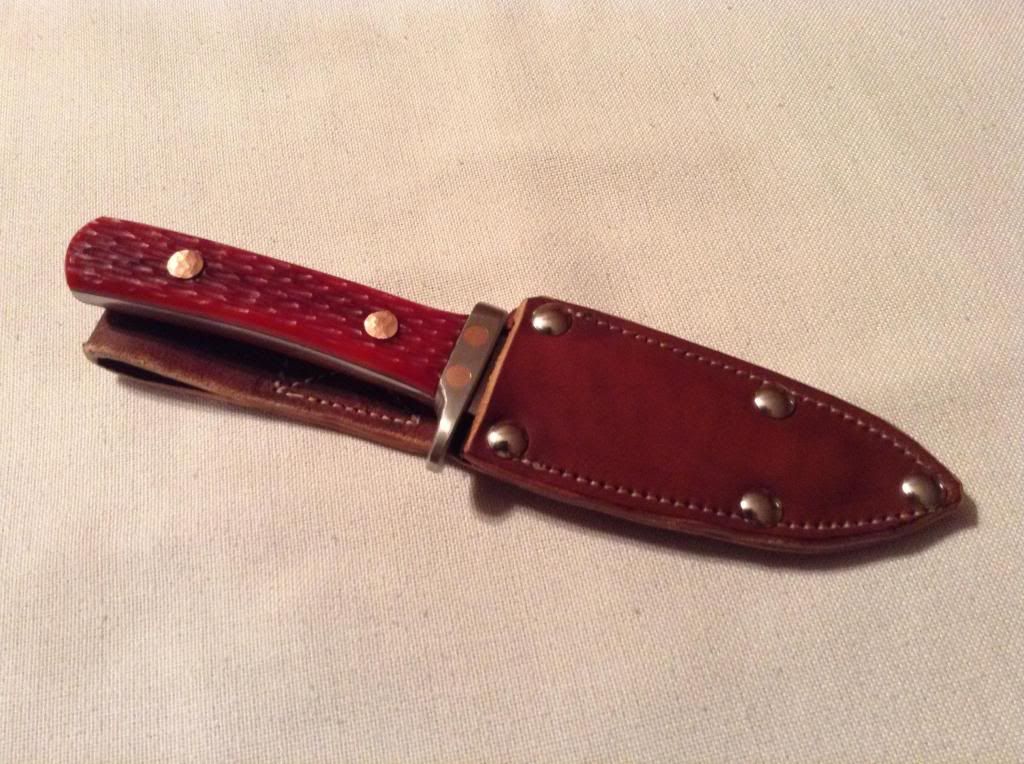
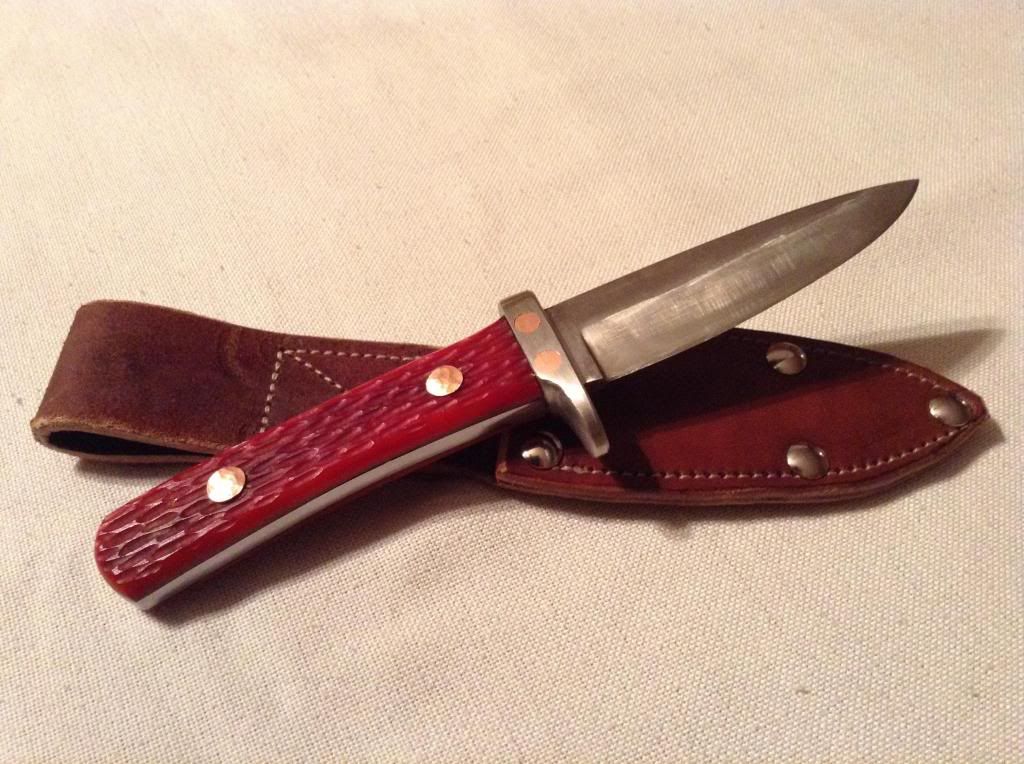
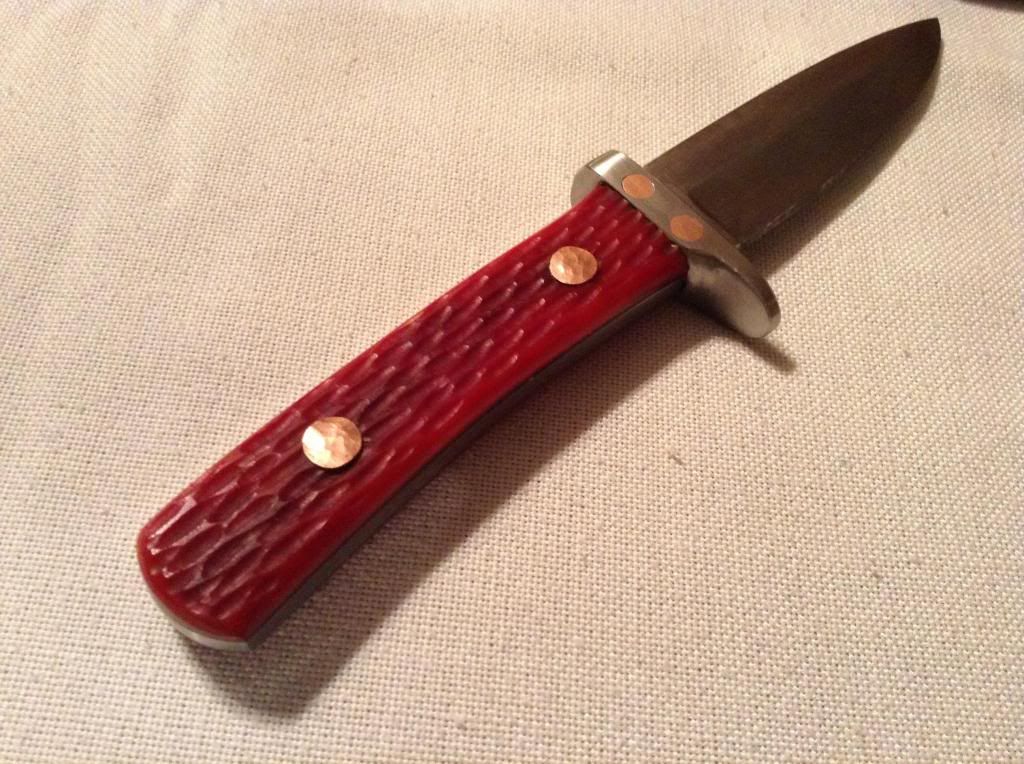
Over the Thanksgiving holiday I made my grandad a knife that he'd asked for some time back. It is made from 5160 spring steel. The guard is stainless steel, the rivets are copper, and the handle is red cow bone. My brother made the sheath.
   
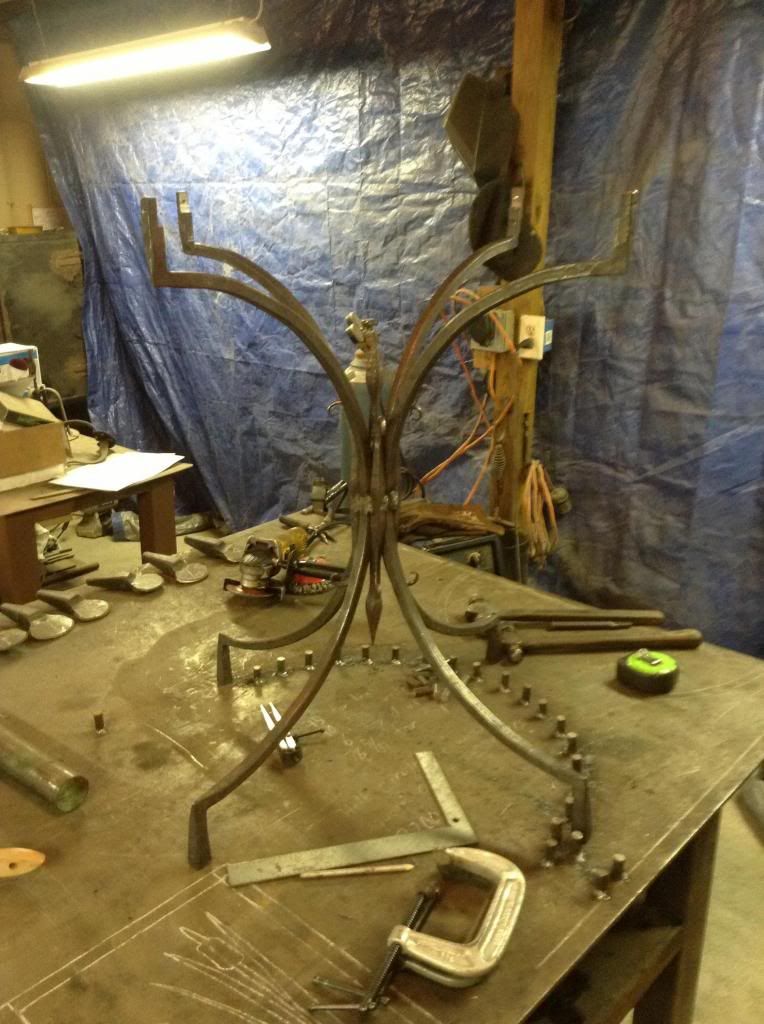
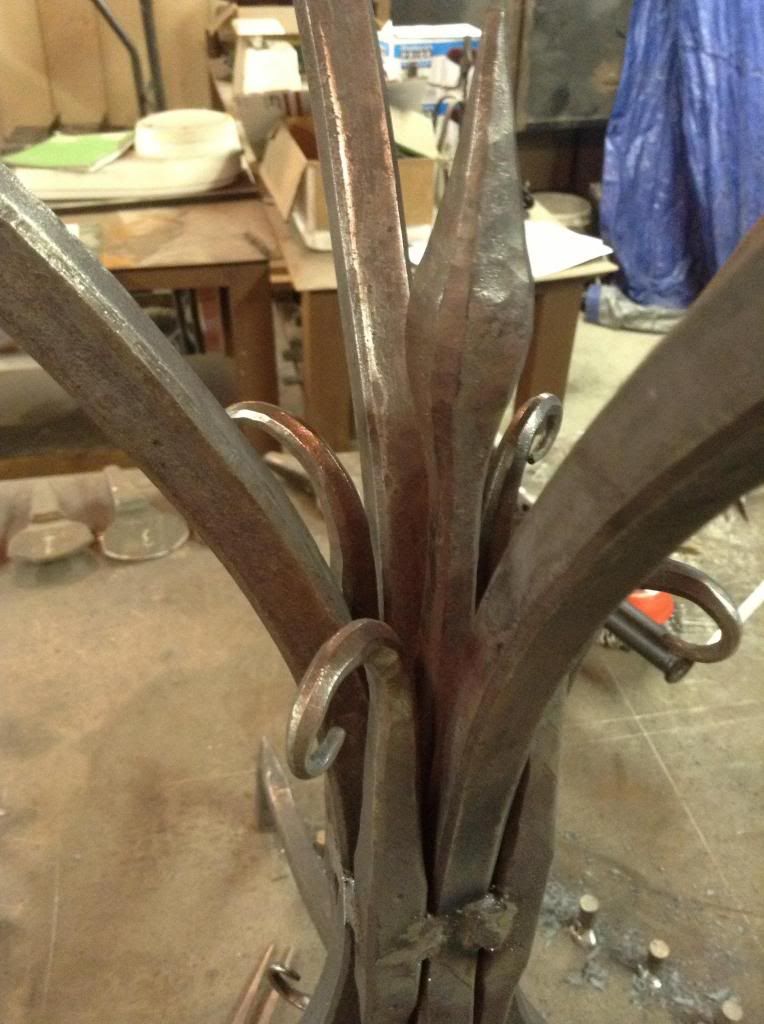
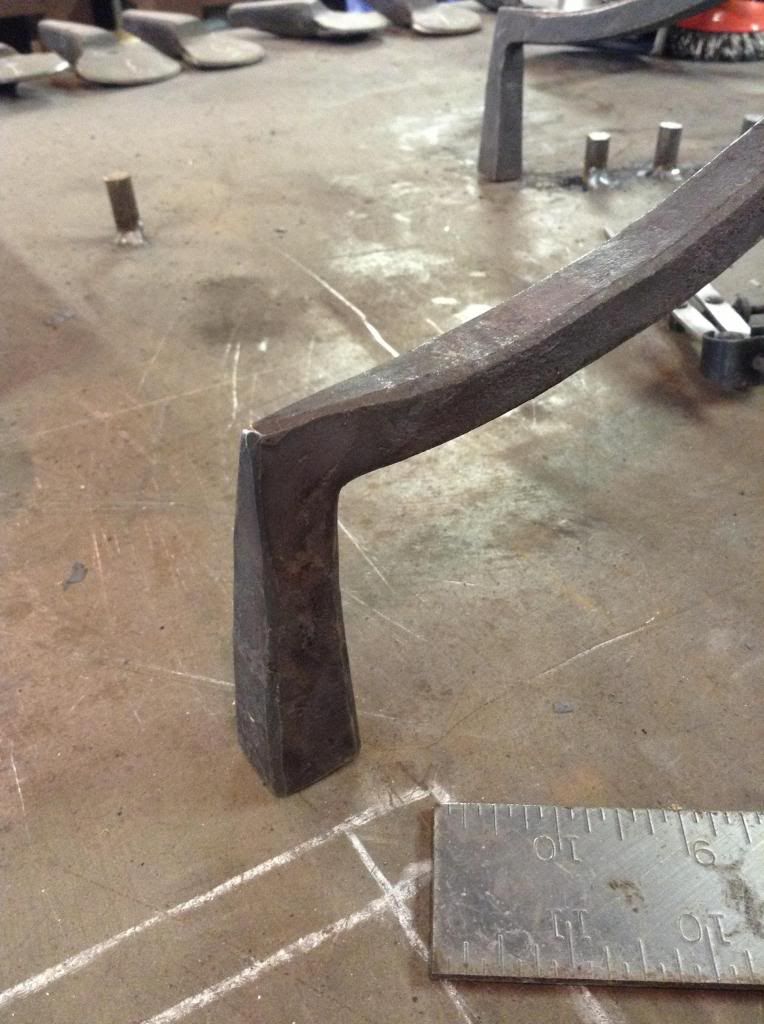
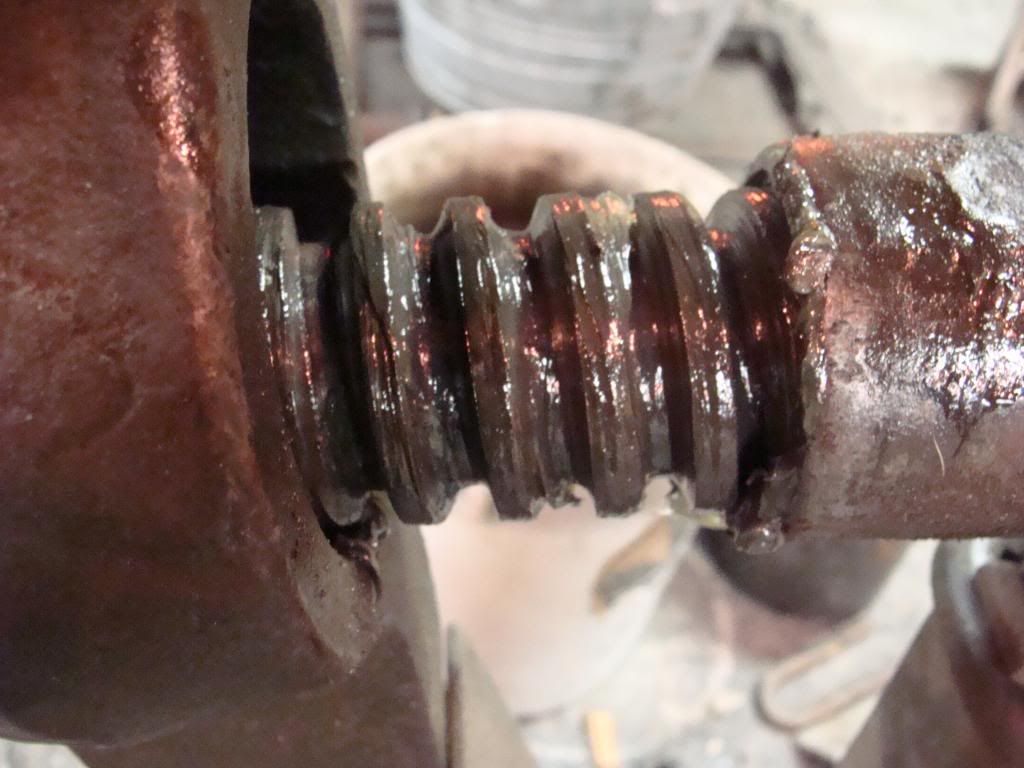
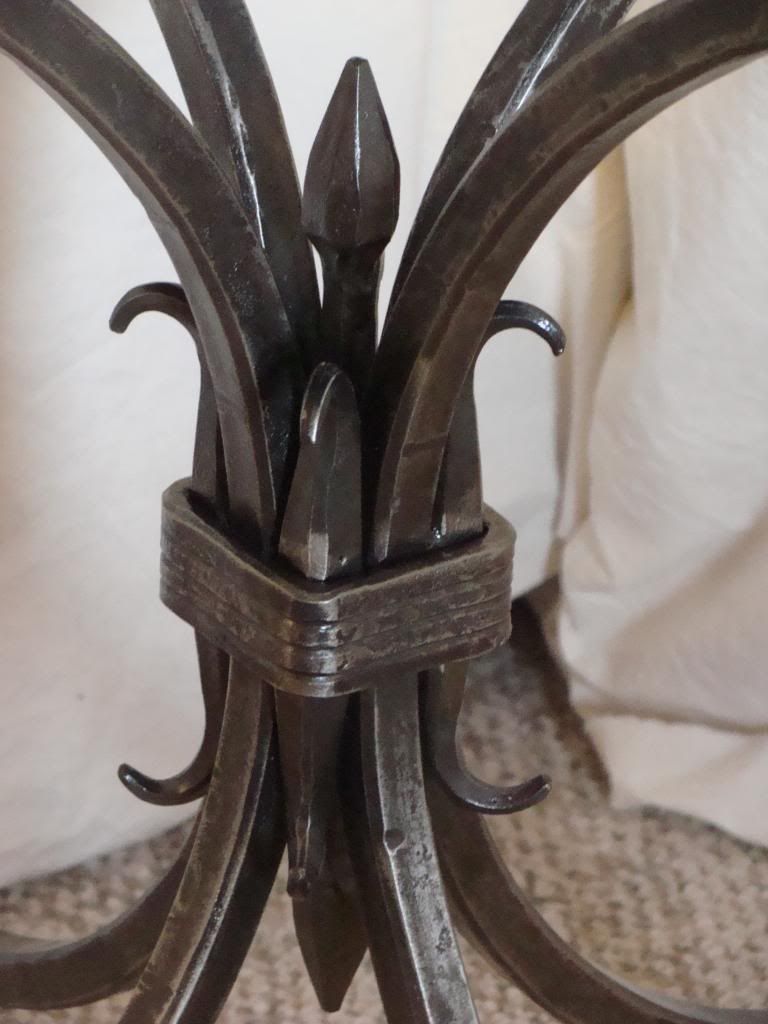
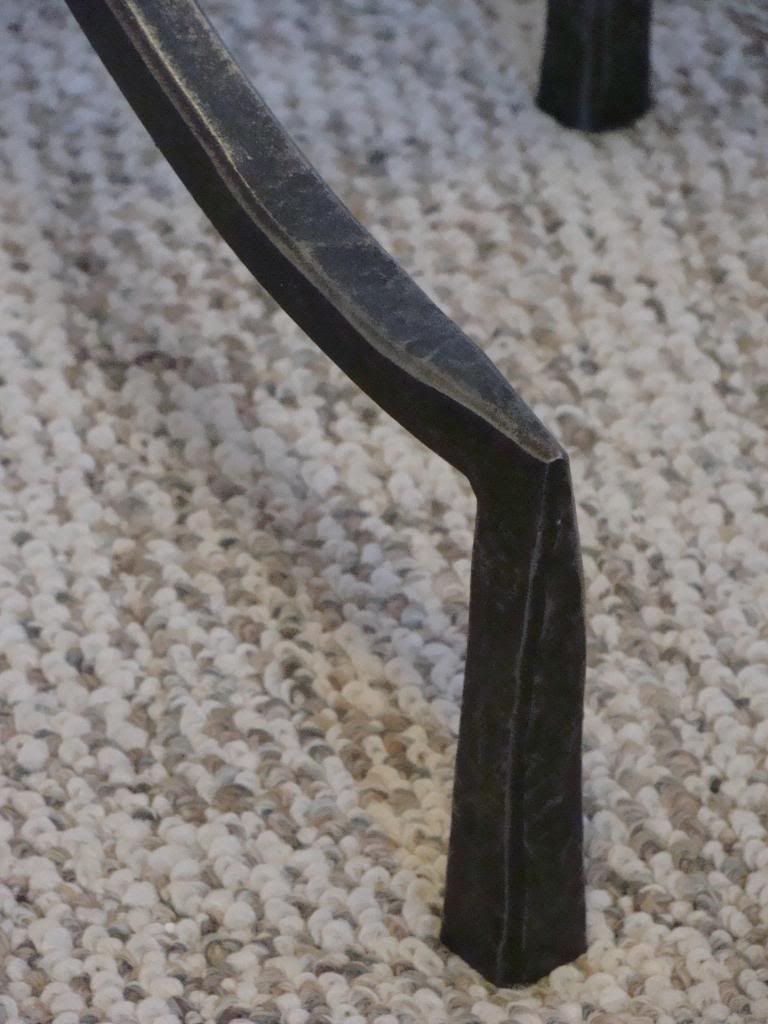
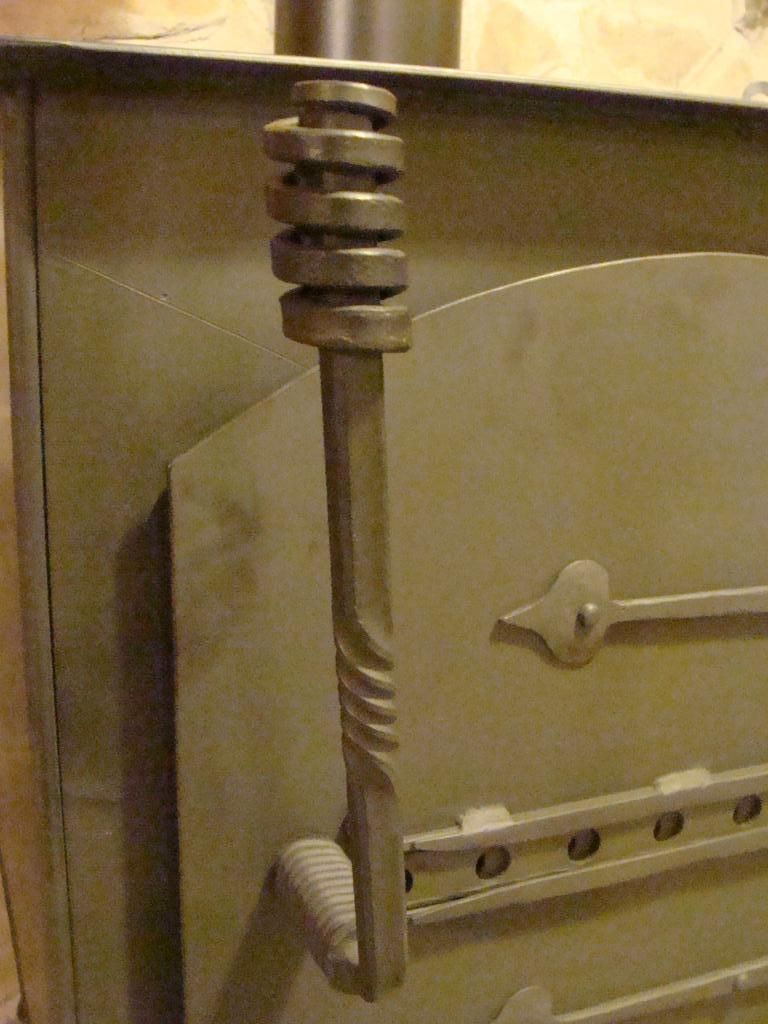
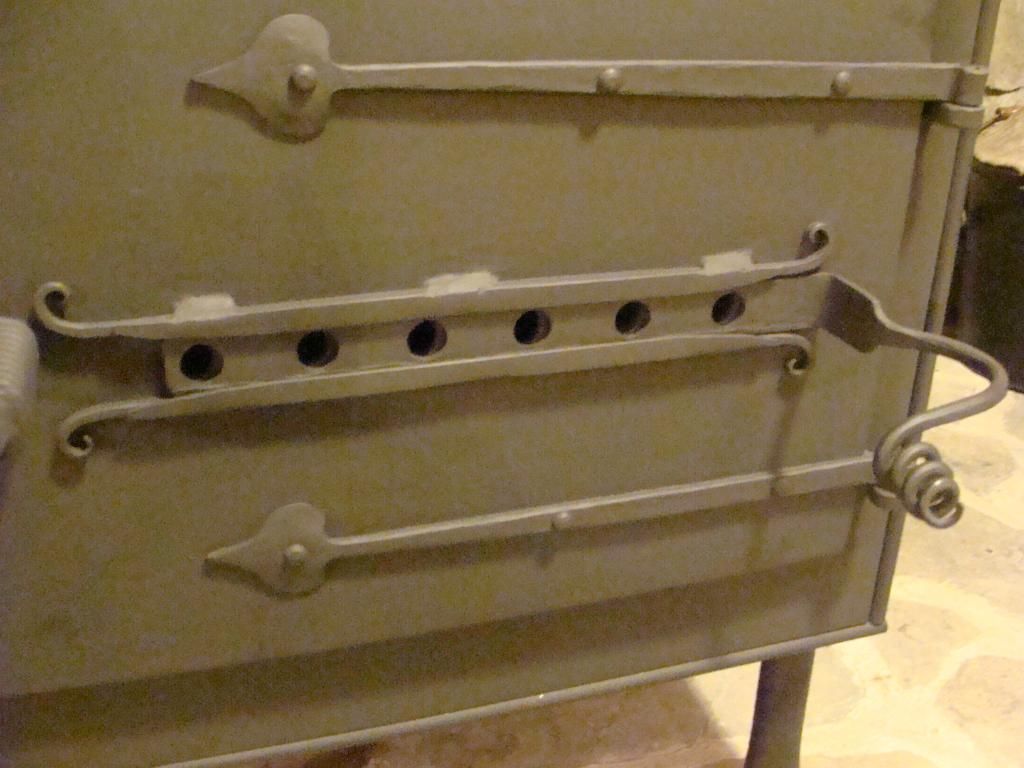
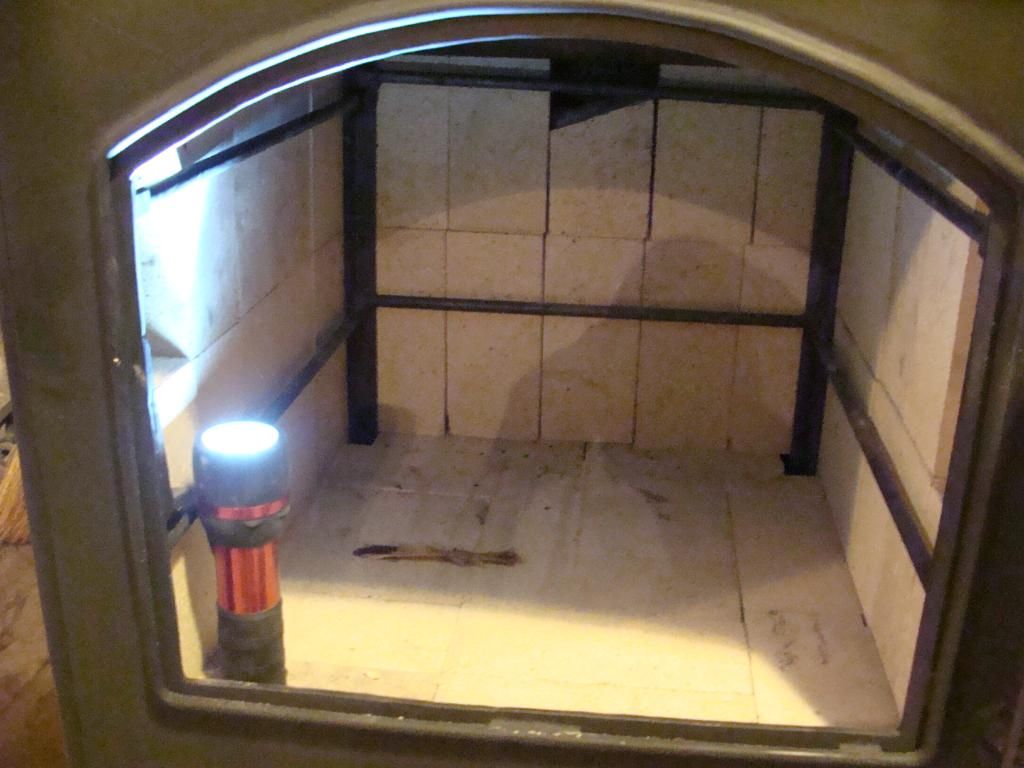
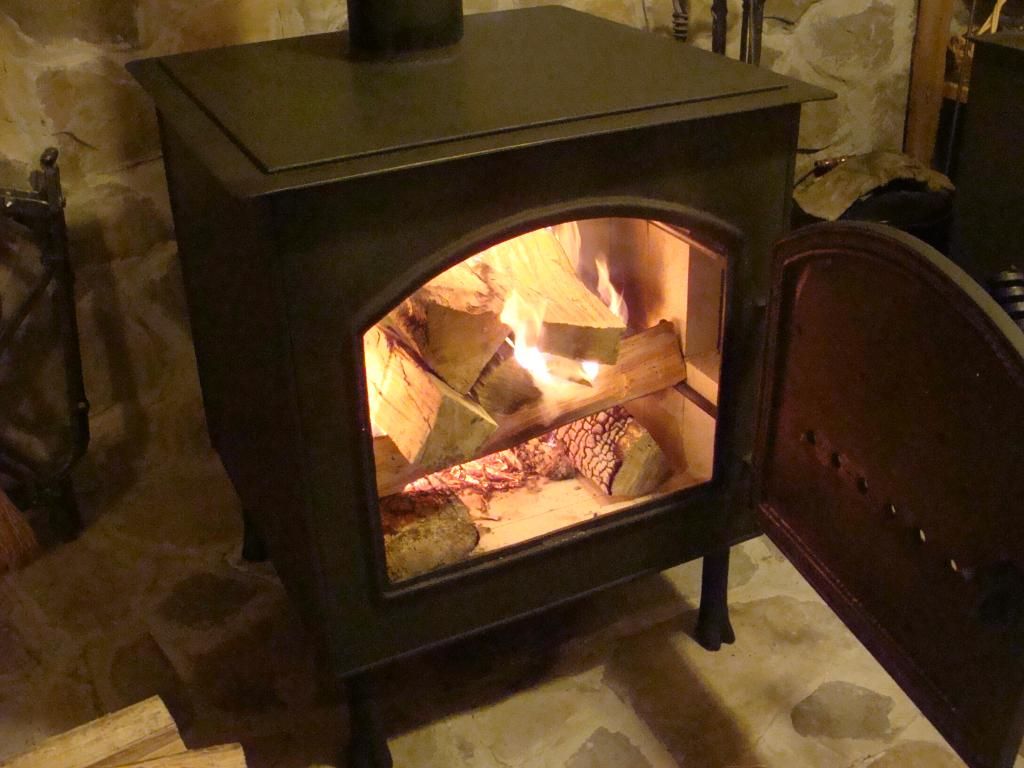
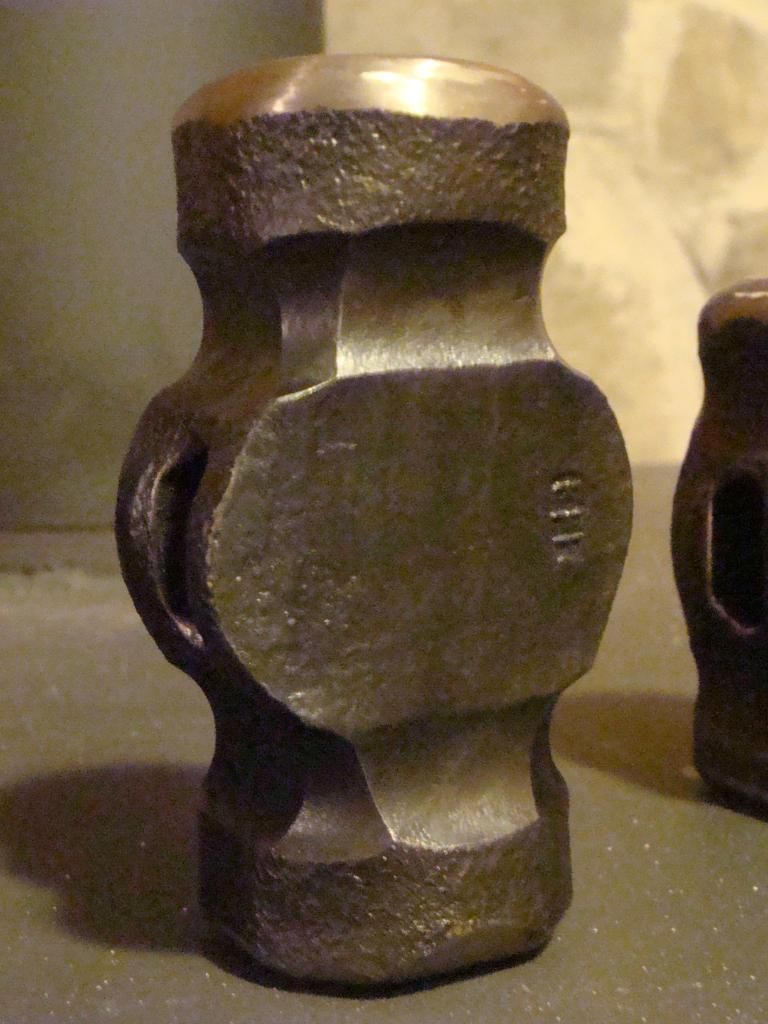
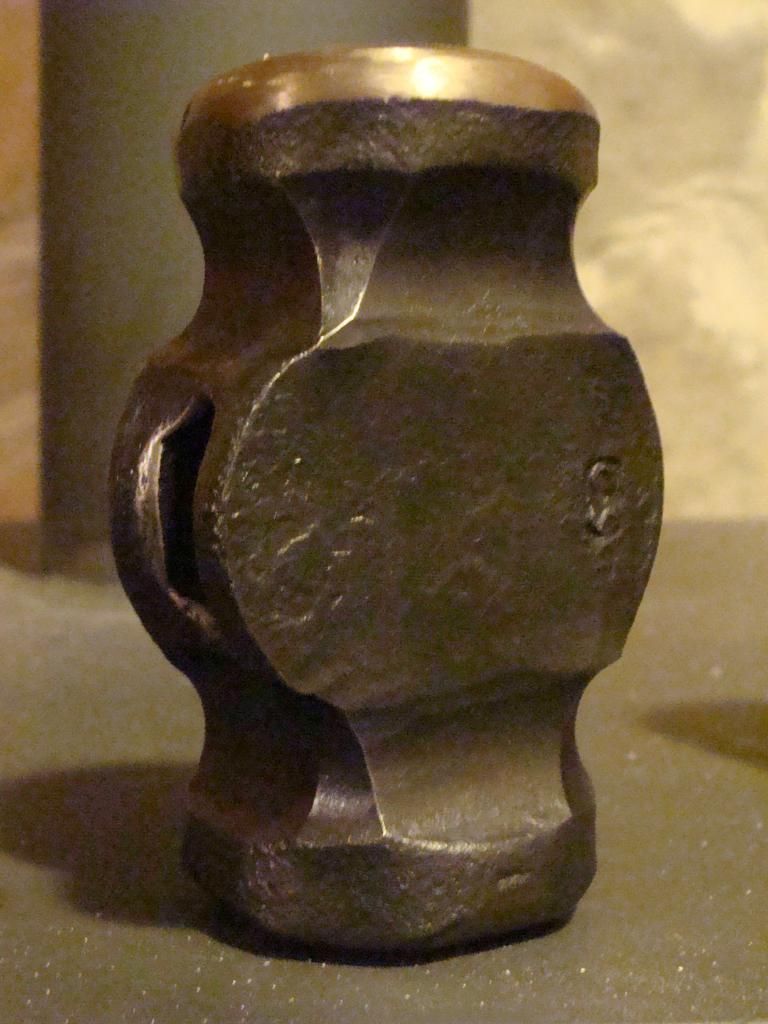
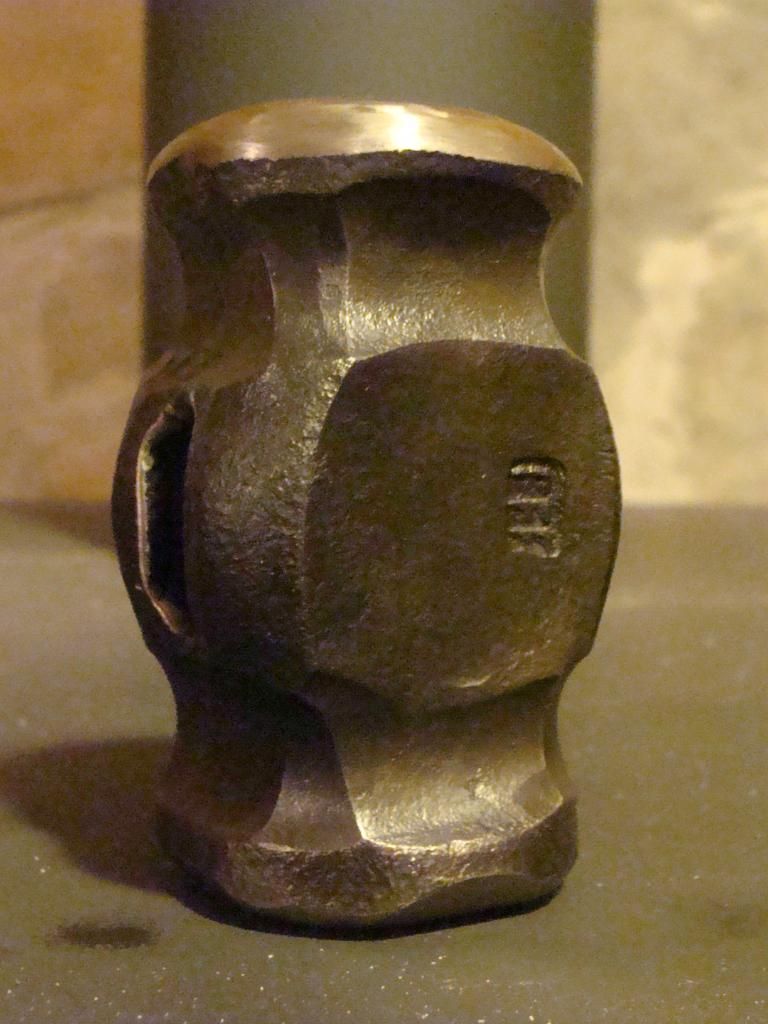
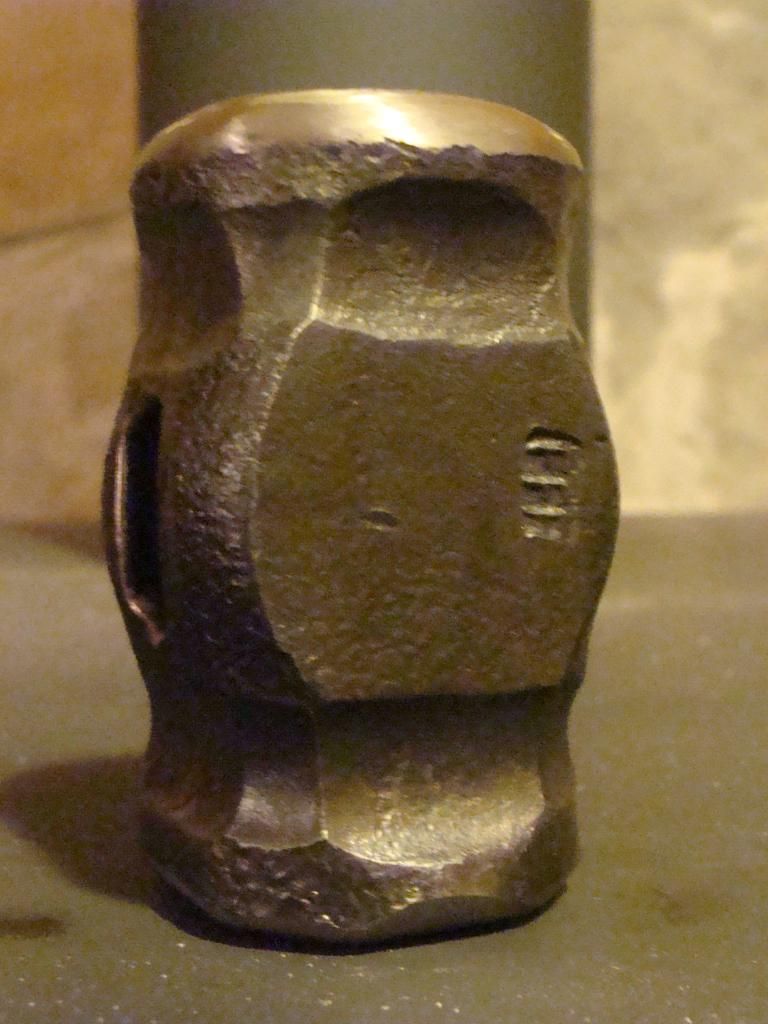
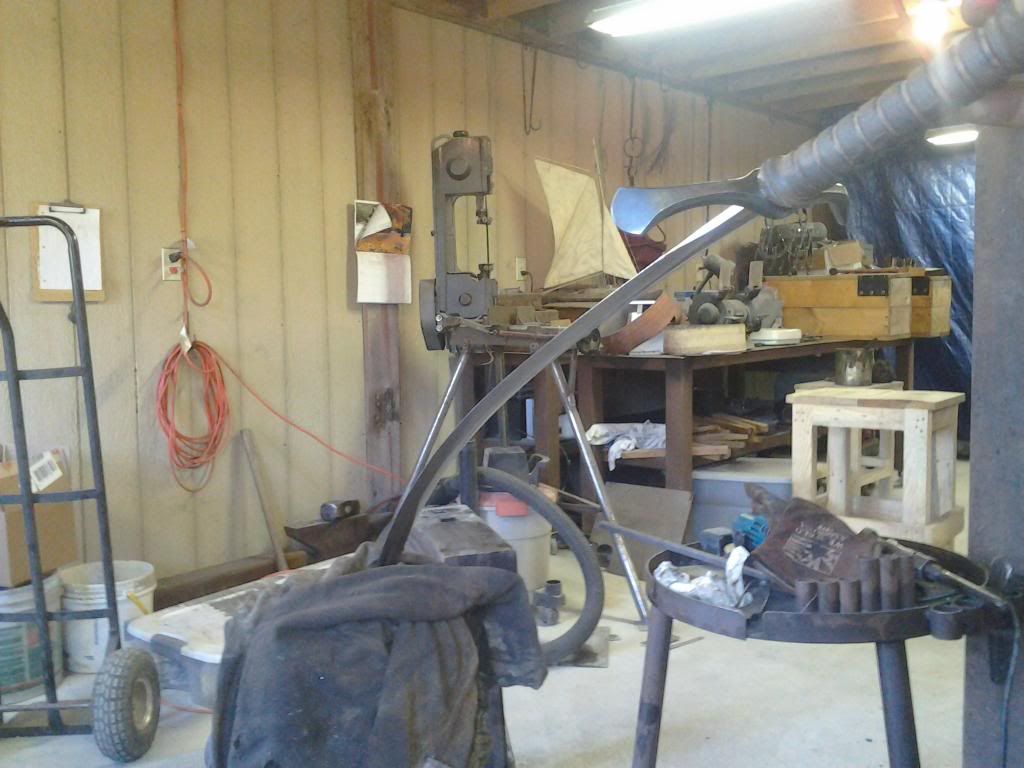
I don't normally do "abstract" art, but the other day I was inspired by a blacksmith in France, to do this piece. He did a similar one and I thought it looked pretty neat, so I made my own version. I can see making time to do more of this sort of thing in the future.This piece was actually made from a car axle.

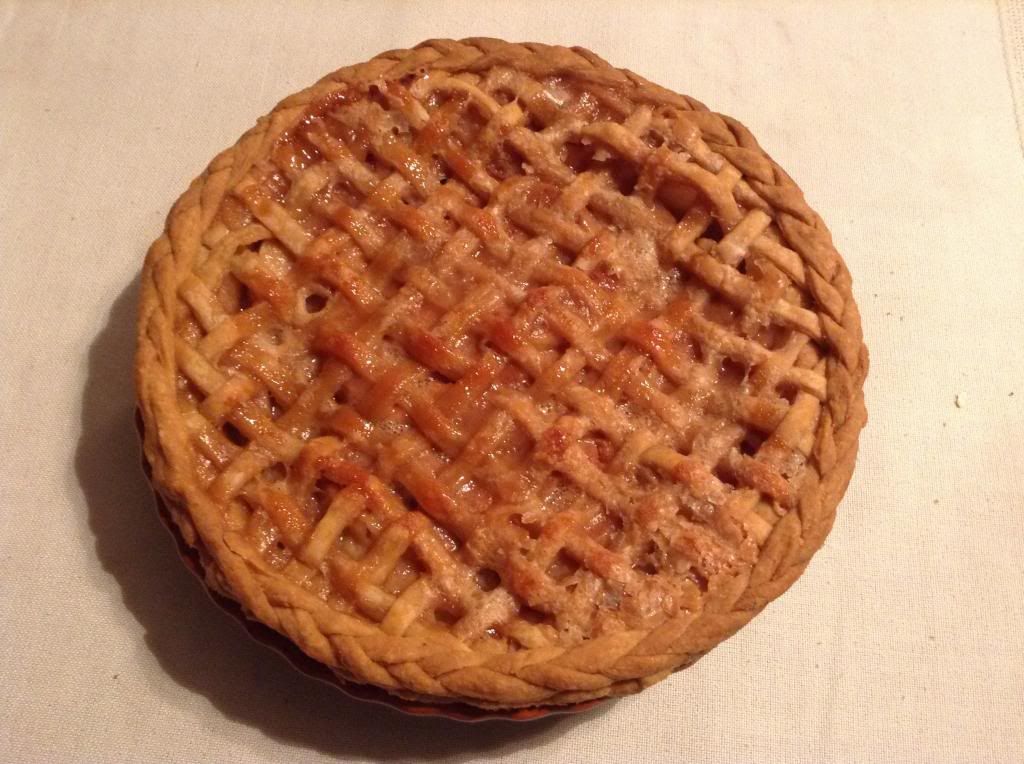
To cap off the night, I figured I'd share a picture of something I didn't make. I never want to pass up an opportunity to brag on my sister, so here goes. My sister made this apple pie for Thanksgiving. Not only was it the worlds MOST BEAUTIFUL apple pie, but I think it was the best tasting one as well.
'Till next time! 

"For God and the soldier we adore,
In time of danger, not before,
The danger past and all things righted,
God is forgotten and the soldier slighted."
Rudyard Kipling

Monday, August 26, 2013

New blog

Hey folks! I've started a new blog to cover my boat restoration project! Be sure to check it out by clicking on the link below.

BOAT BLOG


Saturday, June 29, 2013

Finished table!

I finished the custom table a few weeks ago and got it shipped to its new Louisville Ky. home.

Here are the final in-studio pics.


For custom iron work for your home contact Dave Custer owner / operator of the Fiery Furnace Forge Blacksmith LLC at blacksmithdave@gmail.com

Saturday, June 8, 2013

End table almso complete

Here is a preview glance of the end table / night stand I am working on. The only remaining part is finishing up the wooden top.

The top is made from solid furniture grade black walnut and the boards selected for the top are hand picked for the most beautiful grain patterns.
A top this wide, has to be laminated from several boards placed next to each other and glued. This top is four boards wide. The glue is the best on the market, waterproof, and so strong that if you attempt to split the wood at the joint, the wood will split next to or across the glued joint but never down the glued joint. The glue is actually stronger than the wood itself.

The top is actually made square and much larger than needed to allow the best section to be chosen.

The top is then traced directly on the table frame for the most accurate fit possible, and then cut on an upright wood-cutting band saw. The table top undergoes five stages of prepping before it is ready for the finish stain. It is first planed flat to the desired thickness, it is then sanded with 60 grit, 80 grit, 120 grit, and finally 220 grit sand paper. 

Once I am satisfied that the top fits properly and the wood is sanded to perfection, it is ready for stain. Here it is with the first coat.


The rest of the coats of finish will be applied today and tomorrow, and the table should be shipping out to it's owner on Monday.


Wednesday, May 29, 2013

More progress on the custom table

I have a number of jobs I'm currently working on, one of which is the table mentioned in my last post. This is the custom 24-inch diameter by 30-inch tall bedside table. This evening I assembled the legs and central eliments, after trimming all of the legs to size and a couple other pre-assembly steps.

Here is an overview......remember, this is a workshop not a "keeping things clean" convention. Everything in my shop is dirty, sharp, hot or a combination of those, and tools are generally here and as they are frequently used.

This is the central blossom and diagonal scroll assembly where the half-circle legs come in together.

 The "Habermann Bend" square corner, which is featured in this table.


The last major piece to be forged is the top circular ring. The wooden top is about to get under way in the wood shop as well. More updates later on!

Wednesday, May 22, 2013

Quick work update

Business has been super busy over the past several months. I have a steady stream of work coming in, and I'm currently lining work up out through the second week of June.

One of my current projects is a version of my small end table design. I am doing a custom table, based off of the same design, but larger. This table is going to measure about 30 inches high by 24 inches in diameter.
Here is a quick picture of the original table. The original size is 16-inches in diameter by 20-inches tall.

Construction is going well. The process started with laying out a full scale side view of the table frame, and a shop improvised jig for bending the legs accurately.

I currently have nearly all of the major components forged out, including the legs and central elements. The legs need extensive hand sanding before assembly begins.


                                               Here is a picture of the basic profile drawing.


Here are the legs, the central diagonal scrolls, and the center core.


Monday, March 25, 2013

Made myself a belt grinder!

I built myself a belt grinder for the shop. This is a handy piece of equipment, that if purchased new could have easily cost me several hundred dollars. I spent a total of about $70 on this one. I won't bore my dear readers with specs, so I'll shut up and let the pics speak for themselves.


I was screwing a small thin metal piece on with an electric screw gun when the screw hung up on the thin piece. It spun around and cut the width of my finger on the end. It was pretty deep. I had to stop work to clean it up, and then wrap it up.

The grinder needs some mounting feet and I need to build a designated work table for it. All of that comes later though.

For now, it works and it works well! I'm happy!


Saturday, March 2, 2013

I'm an artist....officially!

Fiery Furnace Forge Blacksmith LLC is now a juried artist in the Kentucky Guild of Artists and Craftsmen.

I got the notification in the mail today.

In the notification letter I also received the juror's comments and checklist.
I received a "strong point" rating in every technique, design, and finish category except one, and that one area does not apply to my work so it simply received a N/A. (not applicable!)

I also received several hand written comments praising finish, design, and attention to detail!

I'm THRILLED!


I have been having trouble with my online photo uploader, making it extremely difficult to upload and post photos. Hence my recent lack of posting.

I have just now mounted my post vise I purchased back in July at the National ABANA Conference. Credit to whom credit is due. The ONLY reason I have this vise today, is because of two guys out at ABANA. One guy heard me talking to the seller of the vise about the difficulties and costs of me having to ship the vise from Rapid City South Dakota all the way back here to Kentucky. The guy that overheard me talking, came up the next day and said, "but the vise and I'll ship it back." Sure enough I bought it, and this guy and another guy covered all arrangements and costs of shipping a 100 pound + vise back to KY. You guys are AWESOME!

Here she is! A massive, 6.25-inch Columbian post vise. It's awesome when your vise makes your 300 pound anvil look small! 

This is the screw! It's been collecting dust so I'll clean it off and regrease it. 

Here it is cleaned up and regreased. It is an AWESOME screw. Still very clean and crisp with very little wear. 

Here is the new stand under construction!


And here she is! Bolted, wedges, and in position. It's solid as a rock. The table around the back of the vise will eventually get a lip around the edge and hammer/tool holders as well. All of that can be done where it is now though.


Here is my old vise and it's mount. I've been using this little four inch vise for seven years. It is going to get a well earned break, but will soon be put back to use in another portion of the shop. All the heavy work will get done on the big vise but the little one will be handy for well....uhh little things.


Now to illustrate what I was talking about with the picture uploading problem, I just uploaded those photos that you have just seen. It took me about 20 minutes. It used to take me about 30 seconds.


Thursday, February 7, 2013

End table!

I made an end table. I think I'm going to start taking these to art shows....I'm very pleased with this design and what it offers in the way of making them at a reasonable cost.


General overview of the table. the primary material used was 5/8-inch square bar with the primary technique emphasis on the Haberman square corner bend. The table comes together in the center bundle, giving the table a strong center core, wrapped up in a beautiful decorative collar.

Here is a detail photo of the collar!

Detail photo of the Habermann square corner bend.


Detail of the leg attachment to the table-top ring, also showing the Habermann bend again!


Detail of the hand-forged copper nails that hold the table-top in place.


Detail of the beautiful furniture-grade, locally milled and dried, walnut top.


This table will be available for sale in a couple of weeks. Please contact me via phone or email if you have any questions or would be interested in purchasing it.
This table can be made available as a matching coffee-table and end table set as well.

blacksmithdave@gmail.com

678-925-4388

Dave Custer
Fiery Furnace Forge Blacksmith LLC


Wednesday, January 30, 2013

stove and hammers

Well, I built a new stove for the house!

Our old one was a bit small and had some issues....plus, with a new stove in the house, we can move the old one into the shop and heat our work space.

I'm not going to do a lot of talking, but here are the general specs.

The stove is a 24-inch square cube.
The stove is made from 1/4-inch thick plate material.
There is a 1.5-inch lip around the entire top with all edges rounded.
All of the seams where the plate steel comes together, have full length welds to completely seal the box. The corners are trimmed with 1/2-inch round bar, and the welds are all interior.
The flue pipe hole is in the top and is 6-inches in diameter.
The legs were forged from 1.5-inch solid round bar and are made to resemble a "claw foot" design.
The hinges, handle, and damper-slide are all forged.
With the firebrick inside the stove weighs about 400-pounds +/-! 


Here is one of the hinge pintels. I was doing some adjusting on it with an O/A torch. It had a little oil on it so it caught on fire.


The door was critical as far as positioning. I only had about an 1/8-inch lee-way. I finally got it right and it now has a super tight seal.


Here is the handle.


Here is the damper slide. The way it works is there is a series of holes drilled into the slide and into the door. If you want to allow more air into the stove you move the slide until the holes line up, allowing air into the stove. If you want to decrease the air intake, you slide it to cover the holes up more and more until they are completely covered.


This is the inside of the door handle. There is a stop so that when the handle is in the open position it does not rotate freely. When the handle is shut, the bent piece in the picture, latches onto an angled piece of metal inside the stove. (not pictured!) The angled piece allows for wear on the stove over time. Even after years of wear, the door will still fasten tightly because of the wedge-shaped piece.


I put these square reenforcement plates on the bottom of the stove where the feet go. This is just to provide extra support where all of the stove weight is baring down.

Here is one of the feet!


And drum roll please........it's installed!


Interior lined with almost 50, 2-inch firebrick.


"FIRE IN THE STOVE!"


The stove works very well and is much tighter than our old one. This means that I can put wood in it at night, and still have a fire going the next morning, without ever getting up to tend to it or add more wood. The firebrick provide enough thermal mass so that even when the fire has been out for several hours, and there are hardly any coals left, the stove sides are still extremely hot.

It works like a charm!


I also sold my old faithful red shop forge! I built a new forge to replace it, the main change being, I switched to an electric blower.

Here are some pictures!


Here is the blower/motor!


Air supply is controlled by this shop-made air gate!


The forge works very well and I am very pleased!

I had a friend over last week and we made some hammers. Well 6 hammers actually. These hammers are for sale. Two sold within the first two days of making them. These are very nice, high-quality smithing hammers. If any of my readers would be interested in purchasing a hammer please contact me via blacksmithdave@gmail.com.


This is a hammer I forged last Saturday by myself! It is not for sale!


That's all I have time for now! G'day!