
I will be working on the above project during a weeklong class with a Mr. Clay Spencer. Mr. Clay is a very good smith that does a lot of traditional joinery. The class I am taking is a traditional joinery class. I took the class last year, but there is simply too great a wealth of information there to be gleaned from just one week.
This project is my own design and it will be one a wood rack for our hearth. There will be two ends that are the same, they will be connected and the firewood will stack between them.
I am preparing notes via test pieces, prior to the class so that hopefully I can complete the project within the one week class.
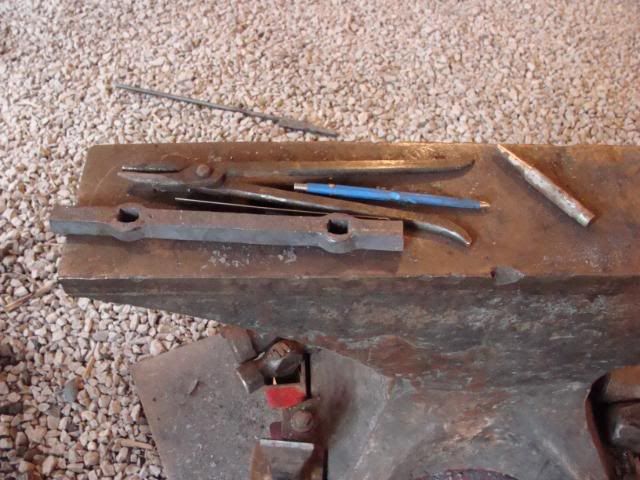
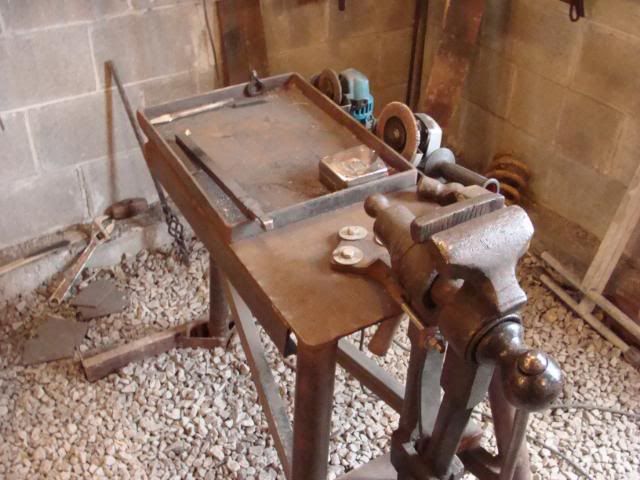
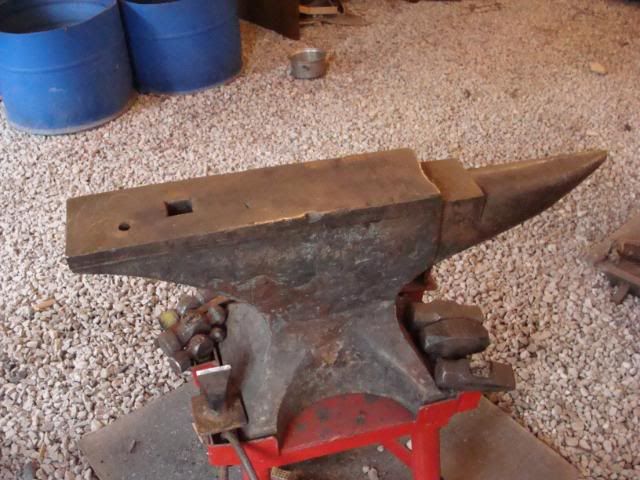
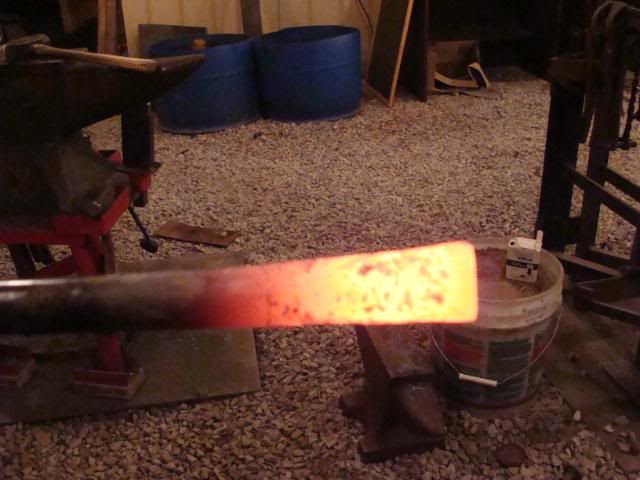
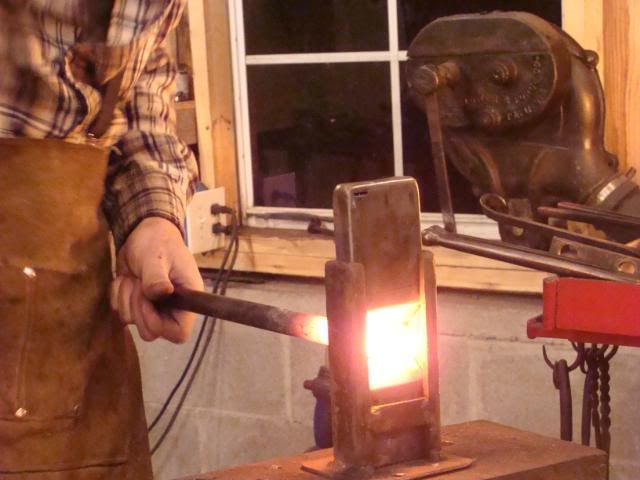
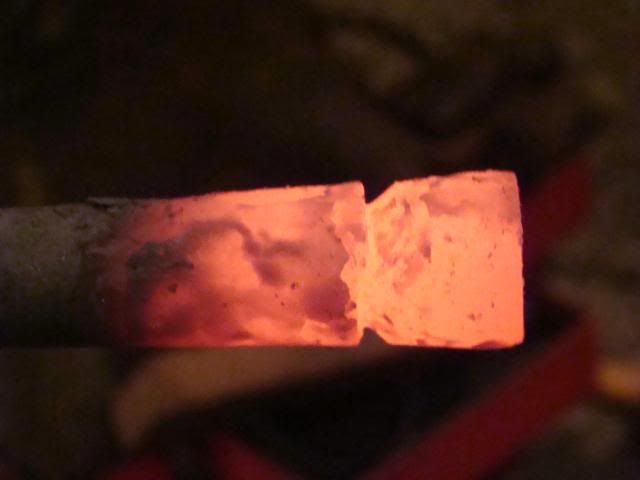
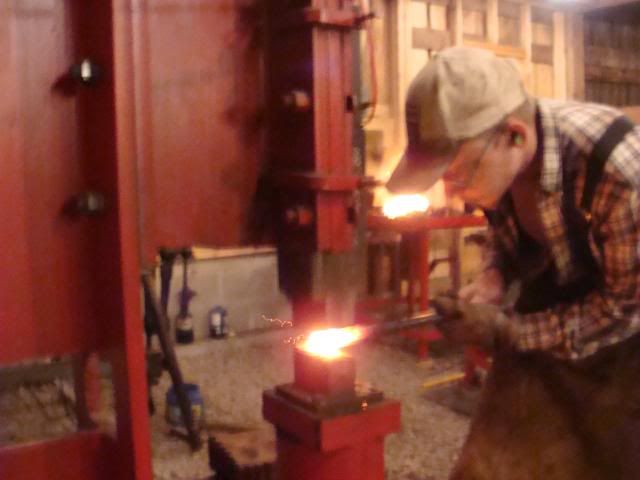
Here are some pictures of the various pieces and tools I have made so far.
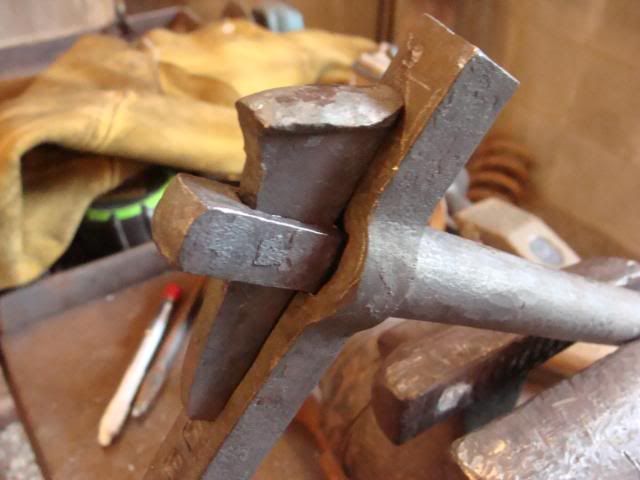
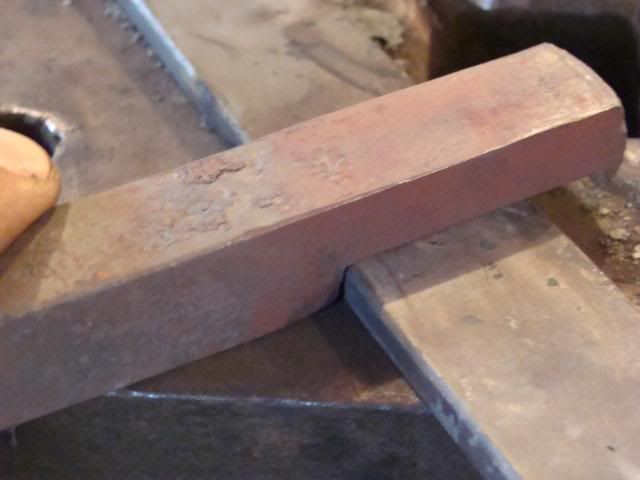
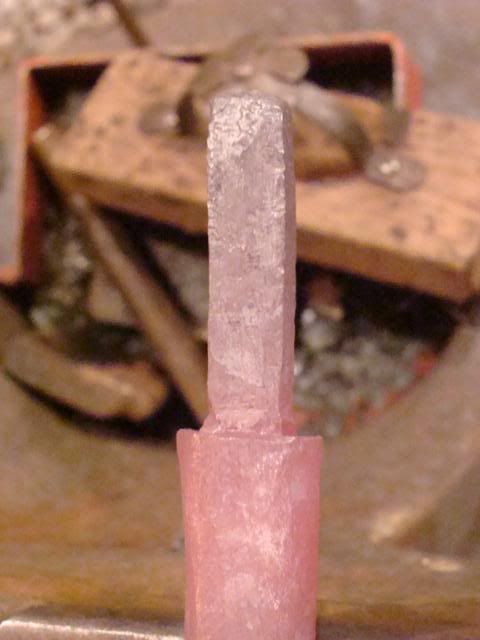
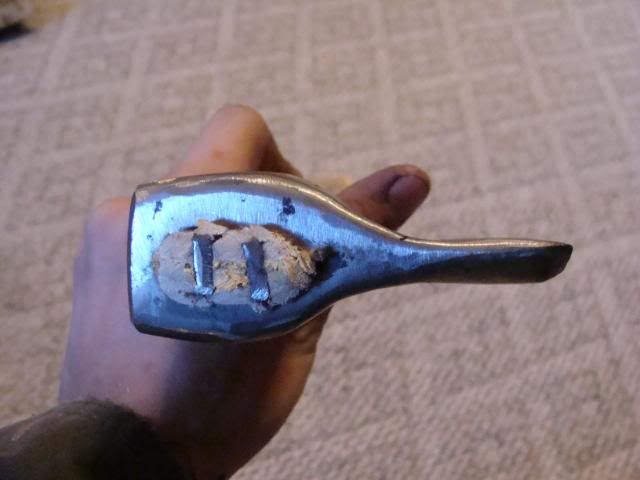
Slit and drift hole on left........tenon on right
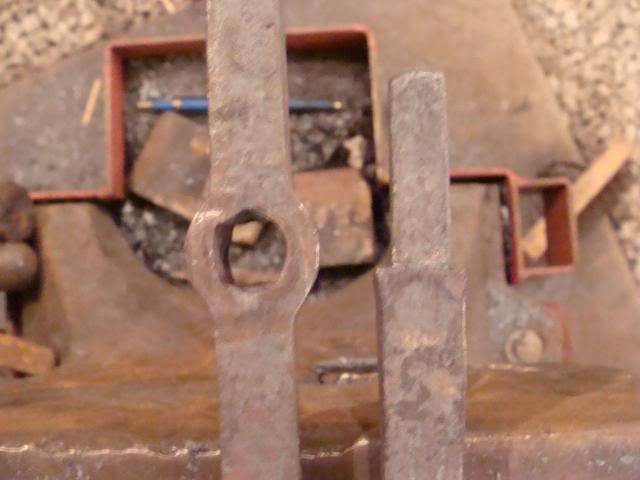
Slit in a bar prior to drifting to the correct size

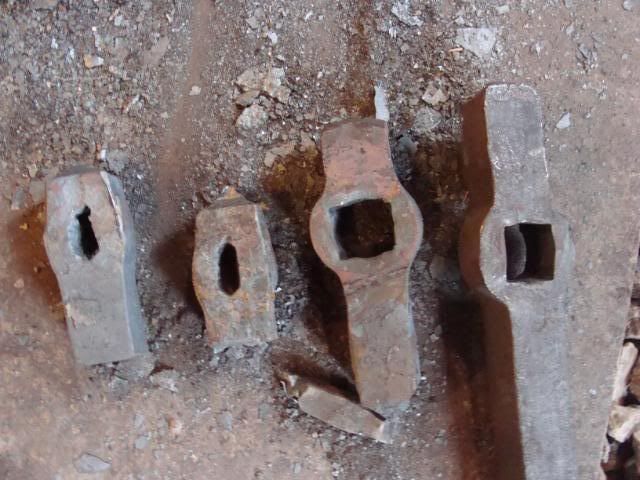
The purpose of the slit and drift piece and the tenon piece.....
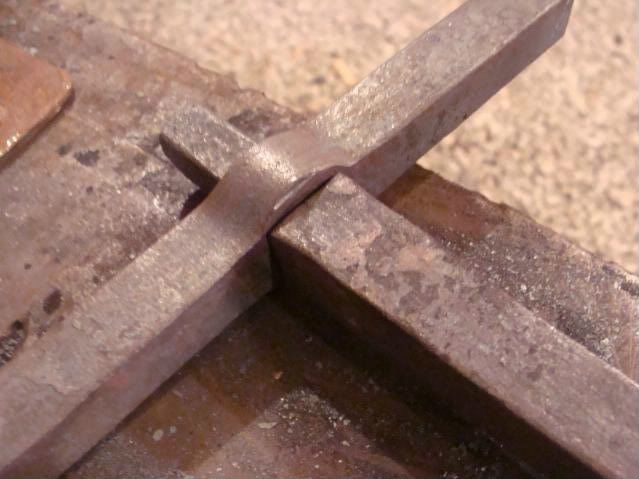
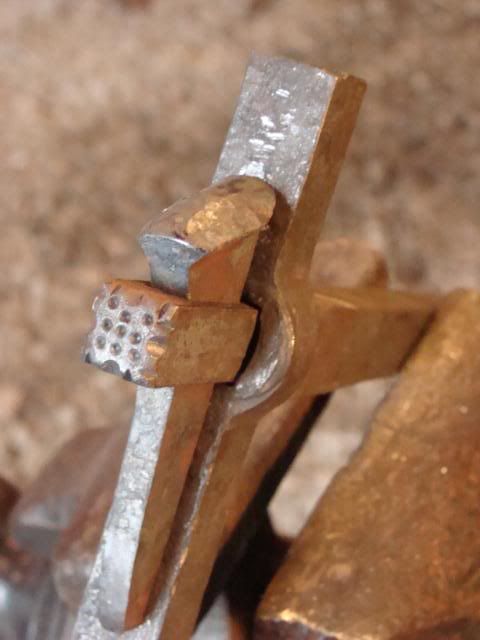
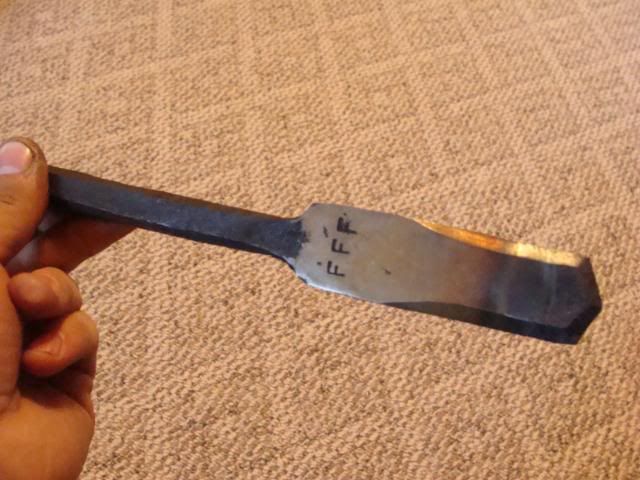
Left to right:
slotted tenon, slit and drift hole (AKA "mortise",) and a wedge.
How the slotted tenon, mortise, and wedge work.
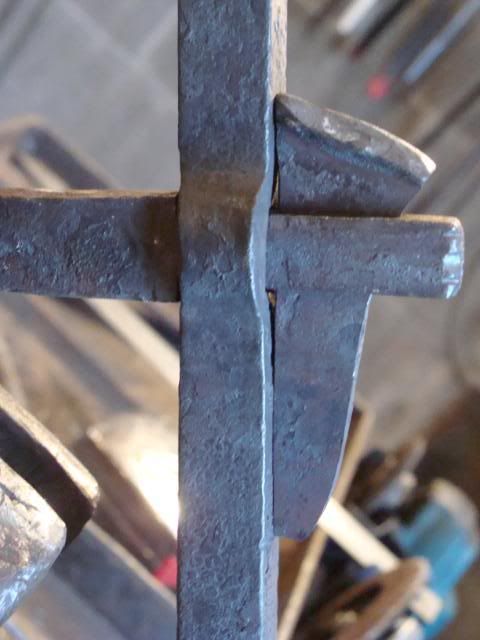
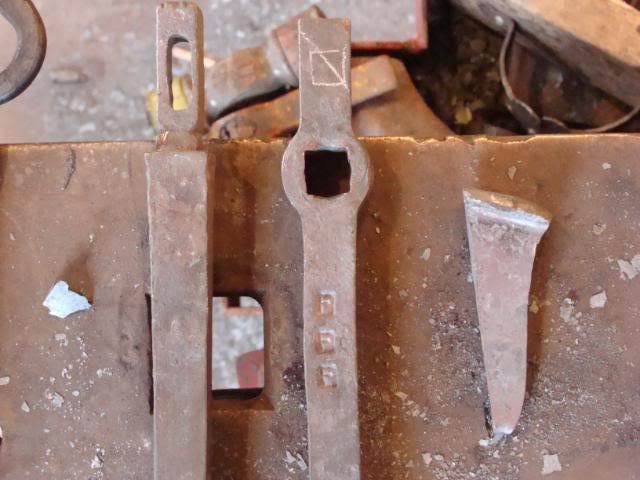
Here is a slight variation of the same joint, known as a "wedge joint." This variation has a round bar going through a square bar, and this is the variation I'll be using in the actual project.

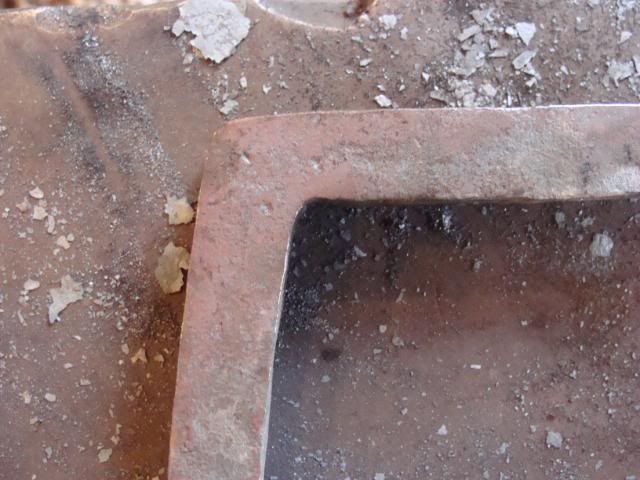
This is called a square corner. I did not forge this into a right angle corner because in the project, this piece will not be a perfect right angle.
This is a lap joint. Things will be trimmed up in the actual project.
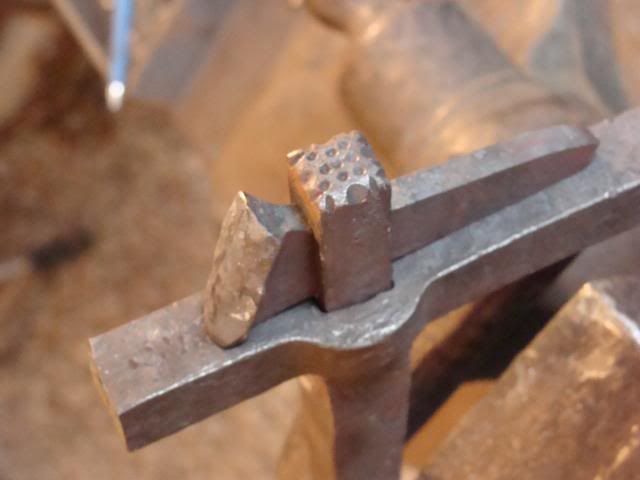
MESS UPS! I ended up messing up six of these slit and drift holes in a row!
After a couple days in the shop, things got a bit messy!
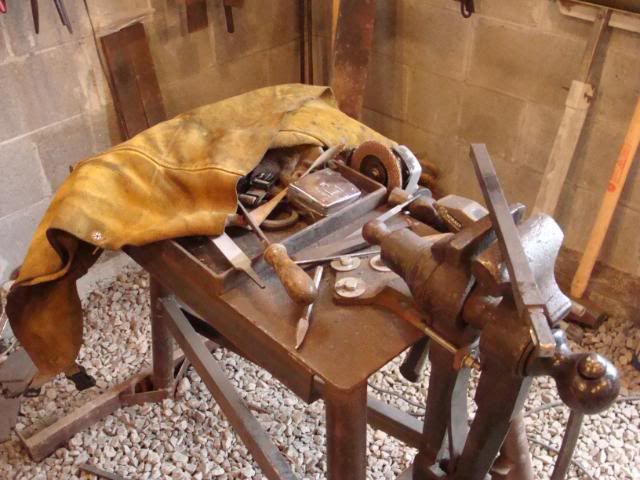
Two morning ago, I had to start the day out by putting tools up and cleaning the work stations. A lot of accidents have happened because of a disorganized shop.

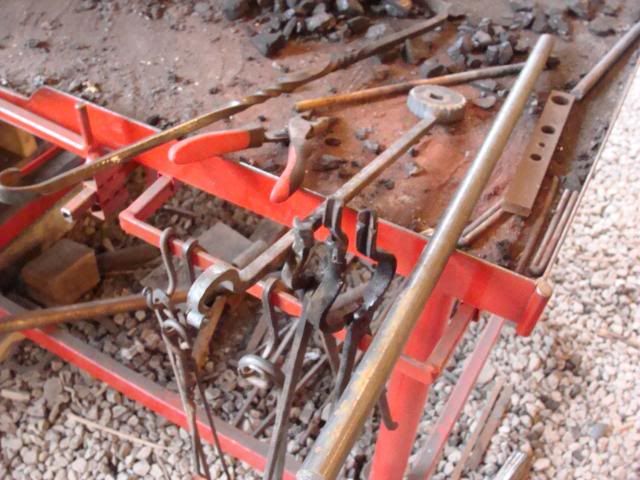
Ready to work again!
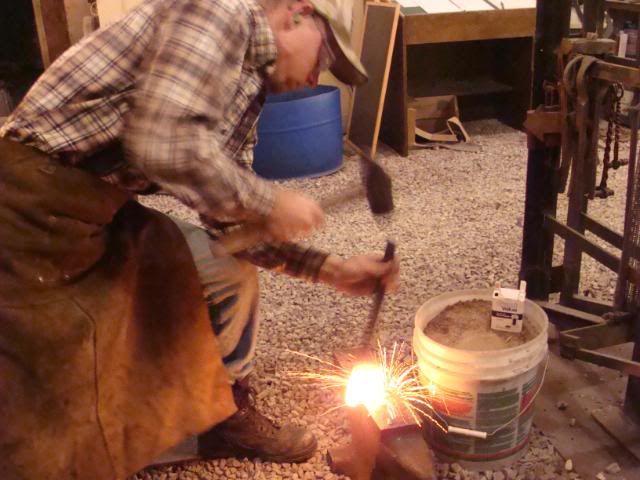
Here I am working on a tenon!
Yesterday, I discovered that I needed a new tool! (SHOCKER!) Anyway, a really helpful and talented smith in England told me that a certain tool would help me on my tenons. He showed me some pictues of the tool and briefly explained how to make it. Yesterday I spent the day making the tools needed to make the actual tool for the tenons.
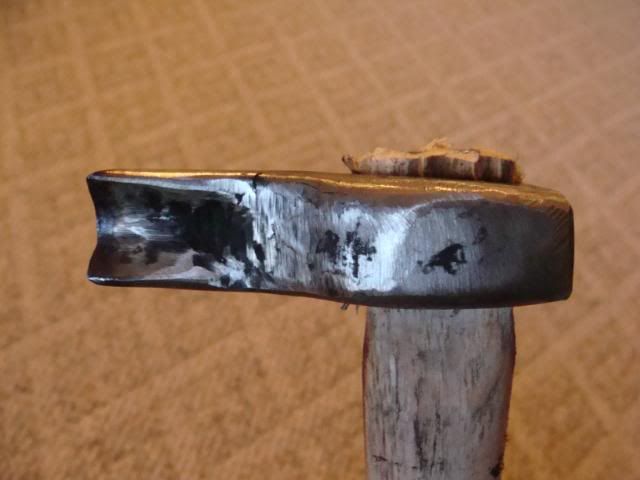
This one is a slitting chisel made from a bush hog blade.
I have several slitting chisels, but I needed this size tool in order to make the next tool.
This next tool is a curved butcher. It is pretty much like a chisel. I made this from a race car axle. (You know EVERYONE just has one of those laying around!) The slitting chisel pictured above was used to cut the hole for the wooden handle. I also had to make a "drift" to size the handle hole, but I forgot to get pictures of that.
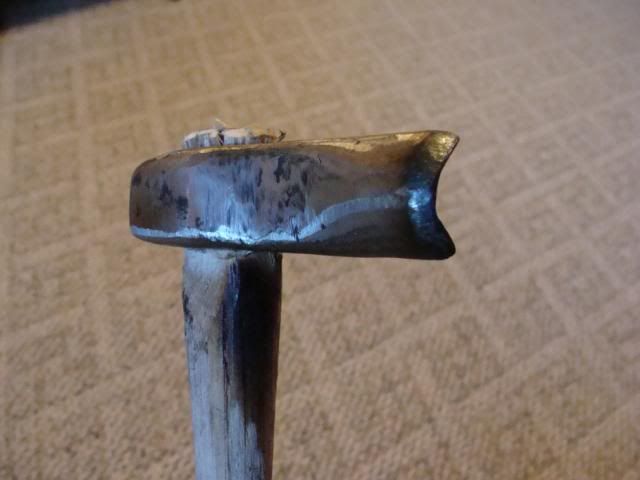
All of these tools (slitter, drift [not pictured,] and curved butcher, were made so that I could make the tool I needed for the tenons.
The particular tool that I am making is another type of curved butcher. It is nearly finished and I'll try to get pictures of it and some other stuff a little later.
Dave Custer
Fiery Furnace Forge Blacksmith LLC
Check out our NEW WEBSITE!
http://www.custerfamilyfarm.com/
1 comment:
All I have to say is..... NICE!!! :)
Post a Comment