
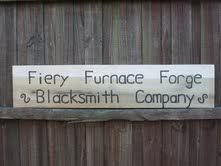
First though, I picked up a new blacksmithing sign while we were in Georgia! I got my good friend, Miss Nicole, to wood burn this 45-inch-long piece of poplar wood for my shop! As usual, she did a fantastic job!
Check out her website!
http://www.freewebs.com/goatwagonsutlers/
She is a first-rate woodburning artist! I asked her to do this sign free-handed instead of using stencils. I couldn't be happier with the way it turned out.
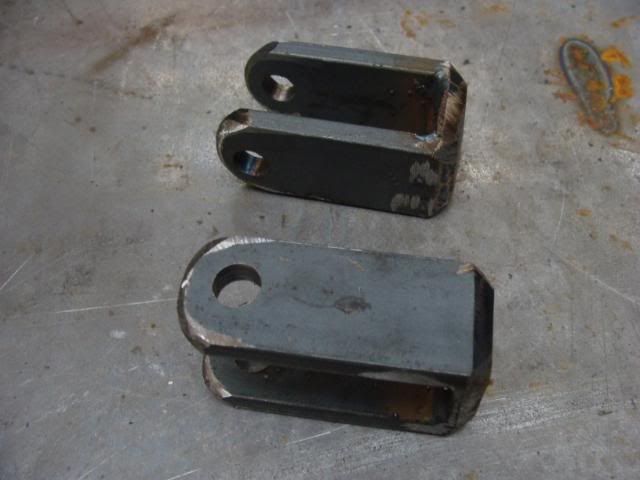
My latest blacksmith endeavors include two more latches like I did a while back, and a tool for my anvil.
Pictures of the latches first!
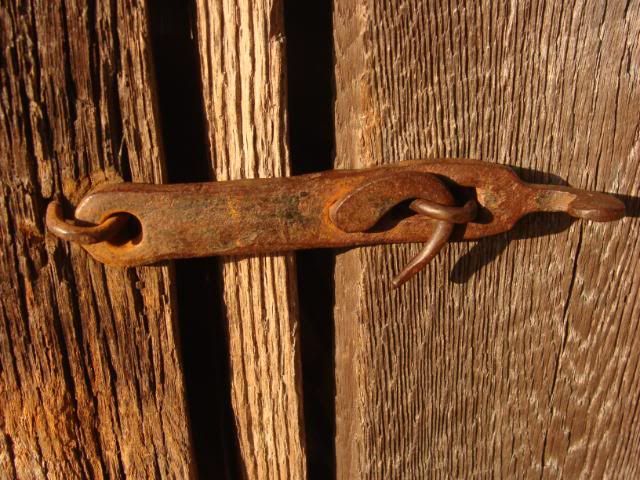
This is the latch that I patterned mine from! It is at a historical museum. (Museum of Appalachia, Norris TN.)
These are the ones I made!

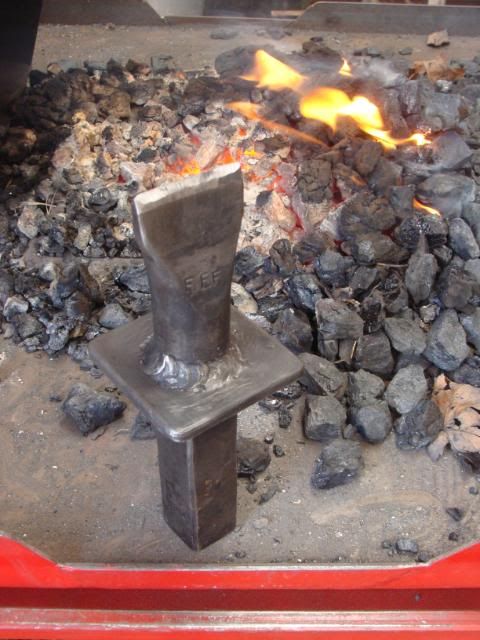
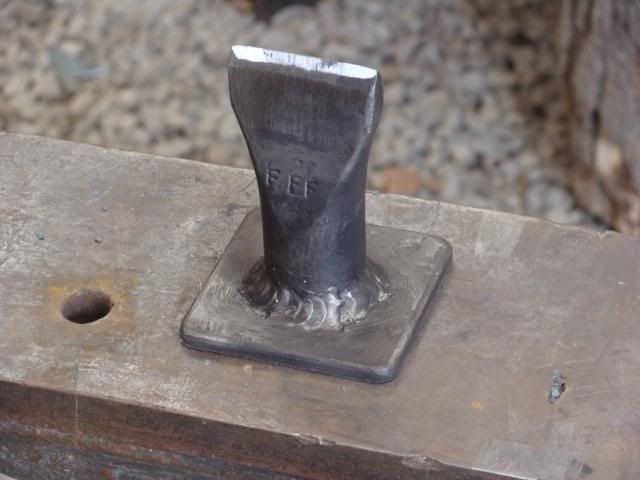
A hardy cut-off tool is a large stationary chisel that fits in the square hardy hole in the anvil. My big anvil has a 1 1/4" square hardy hole, so it takes a sizeable chunk of metal to make hardy tools for it.
Until yesterday, if I needed to cut hot metal, I just had to use my small anvil and its hardy. However, that has all changed, as yesterday I made the first hardy cut-off tool that I have ever made in five years of blacksmithing. The top half (i.e. the actual tool part) is made from a car axle which is hardenable metal. This is welded to a plate of mild steel (non-hardenable metal.) Under the plate is a 1 1/4" square shank that fits snugly in the hardy hole on the anvil.

If there are any blacksmiths that read my blog, then the hardening & tempering process goes like this.
For car axle: Heat to non-magnetic (critical temperature, dull cherry red,) and quench 1/2"-3/4" of the cutting edge in used motor oil. After this is cooled sufficiently, take it out of the oil and quickly grind the cutting edge to make it shiny. Then let the heat that remains in the thicker shaft part, move towards the cutting edge until a straw or bronze temper color reaches the edge. Then quench the entire piece in oil until cooled enough to hold.
That is the latest in blacksmithing.
We've been doing some metal fabrication work as well. Dad is making a work-out rack for lifting weights, so I've been helping him on that. I'll get pictures of the completed project when it is uhhhh completed, but for now here we are working on it.

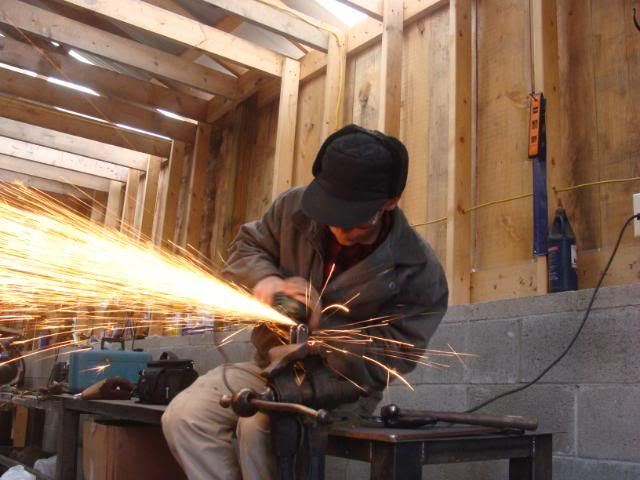
The pieces I was grinding on...
Dad welding!
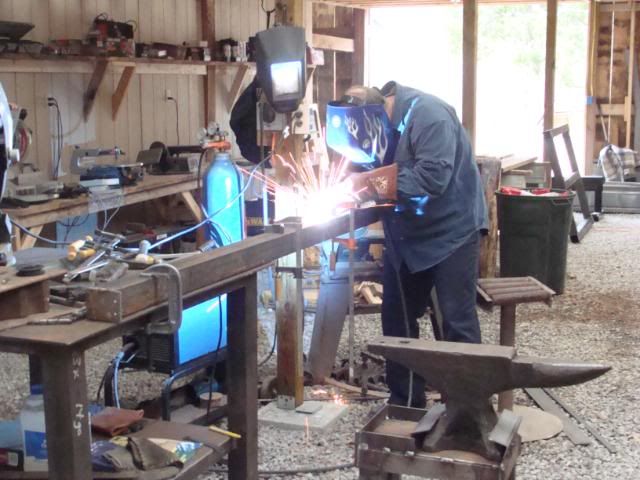
Dad inspecting the weld!

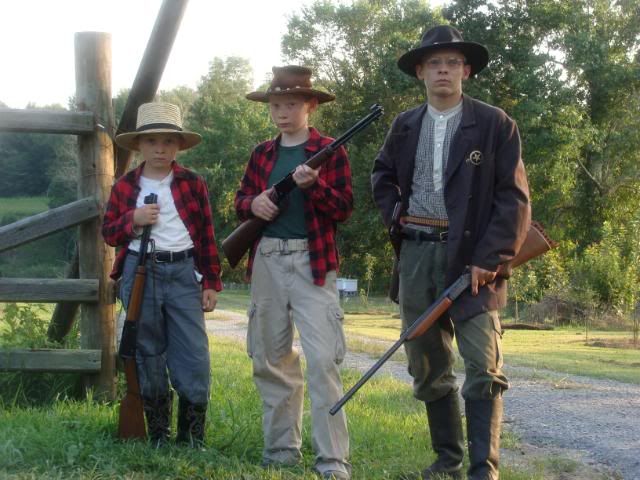
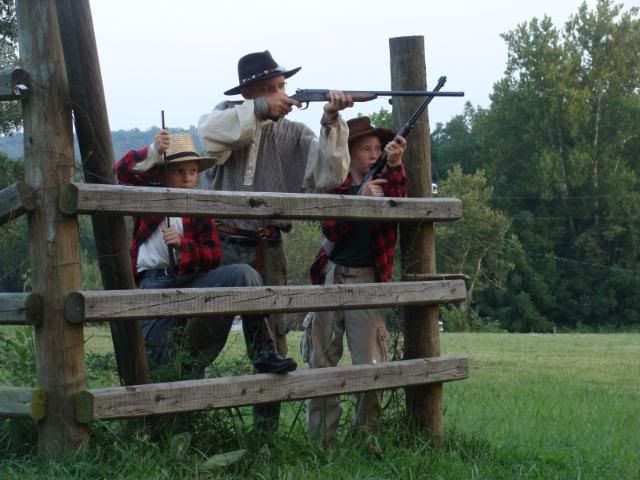
A while back Titus and Philip (my two little brothers,) and myself dressed up westerny and had a little photo shoot! I was going to wait until I got some Indian pictures too, but I had my concerns about how many of you really wanted to see me with face paint, feathers, and a loin cloth! Plus, last time I checked, Wal-Mart didn't sell those in a men's small!
These photos are shot with real guns and live ammunition!
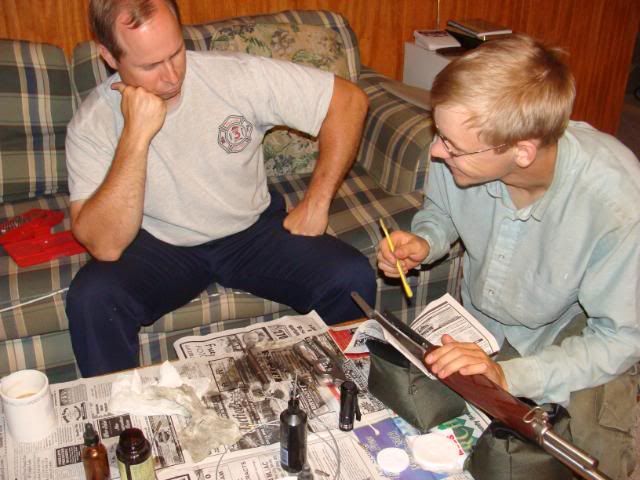
A while back dad and I went through the gun closet and cleaned some of his guns. One of these is a lever action. It was in dire need of some oil, as it was very stiff. Dad was in favour of squirting oil into it, while I counseled that we take the gun completely apart. The younger and "wiser" counsel prevailed and we started taking screws out. After a sufficient number of screws were removed, springs started flying out of the gun's working mechanisms!
We oiled the gun and then put our brains together to try to figure out how to put "humpty dumpty" back together again. Surprisingly, though a modern firearm, the principle behind the working parts did not differ widely from my 1853 Enfield musket. (and people think technology has advanced....c'mon!)
So here we are....."fixing" the gun!

"Now where in the world does this part go?"
"Shoooot Idunno!"
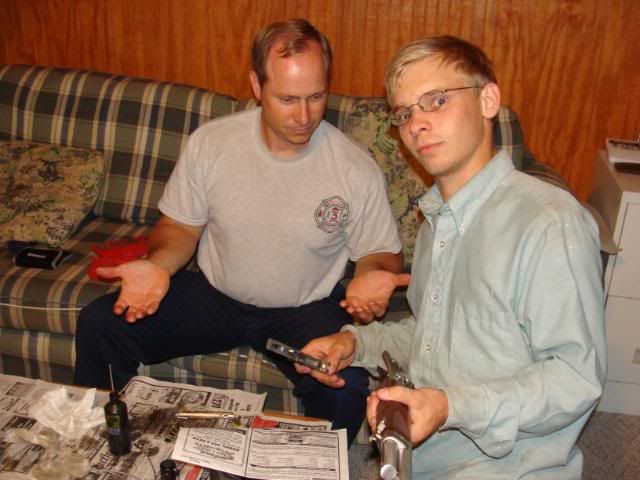
Hope it still works! :)
That's all folks!
No comments:
Post a Comment