
Last week, I did some serious heavy forging here at the Fiery Furnace Forge Blacksmith LLC studio.
For some time now I have wanted a "striking anvil" for students to use when they come, and for myself when I make anvil tools. A "stiking anvil" is a flat, plain anvil made from cheap steel. The idea is, if a student swings a 12 pound sledge and misses the hot metal and slams it into the face or corner of your striking anvil, he may dent or break it, but it is an easy repair or a cheap replacement.
On the other hand, if a student misses and hits your real anvil and takes a chunk out of it, you've just broken a $500 shop tool.
So a striking anvil is a cheap and very smart investment. Plus in general tool making, it saves wear and tear on your anvil.
So last week, I up-'n-decided to make me a striking anvil.
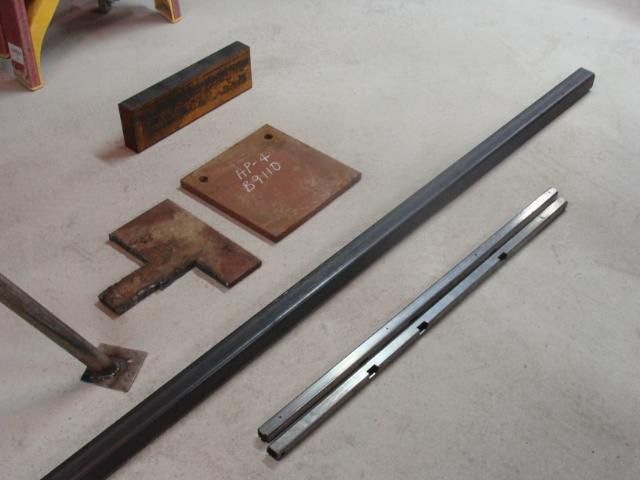
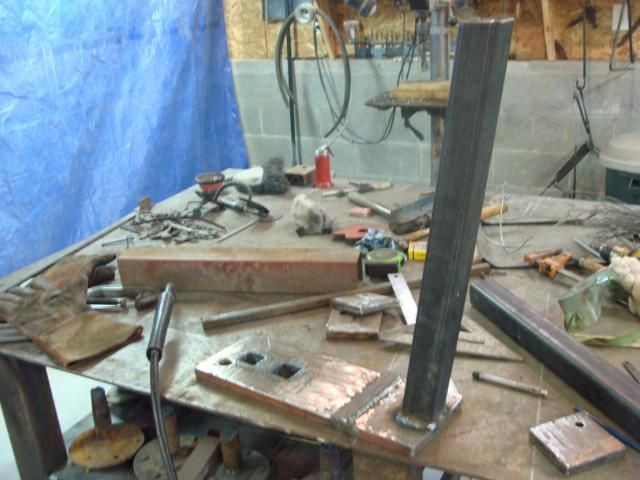
The venture began with a trip to the steel yard where I obtained the following materials.
2-inch square steel tubing for legs
3/4-inch thick plate steel for the anvil base
1-inch square tubing for leg supports
5/8-inch plate for feet
and a 2-inch x 5-inch x 16-inch solid piece of flat bar steel for the anvil itself.....this piece alone weighed 45 pounds.
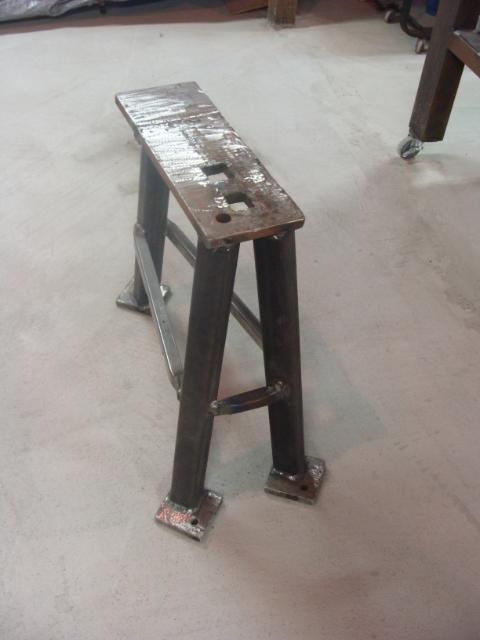
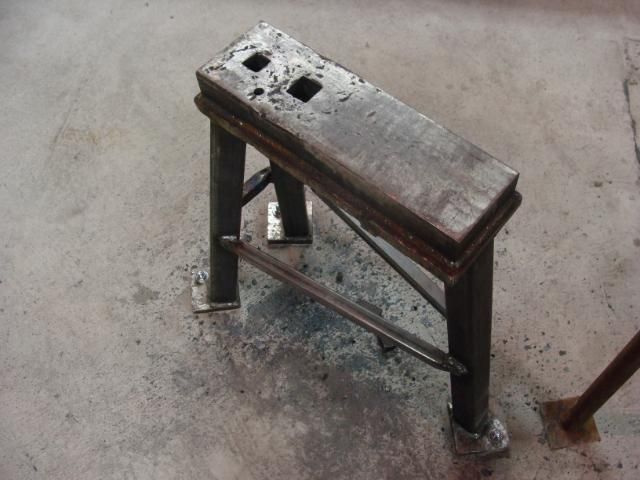
The next thing to do was build the stand for the anvil. This consisted of everything accept the flat bar piece that was the anvil iself.
Legs!
Base plate before welding and cutting!
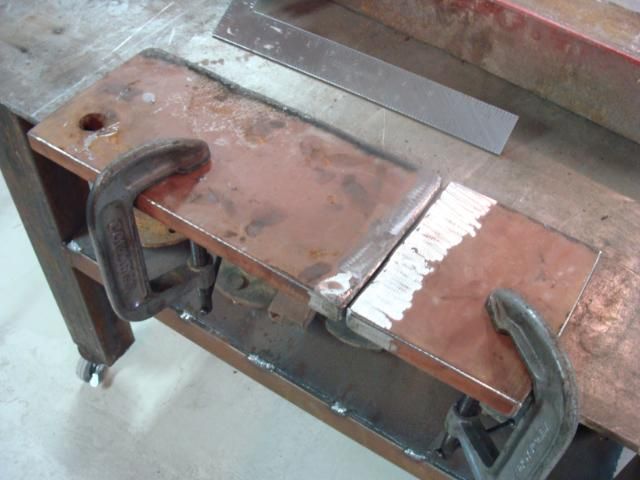
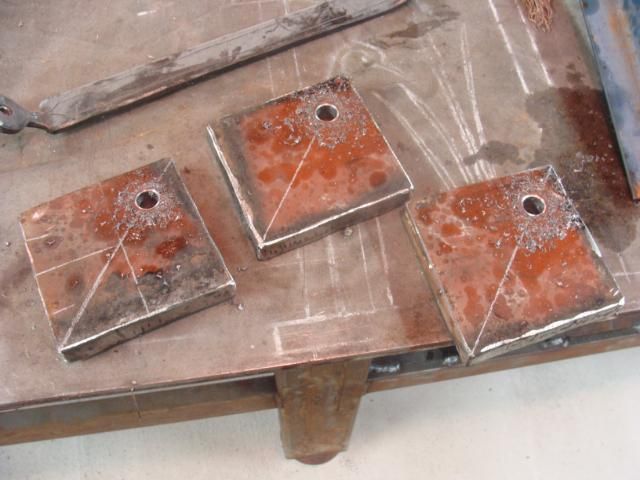
Base plate after welding and cutting. (Remember the square holes.....they are important.)

The feet! Notice the round holes....these are for bolting the stand down to the concrete, once it is finished!
One leg welded on! The legs are welded on at a 9 degree angle. This is an unimportant, unintersting fact that I just randomly decided to put in!
I kind of forgot to take some inbetween shots here. But basically the legs were filled with sand (to increase weight and decrease vibration,) then the feet and braces where welded on.
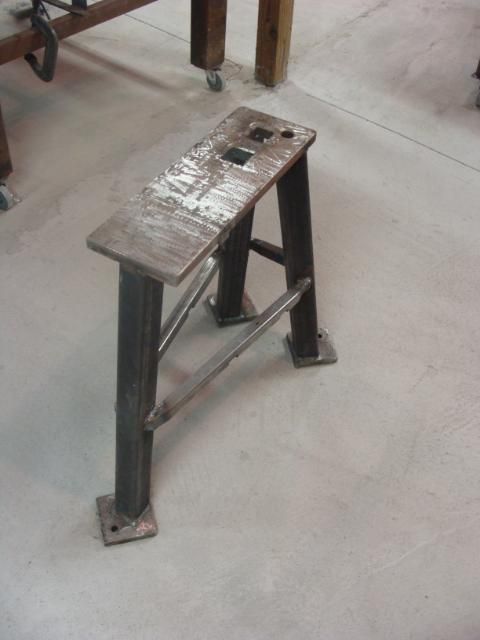
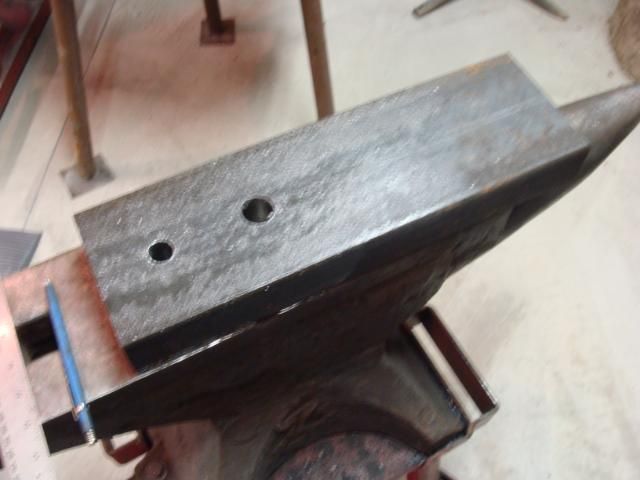
Now in an anvil, you have a square hole called a "hardy" hole. A large variety of tooling can be made for different processes, to fit in the hardy hole. So in order to make a striking anvil, I had to put at least one "hardy" hole in it. I decided to put two in mine. The standard hardy hole size is 1-inch so I decided to put a 1-inch hole in my striking anvil. My big shop anvil has a 1.25-inch hole though, so in order to make tooling for it, I decided to also put a 1.25-inch hole in my striking anvil. That is the reason for the two square holes in the stand. They are not the hardy holes, but they are clearance holes so that the base plate does not get in the way of the hardy holes in the actual "anvil." (Told you it'd be important!)
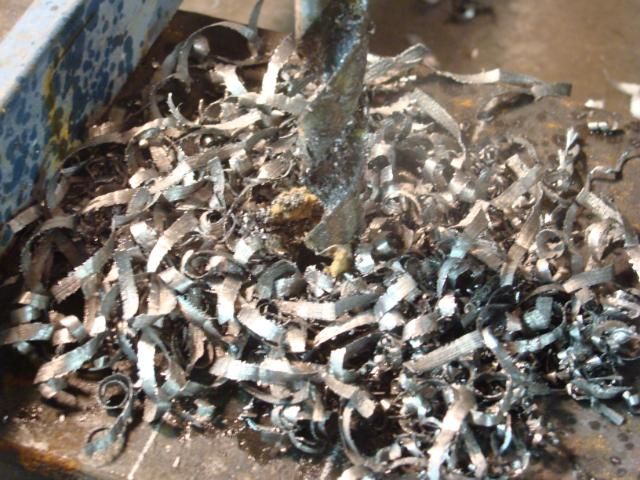
So anyway, there are two ways to get a square hole in a 2-inch x 5-inch x 16-inch chunk of steel. Hire someone to machine it.....perfect but EXPENSIVE, or "drill and drift" the holes yourself. I opted for the latter.
So what is "drill and drift?" Well drilling is the process of starting with a small drill bit and drilling a "pilot" hole through the material. Then you work your way up in consecutive sizes to the finished size. I drilled a 3/4-inch round hole where I wanted the 1-inch square hole to be, and a 1-inch round hole where I wanted the 1.25-inch square hole to be. It took about an hour to drill these two holes.
Marked for drilling!
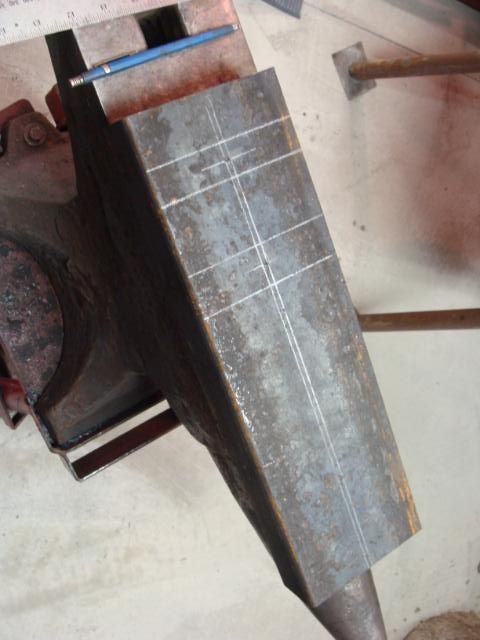
During drilling!
Drilled!
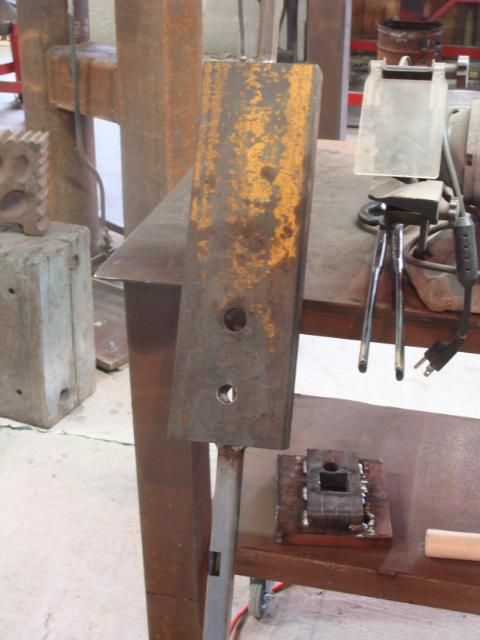
Now what is "drifting?" Drifting is the process of taking a round hole, like the ones I drilled, heating up the area around the round hole, and then driving a square tool called a "drift" through the round hole. The square drift being the desired size of the finished square hole. In order to heat such a large and heavy chunk of steel up, I needed some handles on it. So I welded some scrap steel handles on.
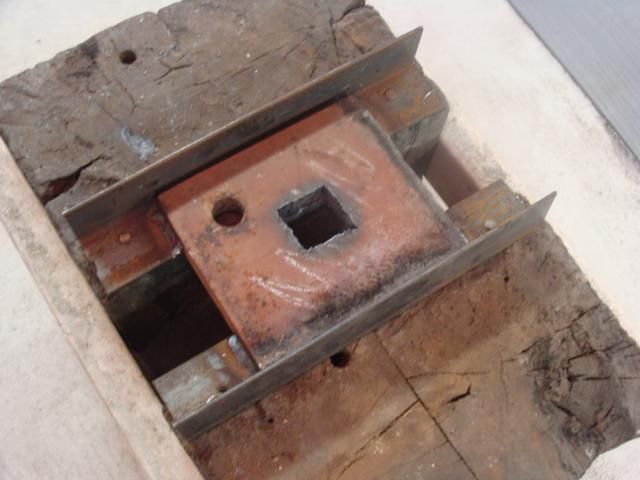
Next I needed some way to support the piece while I drove the drift through. So I made this "make-shift" stand to get the job done.
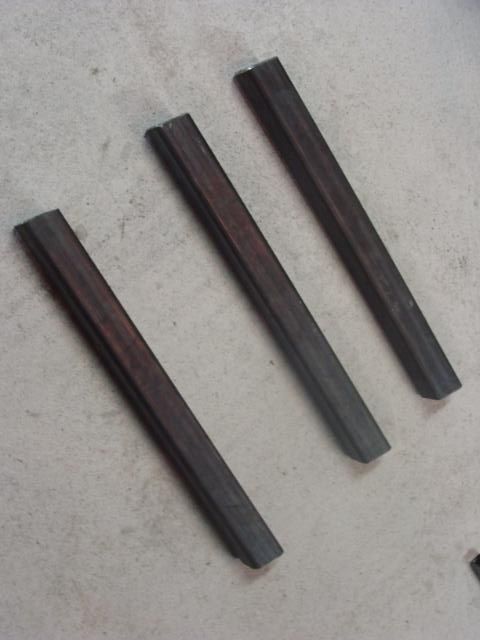
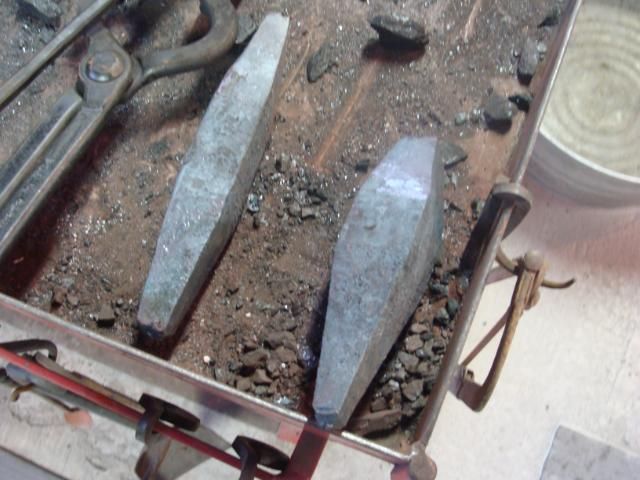
The drifts!
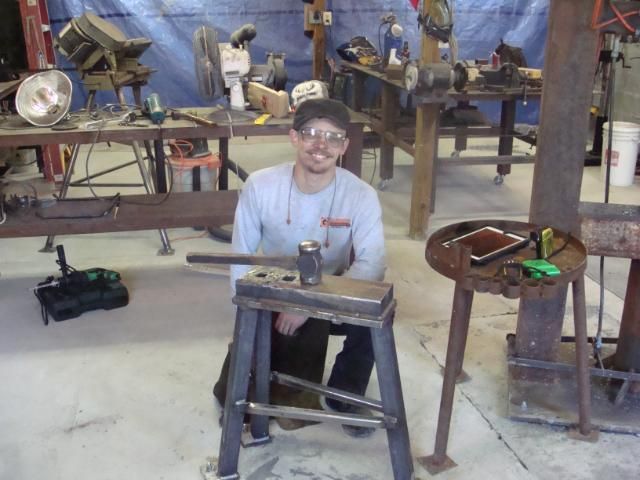
Now I knew I wouldn't be able to drive these gigantic drifts through this gigantic steel by myself. I needed a little extra umph, and extra hand, and an extra sledge hammer. I didn't need the extra ego, but that kind of came with the package! :D Enter Chase Saxton, my blacksmith friend from Bowling Green Ky.
I asked Chase to come over and help me drift the two holes square and then in exchange, we would make him a new forging hammer. He agreed, and came over to help with the big work. We did not take pictures of the process but we recorded it all and made some videos!
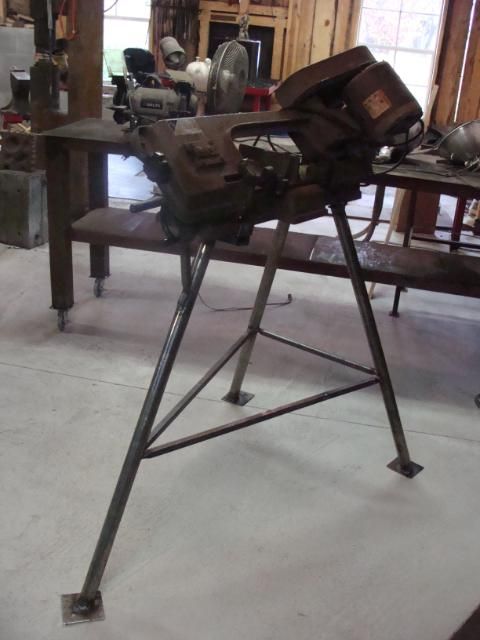
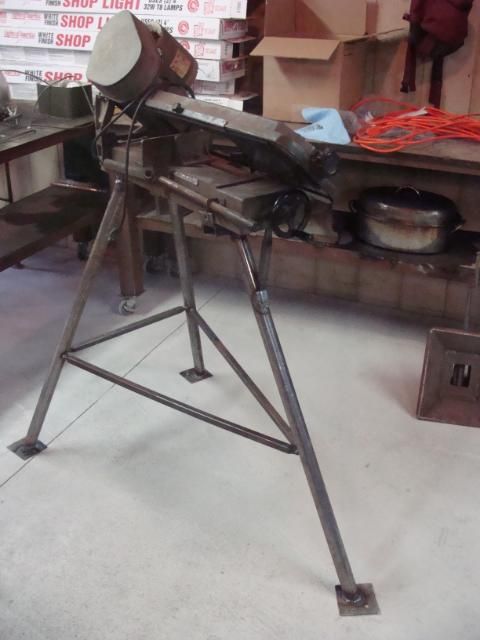
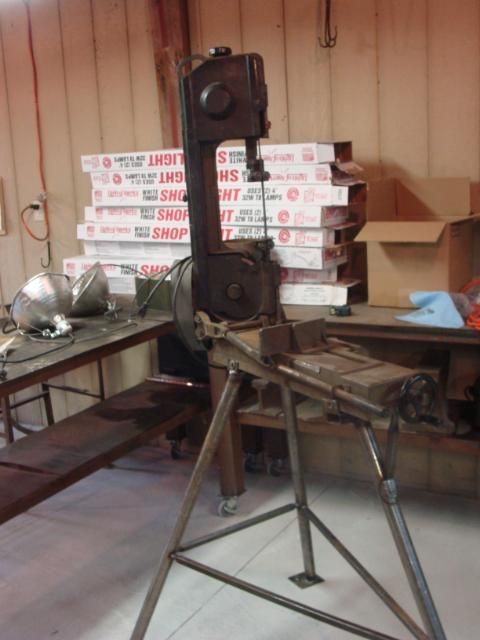
I also built a bandsaw stand last week! Here are a few pictures!
I do have some pictures of the hammer Chase and I made as well as some other heavy forging I've been doing, but this is all I have time for right now!
No comments:
Post a Comment