BE SURE TO CHECK OUT MY BLOG PAGES IN THE WHITE LINKS ABOVE!!!


Wednesday, May 18, 2011

Italian style pizza oven

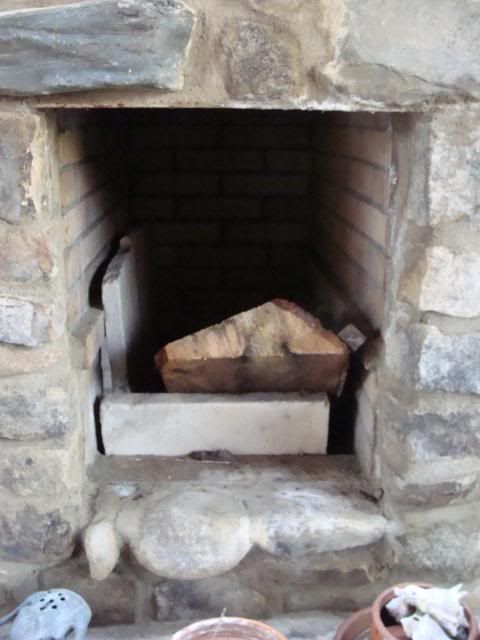
I have completed the fire poker and oven grate for my dear clients down in North Georgia. They have been quite patient while I took time out of the shop to work on the problem with our dam. Now I have finally gotten back out to the shop to begin work on their "pizza oven" door. The set-up is a large stacked stone fireplace located outdoors. The fireplace is centered and on one side is an oven operate by placing hot coals from the fire into the oven.
This is the oven!

I started by cutting and sizing an insert frame that will be attached to the masonry. I am basing the sizing off of measurements I took onsite so everything should fit just perfectly when the piece arrive at it's new home.

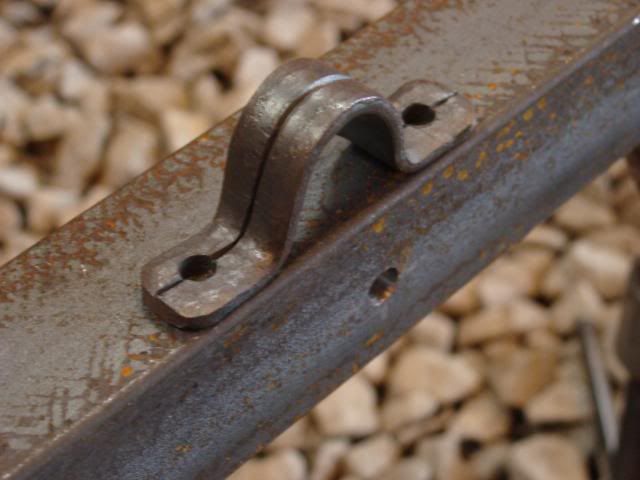
There are two little brackets that will hold two pieces of chain to the frame.These chain pieces will support the door. This is the bracket. 
These are two links of chain.

I also cut out the door and textured it yesterday. Only the edges will be textured because there is another piece that covers the middle of the steel door. I cut the plate out of 3/16" plate steel.

The rectangle drawn on the plate designates where the center piece will cover the plate.

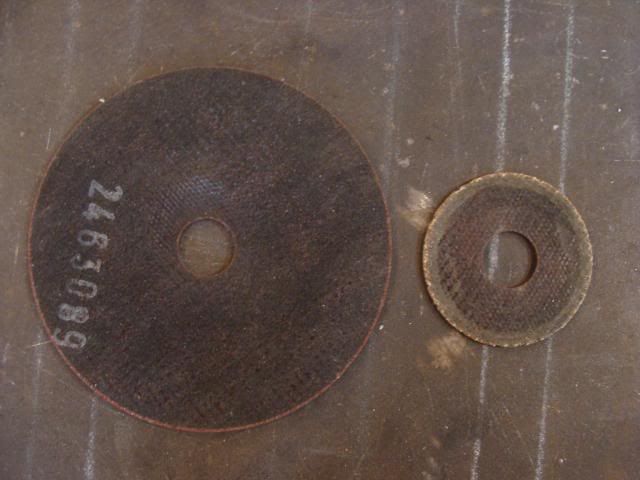
I used a 4-inch cutting disk to cut this out of a larger piece of metal. I think I got my money's worth out of the one I used! (Pictured is a new one and the used one.)
I threw the piece of plate metal into the forge. (Actually I laid it in the forge because it is too heavy and cumbersome to throw.)
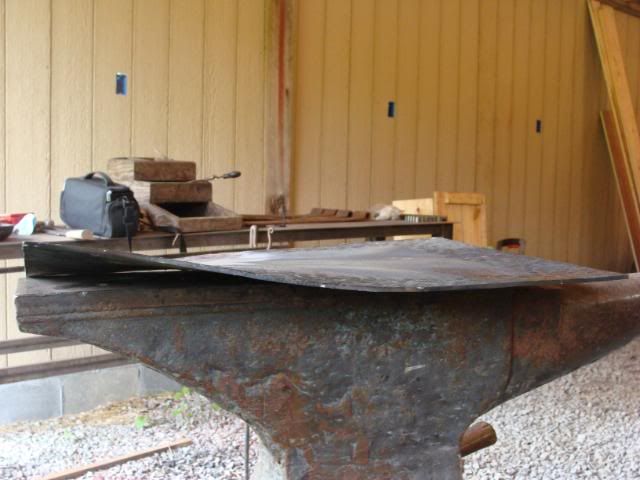
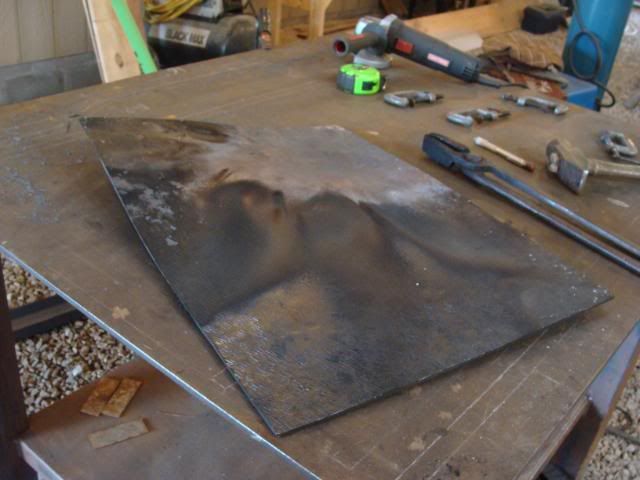
I spent several hours texturing the outside and the texture turned out great. However, there was a lot of heat distortion in the piece of plate. I should have recognized and forseen the problem before I spent all afternoon texturing the piece, but I sturbornly persisted. At the end I started trying to forge the heat distortion out, but to no avail. Long story short, the first door gets trashed and I am cold texturing a second door that will be the actuall door that the clients receive. You may be thinking, "aww a little heat distortion? what's the big deal?" Well, take a look at the pictures and you will see!
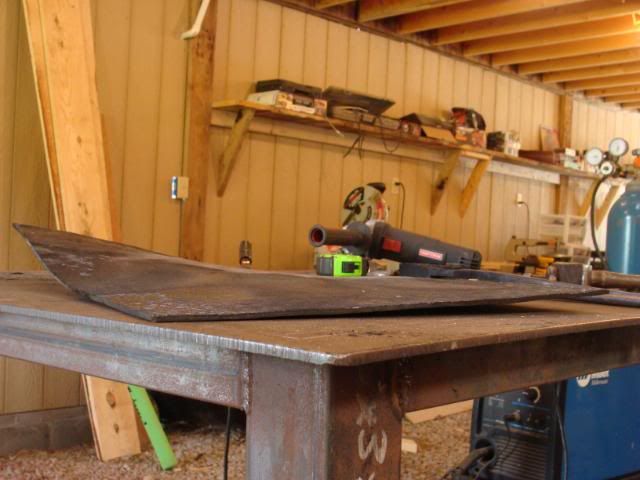
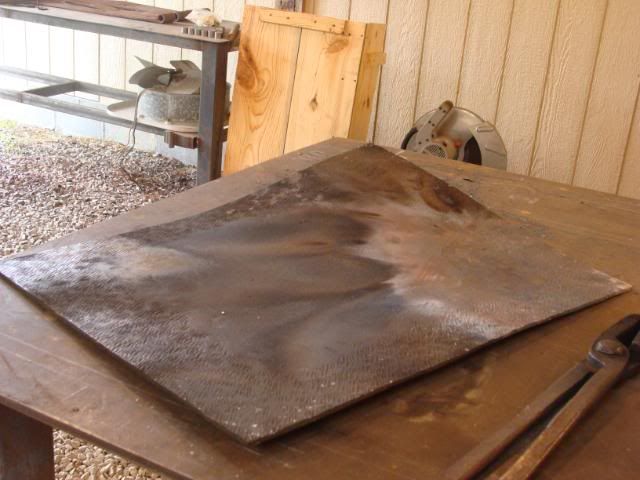
The plate is warped in BOTH planes. If it was only in one plane it would be simple to forge out but with both planes being distorted, I do not have the equipment to fix this door. I would have to heat the entire plate up evenly and the use a large roller to reflatten the plate.

It is frustrating of course to have a part of a project fail in the first attempt, but that is part of the fun of blacksmithing. Each unique job I get is a learning experience for me. One thing I learned from an extremely knowledgeable smith is ALWAYS do a test piece. In this instance it would be impossible to do a test piece, but I should have identified the problem in the first ten minutes and chosen a different method.

Another couple of notches up for me on the the blacksmithing experience scale!


Wednesday, May 11, 2011

Grate for oven

This piece is for the same client that ordered the fire poker pictured in the previous blog.
I am building an oven door and an oven grate for an outside, stacked-stone fireplace. There is a large fireplace and inside the stone there is an oven. Hot coals from the fire are raked into the oven for heat.

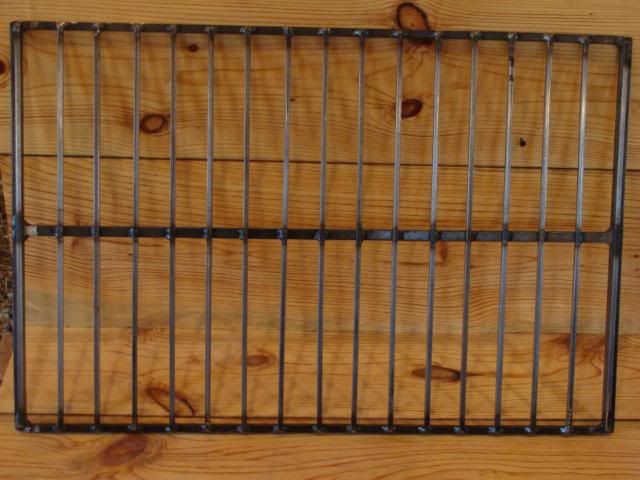
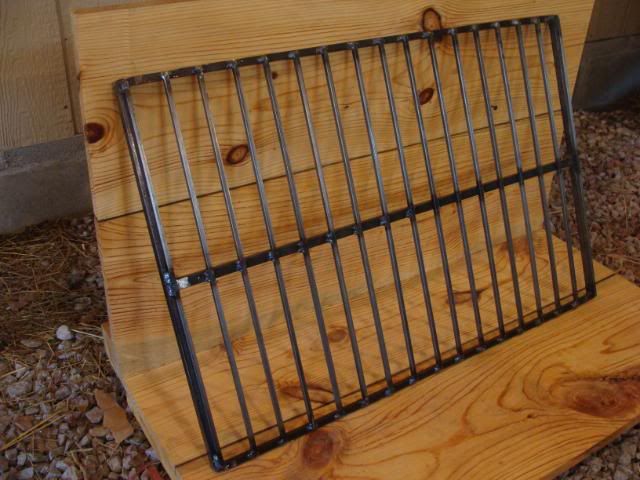
This is the grate! It is quite stout so that there will be no fear of warping from heat.


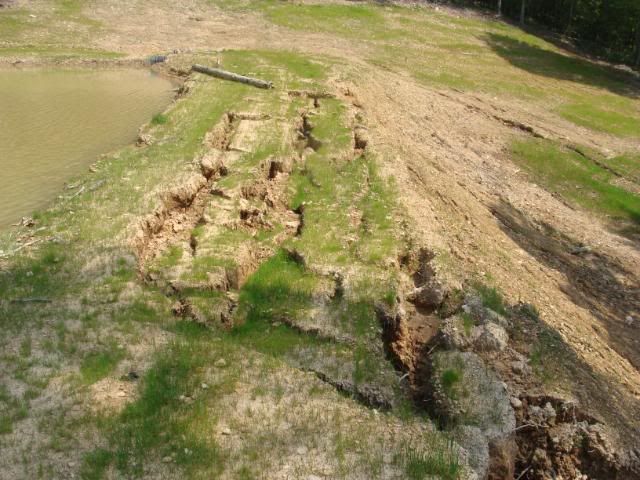
I have been running a bit slow on this job because of some disturbances on the farm. A while back we had the dam on our pond raised to increase the depth and size of our pond. We gave the dozer man a time limit of two days work and he did a lot of work in those two days. However, the sides of the dam were left too steep and due to the large amounts of rain we have had here, the dam was giving way so that there was only about a two foot wide dam at the top. Chunks of dirt and mud slides were falling off the dam, and if we had gotten one more heavy rain, the water would have washed over the top of the center of the dam and the whole 20-foot deep, 1/2-acre pond would have washed away along with several hundred fish we just stocked. It is due only to the helping hand of God ALMIGHTY that the dam did not give way!
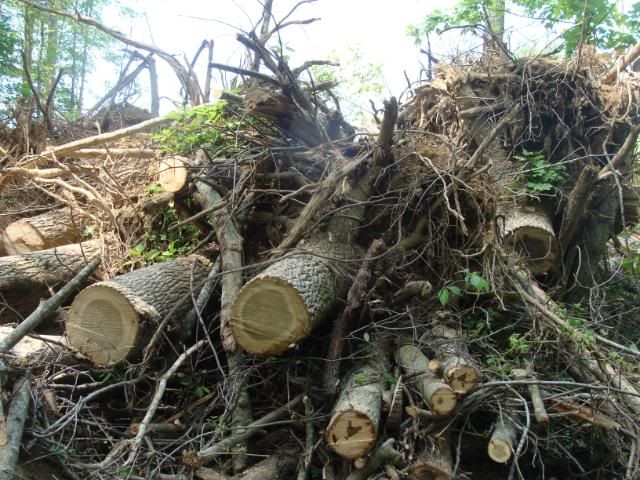
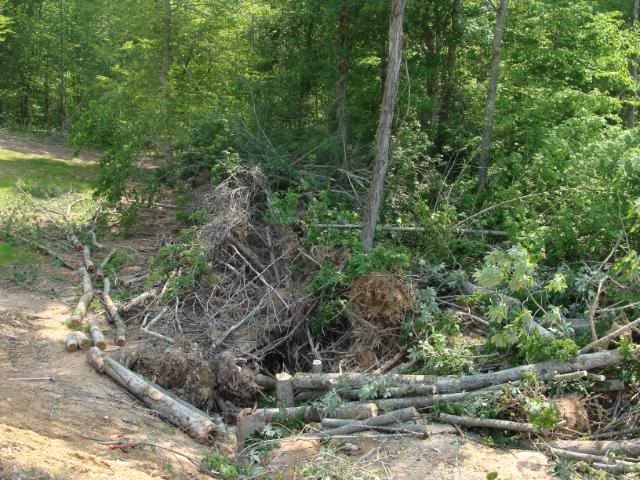
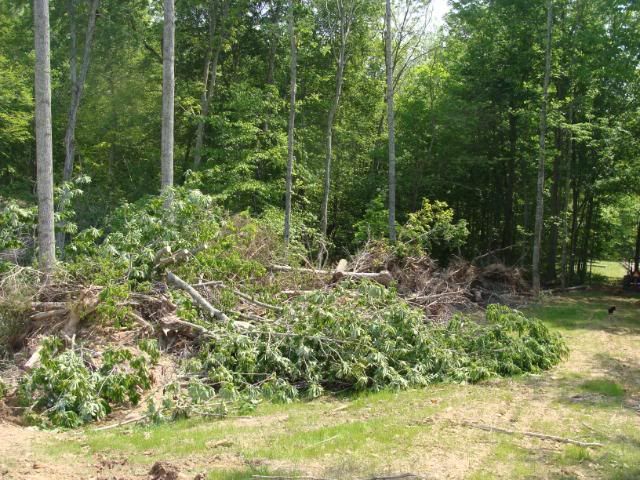
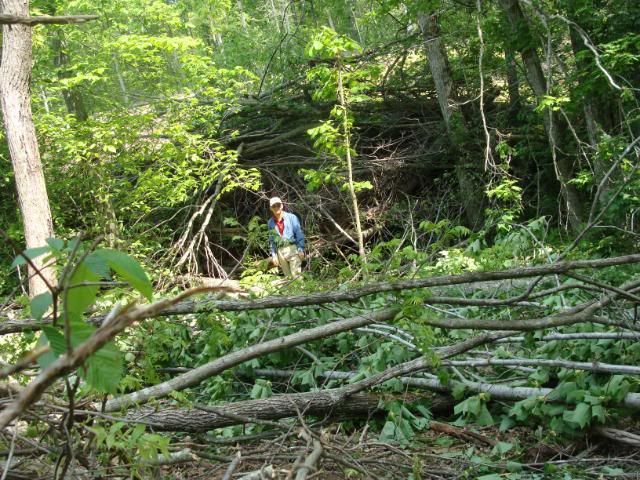
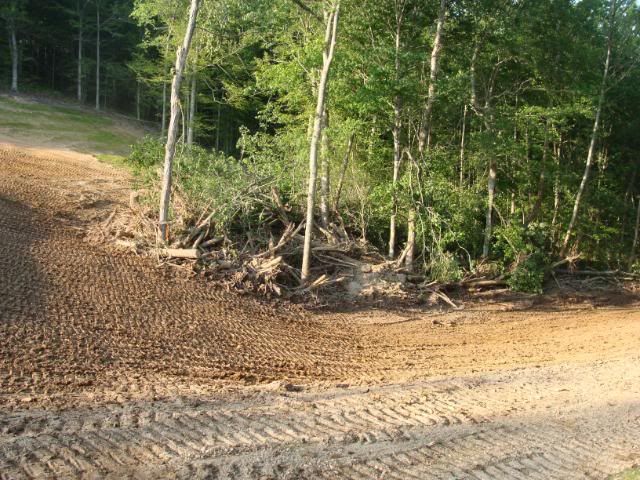
The only likely place to get more dirt from around the pond, was the backside of the dam. This was just where the dozer pile of trees, stumps, and brush was placed. We needed to clear this out as much as possible to save the dozer man the time when he got out here to fix the dam.  So, dad and I spent two and a half days work on the pile, cutting and hauling limbs and trees out.
These are before pictures!
the stumps of logs that we cut and hauled off

Other views of the brush pile!


For proportion!

This is what the dam looked like. See how the back center is cracking and sinking down. It had sunk down about 3 feet below the water level. The photo does not capture the scale or gravity of the situation.

We hauled over two dozen trees out and countless limbs and small trees.
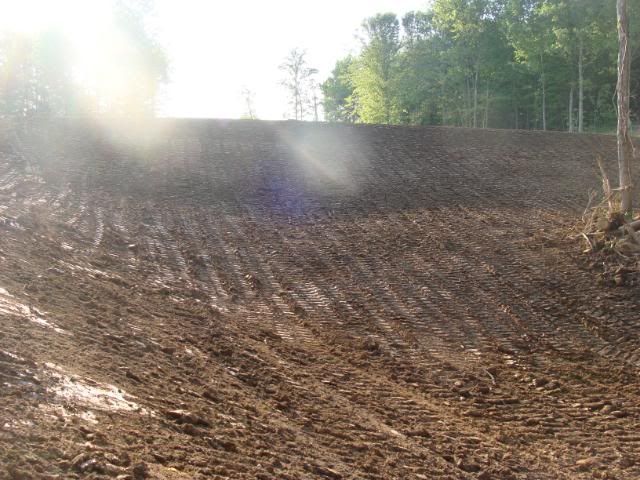
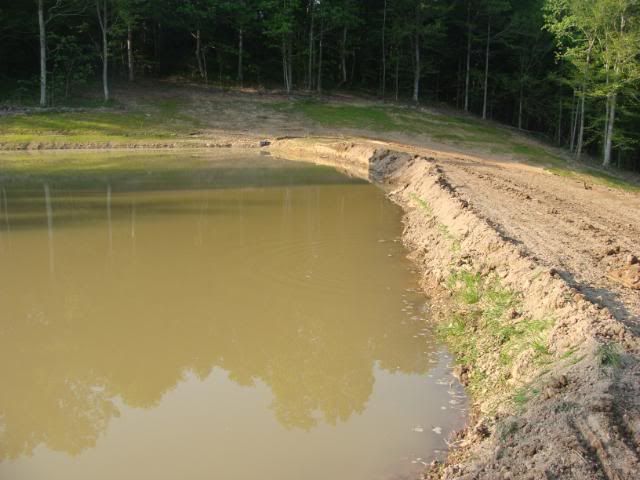
This is what it looks like after the dozer man worked on it all day today!

Starting with the backside of the dam.

Much different and much better!

That's all for now!


Friday, May 6, 2011

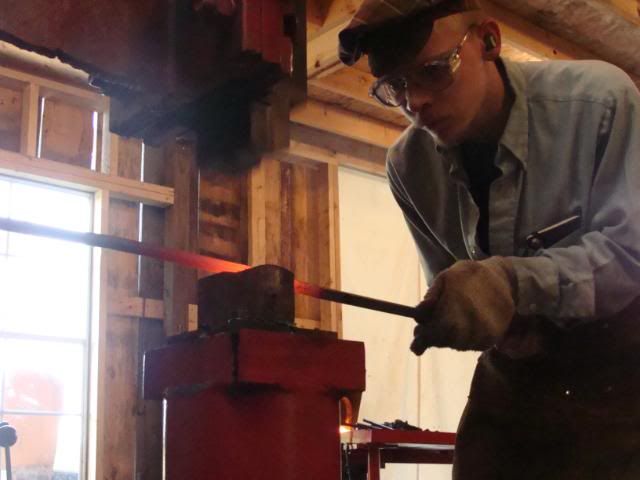
Fire poker under the big hammer!

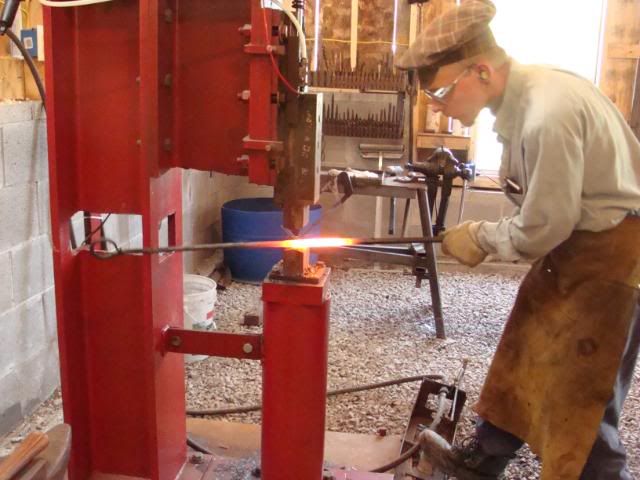
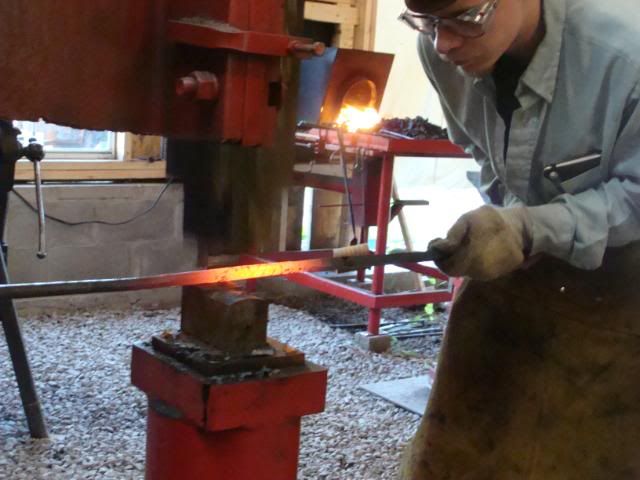
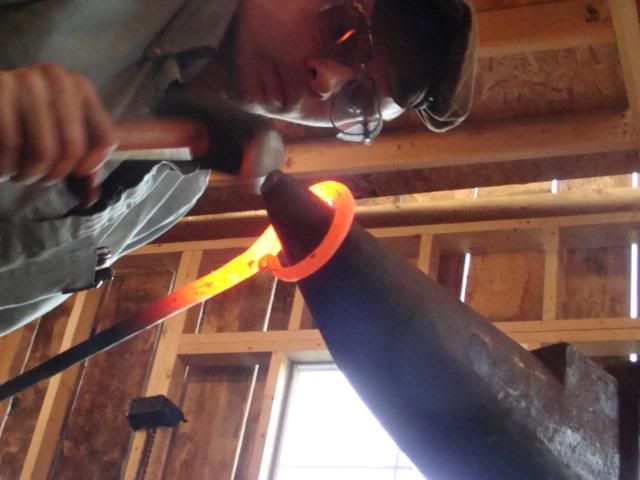
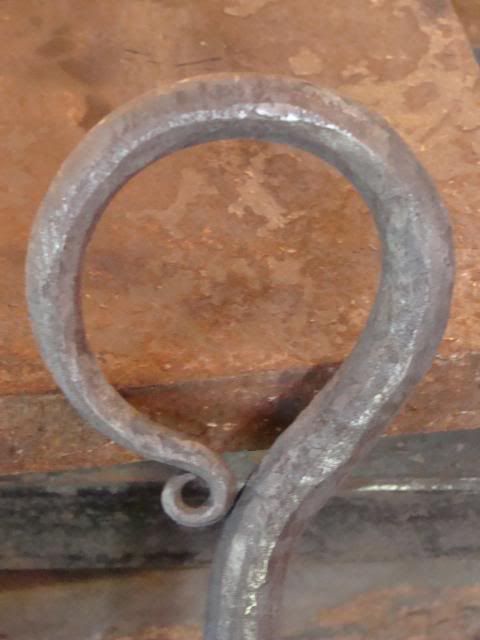
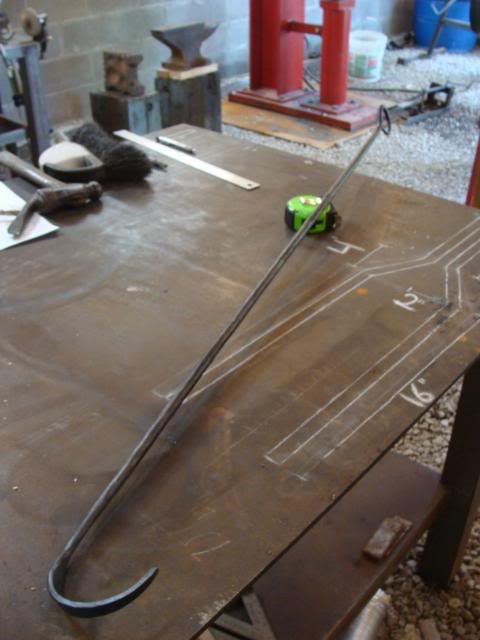
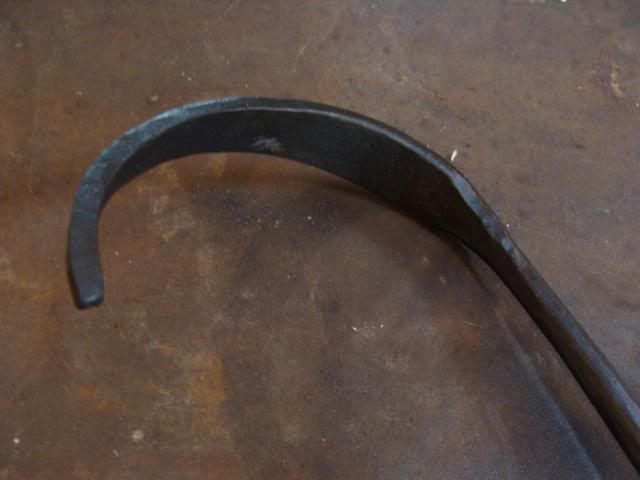
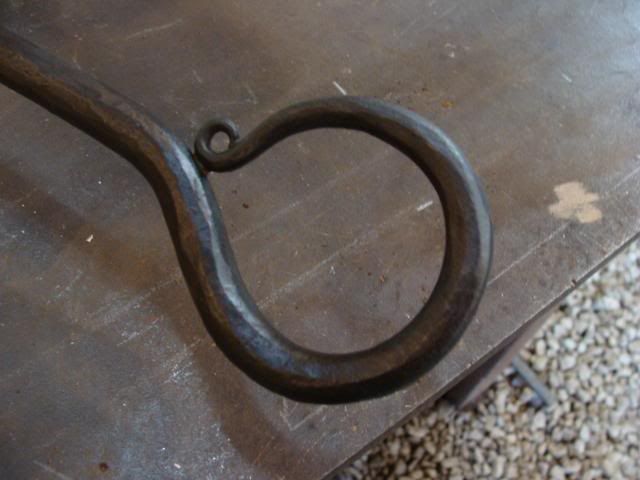
I finished up a 4 foot fire poker the other day for one of my clients in North Georgia. This one was forged from 1/2" square bar. I forged it round under the big hammer, put a nice loop for hanging on the handle end, and a large hook for poking, pushing, and moving logs in the fire.

The finished piece!
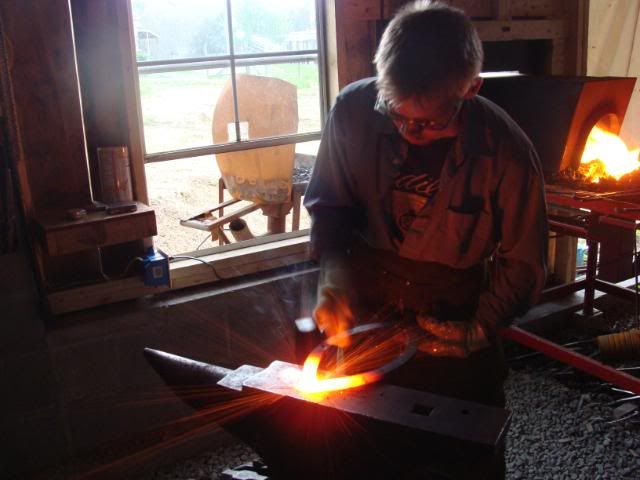

More new forge works are well uhhh......in the works!
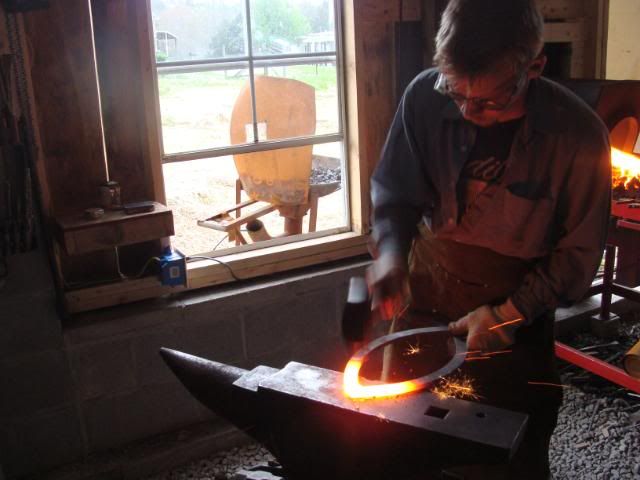
Saturday, April 30, 2011

"Tour de Shop"

I reorganized, straightened, and generally overhauled my shop the other day.
Sooo.......
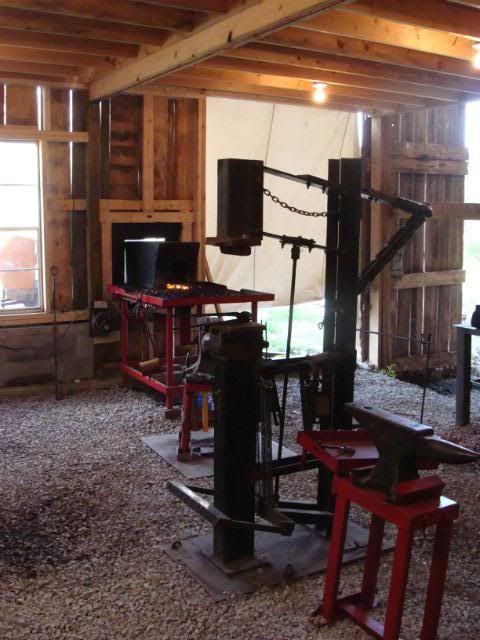
I switched the anvil and vice so that now the anvil is next to the forge! MUCH BETTER.

The vise went where the anvil used to be, so that if I am looking at the forge and I turn 180 degrees around, I am then looking at the vise.

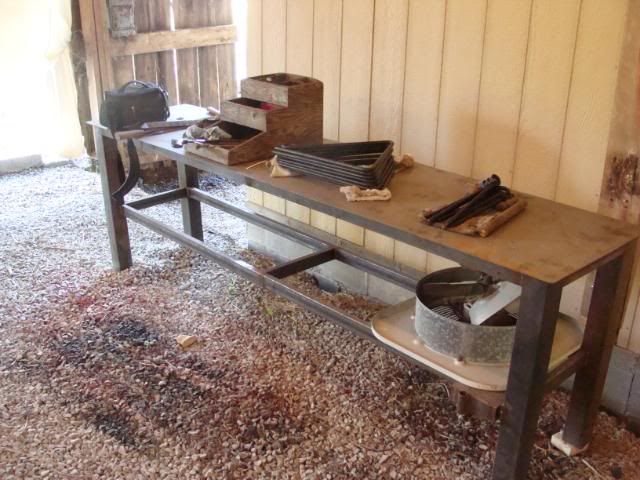
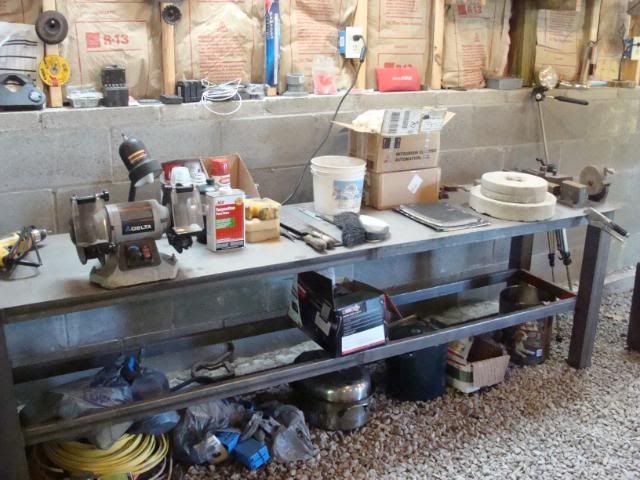
My two, 2'x8' steel tables hold shop supplies. Eventually most of the shop supplies will go on shelving and these will be work tables. However, there are some other things we must do before we put in the shelves.

From my shop entrance this is the left hand wall.

Here is the center of my shop!

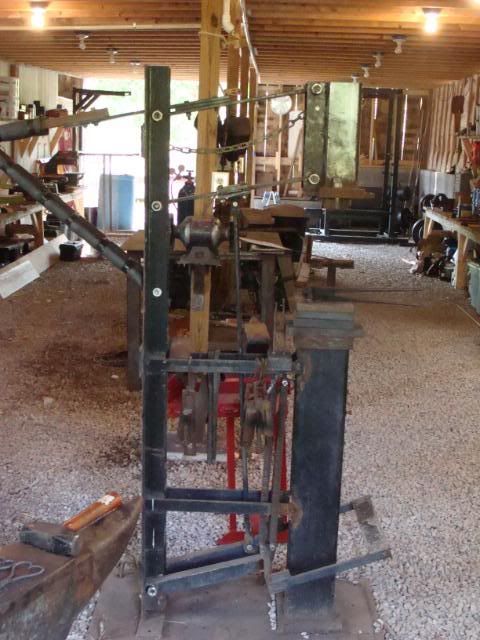
Close-up of my foot powered hammer! (Treadle hammer!)

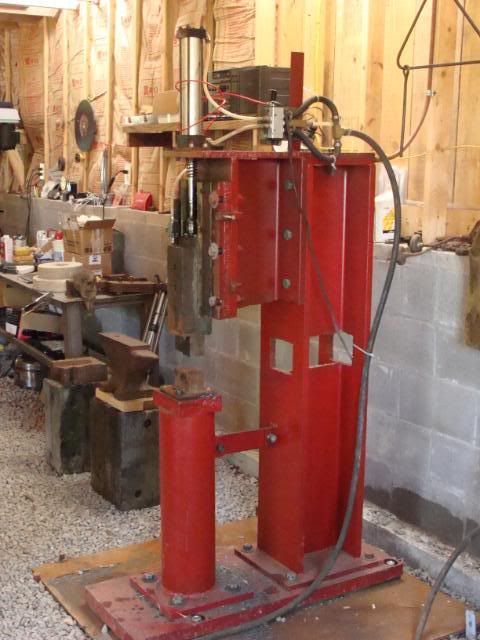
Close-up of my air powered hammer.

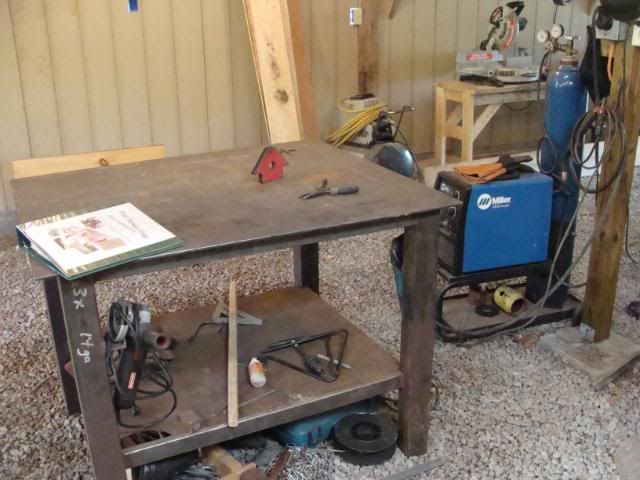
Welder and welding table!

The steel room isn't finished yet but when it is I'll get pictures of it as well!

Also a bit of exciting news! The Fiery Furnace Forge Blacksmith Company is now officially the "Fiery Furnace Forge Blacksmith LLC." I've "upgraded!"

Anyway, that's all for now! I'm sorry it's been so long since I've written! Things have been super busy and remain super busy around here!


Dave Custer

Monday, April 11, 2011

Fish

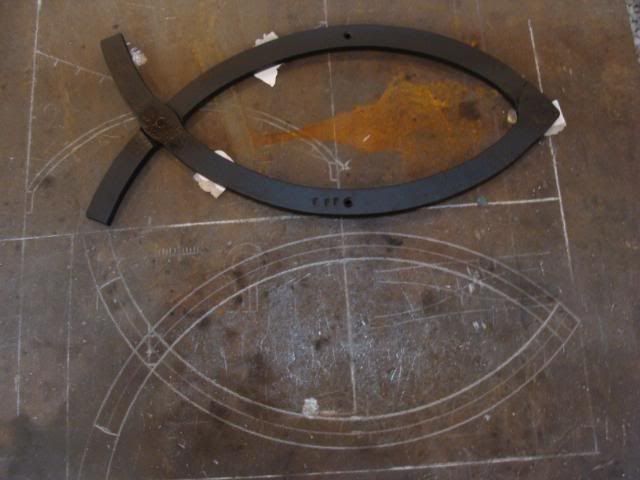
Here is an order I made today. Two "Christian" fish symbols. They are 17 inches long and 7 1/2" wide and I had to make two identical.

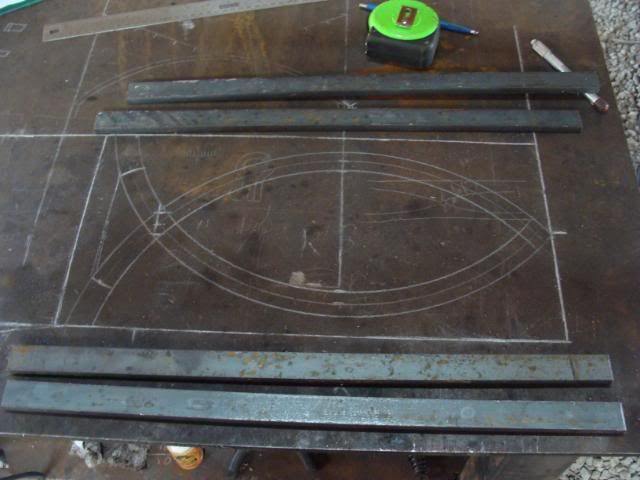
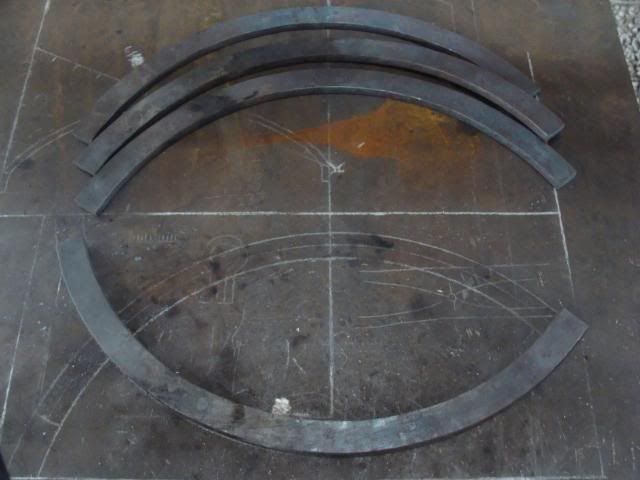
Step one in forging iron work is to draw the project out in full scale. Pictured here is the drawing along with the four pieces of 3/8x1-inch flat bar cut 22 1/2-inches long.  

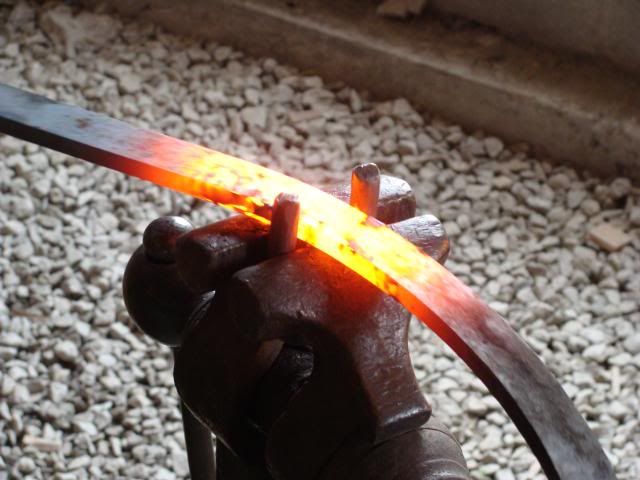
Making the first bend. Since the stock was larger it held its heat longer. This was nice as I could bend some, compare it to my drawing, and make adjustments several different times per heat. I ended up bending all four bars to shape in about five heats a piece.

Bent to shape!

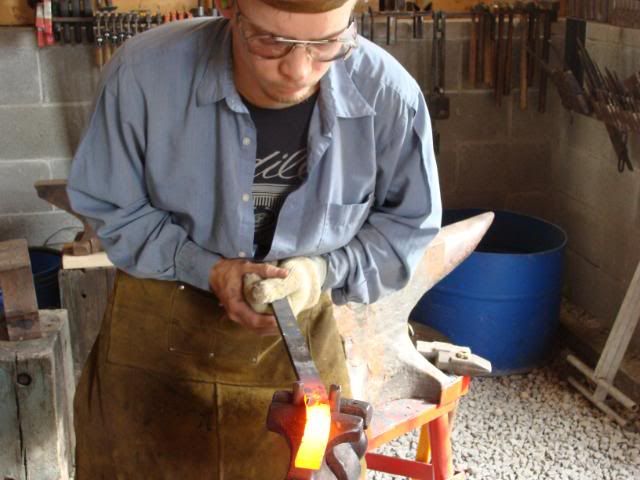
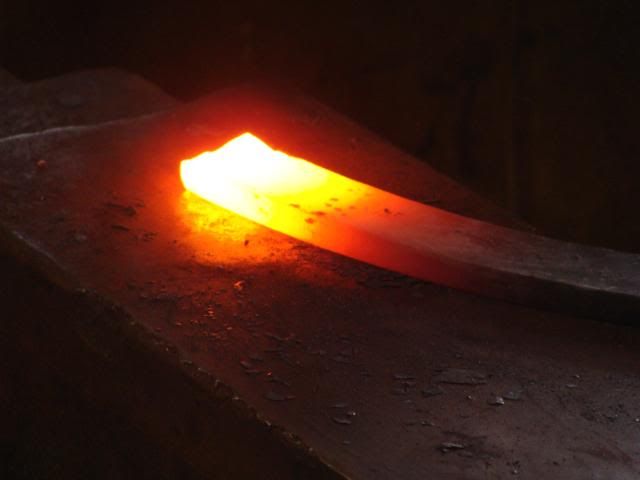
Each fish was composed of two pieces. They had to be forge welded up at the nose. Here I am scarfing the metal to prepar for the forge weld.

Here is the forge welding part!

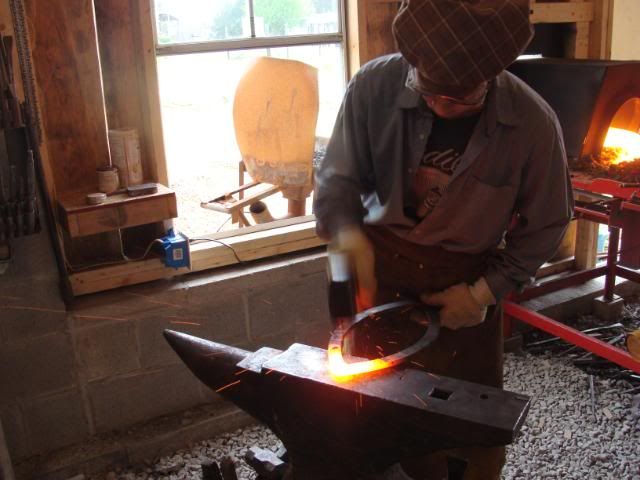
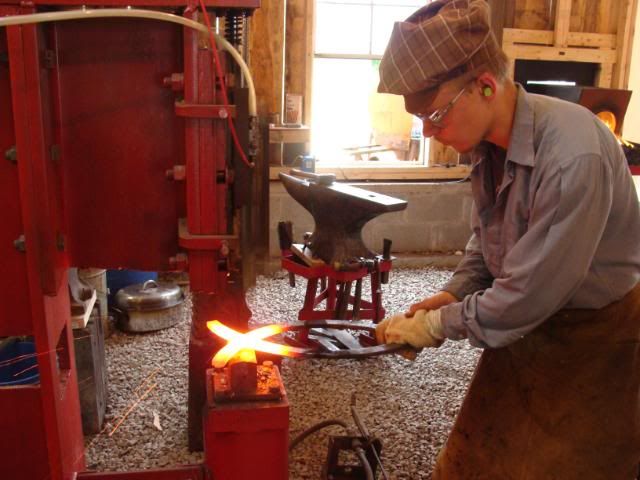
Now the metal had to be flattened out where the pieces crossed at the tail. This was done under the power hammer.

A rivet was placed through the tail, screw holes were drilled, and then a flat black paint was applied. This is the finished product!


We did a single day show last Saturday in Knoxville TN.
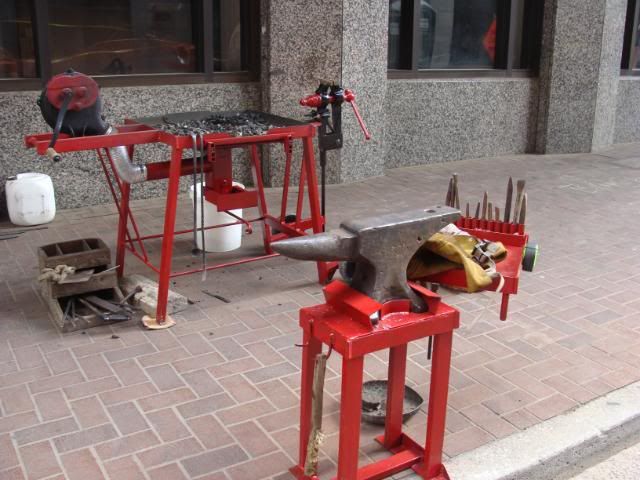
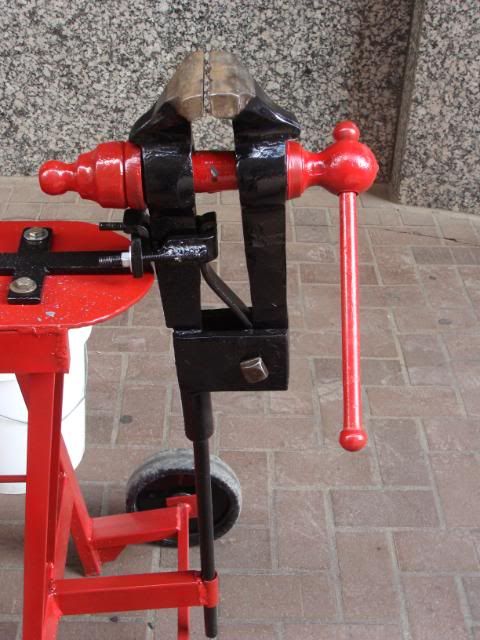
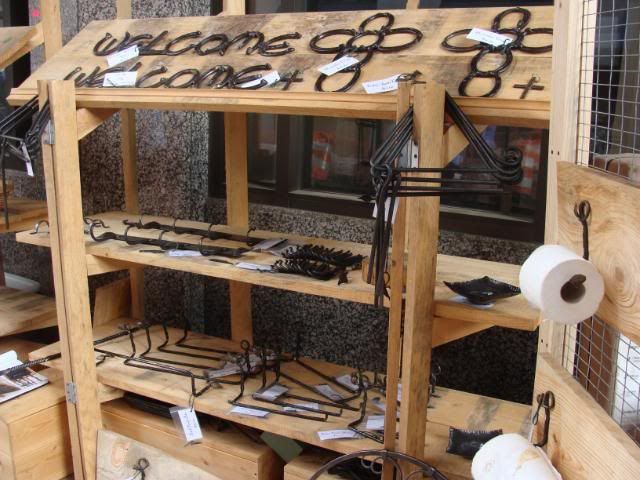
This is my new demo set up at the show along with my booth display.


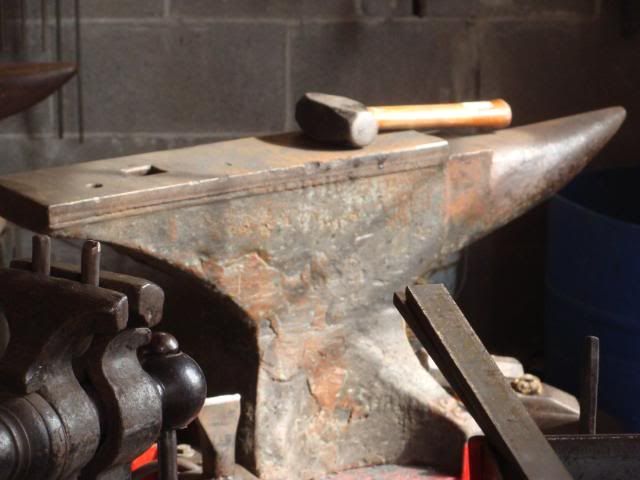
This morning the sun was coming through my shop window and I thought it lit the anvil nicely.

"Turn out, me boys, with hearts so free from fear!"