BE SURE TO CHECK OUT MY BLOG PAGES IN THE WHITE LINKS ABOVE!!!


Saturday, June 8, 2013

End table almso complete

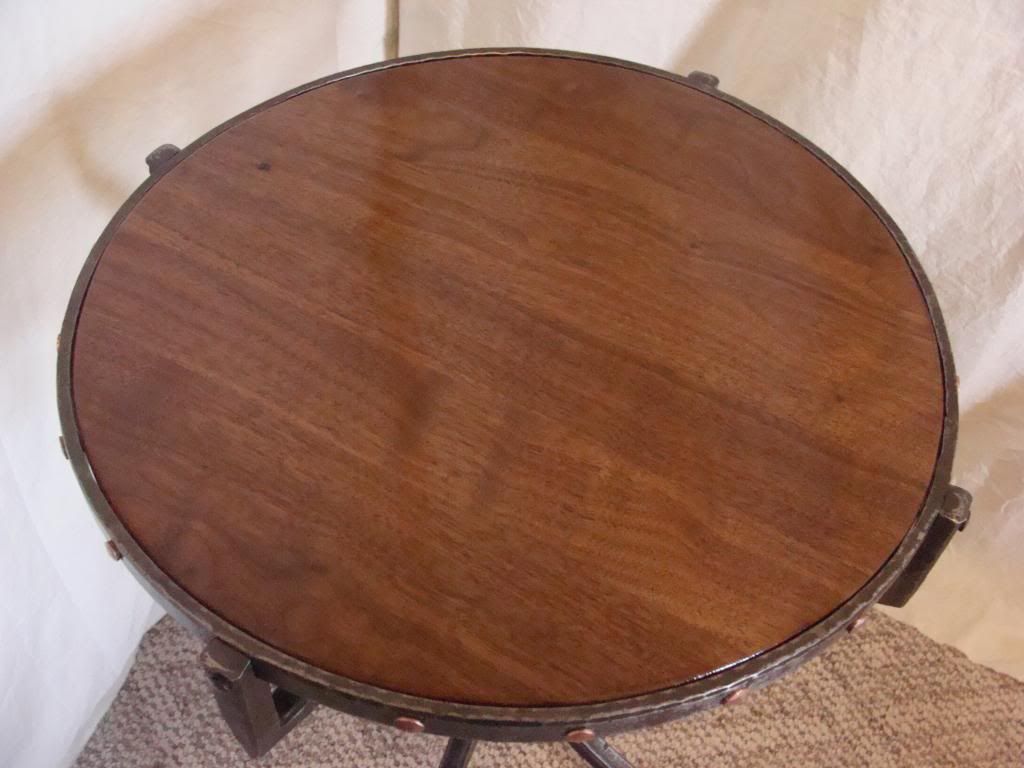
Here is a preview glance of the end table / night stand I am working on. The only remaining part is finishing up the wooden top.

The top is made from solid furniture grade black walnut and the boards selected for the top are hand picked for the most beautiful grain patterns.
A top this wide, has to be laminated from several boards placed next to each other and glued. This top is four boards wide. The glue is the best on the market, waterproof, and so strong that if you attempt to split the wood at the joint, the wood will split next to or across the glued joint but never down the glued joint. The glue is actually stronger than the wood itself.

The top is actually made square and much larger than needed to allow the best section to be chosen.
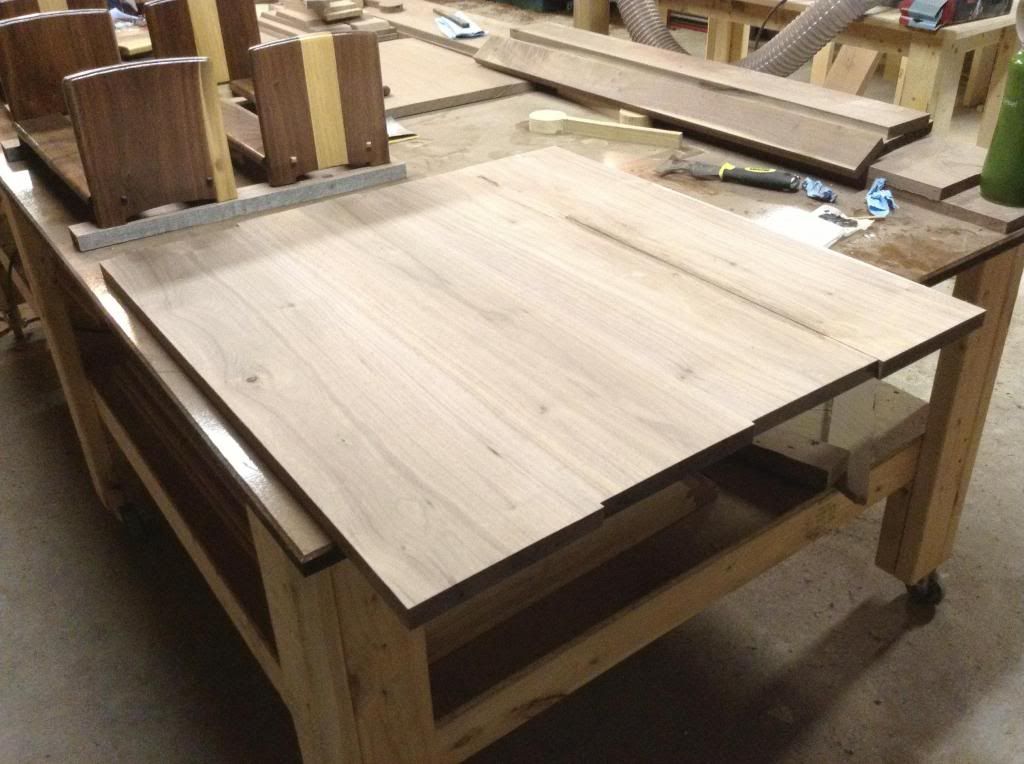
The top is then traced directly on the table frame for the most accurate fit possible, and then cut on an upright wood-cutting band saw. The table top undergoes five stages of prepping before it is ready for the finish stain. It is first planed flat to the desired thickness, it is then sanded with 60 grit, 80 grit, 120 grit, and finally 220 grit sand paper. 
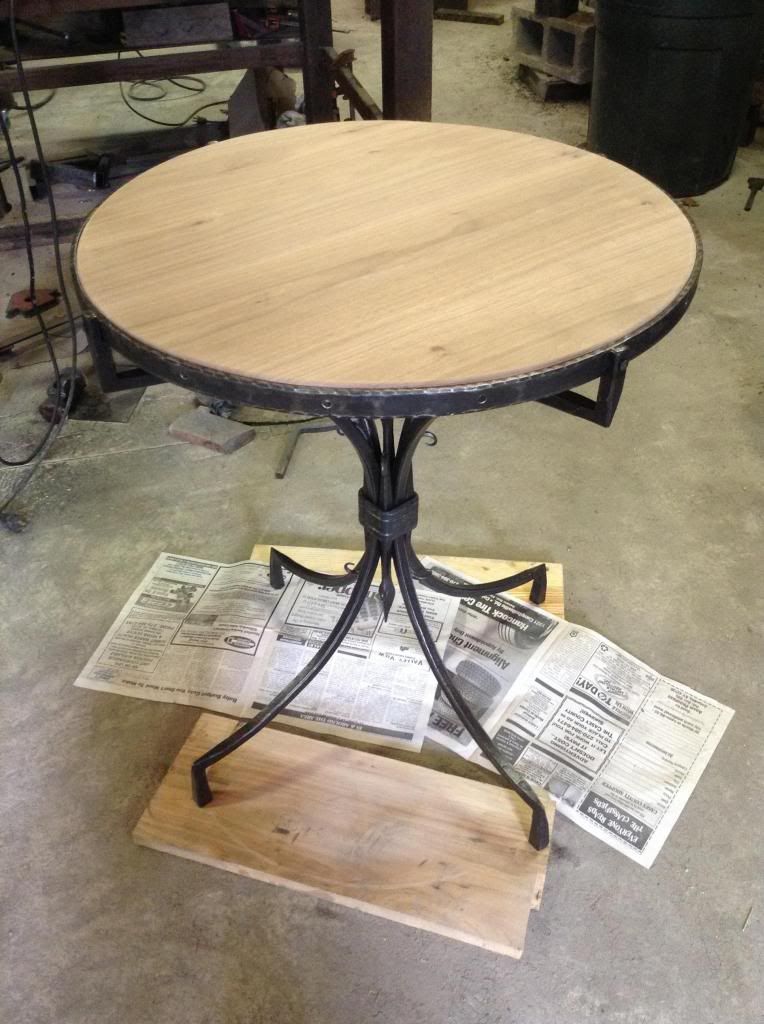
Once I am satisfied that the top fits properly and the wood is sanded to perfection, it is ready for stain. Here it is with the first coat.
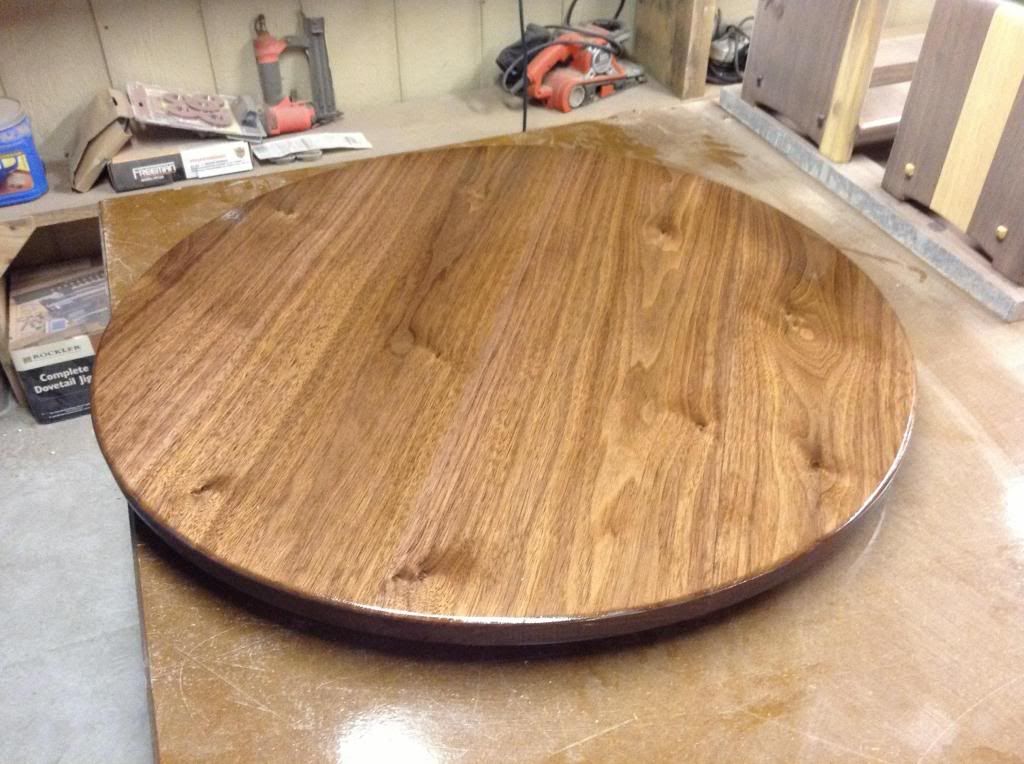


The rest of the coats of finish will be applied today and tomorrow, and the table should be shipping out to it's owner on Monday.

Wednesday, May 29, 2013

More progress on the custom table

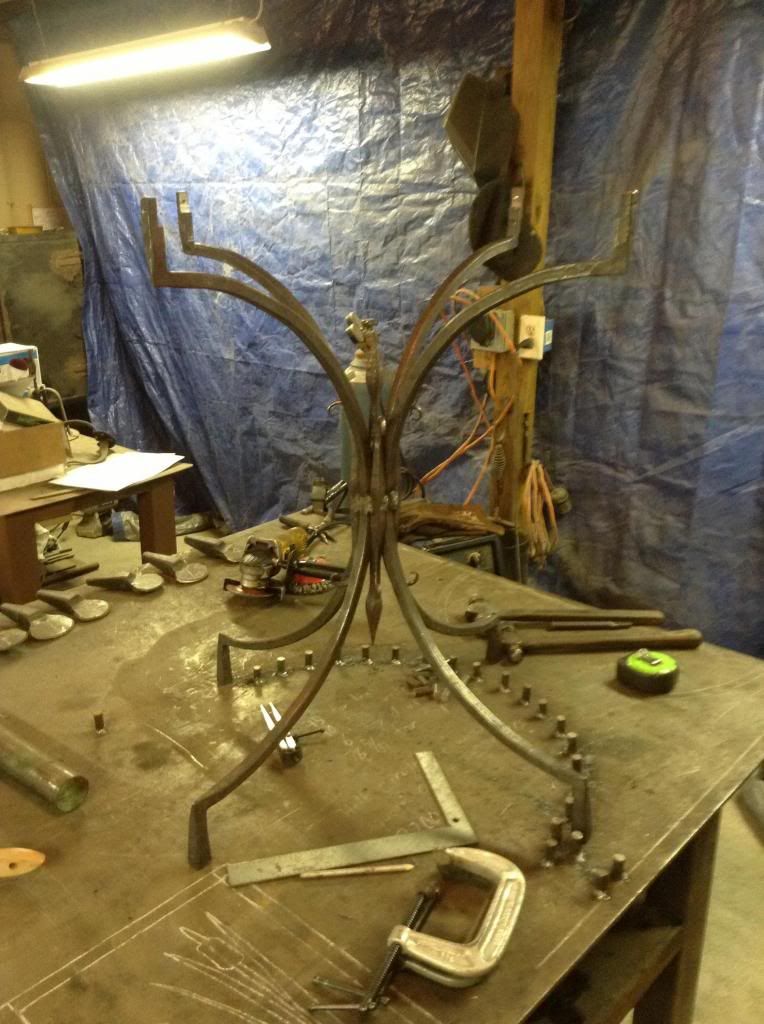
I have a number of jobs I'm currently working on, one of which is the table mentioned in my last post. This is the custom 24-inch diameter by 30-inch tall bedside table. This evening I assembled the legs and central eliments, after trimming all of the legs to size and a couple other pre-assembly steps.

Here is an overview......remember, this is a workshop not a "keeping things clean" convention. Everything in my shop is dirty, sharp, hot or a combination of those, and tools are generally here and as they are frequently used.

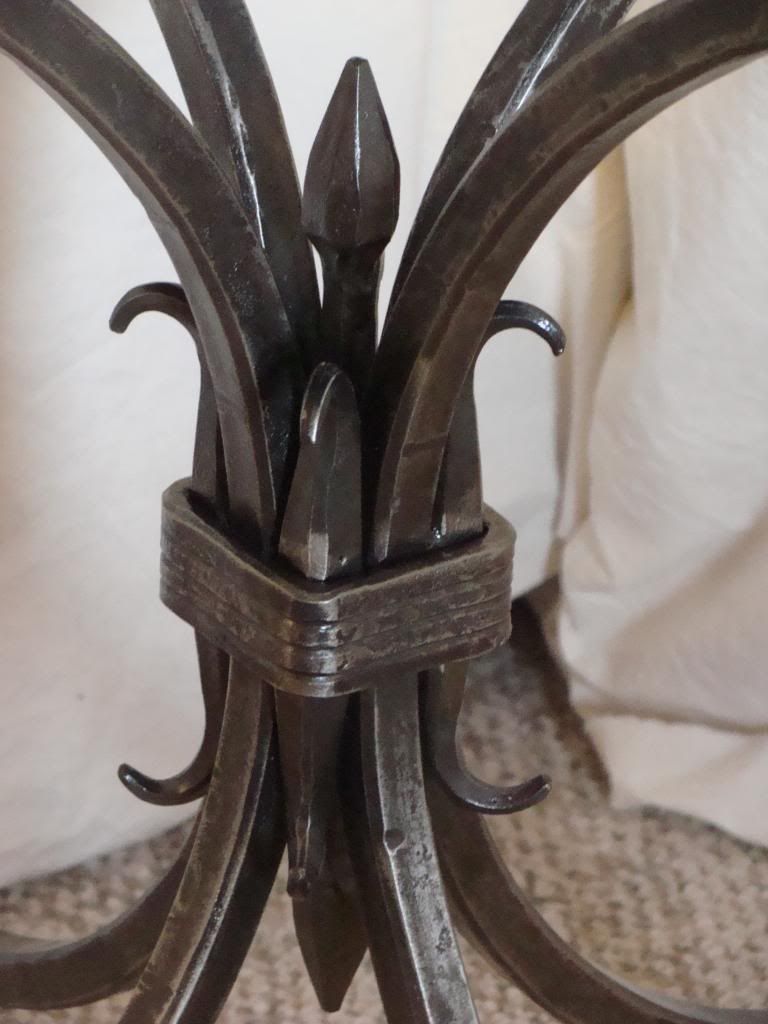
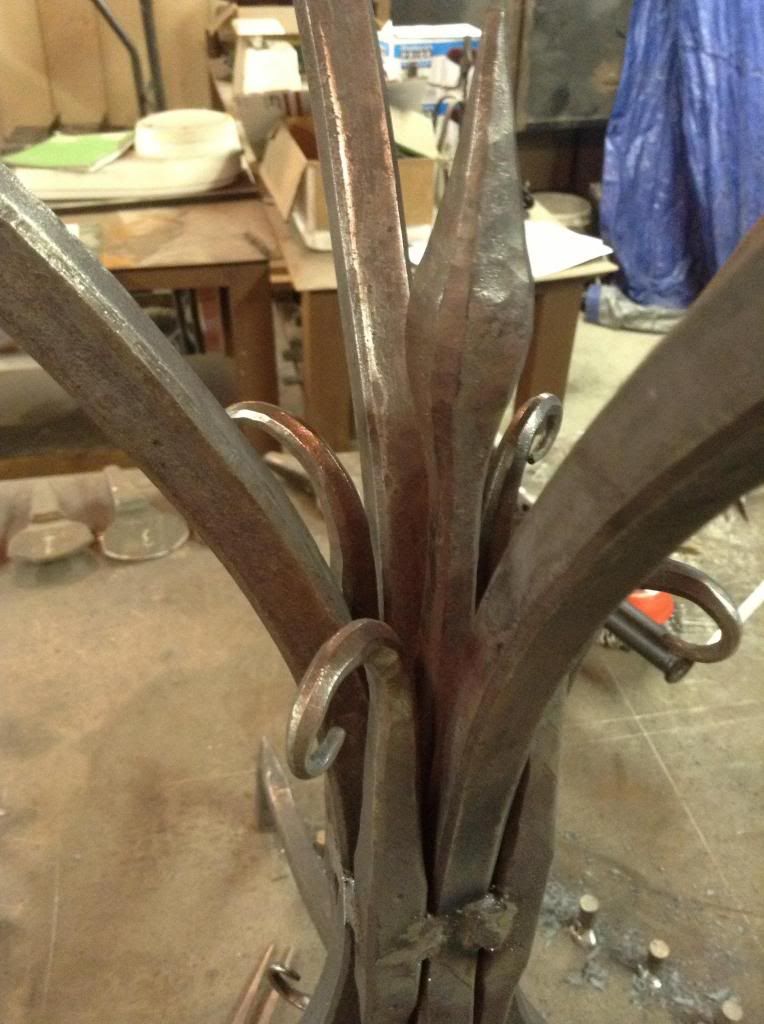
This is the central blossom and diagonal scroll assembly where the half-circle legs come in together.

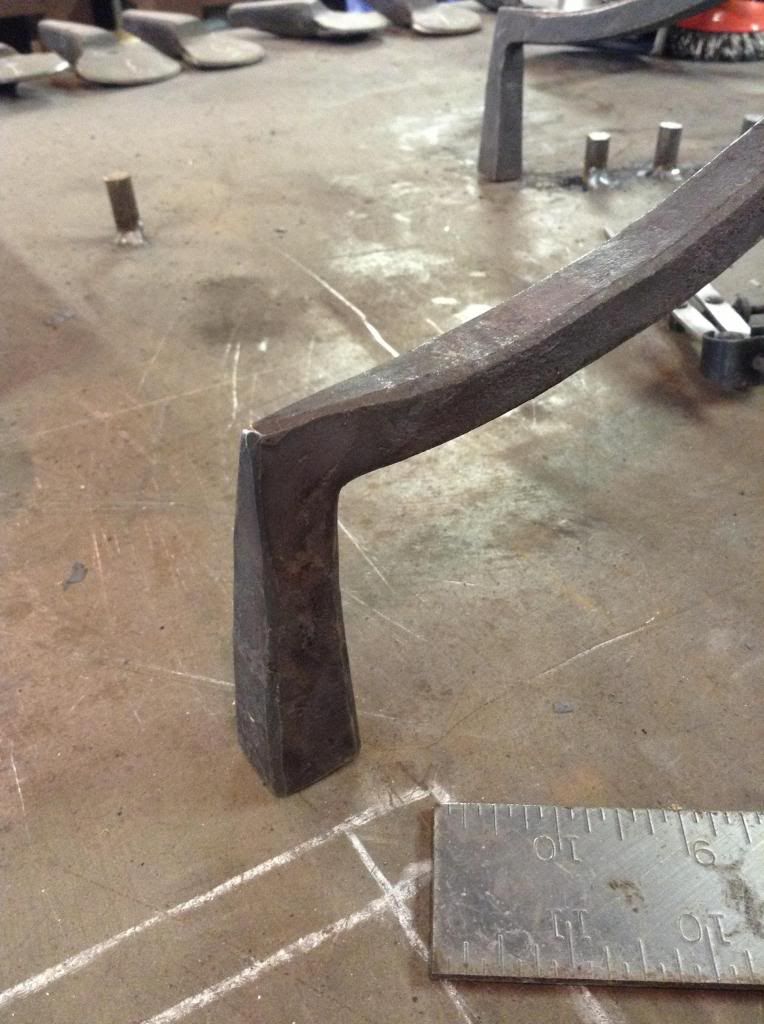
 The "Habermann Bend" square corner, which is featured in this table.


The last major piece to be forged is the top circular ring. The wooden top is about to get under way in the wood shop as well. More updates later on!

Wednesday, May 22, 2013

Quick work update

Business has been super busy over the past several months. I have a steady stream of work coming in, and I'm currently lining work up out through the second week of June.

One of my current projects is a version of my small end table design. I am doing a custom table, based off of the same design, but larger. This table is going to measure about 30 inches high by 24 inches in diameter.
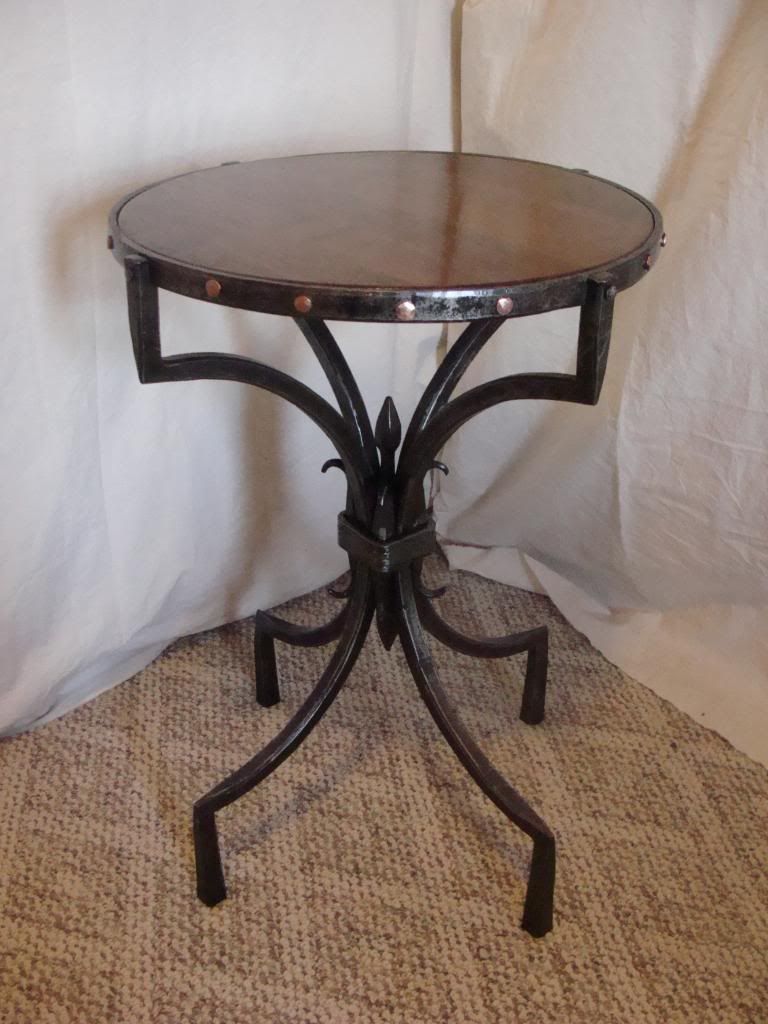
Here is a quick picture of the original table. The original size is 16-inches in diameter by 20-inches tall.

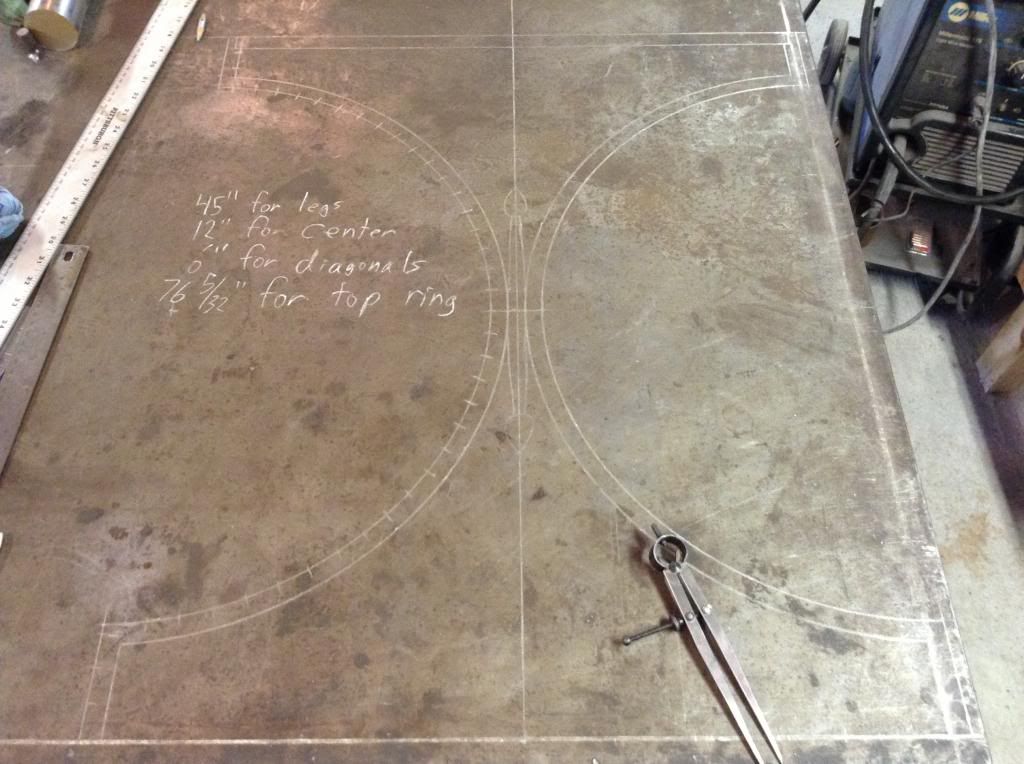
Construction is going well. The process started with laying out a full scale side view of the table frame, and a shop improvised jig for bending the legs accurately.

I currently have nearly all of the major components forged out, including the legs and central elements. The legs need extensive hand sanding before assembly begins.


                                               Here is a picture of the basic profile drawing.


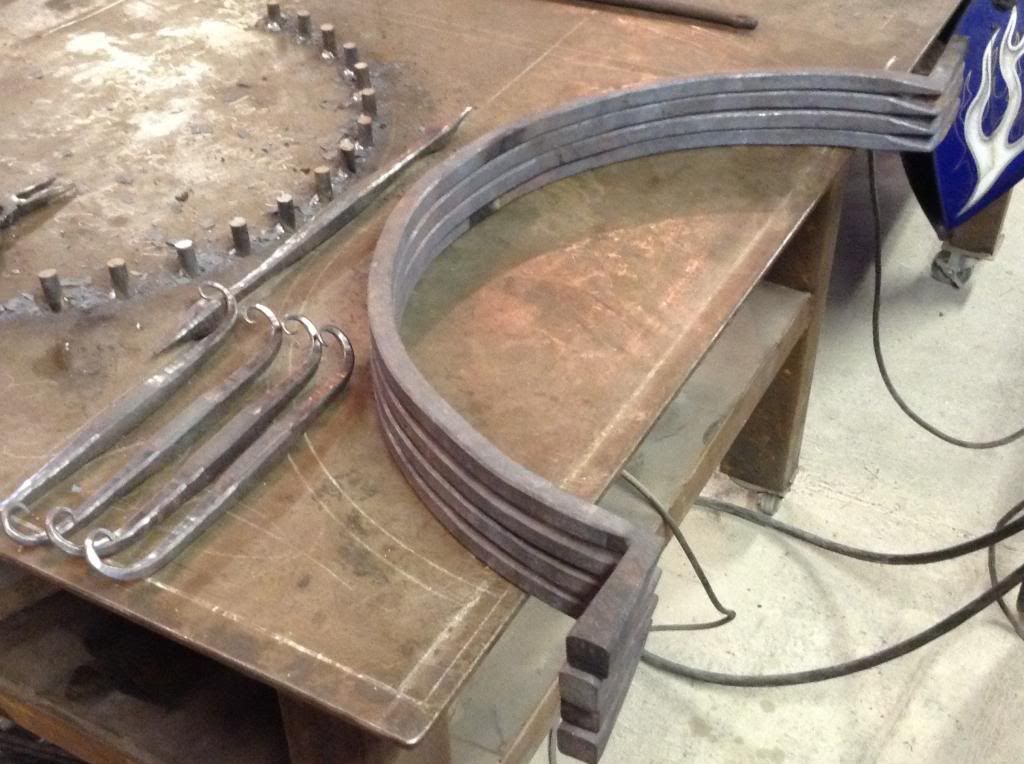
Here are the legs, the central diagonal scrolls, and the center core.


Monday, March 25, 2013

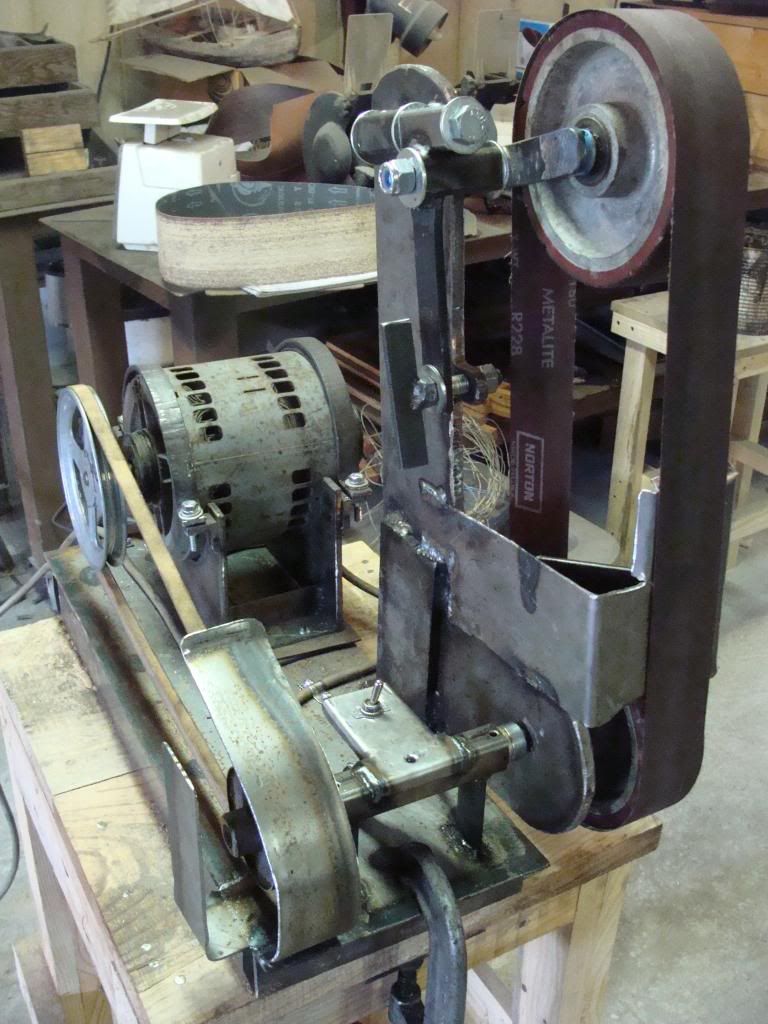
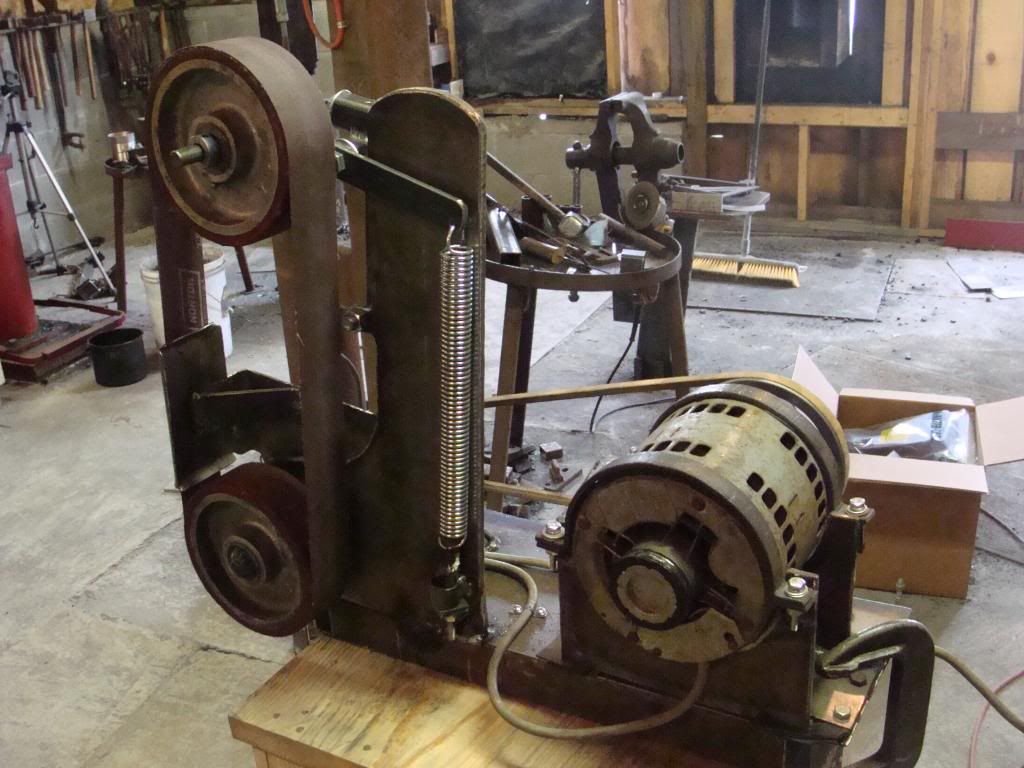
Made myself a belt grinder!

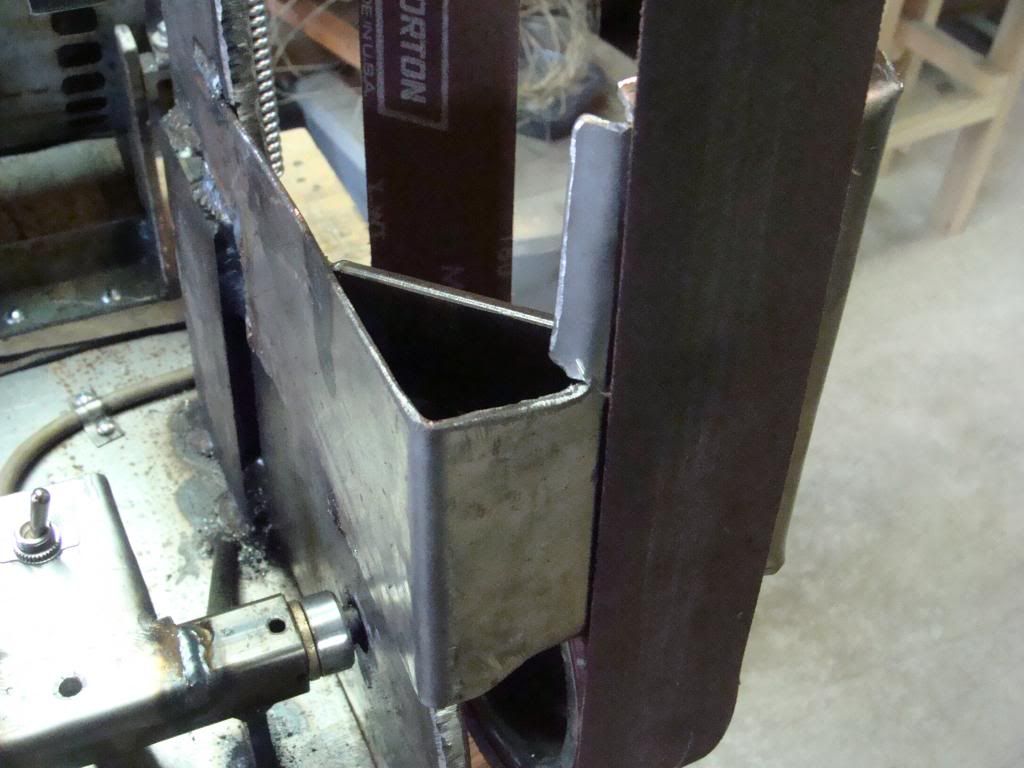
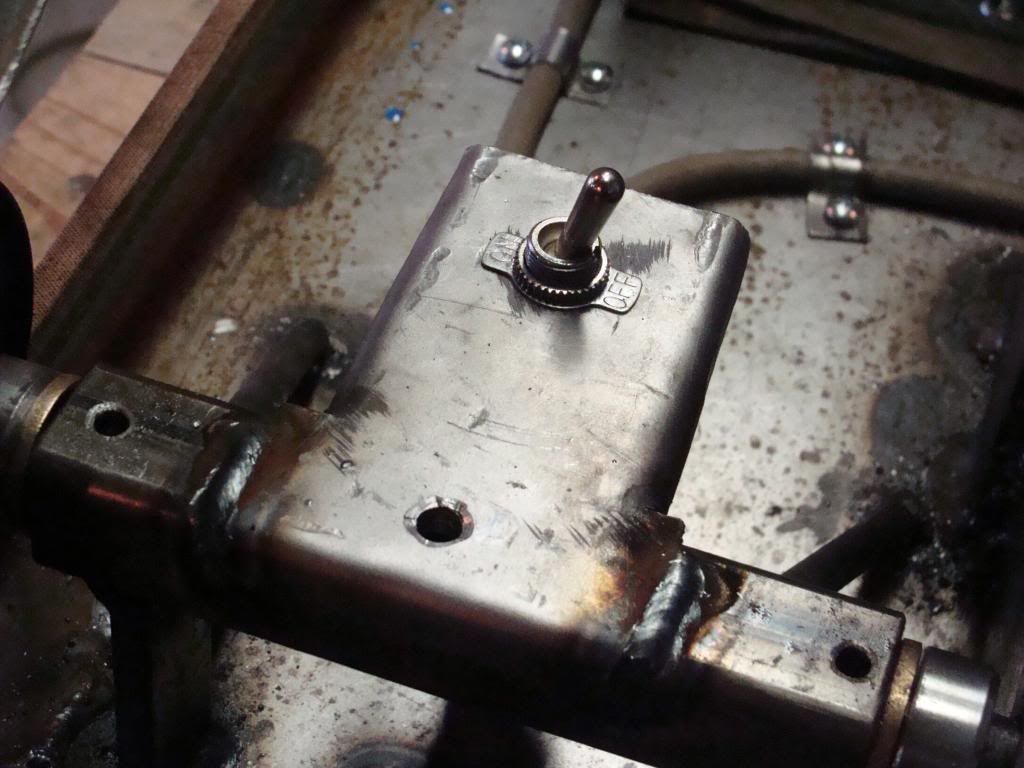
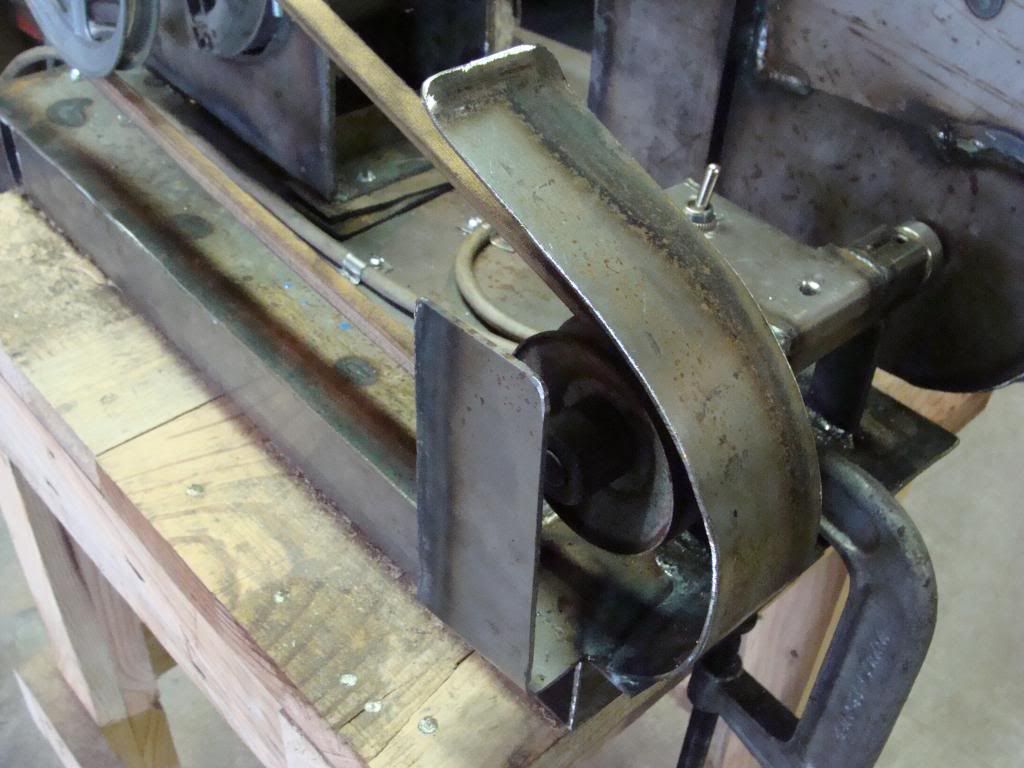
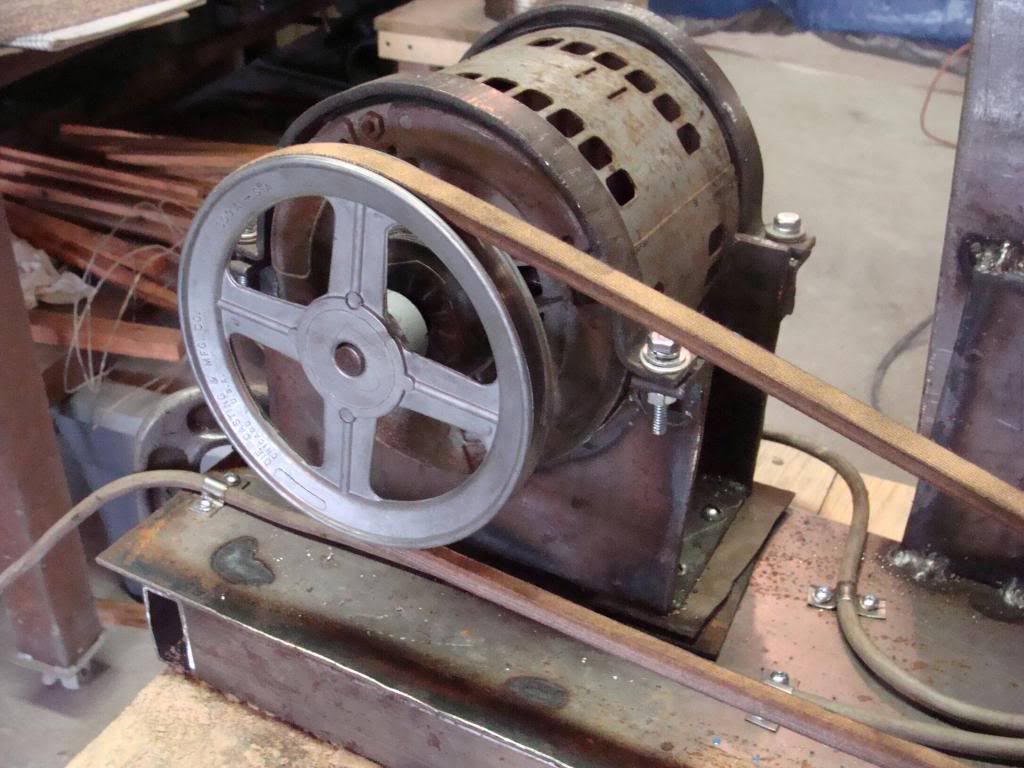
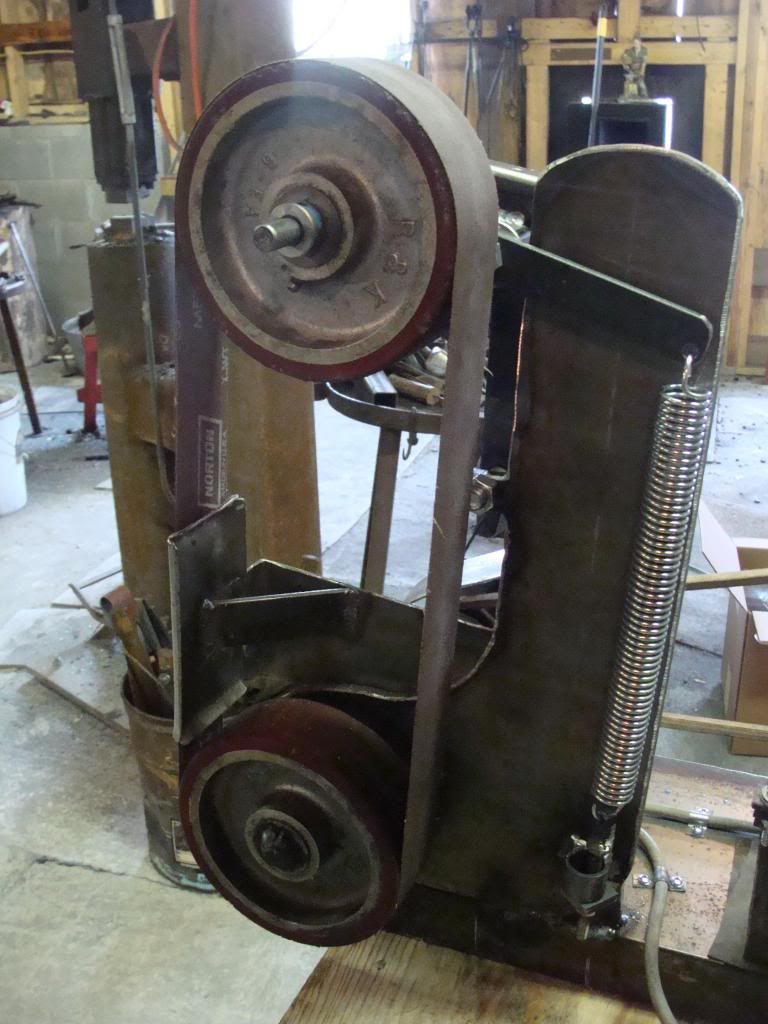
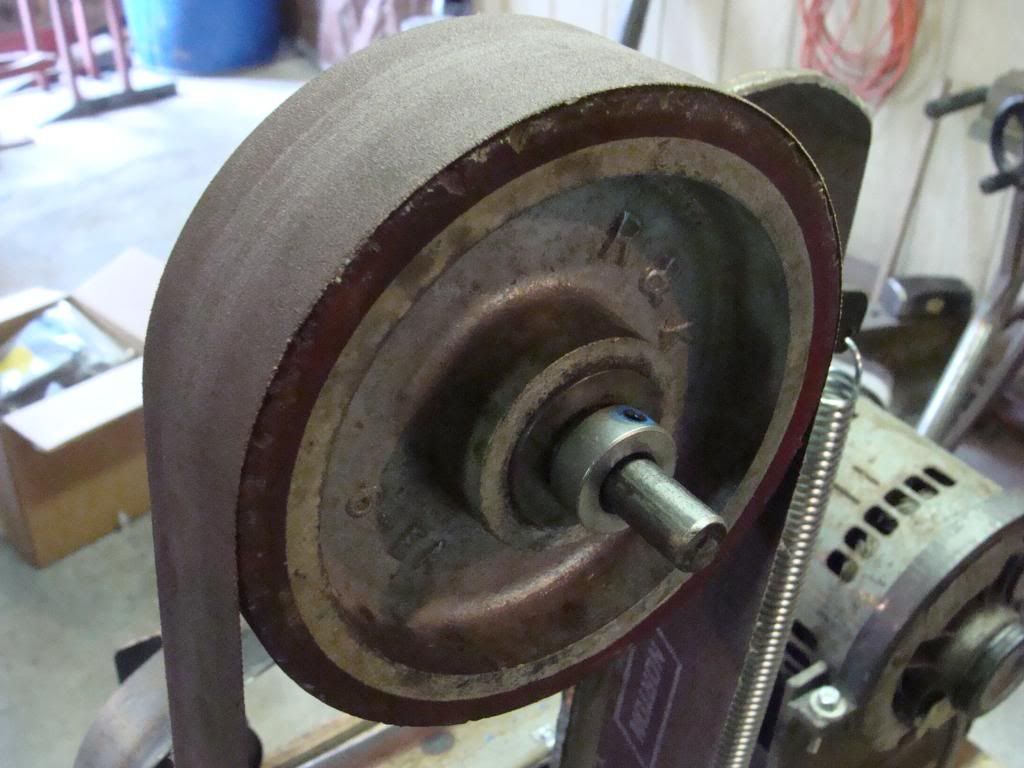
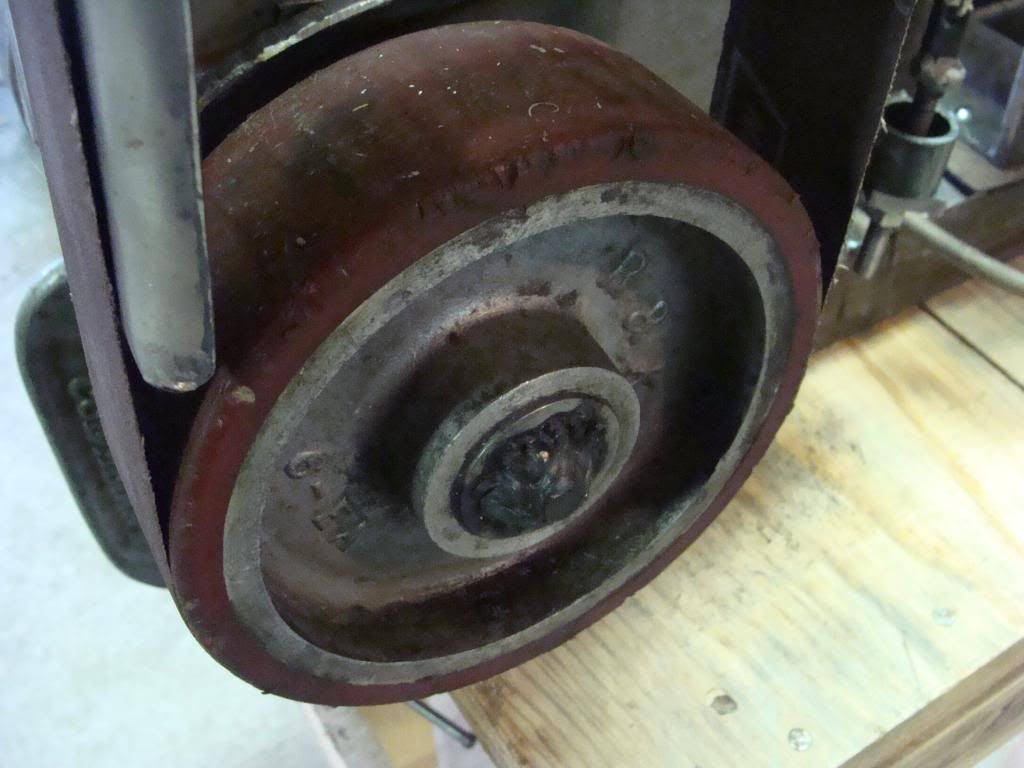
I built myself a belt grinder for the shop. This is a handy piece of equipment, that if purchased new could have easily cost me several hundred dollars. I spent a total of about $70 on this one. I won't bore my dear readers with specs, so I'll shut up and let the pics speak for themselves.


I was screwing a small thin metal piece on with an electric screw gun when the screw hung up on the thin piece. It spun around and cut the width of my finger on the end. It was pretty deep. I had to stop work to clean it up, and then wrap it up.

The grinder needs some mounting feet and I need to build a designated work table for it. All of that comes later though.

For now, it works and it works well! I'm happy!


Saturday, March 2, 2013

I'm an artist....officially!

Fiery Furnace Forge Blacksmith LLC is now a juried artist in the Kentucky Guild of Artists and Craftsmen.

I got the notification in the mail today.

In the notification letter I also received the juror's comments and checklist.
I received a "strong point" rating in every technique, design, and finish category except one, and that one area does not apply to my work so it simply received a N/A. (not applicable!)

I also received several hand written comments praising finish, design, and attention to detail!

I'm THRILLED!


I have been having trouble with my online photo uploader, making it extremely difficult to upload and post photos. Hence my recent lack of posting.

I have just now mounted my post vise I purchased back in July at the National ABANA Conference. Credit to whom credit is due. The ONLY reason I have this vise today, is because of two guys out at ABANA. One guy heard me talking to the seller of the vise about the difficulties and costs of me having to ship the vise from Rapid City South Dakota all the way back here to Kentucky. The guy that overheard me talking, came up the next day and said, "but the vise and I'll ship it back." Sure enough I bought it, and this guy and another guy covered all arrangements and costs of shipping a 100 pound + vise back to KY. You guys are AWESOME!

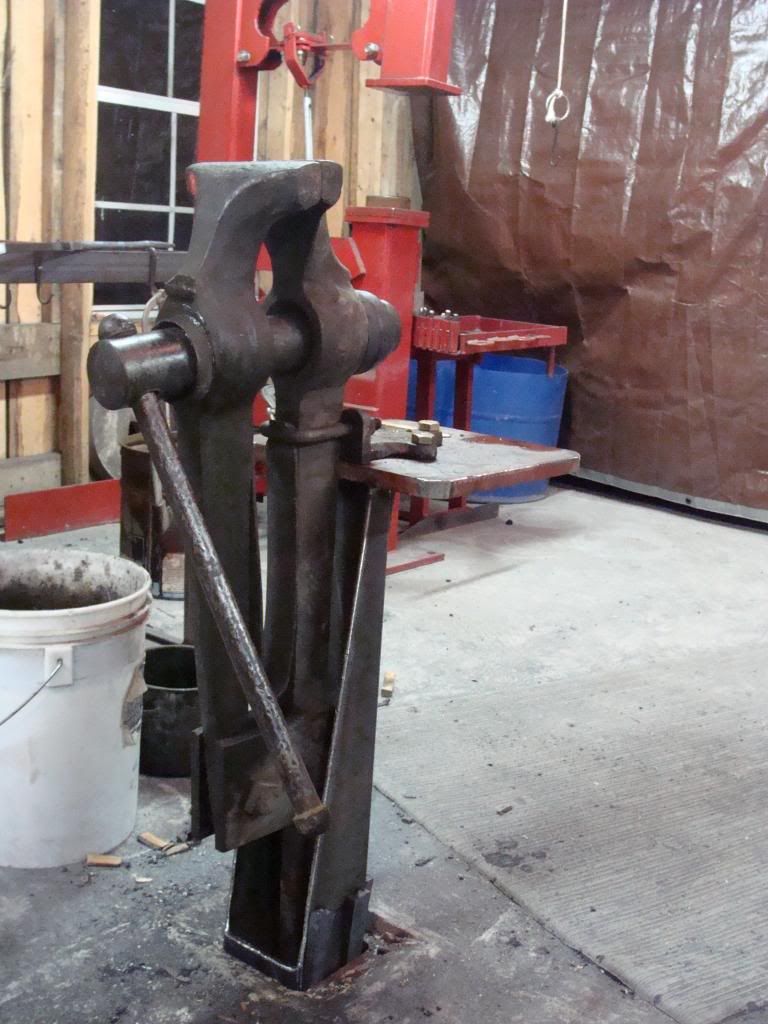
Here she is! A massive, 6.25-inch Columbian post vise. It's awesome when your vise makes your 300 pound anvil look small! 

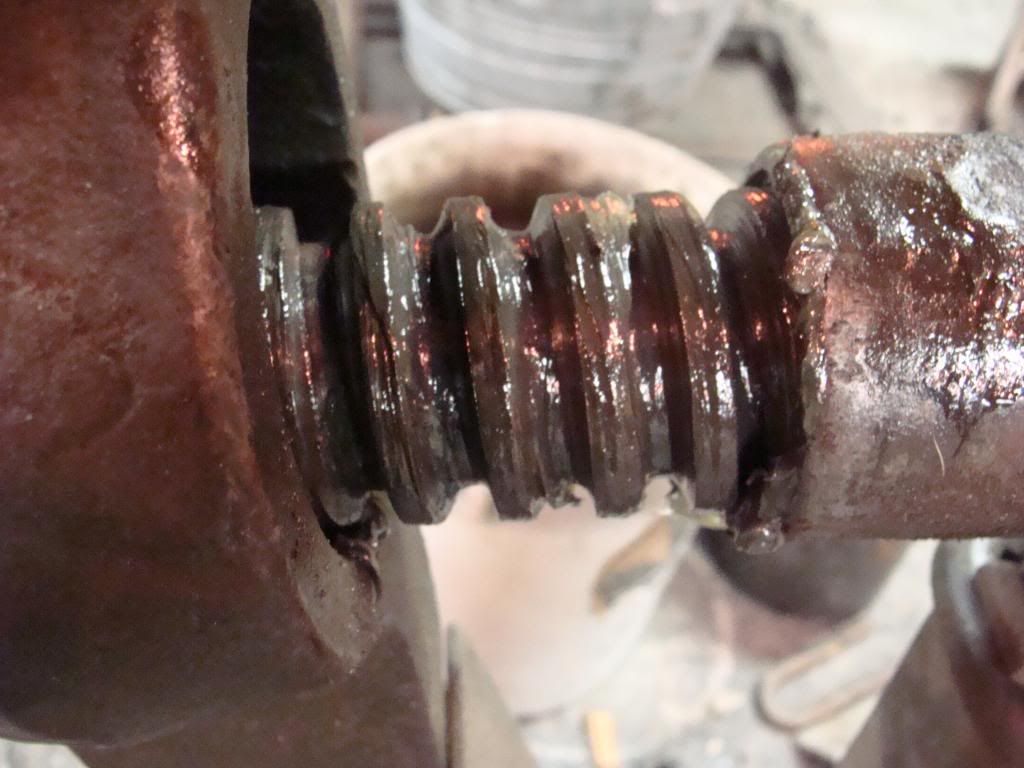
This is the screw! It's been collecting dust so I'll clean it off and regrease it. 

Here it is cleaned up and regreased. It is an AWESOME screw. Still very clean and crisp with very little wear. 

Here is the new stand under construction!


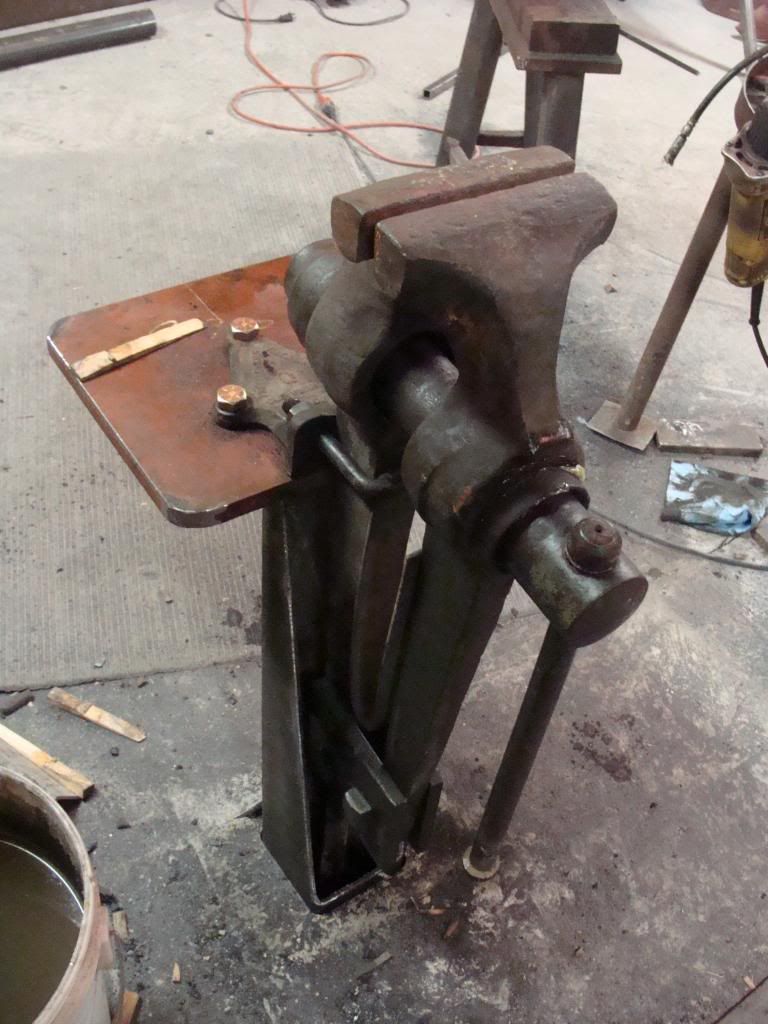
And here she is! Bolted, wedges, and in position. It's solid as a rock. The table around the back of the vise will eventually get a lip around the edge and hammer/tool holders as well. All of that can be done where it is now though.


Here is my old vise and it's mount. I've been using this little four inch vise for seven years. It is going to get a well earned break, but will soon be put back to use in another portion of the shop. All the heavy work will get done on the big vise but the little one will be handy for well....uhh little things.


Now to illustrate what I was talking about with the picture uploading problem, I just uploaded those photos that you have just seen. It took me about 20 minutes. It used to take me about 30 seconds.


Thursday, February 7, 2013

End table!

I made an end table. I think I'm going to start taking these to art shows....I'm very pleased with this design and what it offers in the way of making them at a reasonable cost.


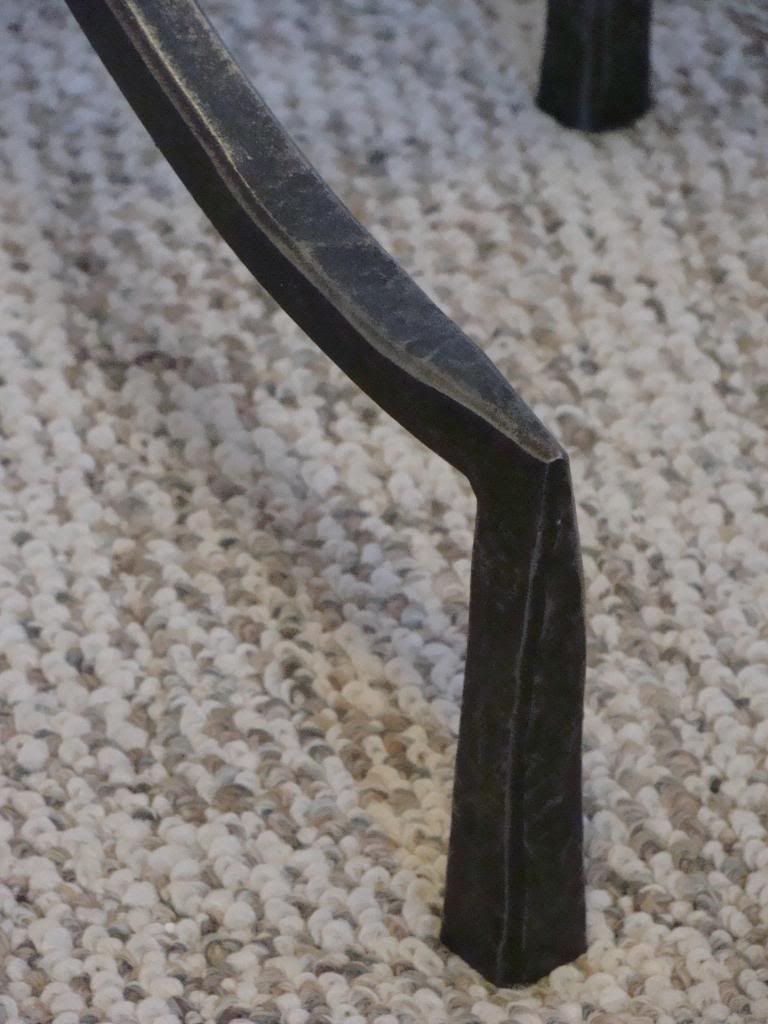
General overview of the table. the primary material used was 5/8-inch square bar with the primary technique emphasis on the Haberman square corner bend. The table comes together in the center bundle, giving the table a strong center core, wrapped up in a beautiful decorative collar.

Here is a detail photo of the collar!

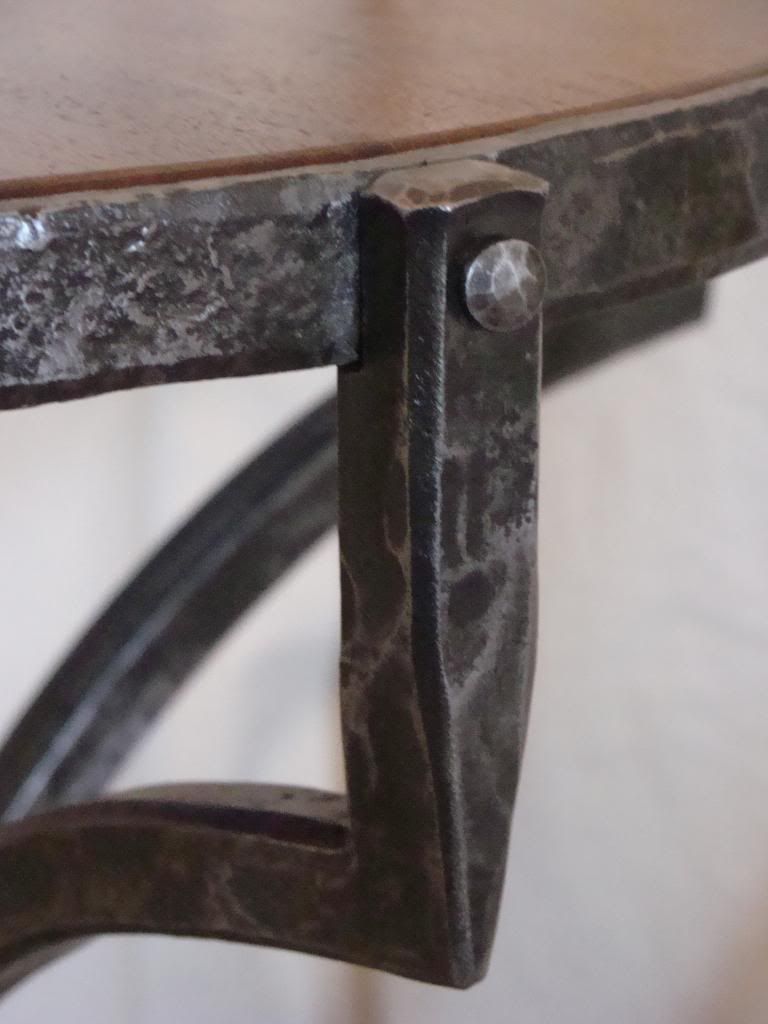
Detail photo of the Habermann square corner bend.


Detail of the leg attachment to the table-top ring, also showing the Habermann bend again!


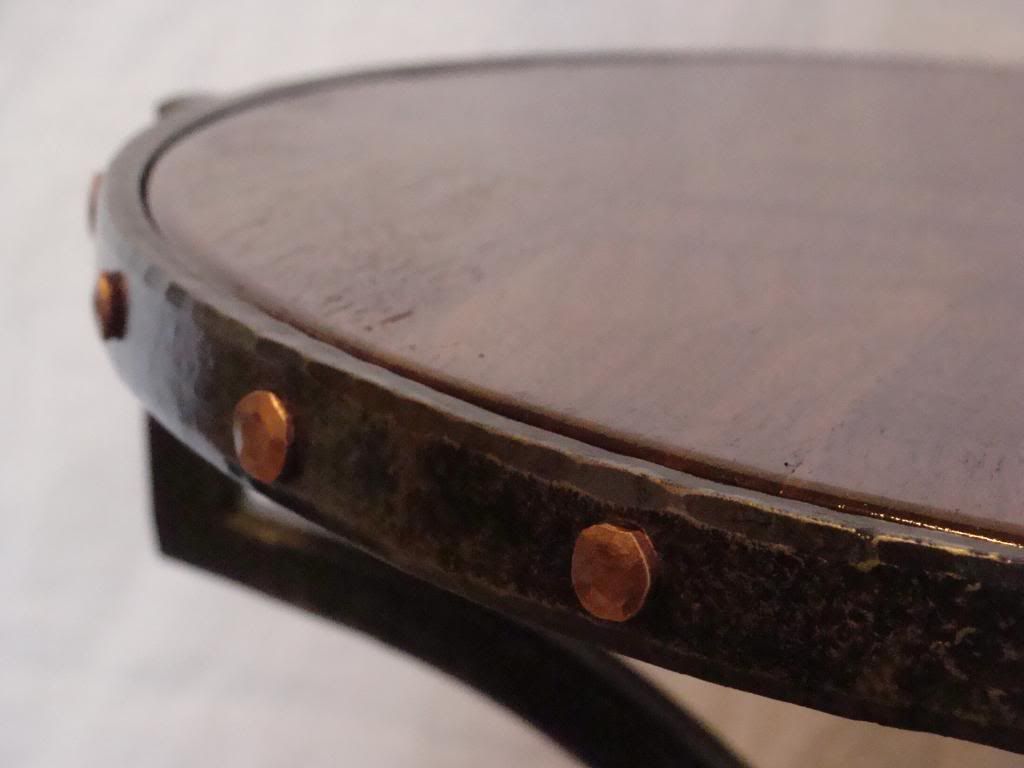
Detail of the hand-forged copper nails that hold the table-top in place.


Detail of the beautiful furniture-grade, locally milled and dried, walnut top.


This table will be available for sale in a couple of weeks. Please contact me via phone or email if you have any questions or would be interested in purchasing it.
This table can be made available as a matching coffee-table and end table set as well.

blacksmithdave@gmail.com

678-925-4388

Dave Custer
Fiery Furnace Forge Blacksmith LLC