BE SURE TO CHECK OUT MY BLOG PAGES IN THE WHITE LINKS ABOVE!!!


Saturday, October 29, 2011

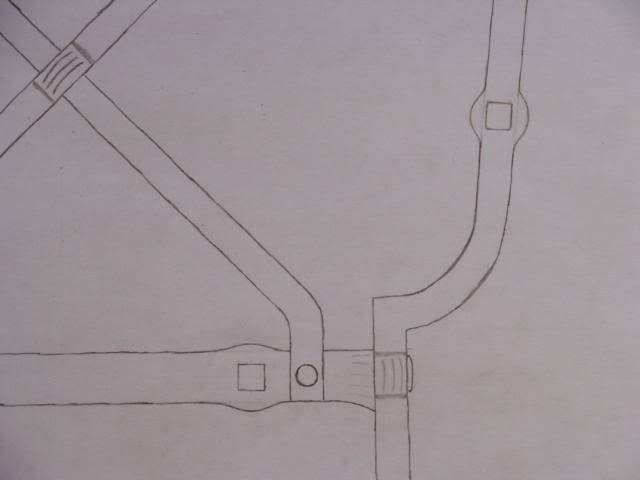
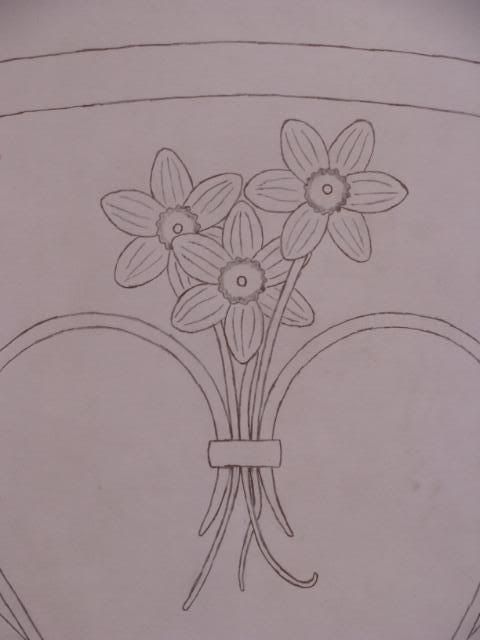
Last of the drawing pictures

I have completed the last little bits of the drawing for the project I will be working on this next week, Lord willing.

Close ups!


Wish me luck folks.....I'm a gonna need it!


After the end of the week I am hauling 8000 pounds of metal six hours east of the Folk School I am going to. I am assisting as much as I am able, with a power hammer workshop that is being held in December in Hillsborough, North Carolina.
The power hammer requires a 6-inch solid or larger post to take all of the hammering force.
Click HERE to see a picture of the hammer we will be building. I volunteered to locate the large round piece of metal in the front of the hammer. We need 18 for the workshop. My steel supplier was able to supply the material at less than half the price other suppliers were offering the material at. So, that's why I'm hauling 8000 pounds of metal to Eastern North Carolina.

Here is a picture of some of the material.

It's a heavy load to haul 11 hours.

I am hoping to start a blog from the Folk School following the daily progress of my project.
Y'all send me a whole bunch of "luv letters" to the folk school.
Just address them to:
Dave Custer
John C. Campbell Folk School
1 Folk School Road
Brasstown, NC 28902


Wednesday, October 26, 2011

Traditional joinery project

Lately I have been posting TEST PIECES for THIS PROJECT.

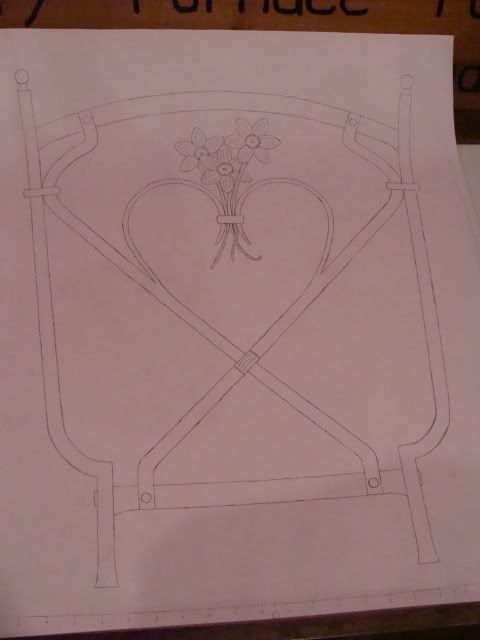
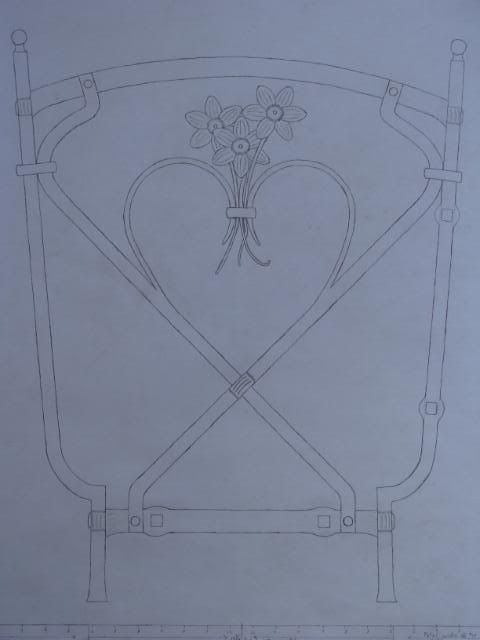
Test pieces had to be done to determine stock allowances and so that I could make a final drawing of the project. I worked on the final drawing today, and although it isn't done, it is close......very close! In fact all I need to do is put a couple of bulges in some spots on the drawing, and I'm good to go.

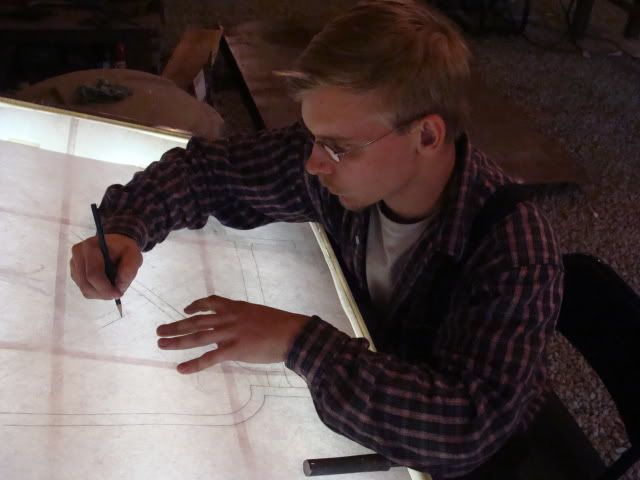
I bought so good grade sketch paper, and used my light table to transfer the original drawing to the sketch paper.

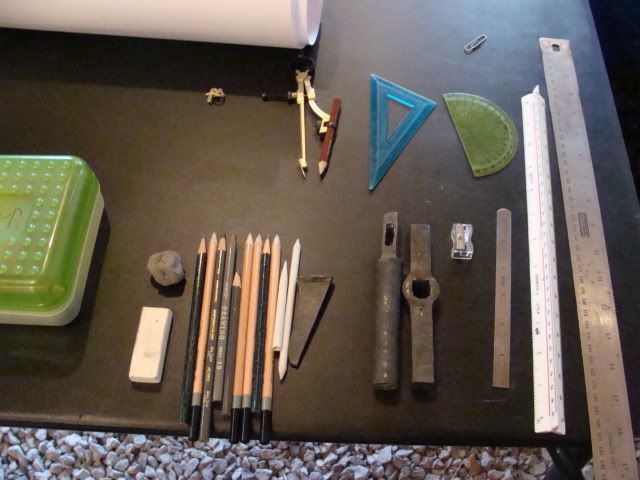
No this isn't a hammer or anvil, but these are tools of blacksmithing just as well. This is my collection of drawing supplies and they are essential to designing complex items. 

Working on drawing out the main pieces. The light table is a great asset to my shop for this sort of thing.

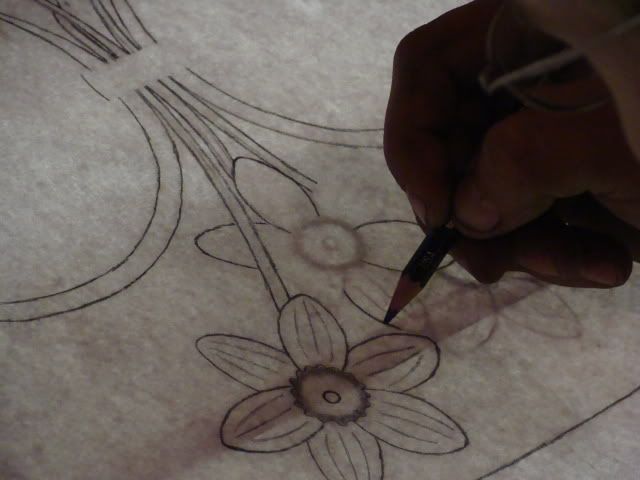
Working on the daffodils.

And as it stands currently....nearly finished!


Saturday, October 22, 2011

test pieces

I have spent the last several days working on test pieces for THIS PROJECT!

I will be working on the above project during a weeklong class with a Mr. Clay Spencer. Mr. Clay is a very good smith that does a lot of traditional joinery. The class I am taking is a traditional joinery class. I took the class last year, but there is simply too great a wealth of information there to be gleaned from just one week.

This project is my own design and it will be one a wood rack for our hearth. There will be two ends that are the same, they will be connected and the firewood will stack between them.

I am preparing notes via test pieces, prior to the class so that hopefully I can complete the project within the one week class.

Here are some pictures of the various pieces and tools I have made so far.

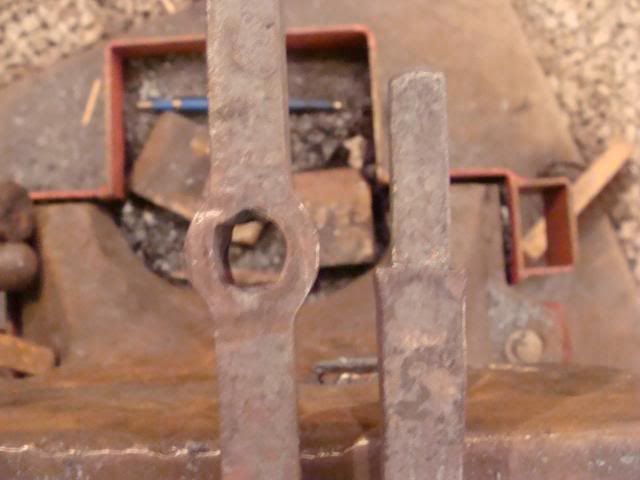
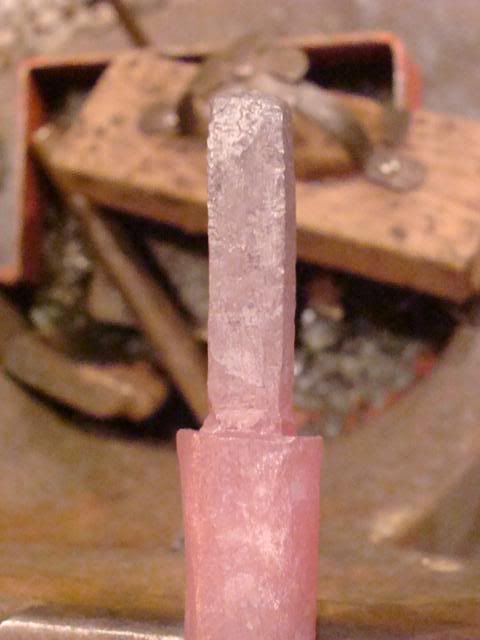
Slit and drift hole on left........tenon on right

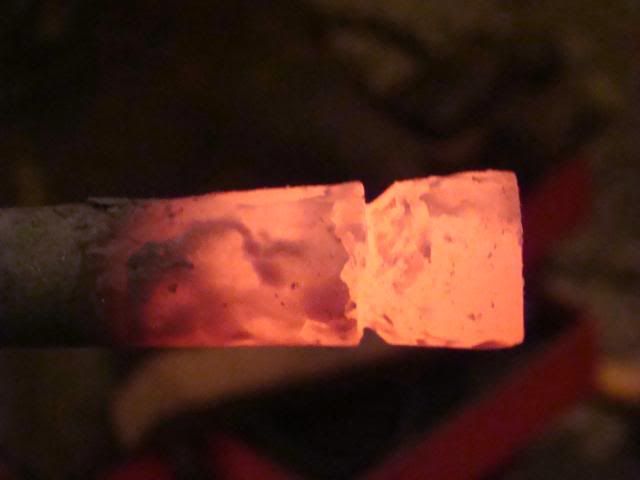
Slit in a bar prior to drifting to the correct size

The purpose of the slit and drift piece and the tenon piece.....

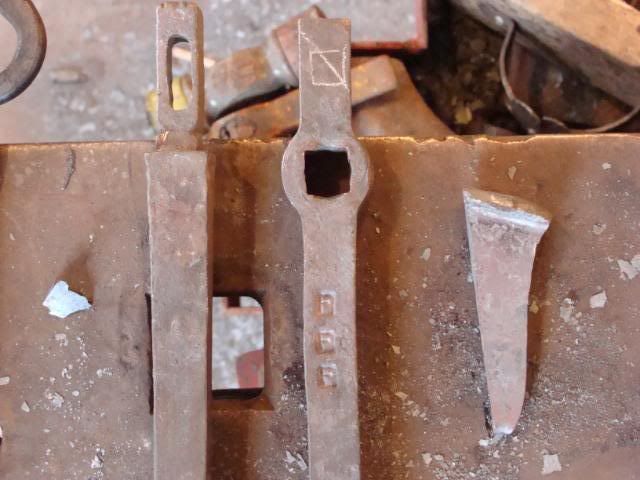
Left to right:
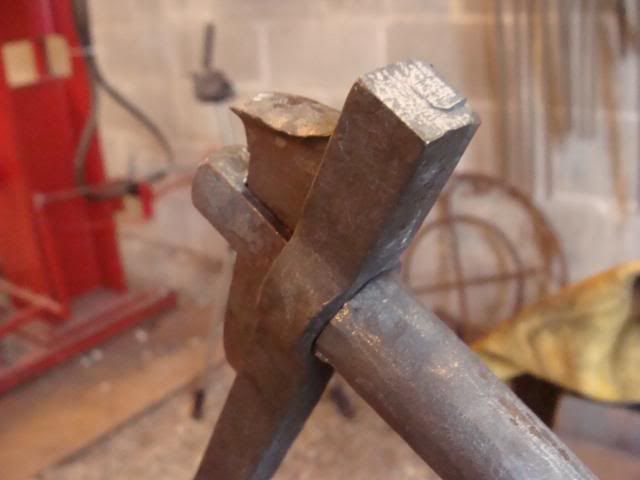
slotted tenon, slit and drift hole (AKA "mortise",) and a wedge.

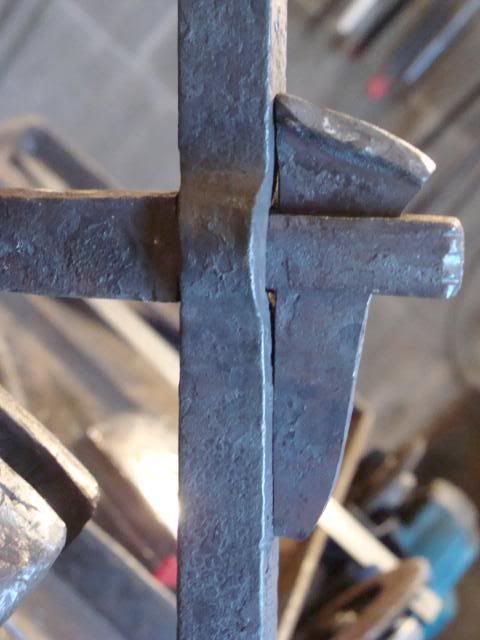
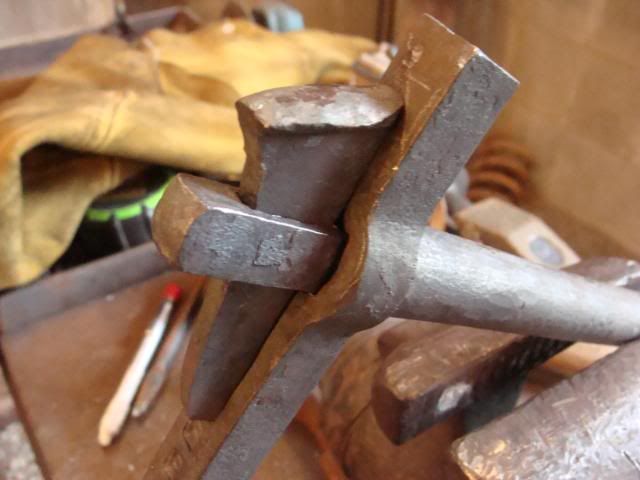
How the slotted tenon, mortise, and wedge work.

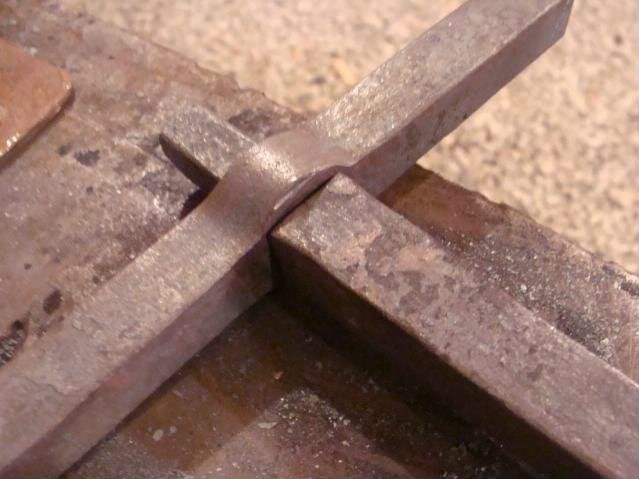
Here is a slight variation of the same joint, known as a "wedge joint." This variation has a round bar going through a square bar, and this is the variation I'll be using in the actual project.

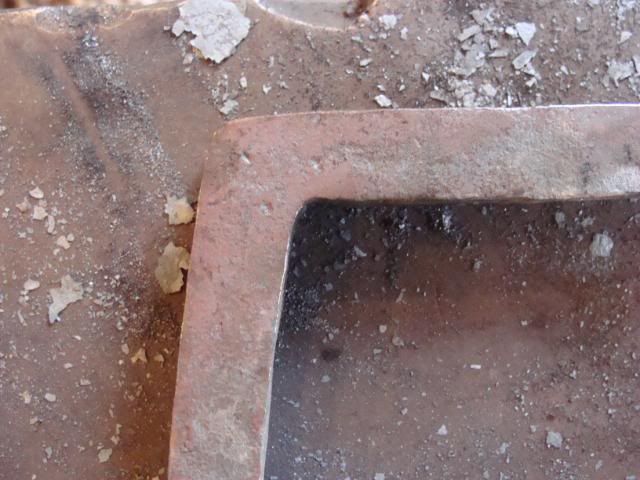
This is called a square corner. I did not forge this into a right angle corner because in the project, this piece will not be a perfect right angle.

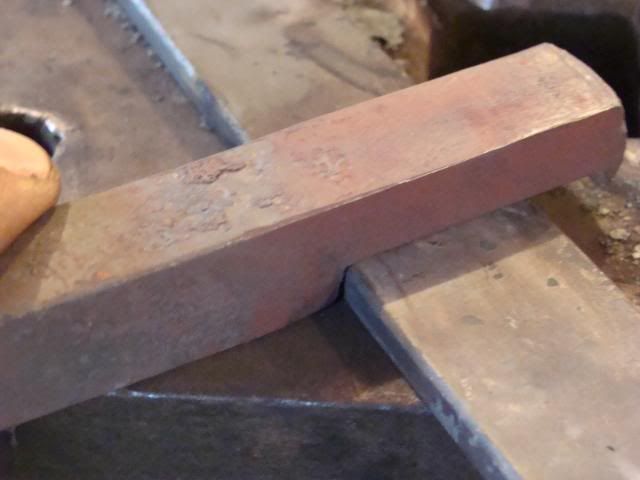
This is a lap joint. Things will be trimmed up in the actual project.

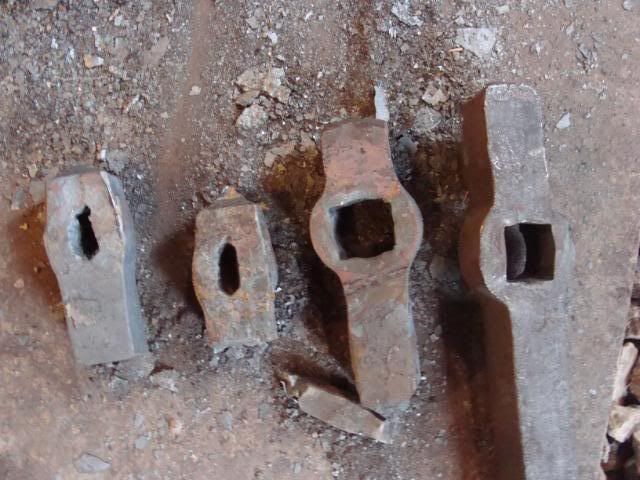
MESS UPS! I ended up messing up six of these slit and drift holes in a row!

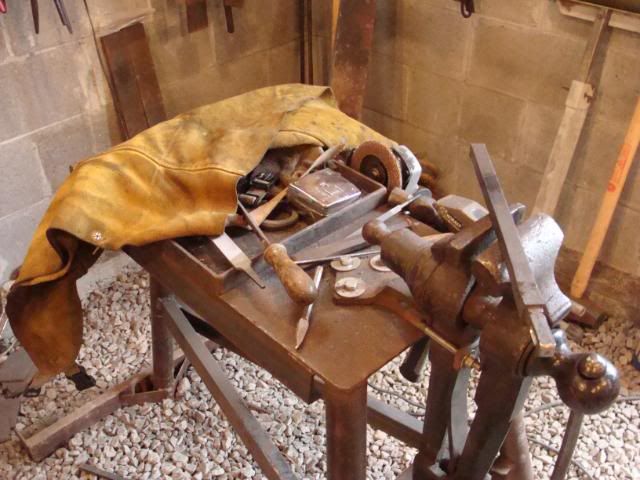
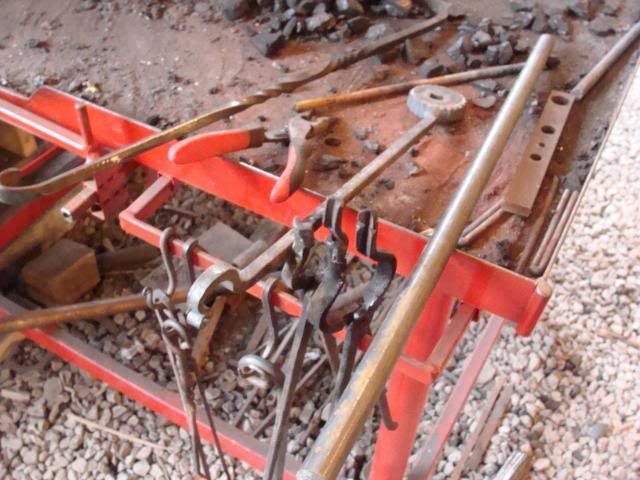
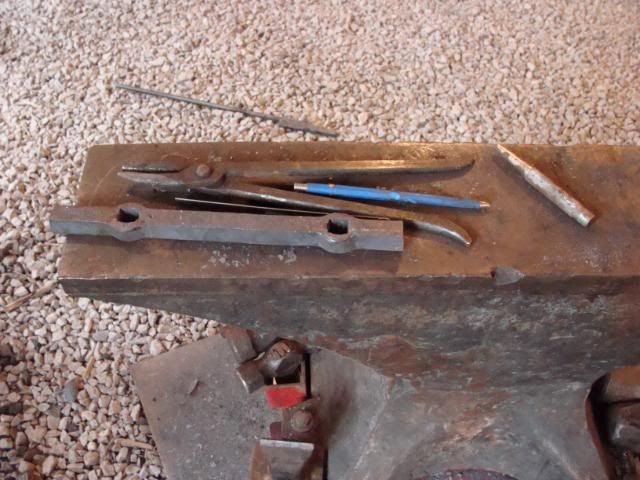
After a couple days in the shop, things got a bit messy!

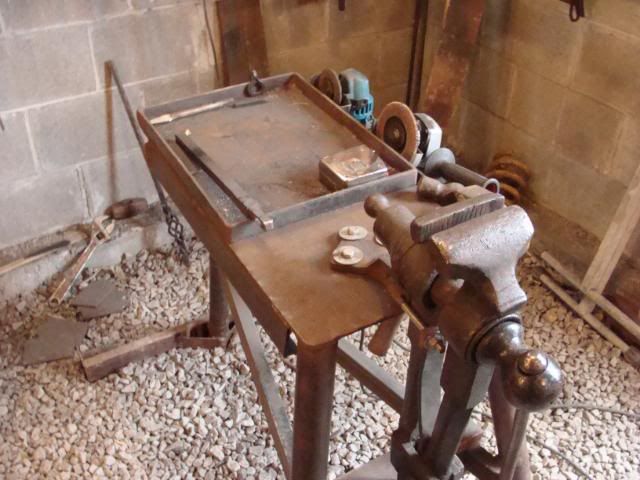
Two morning ago, I had to start the day out by putting tools up and cleaning the work stations. A lot of accidents have happened because of a disorganized shop.

Ready to work again!

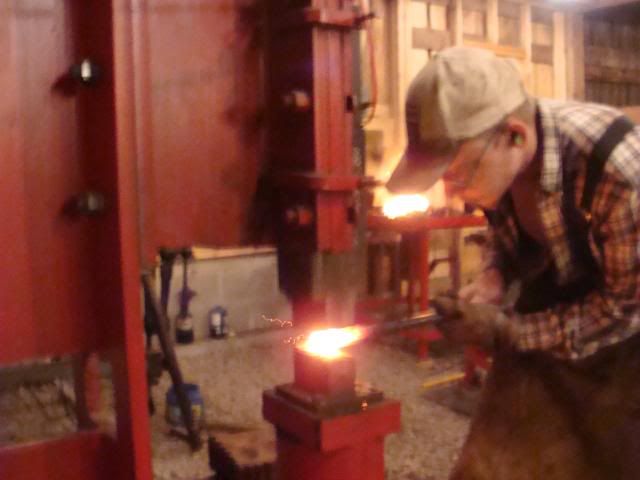
Here I am working on a tenon!

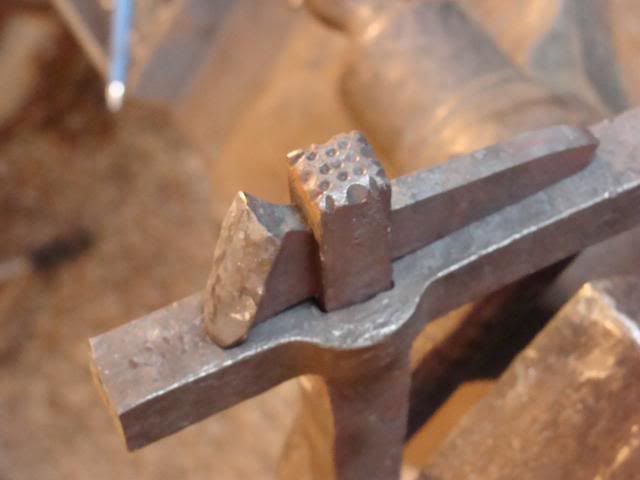
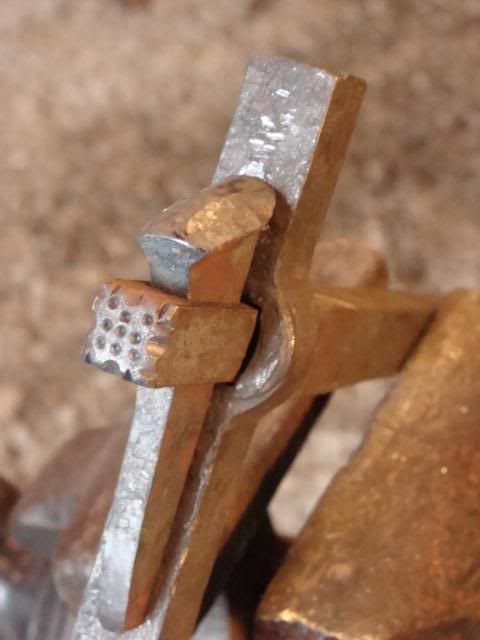
Yesterday, I discovered that I needed a new tool! (SHOCKER!) Anyway, a really helpful and talented smith in England told me that a certain tool would help me on my tenons. He showed me some pictues of the tool and briefly explained how to make it. Yesterday I spent the day making the tools needed to make the actual tool for the tenons.

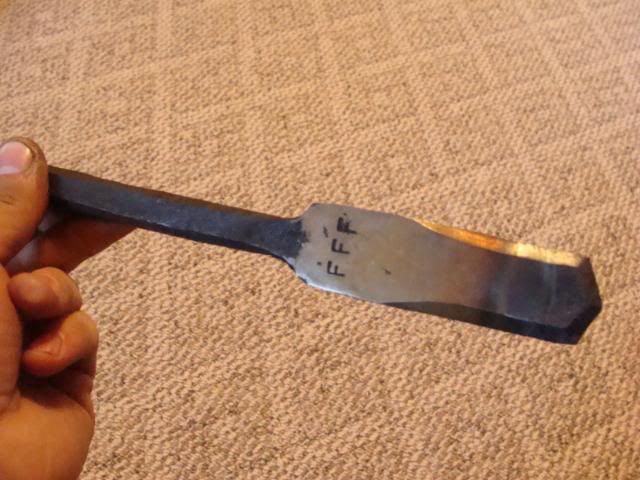
This one is a slitting chisel made from a bush hog blade.

I have several slitting chisels, but I needed this size tool in order to make the next tool.

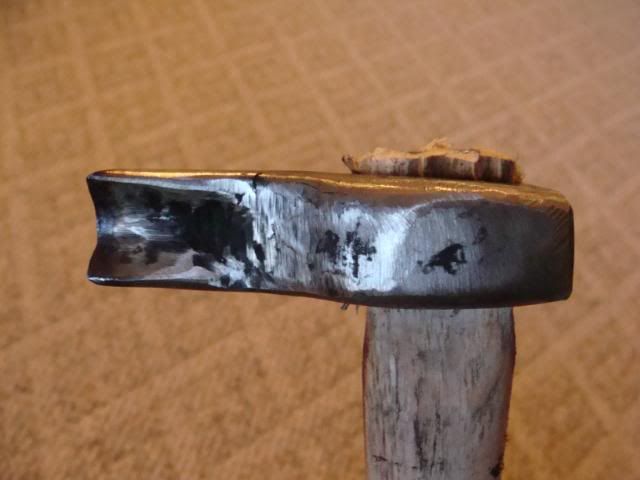
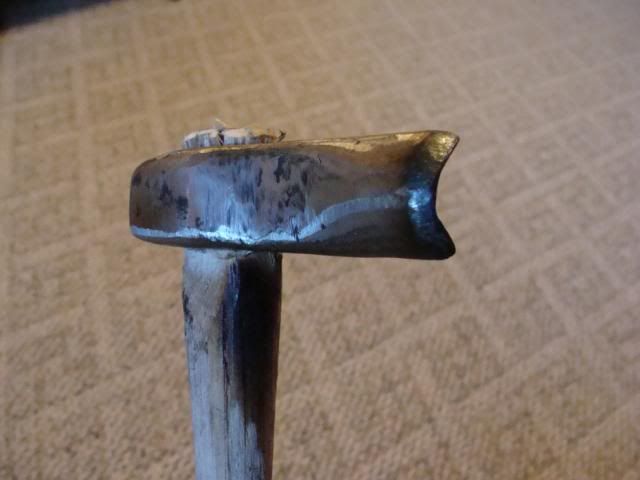
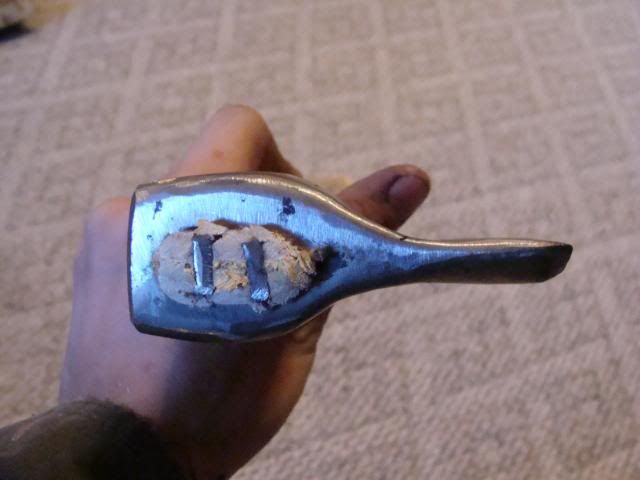
This next tool is a curved butcher. It is pretty much like a chisel. I made this from a race car axle. (You know EVERYONE just has one of those laying around!) The slitting chisel pictured above was used to cut the hole for the wooden handle. I also had to make a "drift" to size the handle hole, but I forgot to get pictures of that.

All of these tools (slitter, drift [not pictured,] and curved butcher, were made so that I could make the tool I needed for the tenons.
The particular tool that I am making is another type of curved butcher. It is nearly finished and I'll try to get pictures of it and some other stuff a little later.

Dave Custer
Fiery Furnace Forge Blacksmith LLC
Check out our NEW WEBSITE!
http://www.custerfamilyfarm.com/

Saturday, October 8, 2011

fireplace set, part 2

FIREPLACE SET, PART 1

The fireplace set has come along quite well. I hit a bit of a road-block because I needed 100-inches of 1/8" round stock for wrapping. I only had 50-inches. We planned a run to the steel yard and I decided to go ahead and do a general restock as the shop was running low on several sizes of metal. One-eighth-inch round stock was the first thing on my list and SOMEHOW I managed to get everything but 1/8th-inch round. I was EXCEPTIONALLY angry, and it is a VERY good thing it wasn't an apprentice or shop helper that forgot it because I think I would have tore their head off. Anyway, dad was very accomidating and took me back across town the next day so I could get my one piece of stock. 

From there, progress was made and I am happy with the results of my labors.

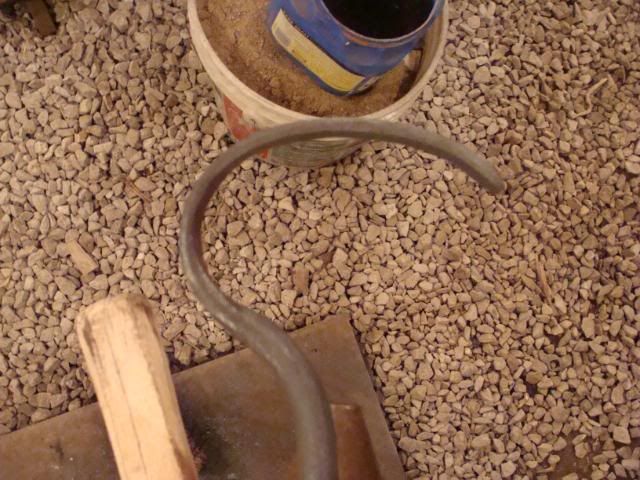
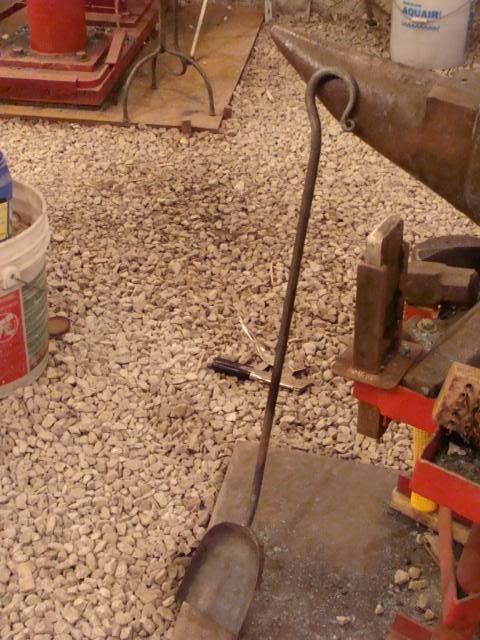
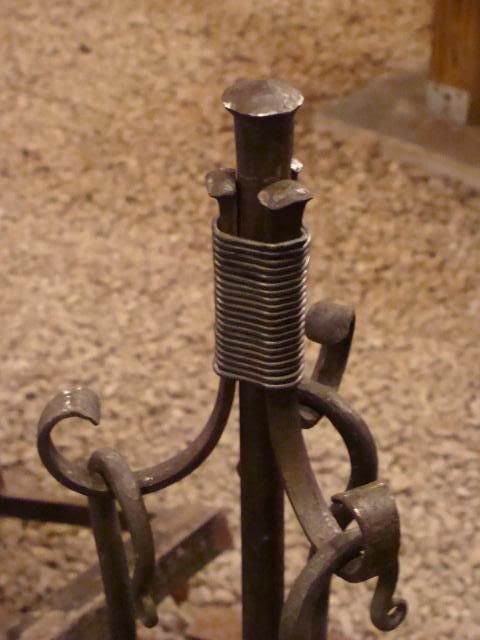
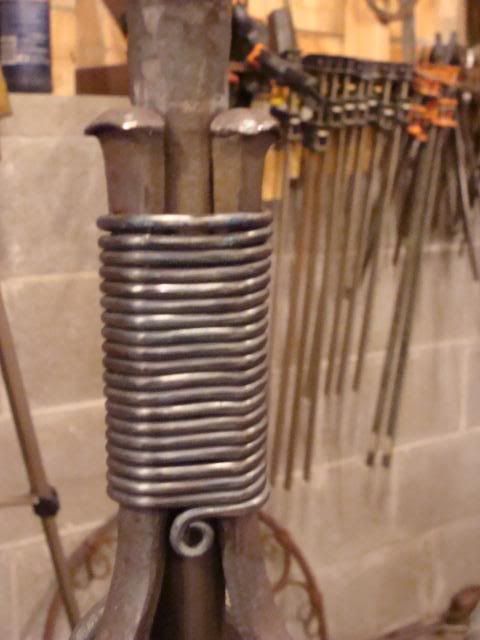
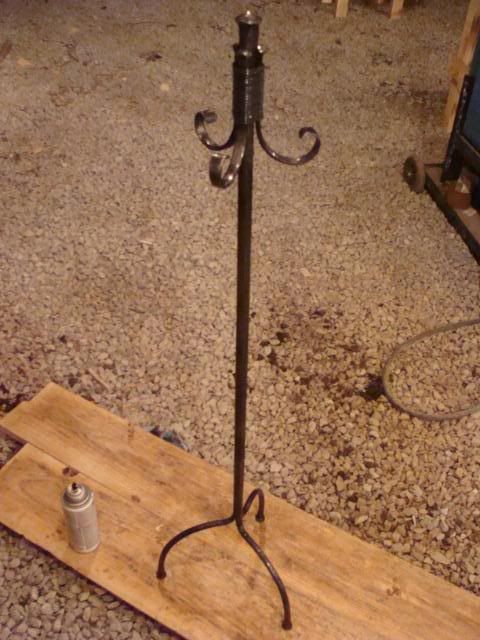
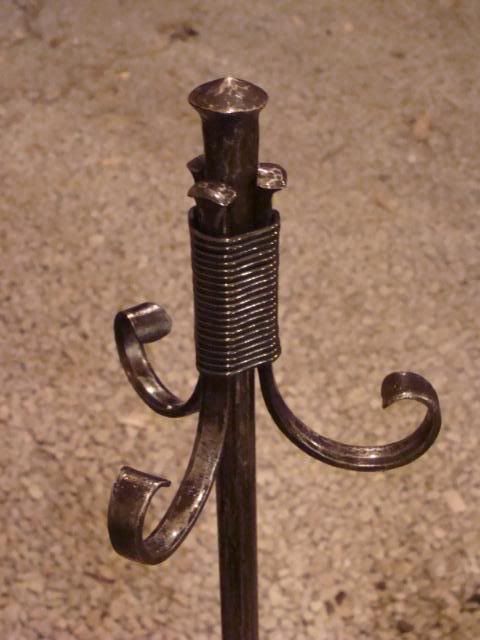
I went with a simplistic design for the tool handles. The reason behind this is, the base of the stand follows a traditional and simplistic design while the top transforms into a more complex area featuring reverse scrolls, upsets, and wrapping. If I had gone with an overly fancy handle design the top would have been too busy in comparison to the base. 

Here is the poker handle.....each handle follows the same pattern.

the poker end

Here is the shovel.

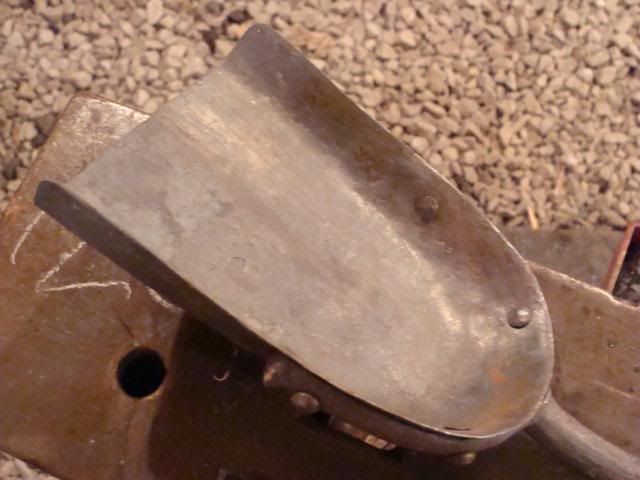
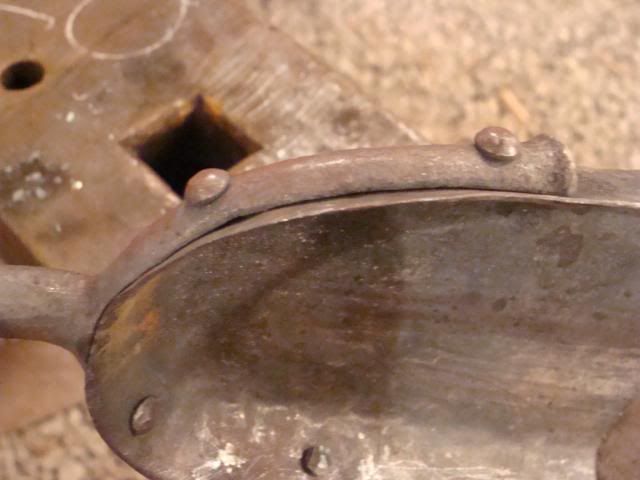
shovel head.....I forge my own shovel heads

The hooks on the stand were wrapped using the 1/8" round stock.

The whole set! The broom handle is on the far side and will be shipped of in the next couple of days to get a custom broom head attached.

So done right? Uhhhhhh NO! The entire piece needs a finish applied. First, I hand sanded every piece to give the piece more depth and an amazing ability to reflect light in beautiful ways. Very close attention is paid to every spot. A beautiful piece of artwork can be ruined by a bad finish, and likewise rather poor metal work can be enhanced quite a bit by a quality finish. Here at the Fiery Furnace Forge Blacksmith LLC, I provide both beautiful metal artwork with a beautiful quality finish.

Time for the finishing clear coat. The little bit of gloss in the clear coat that I use, will give the entire piece a nice shine.

 The tools hung up for coating.

After the broom gets returned, I will set up the studio for a photo shoot. This particular set should be going to an art gallery in North Carolina in a couple of weeks.

Dave Custer
Fiery Furnace Forge Blacksmith LLC
http://www.custerfamilyfarm.com/
270-378-3153


Tuesday, October 4, 2011

what it all hinges on


Admittedly I have an odd sense of humour! I'll be forging latches and bolts for these doors soon. The hinges are 32 inches long made from 3/16x2 1/4-inch flat bar.


This is a drawing I did to illistrate a wdge joint in metal. This joining method will probably be used in THIS PROJECT, but it is too complex to try to explain. Suffice for now that, the following drawing does represent a wedge joint in metal.

Saturday, October 1, 2011

land for sale

NO NOT OURS!


There is a seventeen acre plot of land just a quarter mile from our place that has come up for sale.

"What is the significance of that?" you say!

Well this place is really nice. It's got a small unfinished house on it, and a small barn. It is well above the flood lines of the surrounding creeks, (and it flooded REALLY bad here a year and a half ago.) The property itself is mostly wooded so it wouldn't take large equipment to keep up with it.

"So WHAT'S the significance????" you say!

Well seeing as the land is so close to my current shop, and it has a small house, and it wouldn't take expensive equipment to keep up, it would be the perfect first homestead for me. I would not need to build a shop to relocate my business, as I could literally walk to my current shop. I would not need to purchase expensive equpiment to maintain the land, and I would not need to build a house from scratch. Plus, I'd be right here next to my parents.

"So when am I buying it?"

I'm not! I'm just day dreaming. As I put more work and effort into my business, it will begin to repay itself, and one day I will be able to purchase my own land, Lord willing. Until that day, this sort of thing offers me some inspiration to continue to work toward that goal.
The bible says in,
Pro 13:12 Hope deferred maketh the heart sick: but when the desire cometh, it is a tree of life.
So true!

"The only way that I can be sure to never see my country's demise, is to die in the last ditch."