BE SURE TO CHECK OUT MY BLOG PAGES IN THE WHITE LINKS ABOVE!!!


Wednesday, March 2, 2011

Crucifiction spikes

In the days of the Roman Empire, many condemned felons, prisoners of war, and people who annoyed the government were "removed" by crucifying.
This brutal death was achieved by nailing the victim to a wooden cross. There were a variety of configurations to this including the regular cross, upside down crucifying, and an "X" shaped cross.
Regardless of which manner was used, the fact remains that crucifying remains one of the most gruesome methods of execution requiring the victim to suffer for hours or even days before death, and it proves the utter depravity of mankind.

For this reason, our Lord and Saviour Jesus Christ came into the world to save fallen man. He was beaten, a crown of thorns was pushed onto his head, and then he was crucified naked! This was done to provide an atonement for our sins through the shed blood of Jesus Christ, God's son.

Rom 10:9

1Ti 1:15 "This is a faithful saying, and worthy of all acceptation, that Christ Jesus came into the world to save sinners; of whom I am chief."

1 Cor. 15
1: "I declare unto you the gospel"
3: "how that Christ died for our sins according to the scriptures;"
4: "And that he was buried, and that he rose again the third day according to the scriptures:"


The victim of crucifiction was attached to his/her cross by iron nails. As a blacksmith, I have received a couple of orders for historically accurate crucifiction spikes. After research, I discovered that spikes were around 5-7 inches long, had a large square head, and were 1/2-5/8 of an inch thick. The corners of the spike were left as sharp as possible to inflict the most pain on the victim. 

Here are some pictures of the process of making some crucifction spikes! 
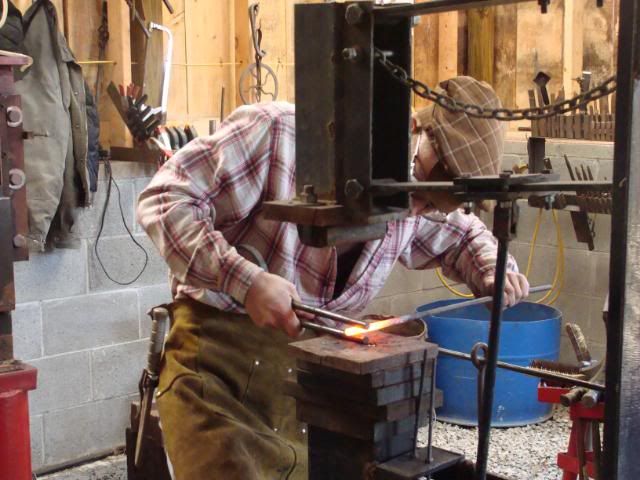
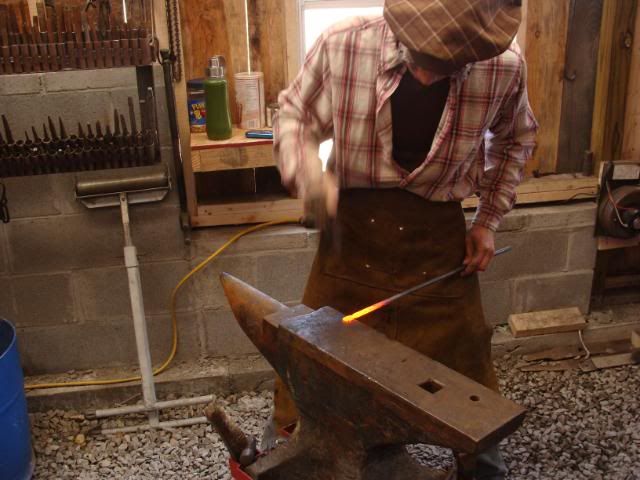
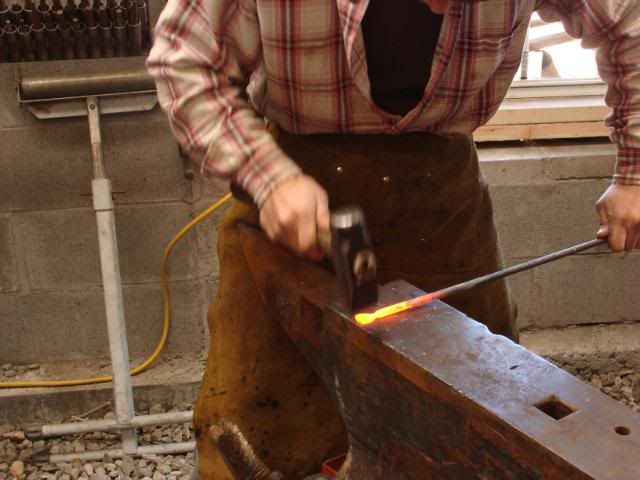
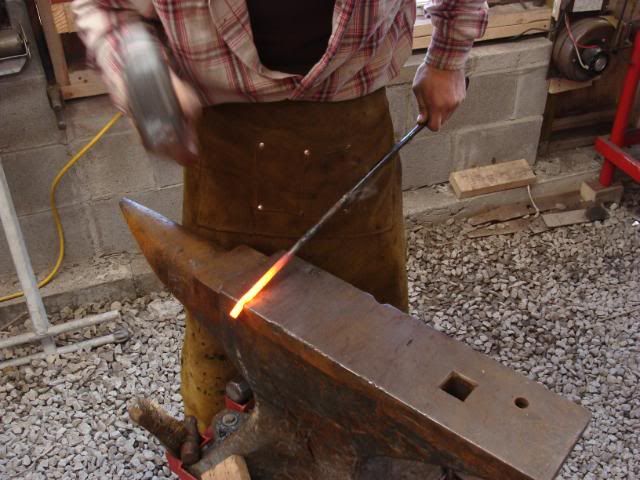
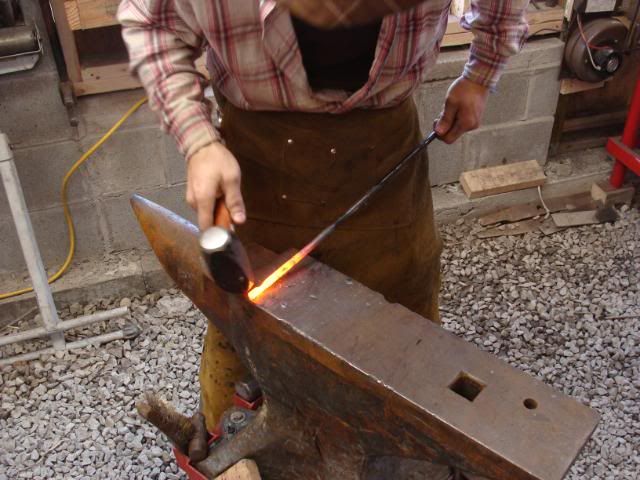
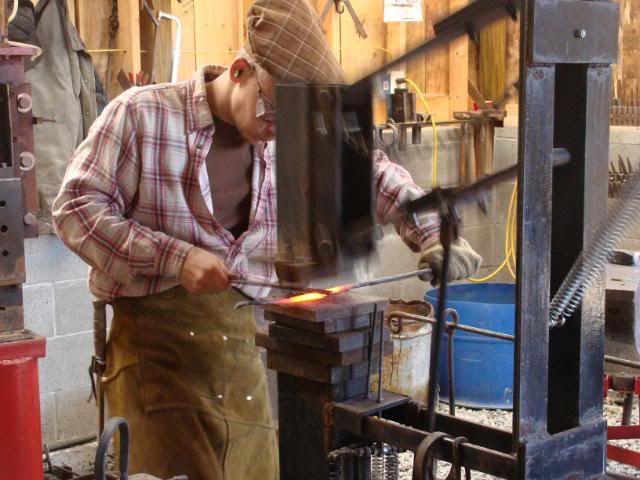
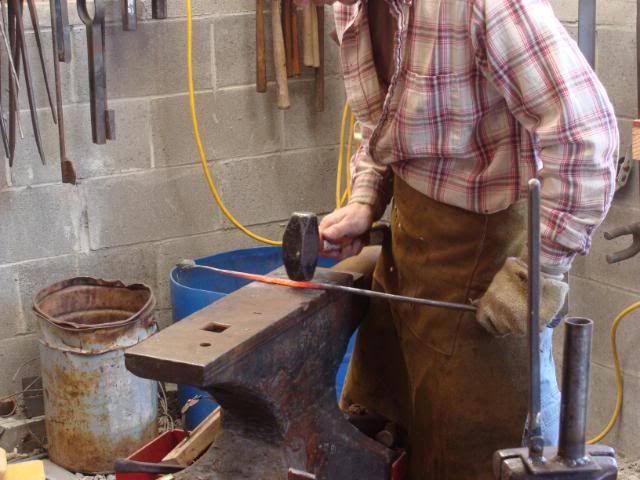
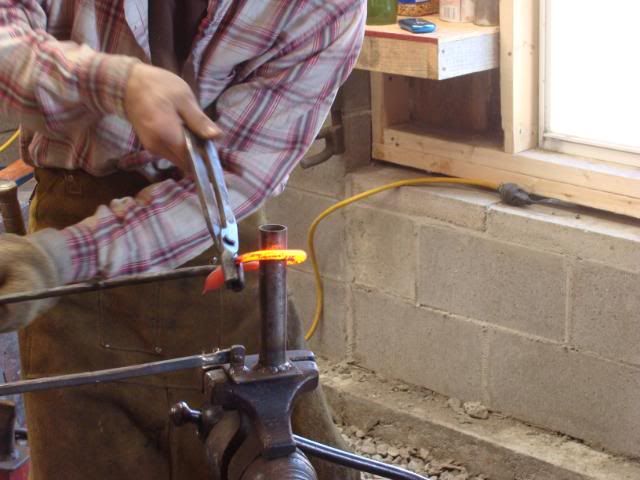
Tapering out the point in 5/8" square bar!

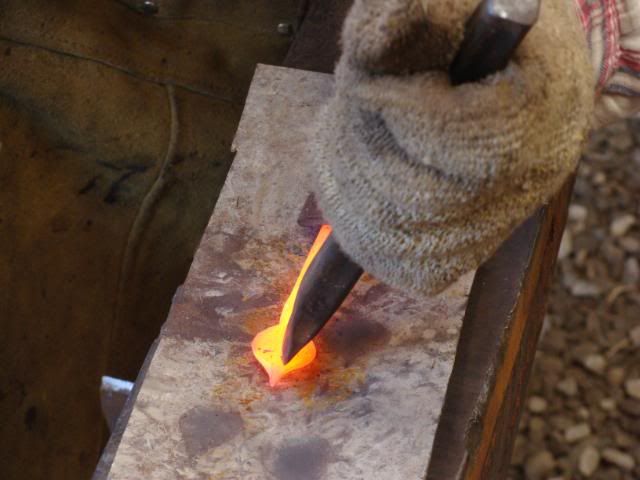
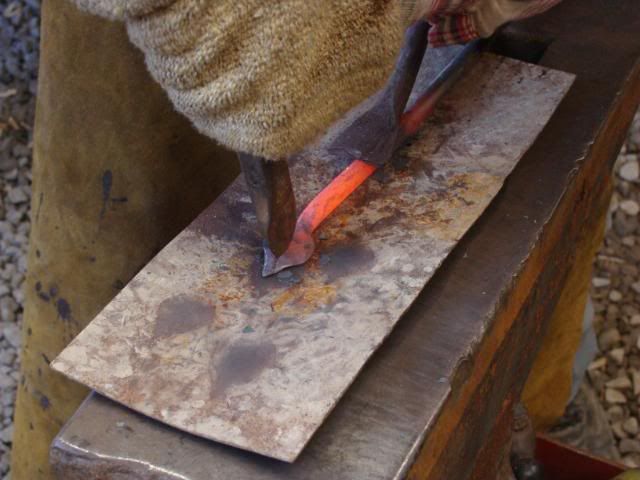
Next a large head had to be formed on the spike. For this I use a heading tool that holds the steel while I forge out the head!

This is the heading tool which I made!


The end result looks like this!

Crucifiction spikes were reused so I hammer-texture the heads to give them the appearance of having been hammered in numerous times!


This is a picture of the five spikes, the header, and a tool I had to make in order to make the header!


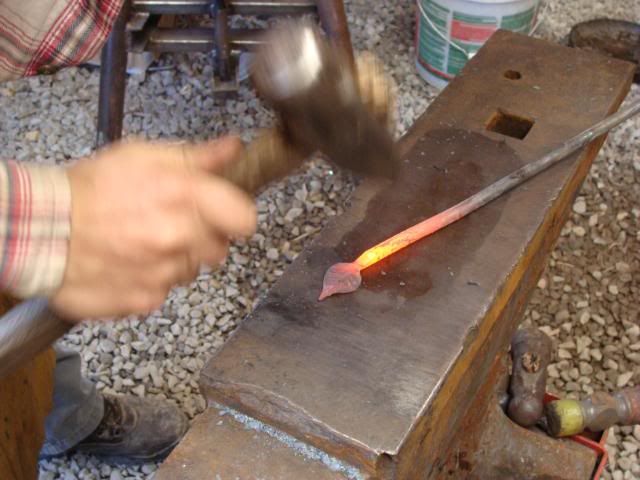
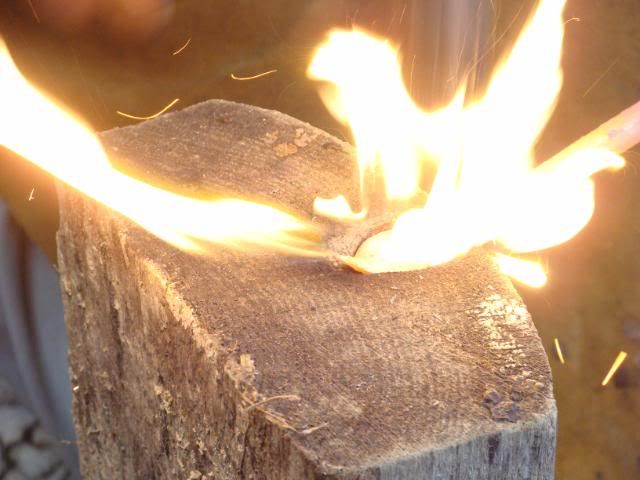
I don't know what happened to the camera on this one but I thought it looked sort of neat!


Romans 5:8
"But God commendeth his love toward us, in that while we were yet sinners, Christ died for us."


 Verses taken from the
AUTHORIZED KING JAMES BIBLE OF 1611
"That if thou shalt confess with thy mouth the Lord Jesus, and shalt believe in thine heart that God hath raised him from the dead, thou shalt be saved."

Tuesday, March 1, 2011

Making production

As a blacksmith, I do not produce hundreds of a single item at a time.
When I work at building stock for craft fairs, I'll run out anywhere from 4-20 of an item at a time, depending on the size and time it takes to make the item.
A few days ago, I turned out twenty hooks in a couple hours! Another afternoon I made a dozen dinner bells!


Today I worked at making paper towel bars. I did four today along with some other stuff. I was trying to work quickly, but I did take time to take some pictures of the process.

First, I isolate 3/4 of an inch on the end with a fuller!

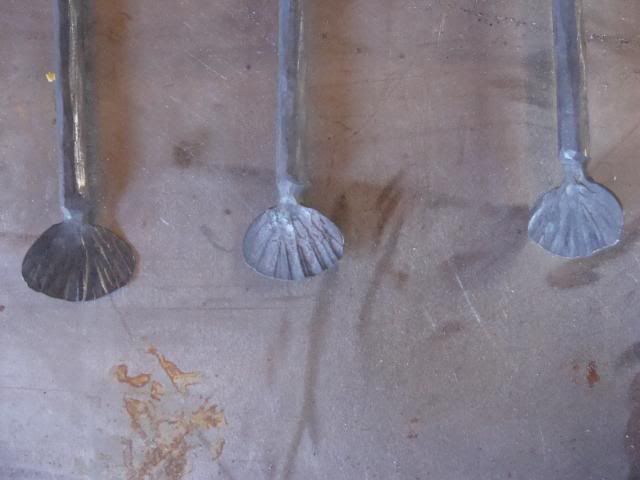
Then I flare the isolated point; first using the hammer face, then the hammer peen!

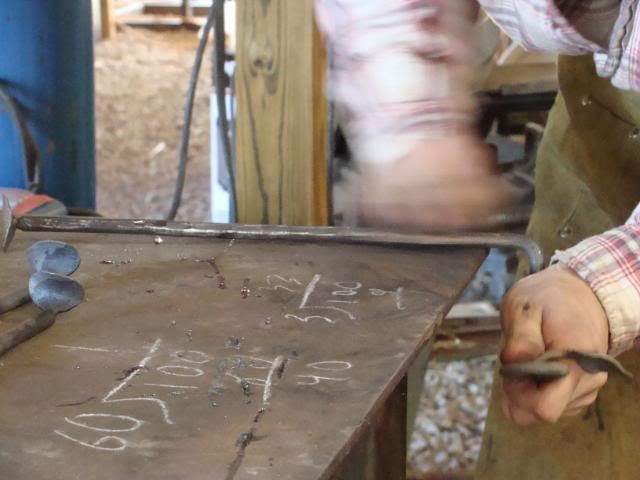
Then I hammer texture the rod a!

That side of the bar is quenched, the bar is rotated, and the other end is heated. A leaf is begun on this end! 
 
After the leaf-shape is formed, the texturing is added. First, some chiseled veins!


After the veins are added, the chisel side of the cross-peen hammer comes into play to further texture the leaf.

This completes the leaf's texturing, but it is still flat. It is heated, placed upside down on a block of wood, and then hammered with the ball side of a ball-peen hammer. This cups the leaf out like a spoon!

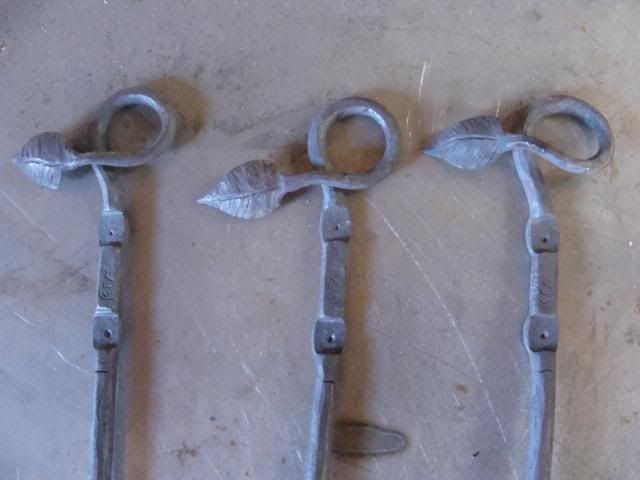
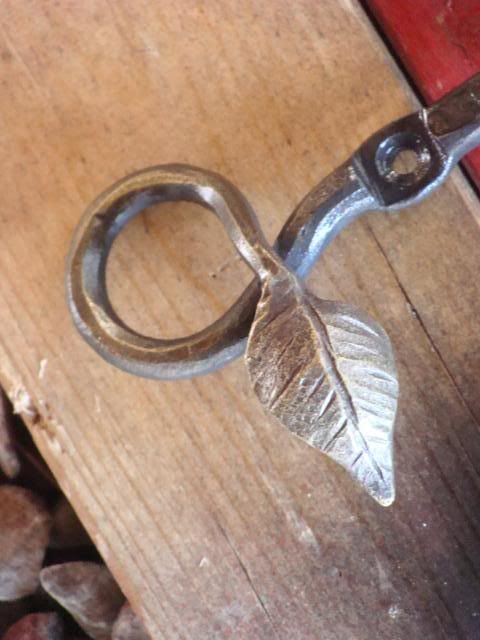
Now the leaf is finished! It needs a stem, and so that is added!

After the leaf and stem are complete, two flat spots are hammered in for the screw holes. The space between these flat spots is flattened and my touchmark is stamped there. (The touchmark is how I sign my work.) After the touchmark is added, the flat spots or mounting brackets, are center punched for drilling the screw holes. 

Flattening!

Adding the touchmark!

Center punching!


Now the screw-hole area is straightened up and the pieces are left to cool for drilling!

Here is what we have so far! A flare on one end and a leaf, stem, and places for screw holes on the other end.

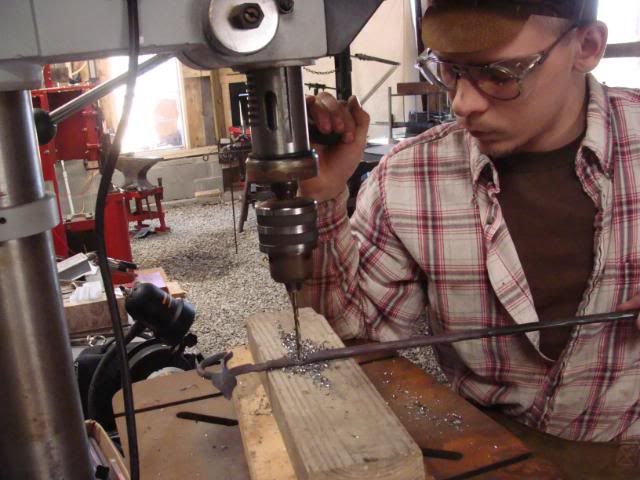
After the pieces are cooled, the srew holes are drilled on the centerpunch marks!
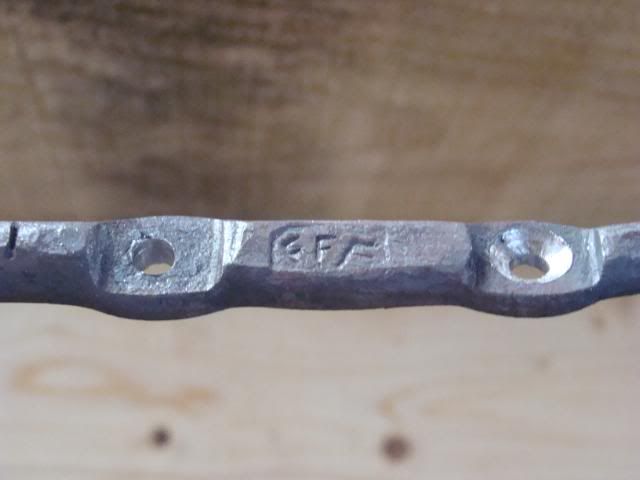
The holes are drilled 3/16" and then a 3/8" countersink is drilled so that the screw head mounts flat with the steel. 

So this is what it looks like! The plain 3/16" hole is on the left side and the added countersink is seen on the right hand hole. My touchmark stamp is seen between the holes. It is "FFF" in an arch formation.
 

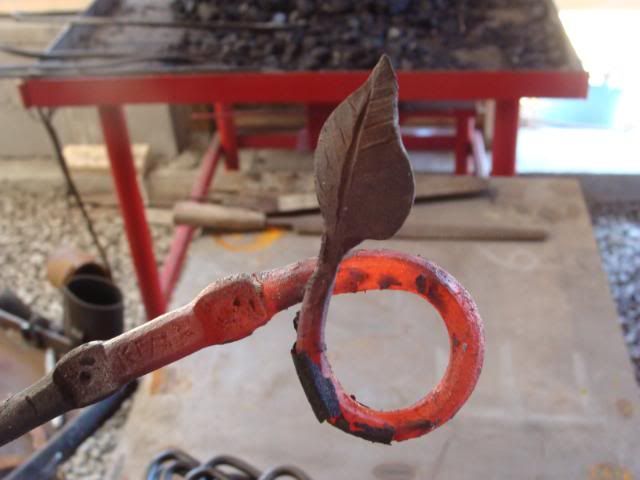
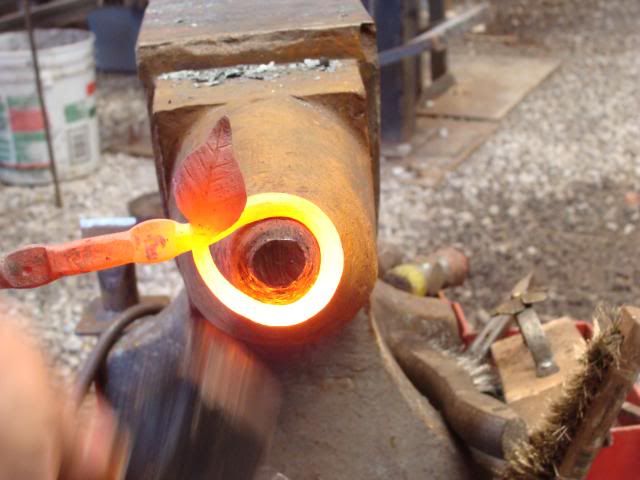
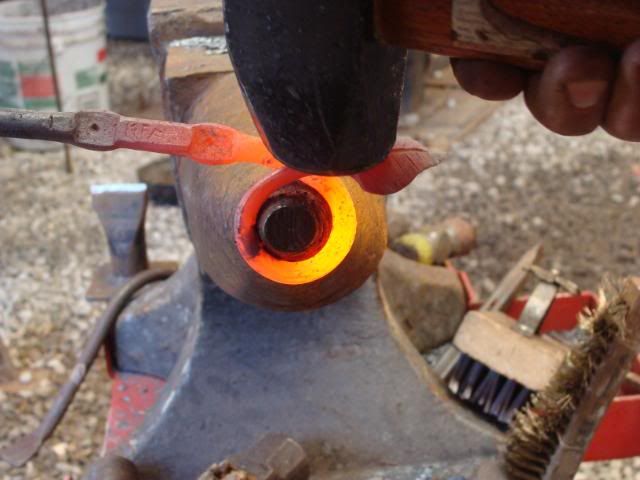
Now the leaf end is reheated and the stem is curled in a loop!

Everything is fixed up smoothly on the horn!

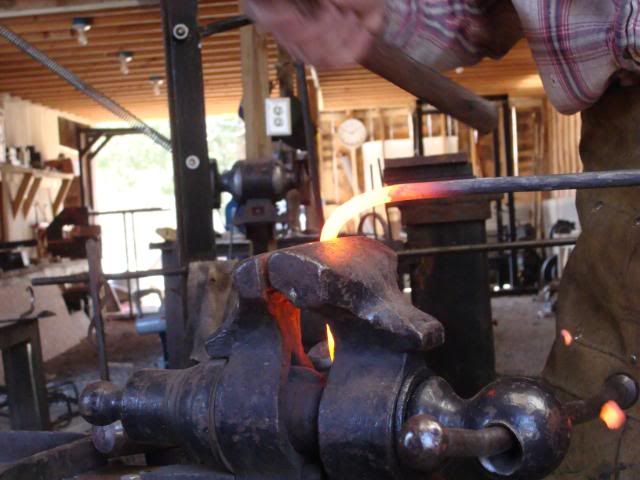
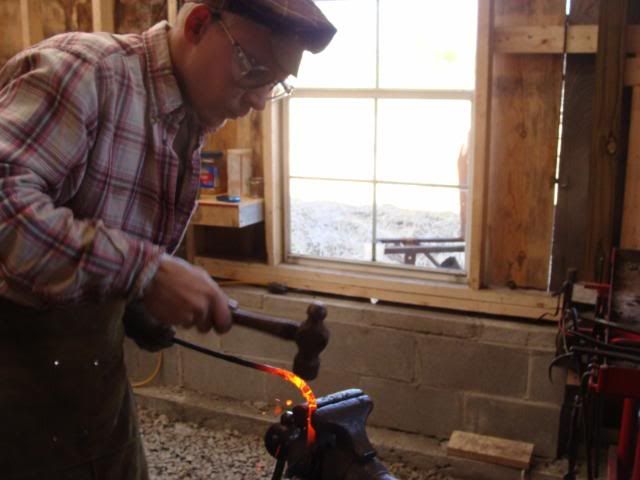
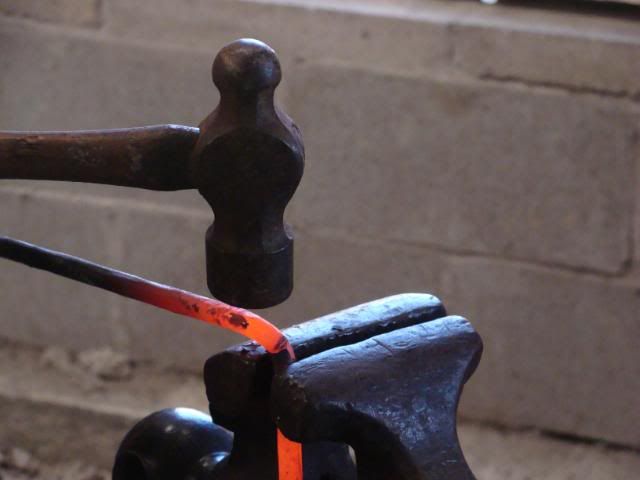
Next the paper towel holder is bent to shape in the vice! After it is initially bent, everything is trued up on the anvil!

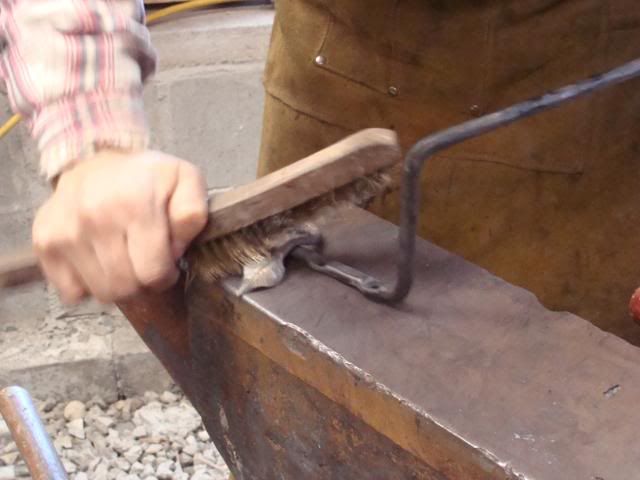
The leaf is then heated, wire brushed to clean it, and then brass brushed to color it. The flare on the other end of the bar is bent upwards and it is also colored in the same manner.

The steel is cooled, and then the entire piece is lightly hand-sanded to highlight the metal! 

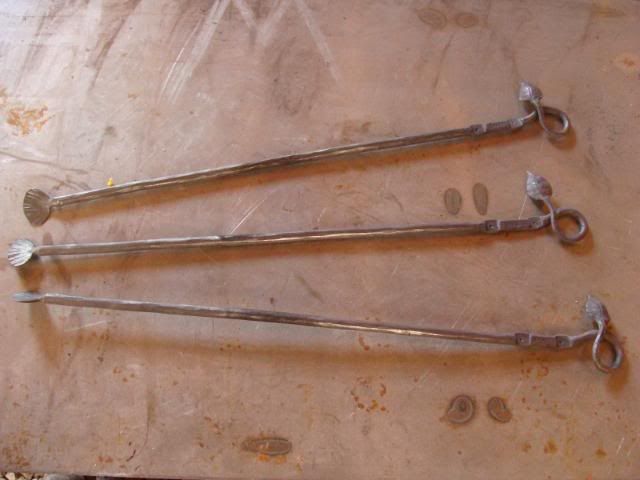
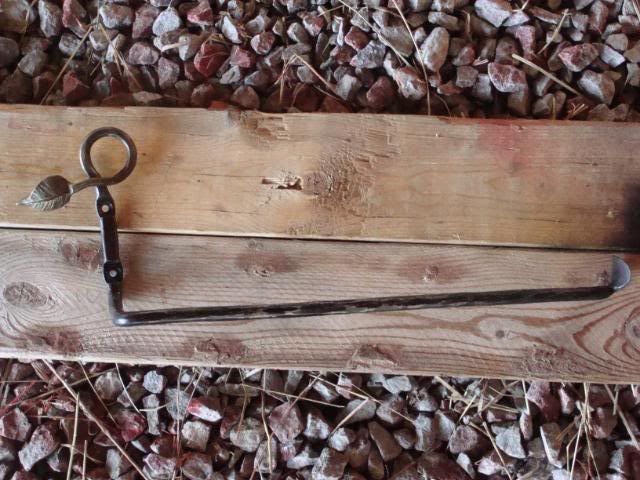
The finished product looks like this! 

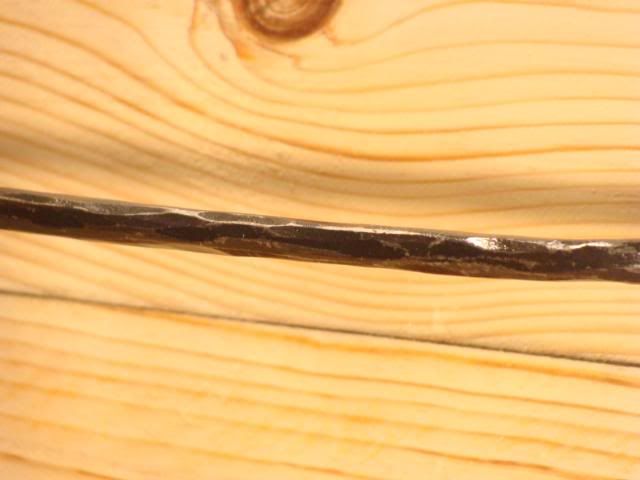
Hand-sanded hammer-texture is a subtle enhancement and is difficult to convey by a picture, but this will give you the general idea!


This is what it looks like on the wall!


THE END!