BE SURE TO CHECK OUT MY BLOG PAGES IN THE WHITE LINKS ABOVE!!!


Thursday, February 10, 2011

welded horseshoe signs

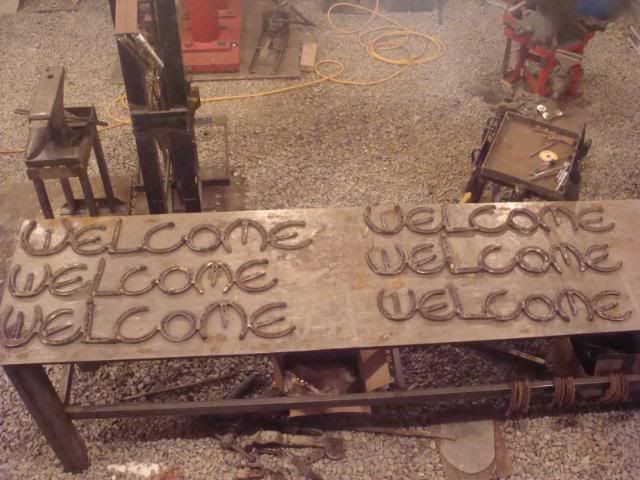
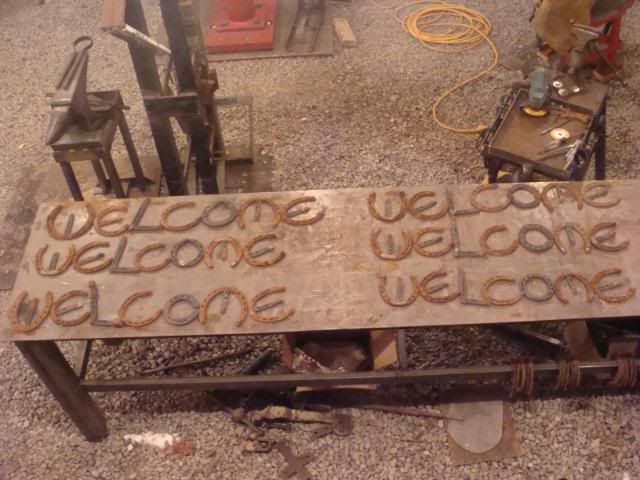
I didn't get as much time in he shop as I had wanted today, but I did get the six horseshoe signs welded. It was a whole bunch of wire wheeling and welding.
I was cleaning and welding one sign about every 30 minutes! Talk about a boresome job though! WEW!

To start out with, here is a very good picture of me!

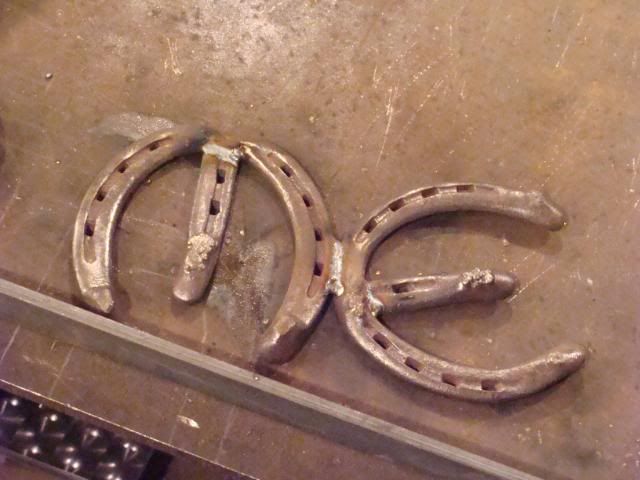
Ok, here are the actual signs! All clean, no rust, and welded together!


Close up!

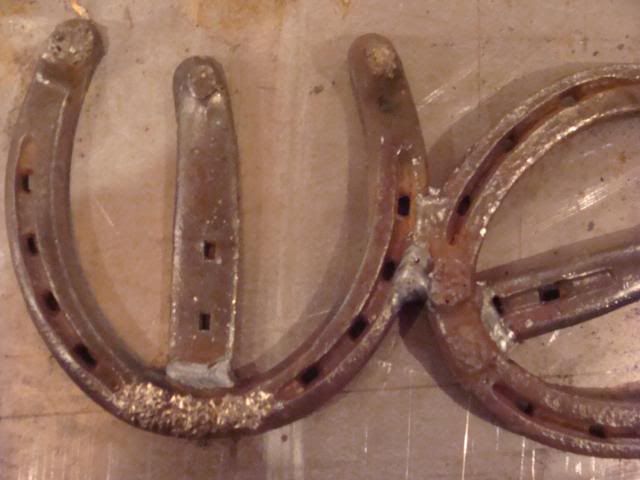
Closer up!


A long time ago, I posted some pictures of me holding a little tiny, 6-week-old baby that mom keeps! Here is the picture that I posted before!
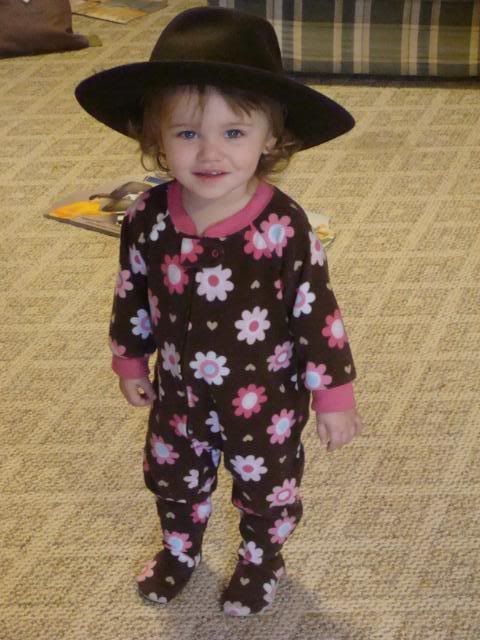
Now, here is a recent picture that I just thought was the greatest! (Yes she's wearing my hat....she isn't old enough to understand what happens inside that hat! ;)


Wednesday, February 9, 2011

Dinner bell jig and horseshoe signs

I made a jig or form for making my dinner bells on today!
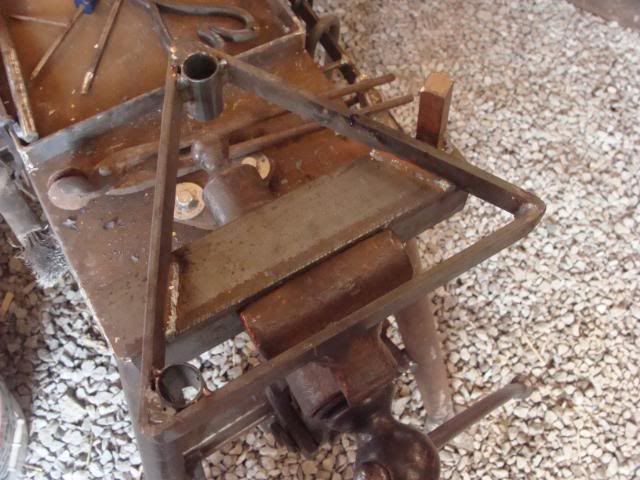
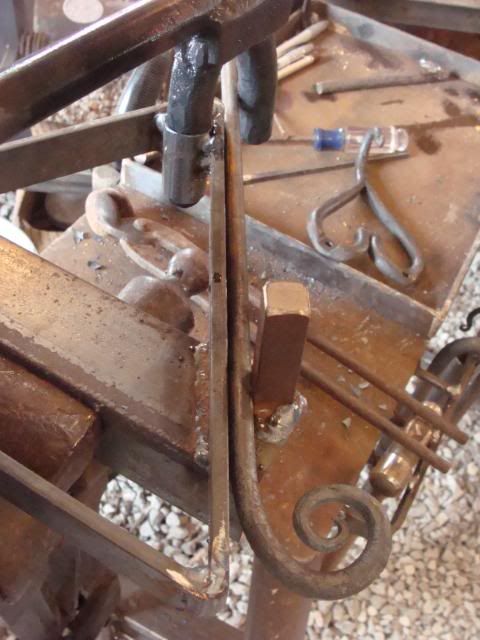
It clamps in the vice and bends the triangle dinner bells cold. It saves me time because I don't have to heat the bells upto bend them!
Here are some pictures!

This is the triangle jig!

This is how the dinner bell stays in place while it is being bent!

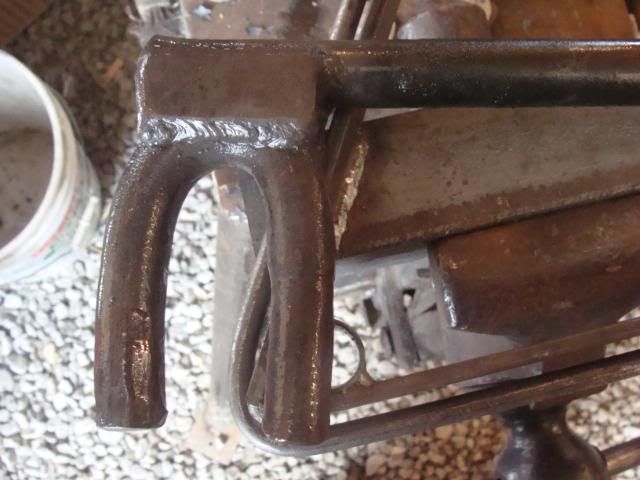
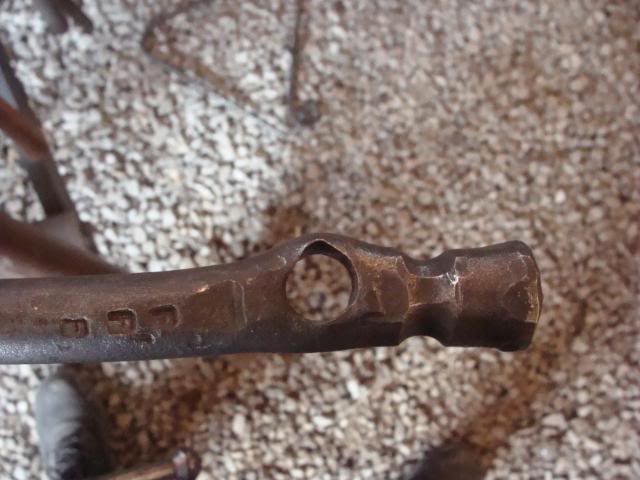
This is the tool that is doing the bending! It is made from 1-inch solid round stock and the handle is 2 feet long.


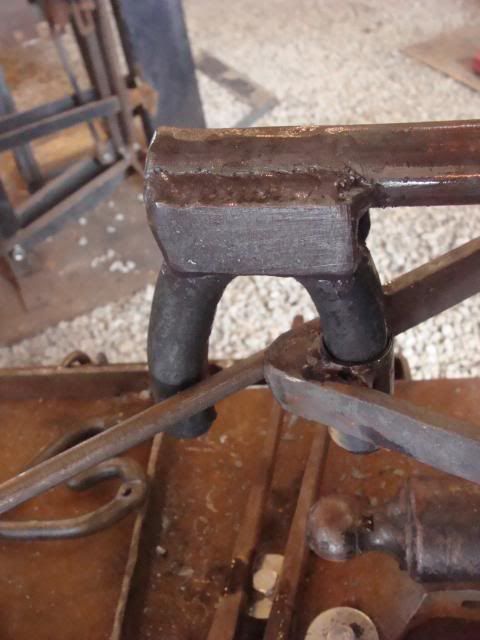
This is a dinner bell in the jig about to be bent!

A hole in the handle for hanging the tool! Not exactly dead center!


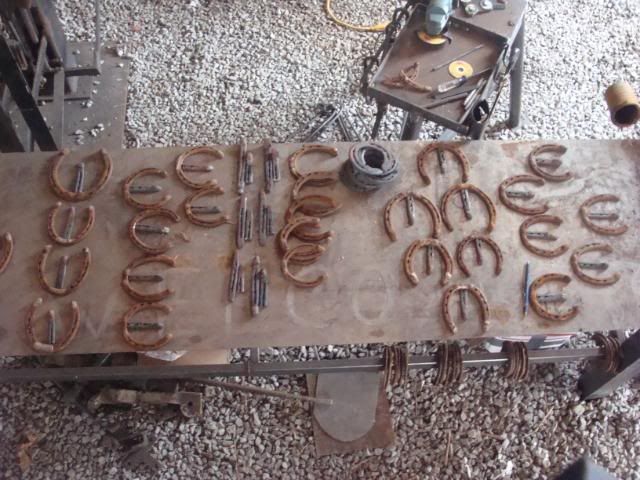
Sort of switching gears here, I am getting ready for craft fair season and one of the things I am doing is the "Welcome" signs from horseshoes. I spent some of today working on getting some of the shoes straightened out for the "L's" and some bent around for the "O's." Then I matched the shoes up so that each sign looks proportional in its letter sizes.

Here are the shoes organized by letters.

Here they are sorted out!

Now each shoe has to be cleaned on the wire wheel and then the entire sign has to be welded together. These are not traditional pieces, so the electric wire welder will be used instead of traditional forge welding.


It's early to bed and early to rise for another day in the shop tomorrow. Tomorrow should see the "welcome" signs done, and hopefully four crosses as well.
All only if and as the Lord wills!
G'Night, God rest ye well, and may ye all have a "blissful time!" ;)


Shop work

Since I have installed my blacksmith shop indoors, there has been a 4x4 post in the way. We couldn't just cut it out because it was a load-bearing post....we take it out and my side of the barn collapses.
However, everytime I turned around, the post was in the way again. (Some of my witty, smart allek readers would say "well don't turn all the way around.")

Anyway, dad and I decided to take the post out and put a beam in.

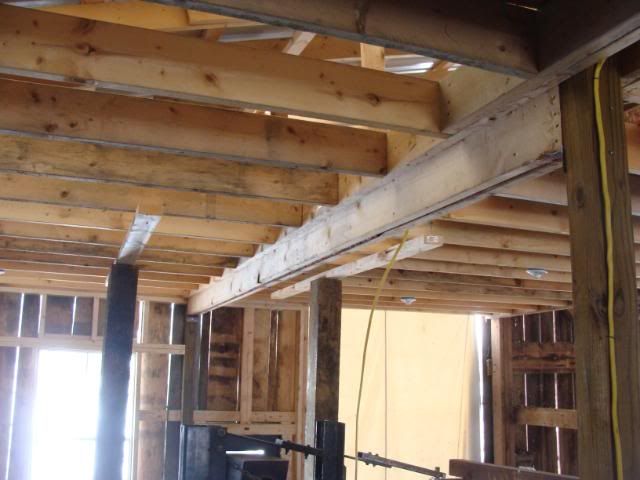
In order to do this we had to first brace the ceiling and roof. We used two 6x6 posts to do this. Then we made the beam. The beam is made from two, 2 inch, by 12 inch, by 16 feet long boards. A 1/2" piece of plywood was placed between these two boards to make up the width that I needed. What we ended up with is a 16-foot-long beam, 12-inches wide, and 3 1/2 inches thick. That is a very large very heavy beam. After supporting the roof weight and removing the old 4x4 post, we installed the beam. The whole process took over half a day and six attempts before we got the beam in. However, now the post is gone, the beam is in, and as of right now, the barn is still standing!

This shows the beam in place and also shows the two 6x6 posts on either side supporting the roof weight! 

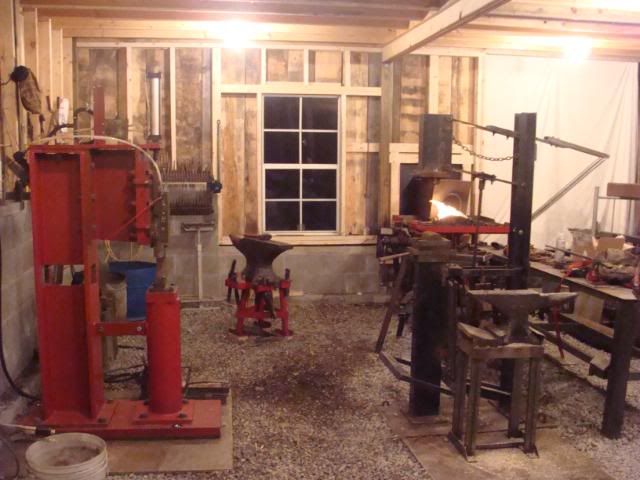
 Here is a general overview of my shop!


For those of you who had a hard time identifying the last picture on my last blog ......that is a picture of my big shop anvil!           ;)

Monday, February 7, 2011

A short mockery of evolution

The other day I was doing some digging for the concrete pad that I am going to pour for my air compressor to sit on. While I was digging, I came across a large amount of broken glass and a claw from some sort of animal.

Being the "full of fun" person I am, I decided to use the opportunity to have a short, well-deserved laugh at evolution.

So I am going to briefly take the stance of an evolutionist doing archeological research while digging in his barn.
Having discovered a tooth several inches below the top of the soil and in the same "fossil layer" with a large amount of broken glass, I can quite clearly make the following obvious assumption! 

Five to six MIIIIIIIIIIIILLION years ago, a half lion, half elephant, half deer (still trying to figure that one out, do the math,) commonly referred to as a lio-phant-eer, died here.
Unfortunately, the lio-phant-eer had died in an apeman's back yard. The day before, the apeman's evolving horse had finally developed it's flying abilities and so the fence no longer kept it in and horse-gull had flown away. Since the apeman no longer had the services of his horse-gull, he could not move the 100 ton lio-phant-eer. (Not really sure how he could have with the horse-gull anyway!) So the apeman buried the lio-phant-eer on the spot in a glass coffin.


Ok that's enough of being an evolutionist for me!
You want to know how we got here? OK I'll tell you!
"IN THE BEGINNING GOD....." Genesis 1:1

Why are we here you ask? I've got an answer for that too!
Rev 4:11
Thou art worthy, O Lord, to receive glory and honour and power: for thou hast all things, and for thy pleasure they are and were created."


Well I've been absent for a while! Updates on what I've been doing are due!
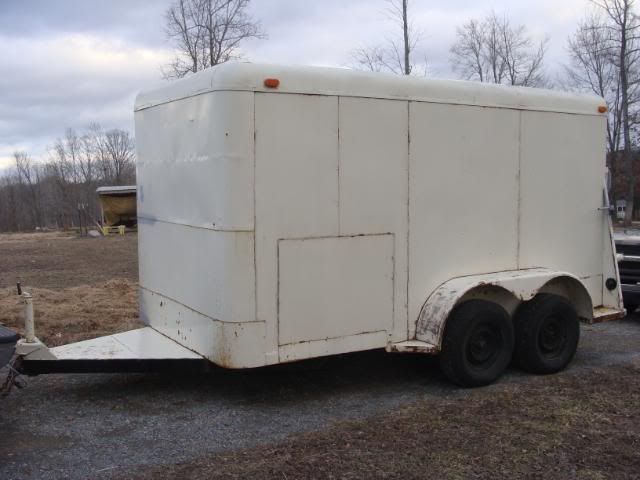
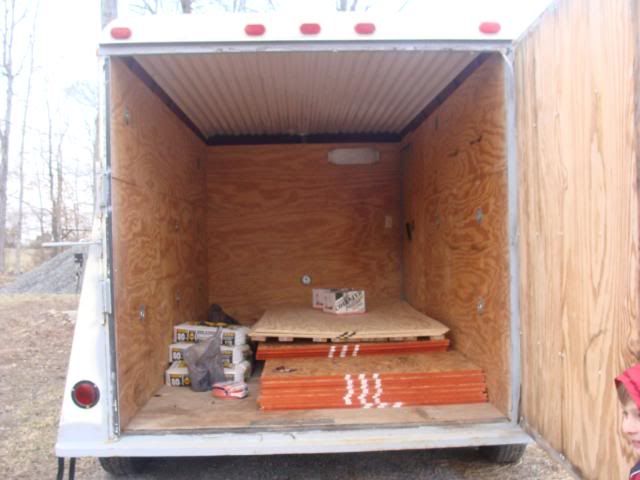
I've been looking at building or buying an enclosed trailer for craft fairs! Well, I found one at a good price and so this is what I have! It is a 12 footer, needs a little cleaning, paint, and shelves, but it is water-tight and heavy duty!


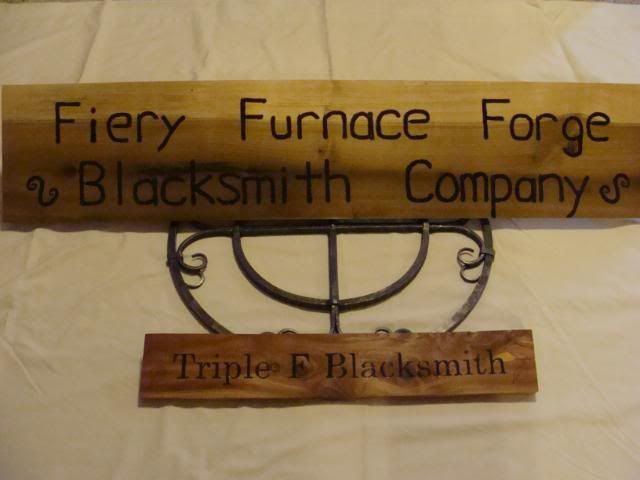
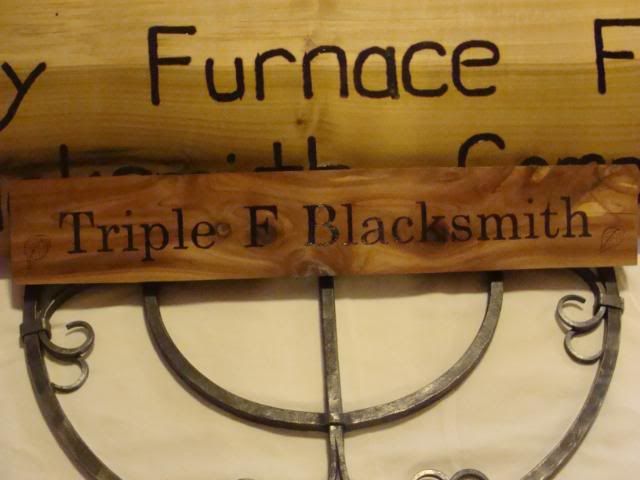
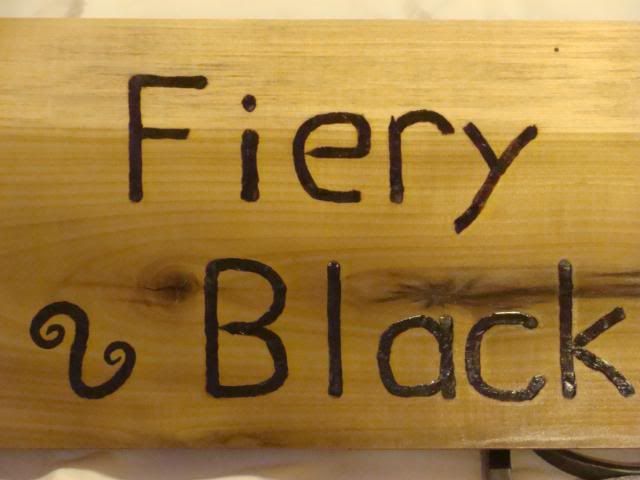
All of my regular readers know that I had a "Fiery Furnace Forge Blacksmith Company" sign made by my good friend Miss Nicole Hansard with Goat Wagon Sutlers! (http://www.freewebs.com/goatwagonsutlers/)
Well, I had a couple of warm days come through, so I put some clear coat on my sign to protect it. Then I thought about the sign she gave to me a while back. It is a smaller sign I use at craft shows that is on cedar and reads "Triple F Blacksmith." It was getting a little dirty and dusty, so I hit it with the 400-grit sand paper and coated it as well.
Both are looking great! Now I just need to make iron frames that are worthy to hold such nice pieces!


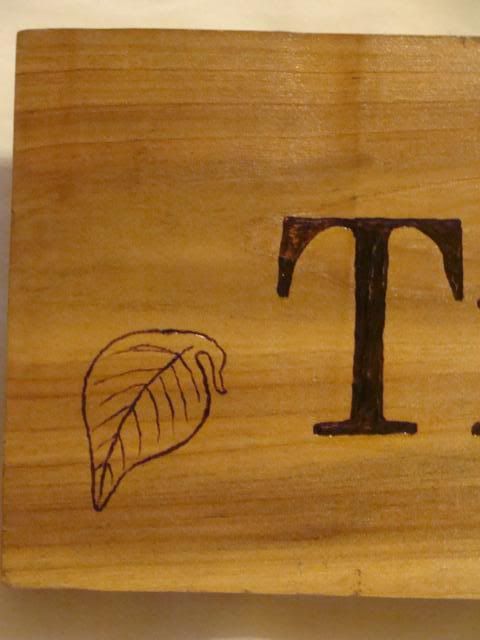
On the cedar sign, Miss Nicole took one of my forged leaves and did a similar trace-out of it! Looks better than the forged ones! 

I asked Miss Nicole to do the lettering on the larger sign free-handed instead of stenciled letters. She agreed, and I am very glad she did because I think the free-hand letters just made this sign! She also, at my request, added an elegant scroll on each side of the sign.


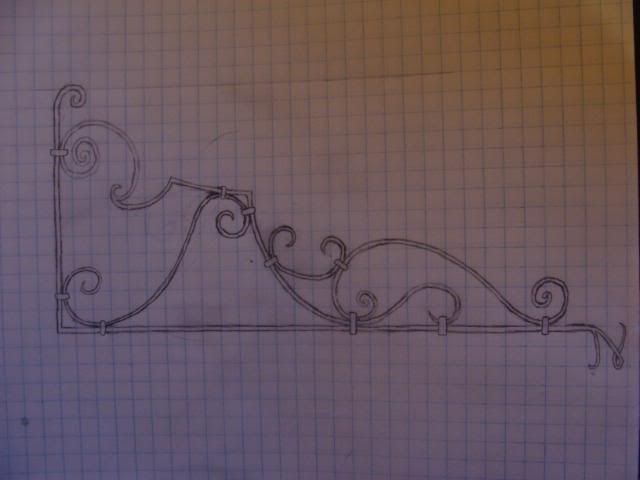
I'm now throwing around some design ideas for the hanger for the larger sign! This is my first drawing, though there will probably be modifications to this first design. 


THE END!

"

Tuesday, February 1, 2011

Forging with a friend!

My good friend Master Chase, a blacksmith but little younger than I, had his eighteenth birthday earlier in the month. Unfortunately, sickness was making its rounds through our family and I was unable to attend. After a four-week's delay, we were finally able to visit my friend's place. The highlight was seeing my friend's blacksmith shop that he recently finished setting up. We smithed the day away, practicing techniques like forge welding, nail making, and basket twists.

I got Titus (my younger brother,) to take plenty of pictures!

Discussing techniques and test pieces!

Enough talk! Let's forge!


Since I was the guest in another smith's shop, I was the apprentice! Master Chase taught me nail making! Sounds simple but it is something I have never done with success!


As usual, you can't trust someone else farther than you can see them, with a camera. So, we have the usual run of bad photos.....I wont scare my readers too much, so I deleted most of the bad ones! I just kept two for laughs!


As usual the day flew by. We made a flux spoon for Chase's shop, a few nails, and finished the day with a basket twist.
                                                 
                                                                         The basket twist!

                                          We ended the day with a friendship forged stronger!


I've got two good friends and Master Chase is one of them! Two good friends who have stayed by and helped me through the hard times and proven true when others, whom I held dear, fell away. They've been there to create great memories and good times, as well! I thank God foremost for the friends He's blest me with, and I thank my friends for being who they are! Stand true!

Friday, January 28, 2011

Compressor returned

I received this comment on my last blog!

"Dave I think you should call her OLD Bess. When do you get your compressor back sir?"

In response:

"Old Bess" huh! :) As in Davey Crocket's trusty flinlock that could put a rifle ball in the moon?


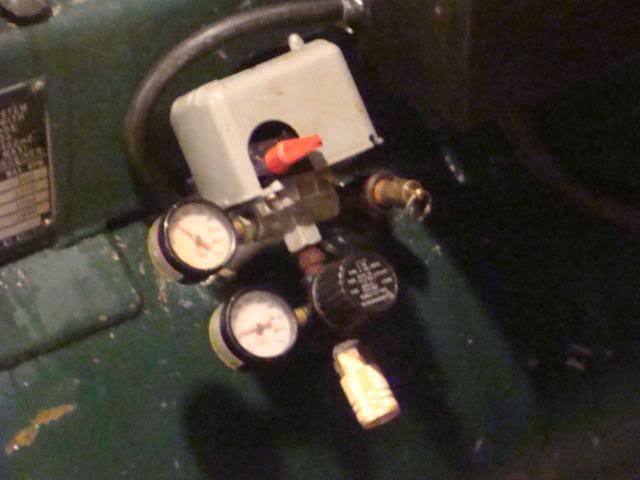
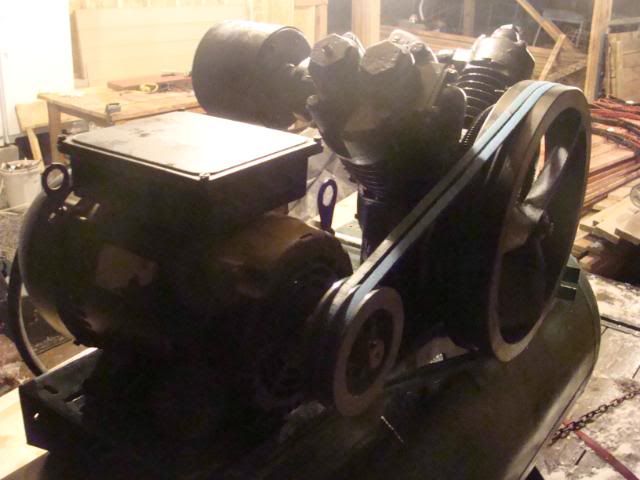
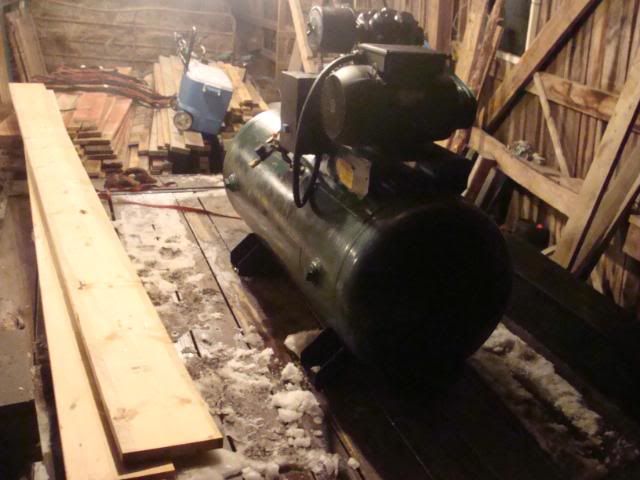
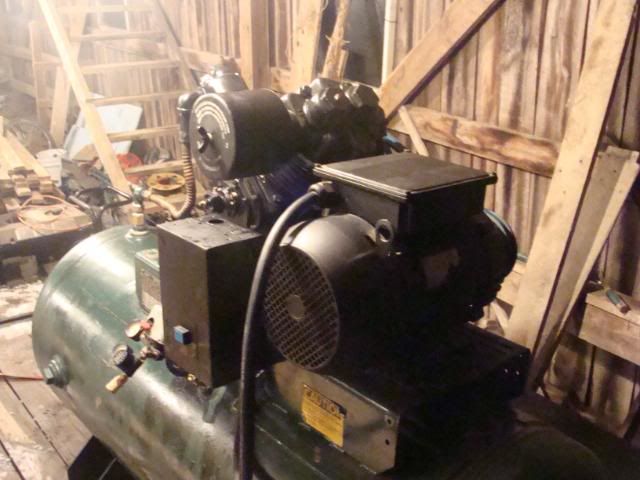
I got my compressor back yesterday. It is now up and functional with a new motor, belt pulley, starter, pressure gauge, muffler/air filter, new oil, and a new compression system.
The bill was more than I had hoped but most of it was the new parts, and I feel that the repair man was more than fair on labour! It would not have been so bad had I not had to replace the motor!

Here are a few pictures!


Now ALL I have to do is get it off the trailer! HMMMMMMM! Any volunteers? I could use an extra pair of hands...or a dozen extra pairs!

Off to work! G'morning to ye all!

Dave

Wednesday, January 26, 2011

Power hammer set up

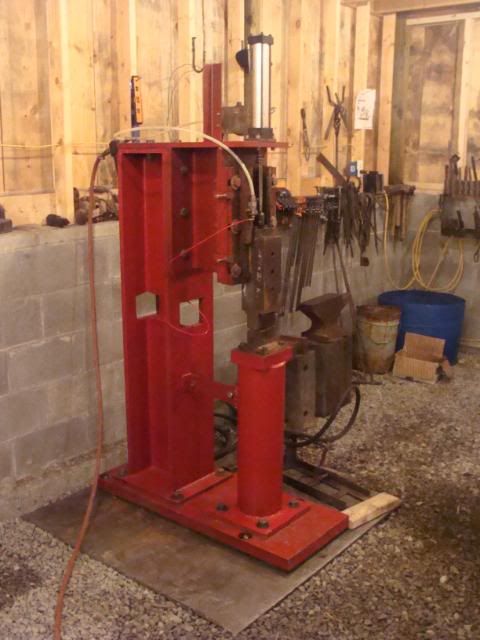
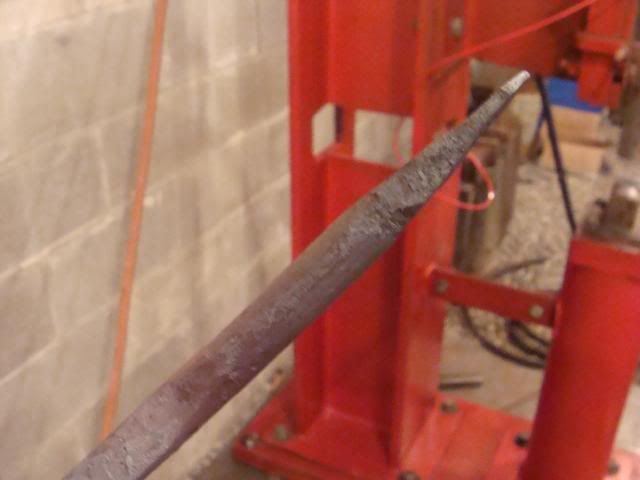
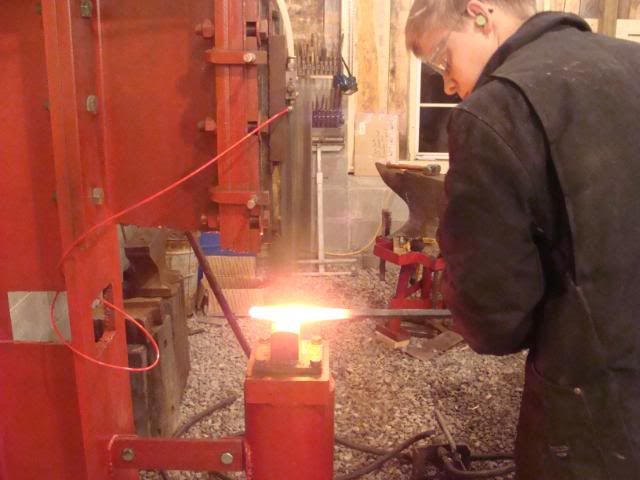
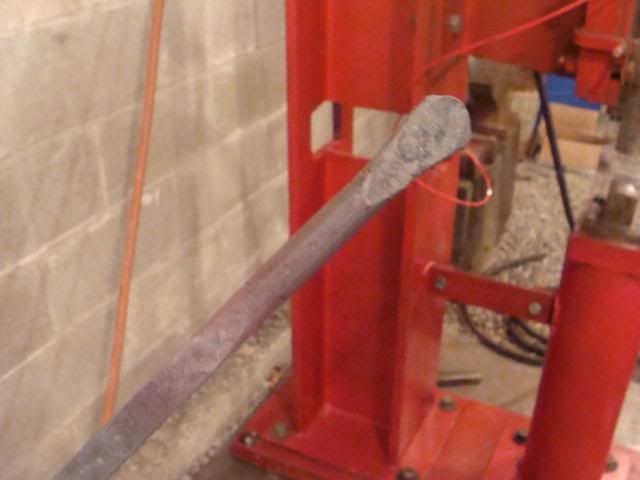
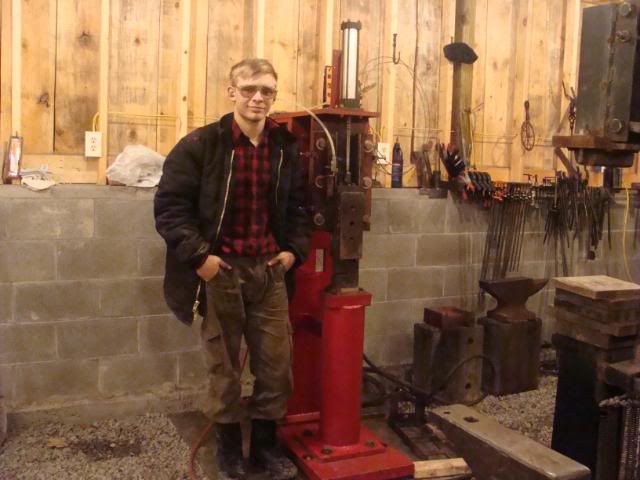
After a long wait, my "new" power hammer is assembled, in place, and functional. Unfortunately, I still do not have my air compressor back yet, but it should be done in a few days. The small air compressor we already have is not able to run the hammer at full speed or constantly. My hammer, if run off of our small compressor, would speedily burn the compressor up. However, our compressor does pump air and sufficed for a few minutes test run.

Here is the hammer all set up! "Ain't she purty?!"

She mashes metal!


I'm looking forward to getting my big compressor hooked up to see what this hammer can really do!

Now, I keep refering to this thing as a girl, so I suppose it needs a name! I do not have the pleasure of knowing all that many ladies though. Suggestions???


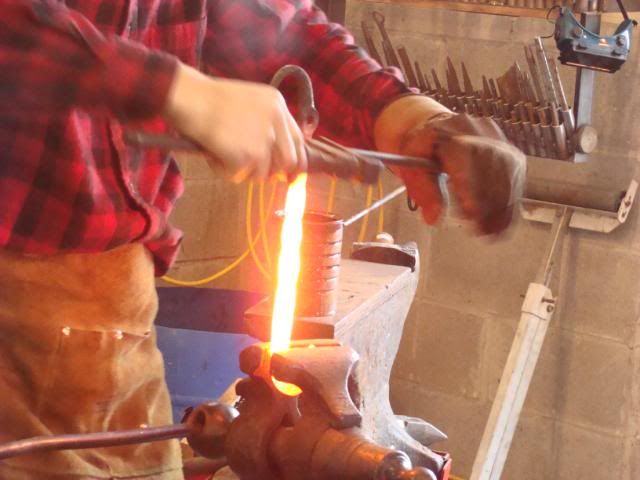
Here is a picture of me twisting metal for another hook like I made the other day!

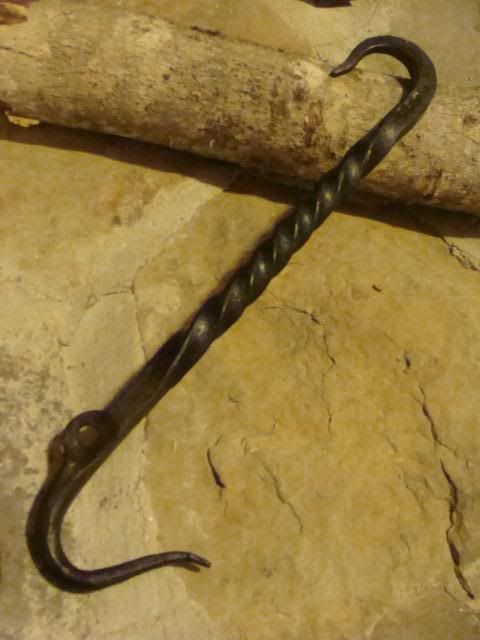
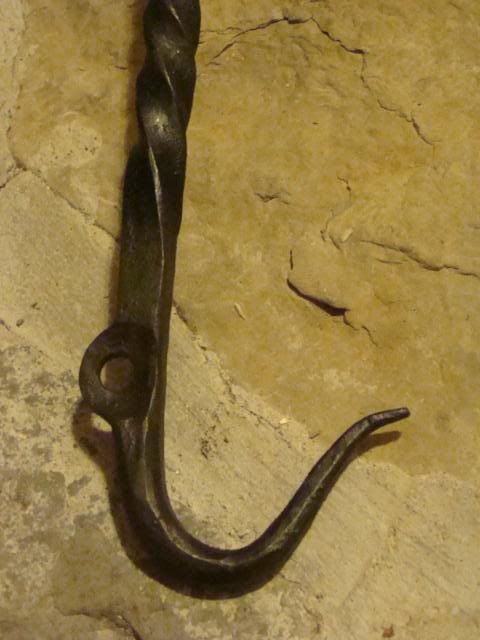
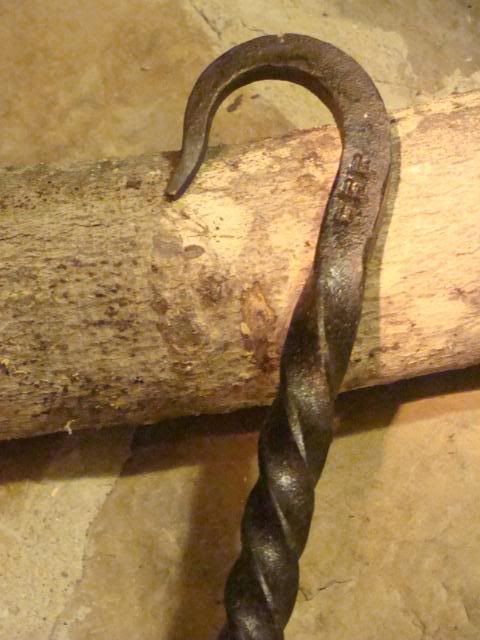
Here is the hook! This one turned out better and it took less time!


I also made a new and nicer front for my forge hood today. It looks better and works better drawing out all the smoke!


Well that's all folks! I've got another custom hook to tackle tomorrow and I'm going to be working on another forge hood front like the one above, for a friend!